Vellum is a product that I love and try to keep a stock on hand at all times. I want to share my love of vellum with you with two videos. The first is all about ways you can use vellum and the second is putting together a layout using a handful of the items I created in the first video. Plus the second video has an additional little vellum technique that you may find handy. As always, if you want the blog version, please keep reading!
So let’s take a gallery journey through the techniques I mentioned. While each photo is captioned, the gallery system’s captions are a bit hard to read, so let me list it out more clearly.
- Layered Dimming
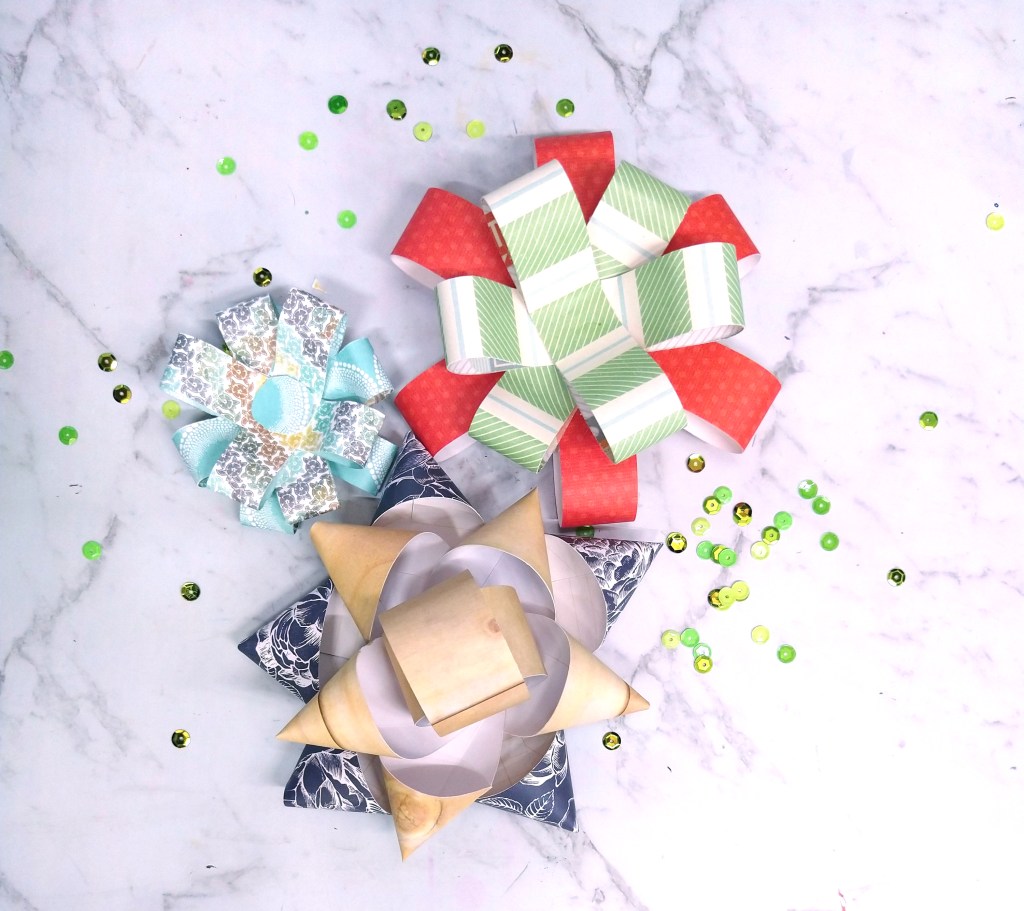
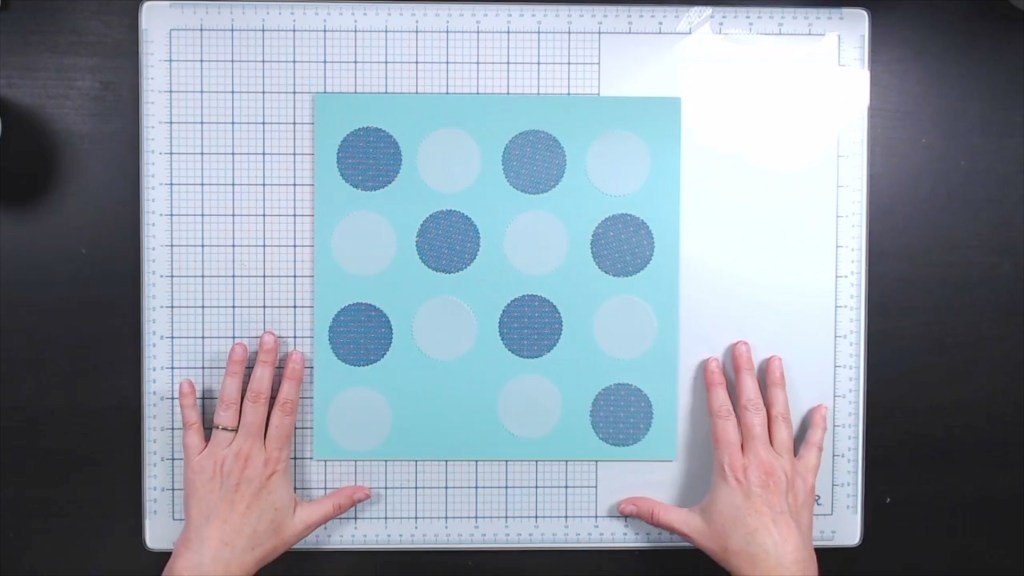
- Pattern Making
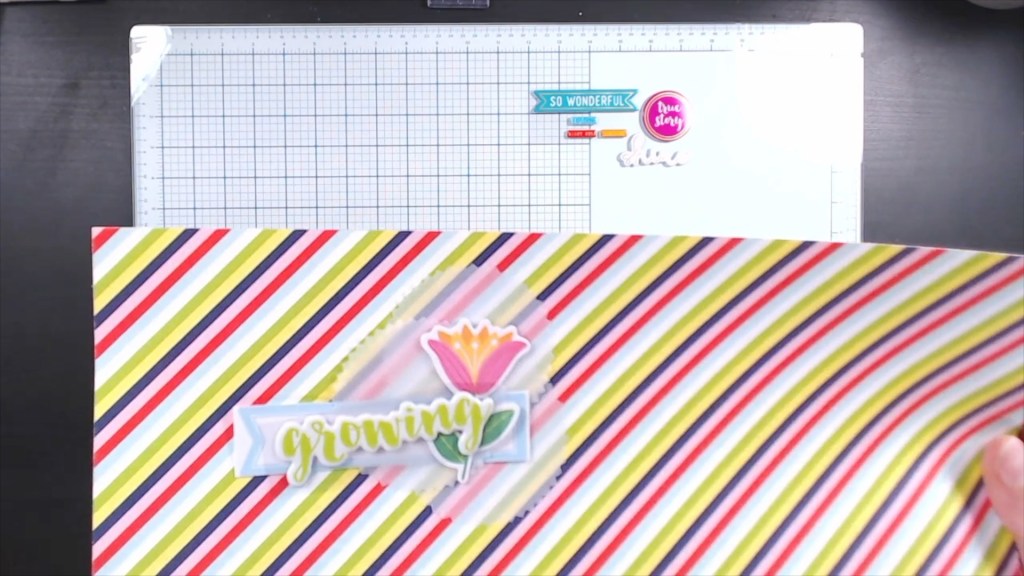
- Cluster Layering
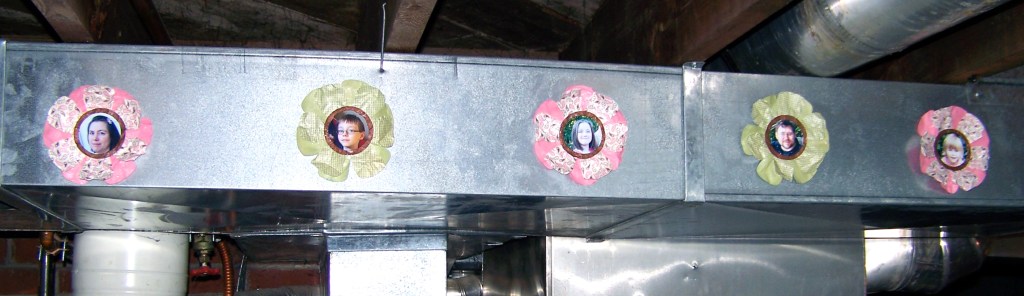
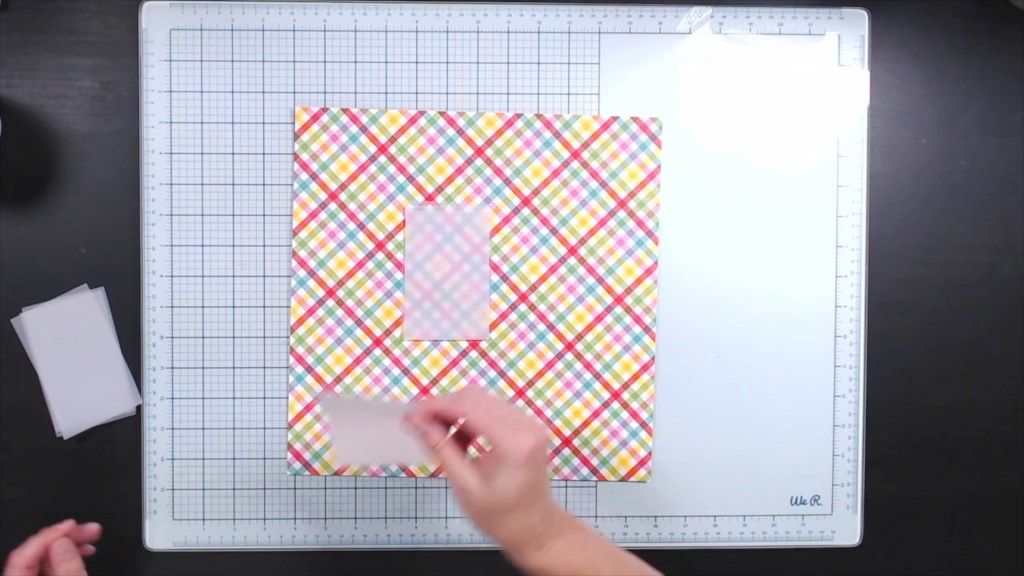
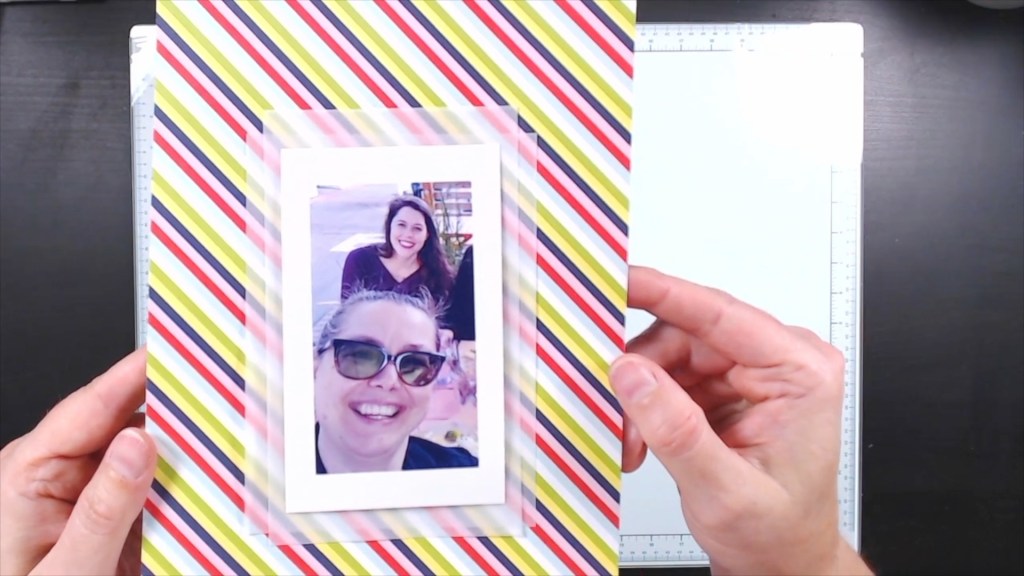
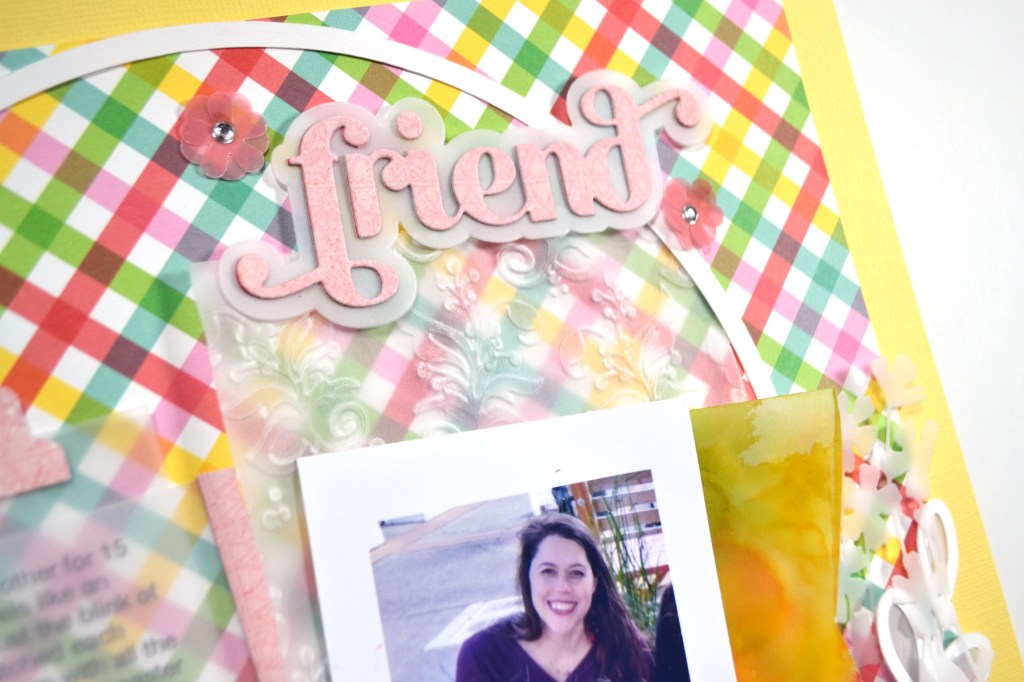
- Photo Mats
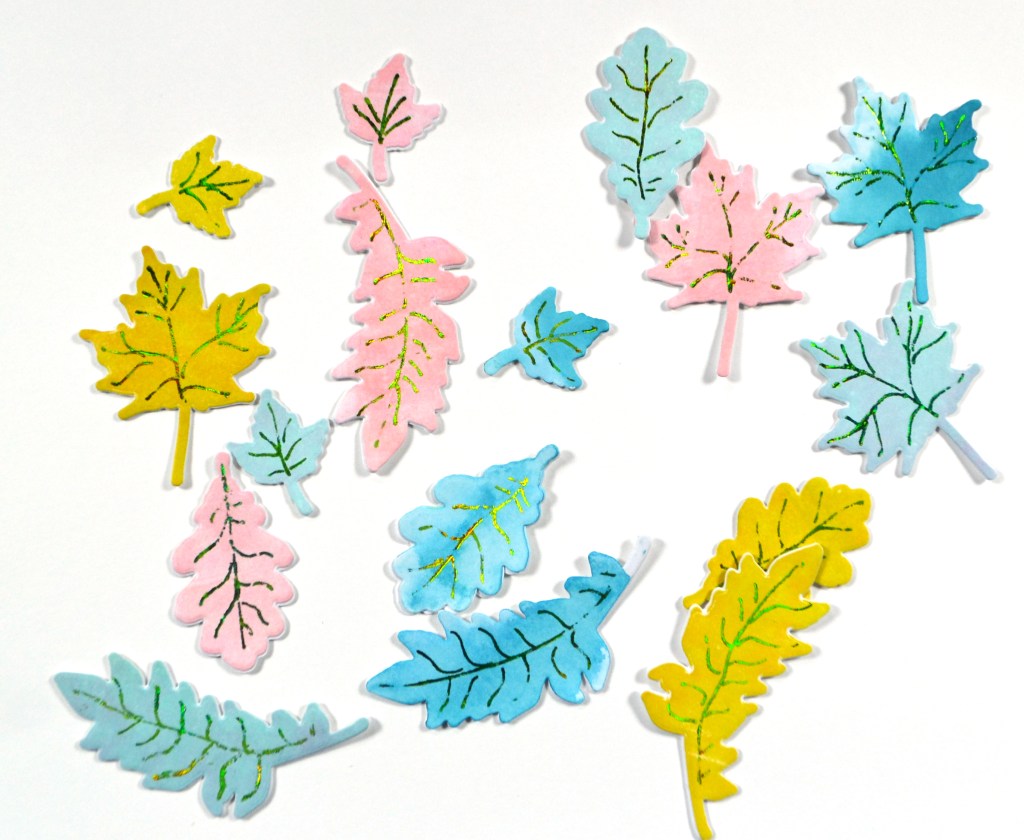
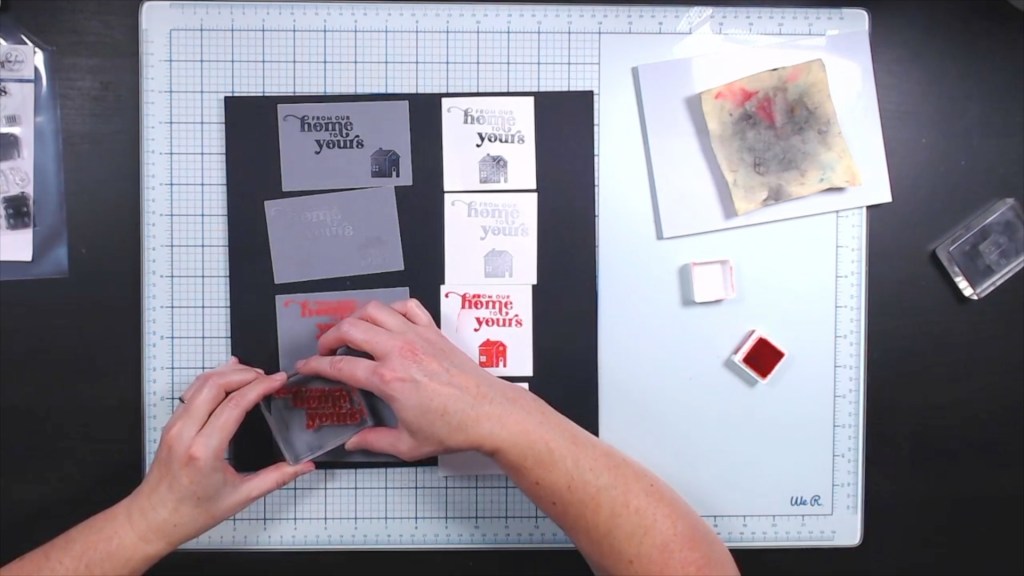
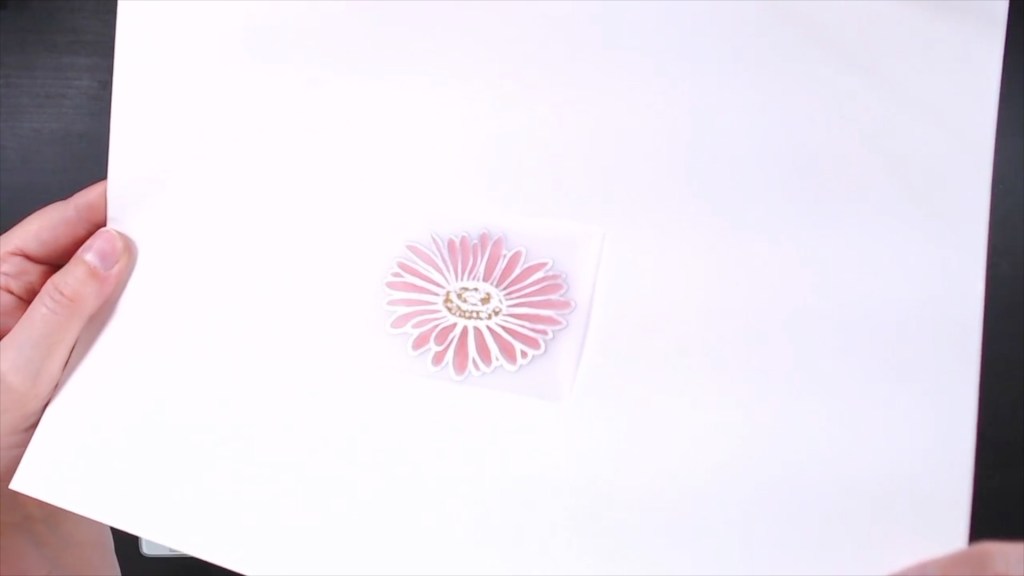
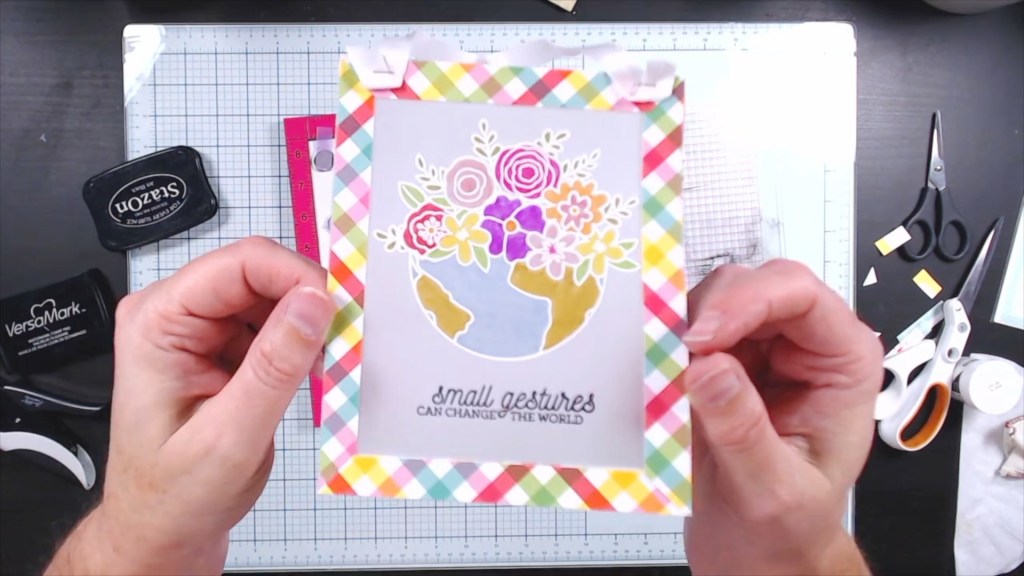
- Stamping
- Heat Embossing
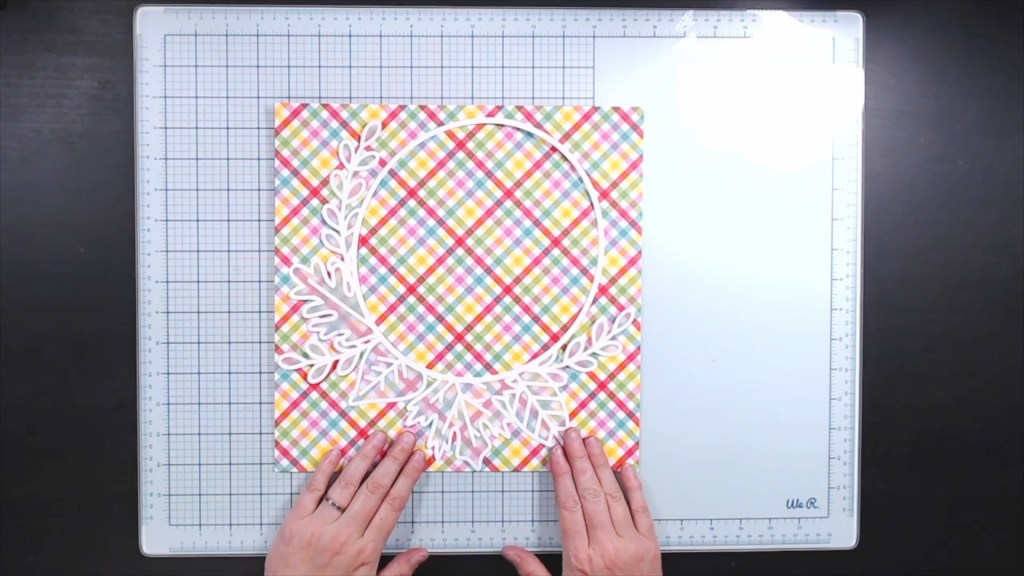
- Backing Cutfiles
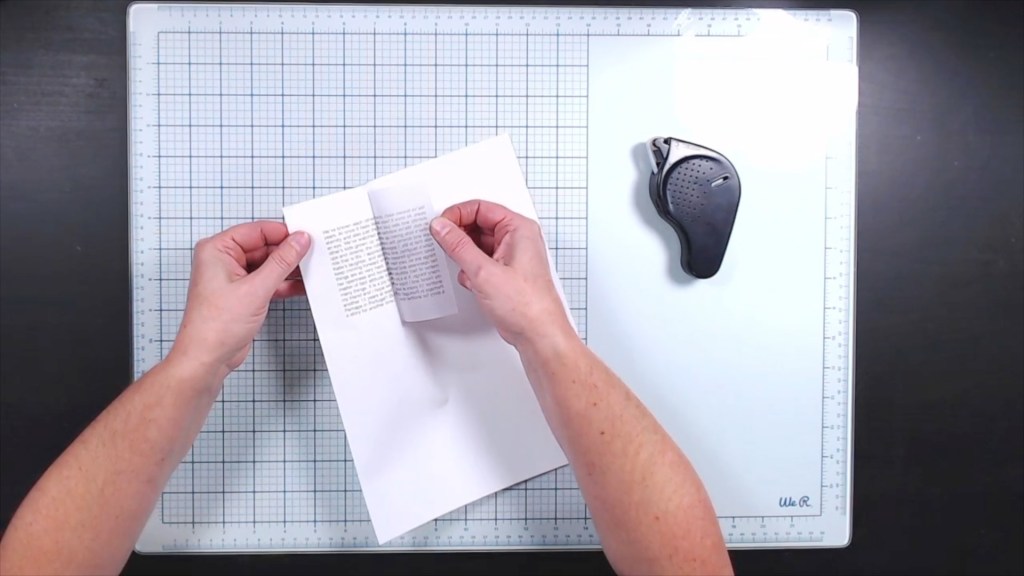
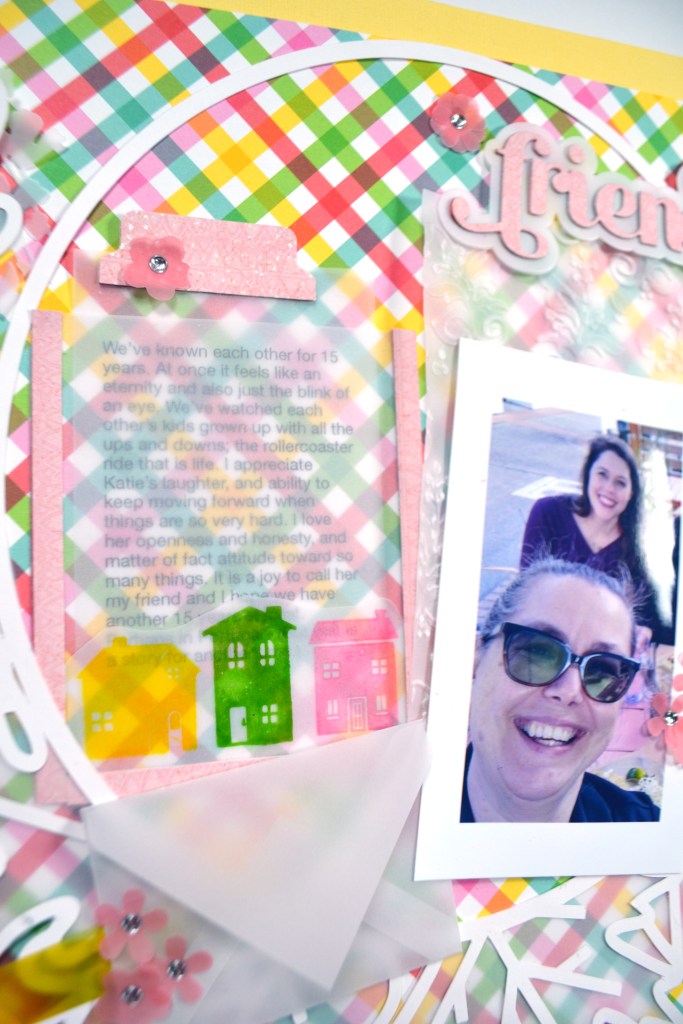
- Printed journaling
- Alcohol Ink (No expensive Yupo “paper” needed)
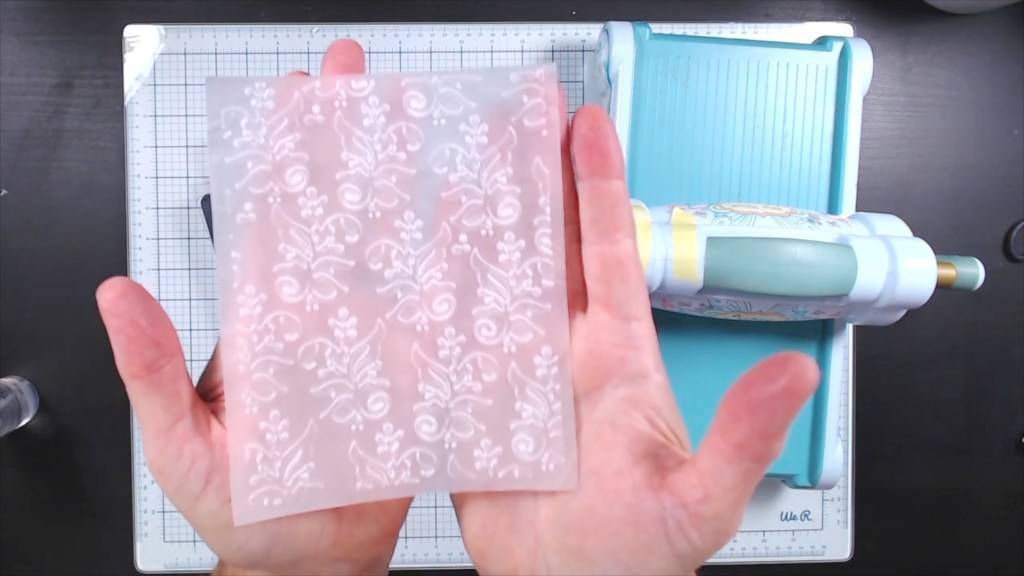
- Embossing Folders
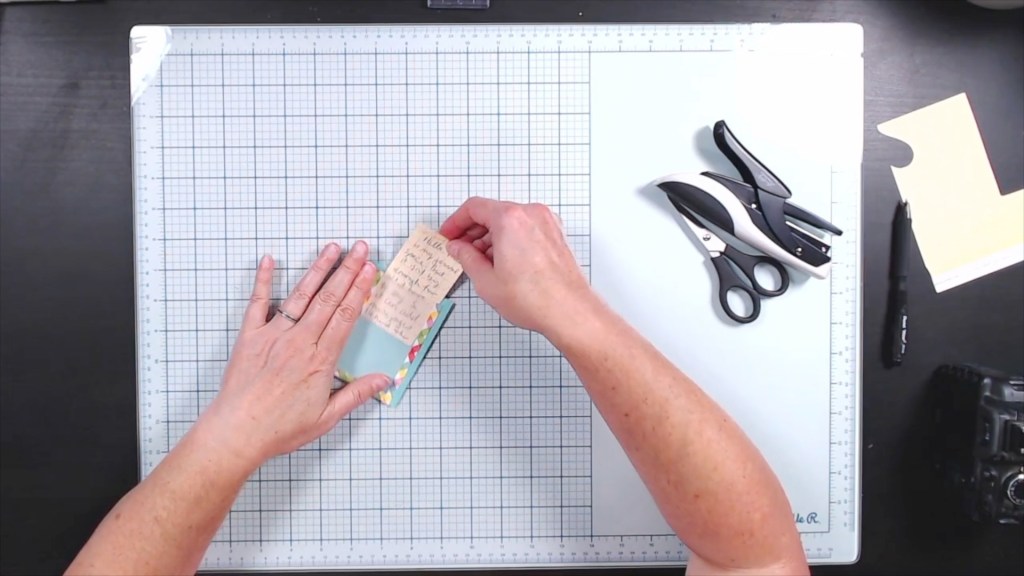
- Pockets
- Windows
- Shakers
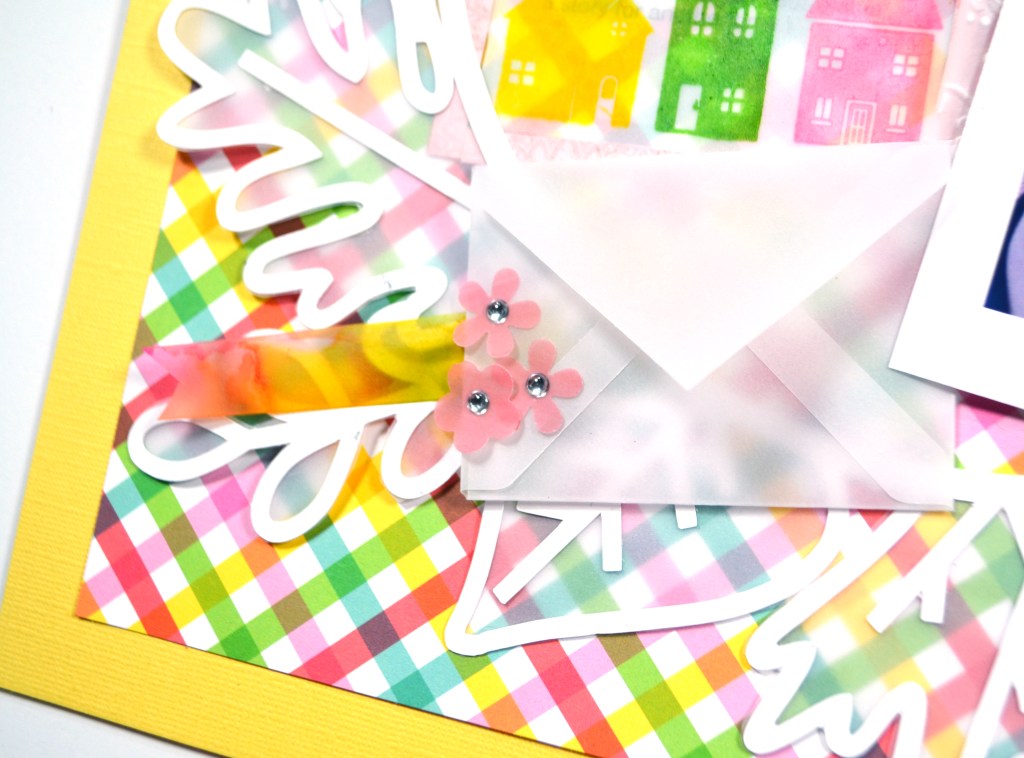
- Envelopes
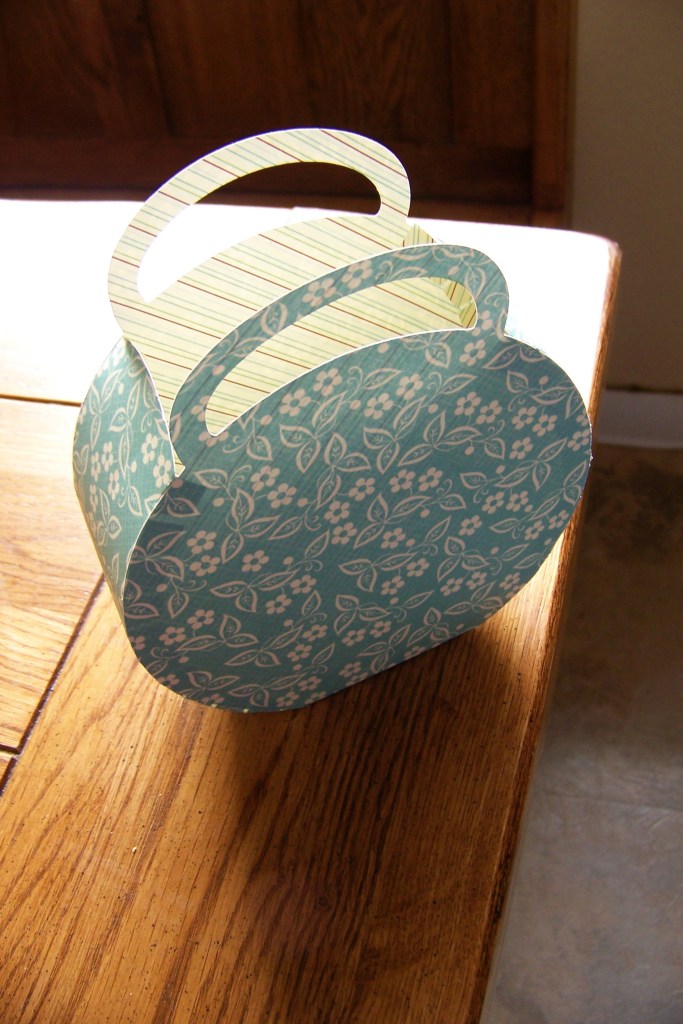
- Home decor — Votive Holders
- Home decor — Stained Glass Window technique + project


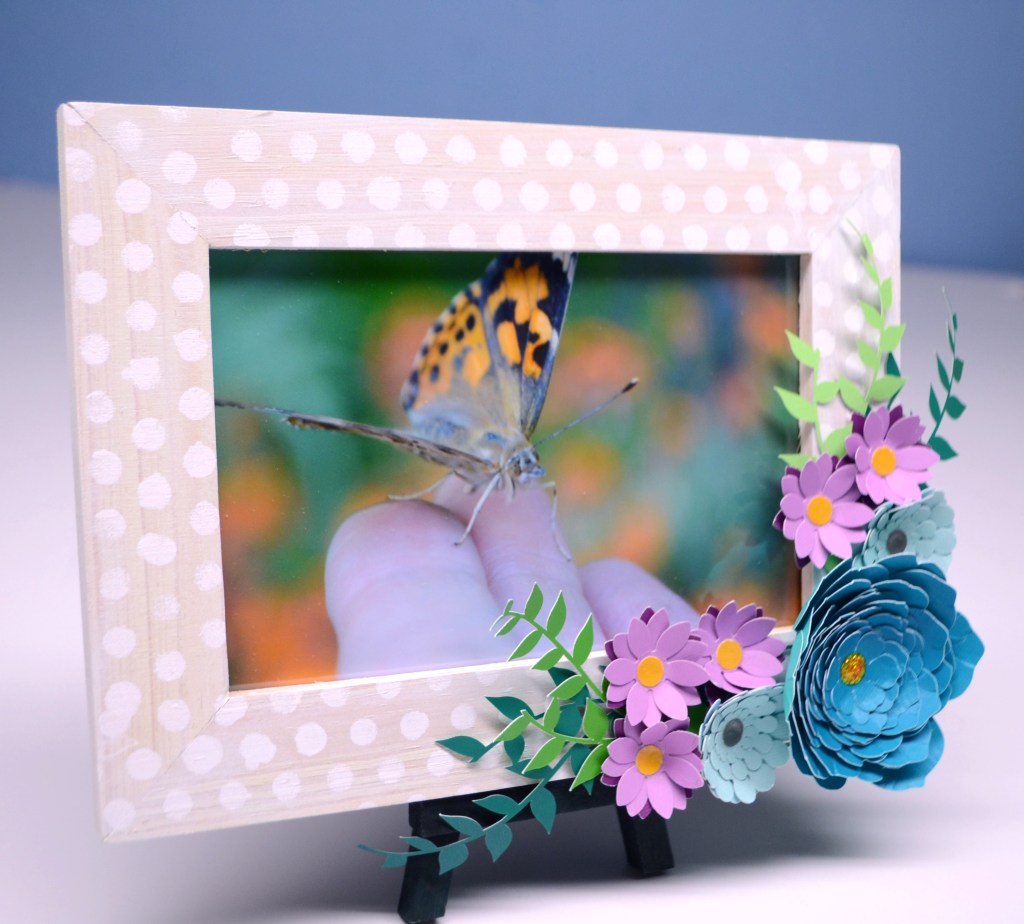
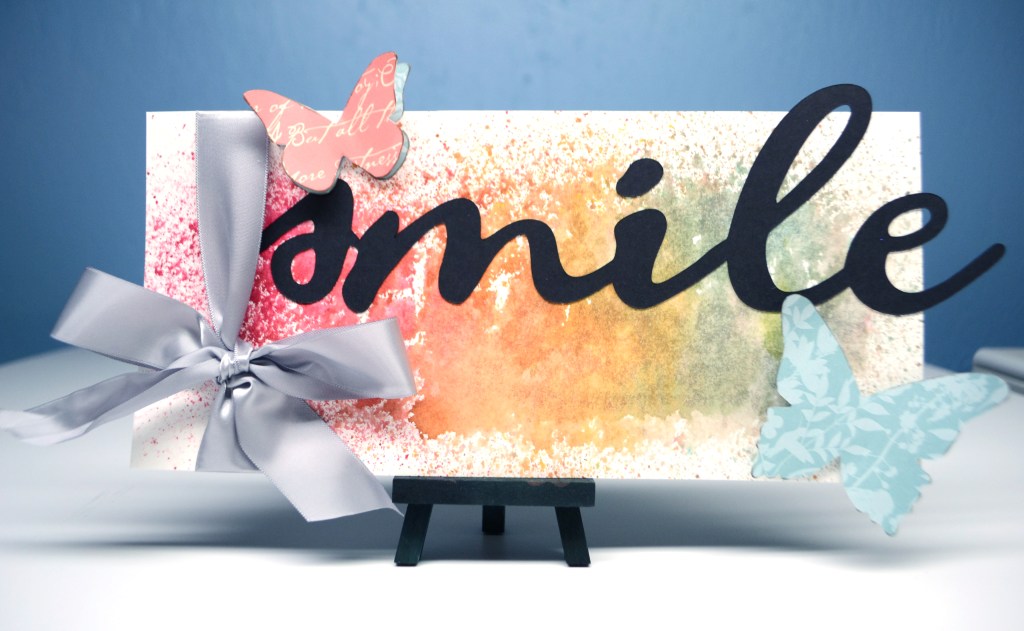
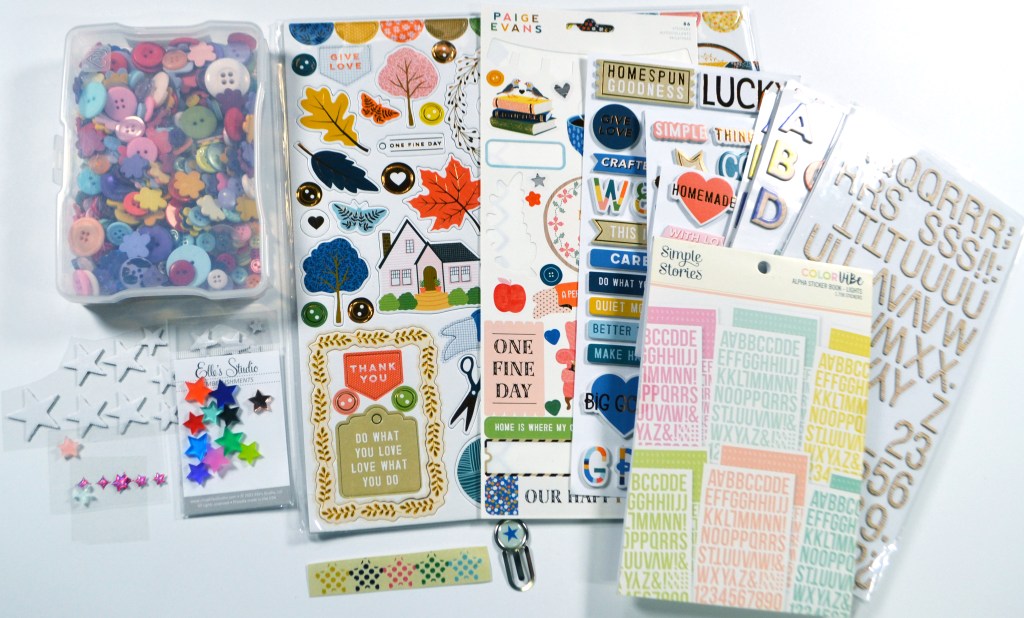
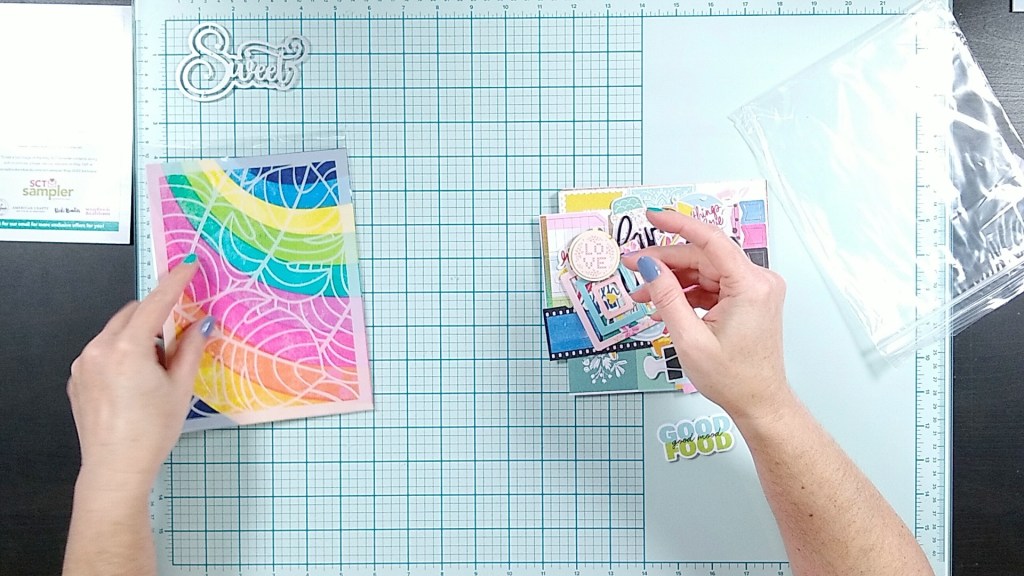
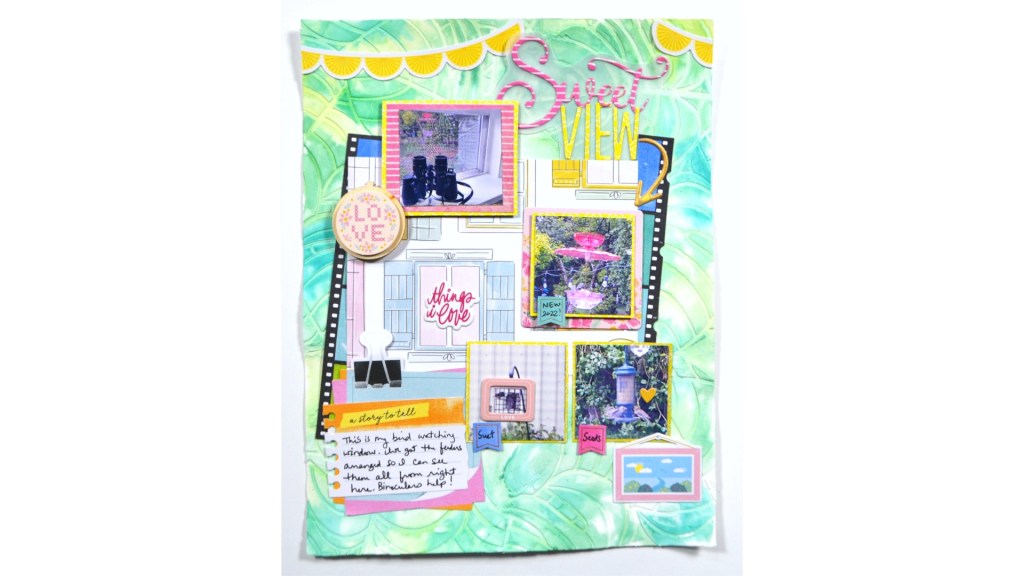
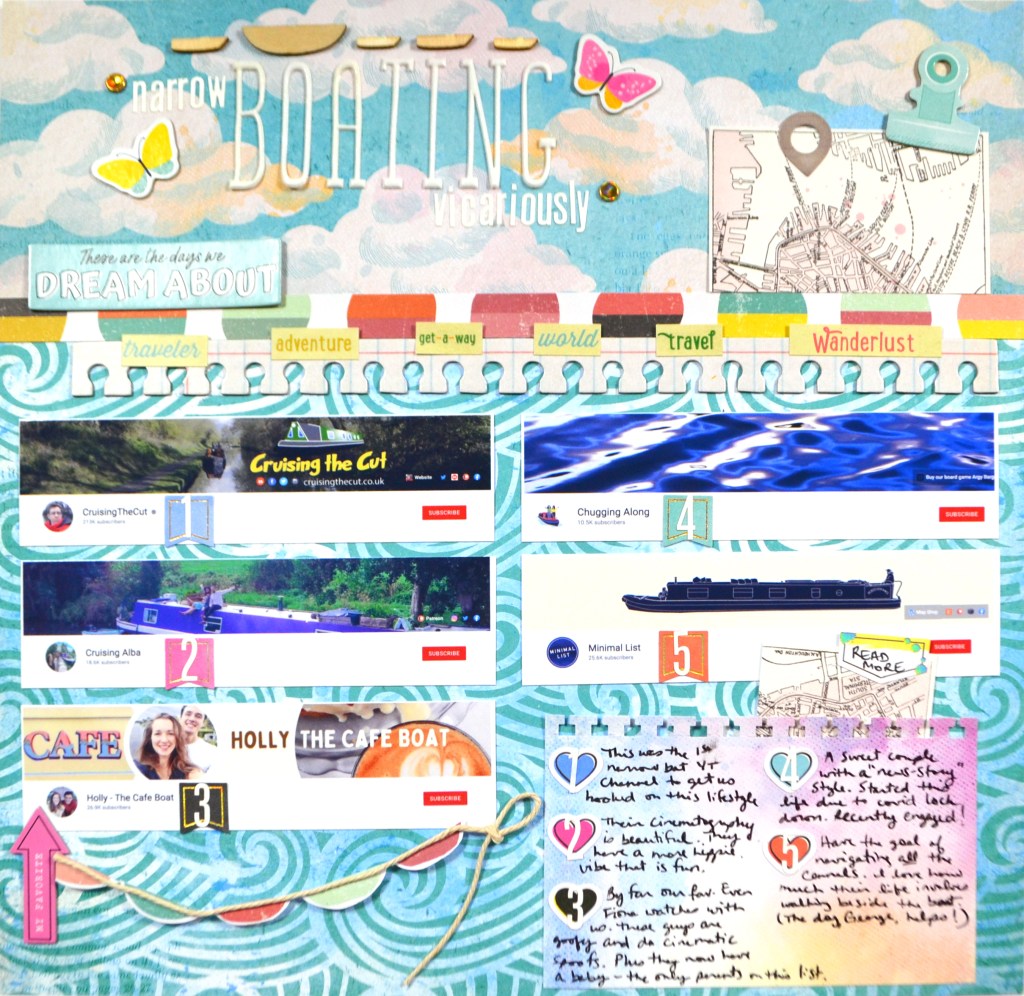
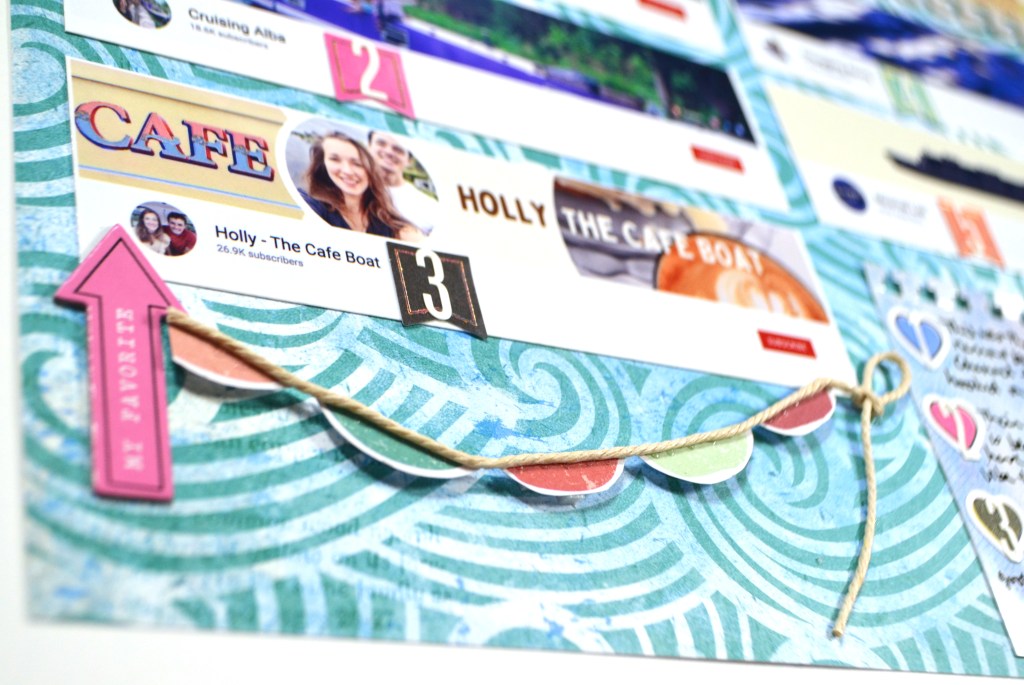
Once I had created a pile of goodies out of vellum I turned to creating a layout. If card making is your thing, these ideas totally work for that too! Now, not all the things I created are going to work on one project so the process of finding what will work, and especially giving up on what won’t work, is interesting. I tried really hard to get stamped flowers on my project and they just weren’t working. The flowers got lost in the amount of pattern shining through the vellum. In the end I colored vellum with a marker (that is your bonus technique!) and punched out solid colored flowers to sprinkle on my project.
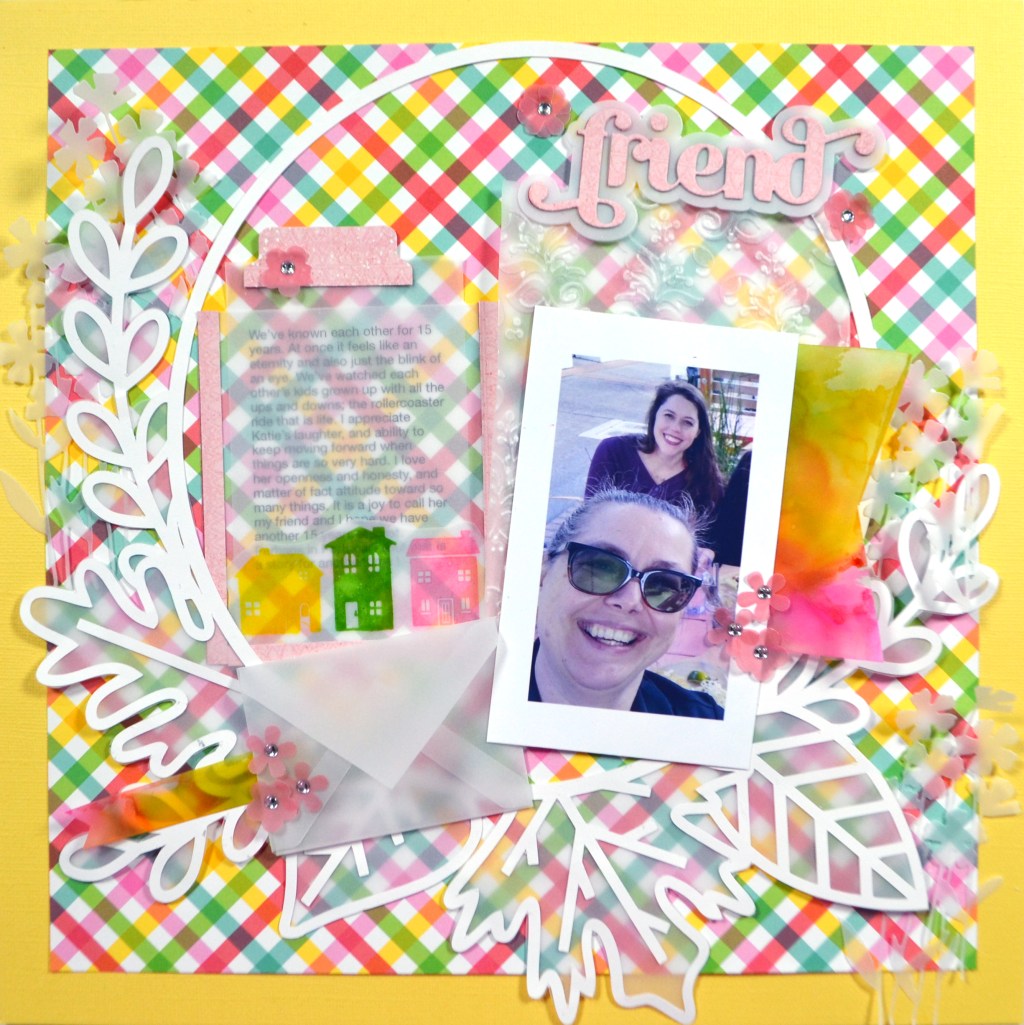
Don’t forget that vellum can be tricky to attach since you can see the glue right through it! If you need ideas on how to overcome that, I’ve got you covered there too! This post shows off vellum attachment ideas. Of course you can take the short cut right to the source video.
I hope this post gave you lots of ideas for incorporating vellum into your paper crafting projects, and even some home decor. I’ll be back soon with more ideas. Until then, have a artful day.