
I hear this question a lot online. Today I set out to answer that question with as many options as I could think of. I certainly may have missed some ideas (in fact I had to film pickup segments as I realized I had missed some things!!). Here is the full video tutorial and idea gallery. Read on for the quick version.
Vellum is a paper-like, translucent product that adds softness and a “dimming” effect to projects. But that very translucent quality means you can see any adhesive right through the vellum! What is a crafter to do? Let’s break it down with a gallery
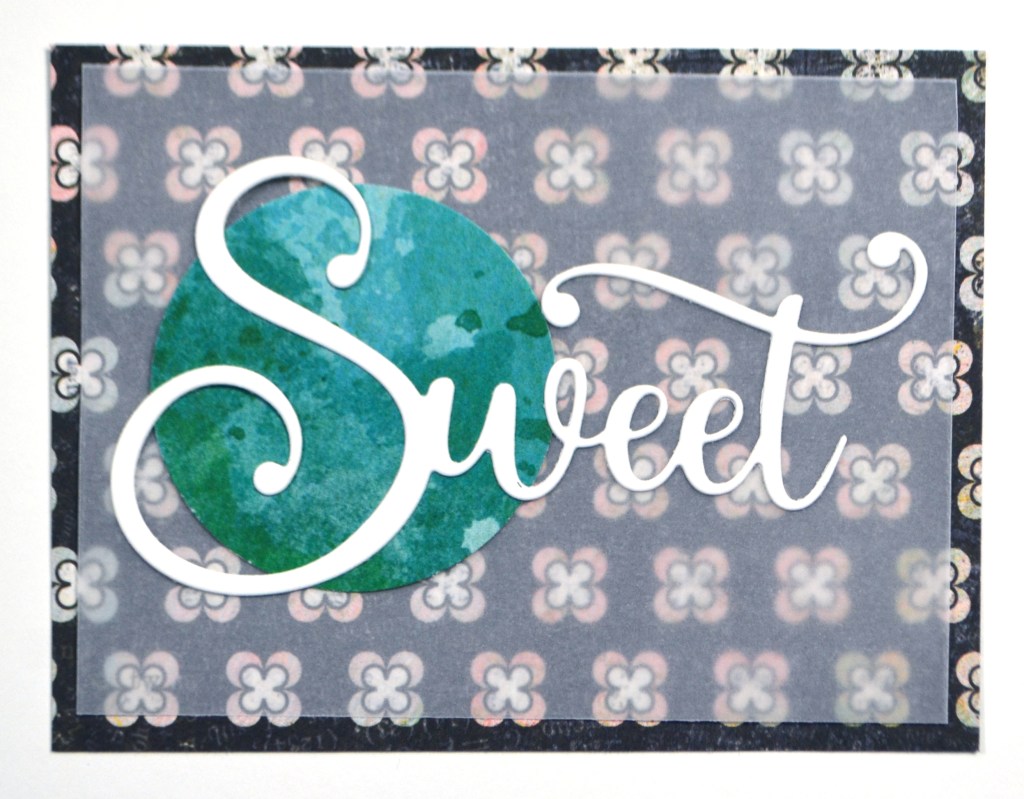
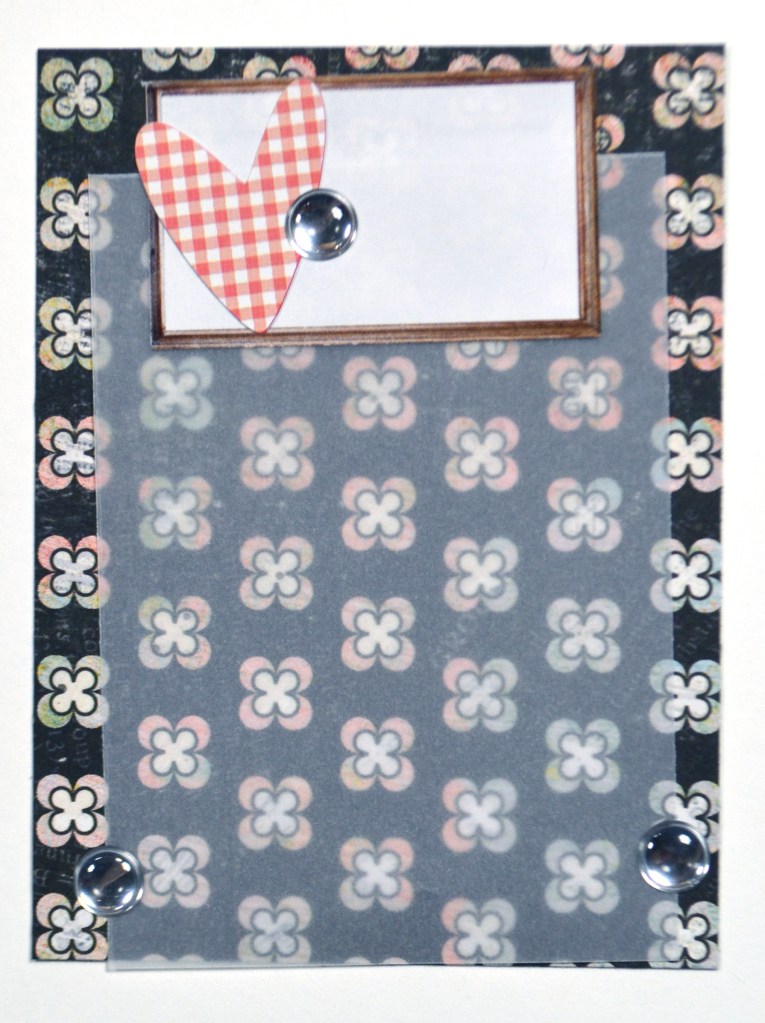
First up is the cover it up strategy. Glue your vellum down, then glue something on top. Here I used all papery elements to cover up the glue, but don’t forget other items like flair, cork and wood veneer will work too and add more charm to a project.

Similar to the cover it is the tuck it. I glued these tabs to the background just on the very edge. That way I could cut my vellum and slide it under the flaps of the tabs. The video is a far better demo of this one.


Next up is the staple it method. You can use staples as a stylistic choice so it doesn’t have to look utilitarian. Along the lines of staples, there is also the option of using paper clips (again, see video).

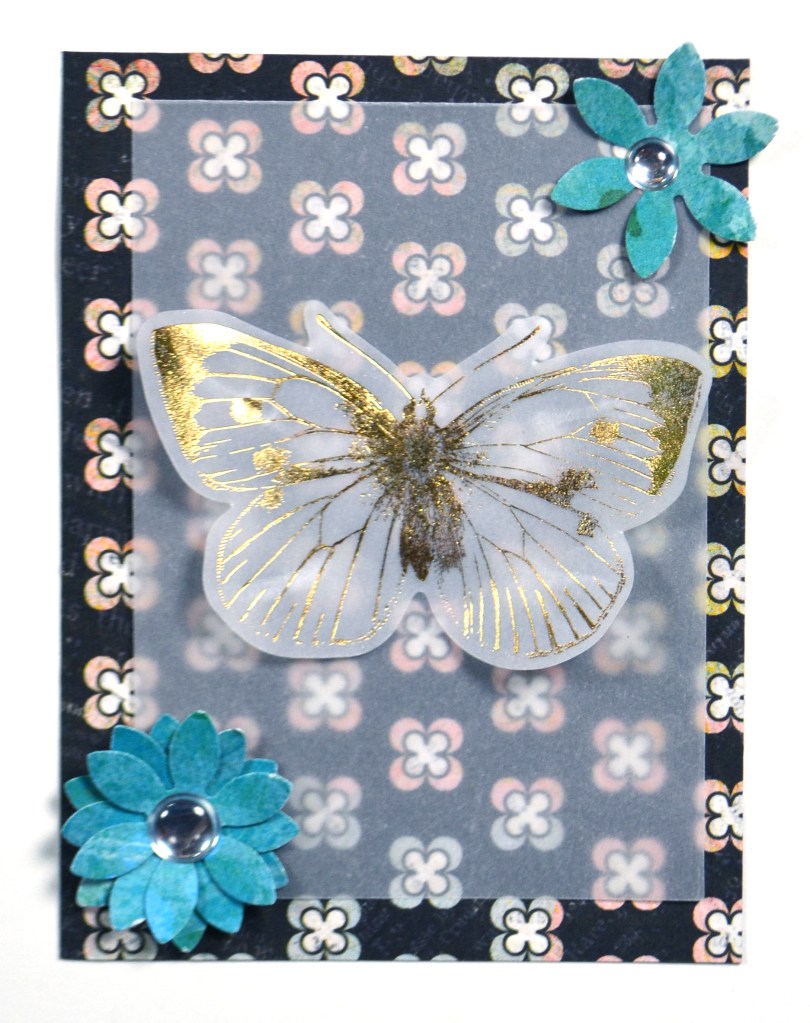
Using stickers is much like the cover it up method, just with items that have their own adhesive. Washi tape is another self adhesive “cover it” option. But there is one more idea in these two photos. Can you spot it? That’s right, it is enamel dots! They are self adhesive “cover it” items all by them selves!

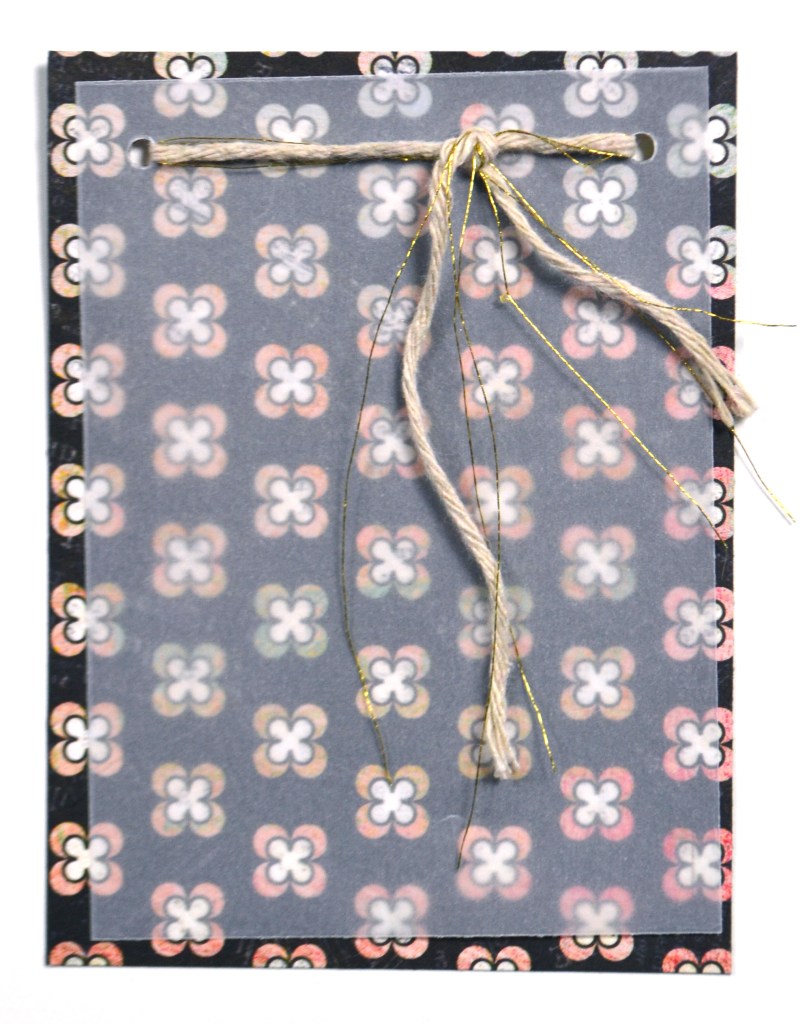
Fibers and stitching are a next level idea! On the left I used my sewing machine to add both zigzag and straight stitches, but you can add whatever you like. Click on the photo for the zoomed version to really see the stitching. Hand stitching is always an option if you don’t have a machine. Not interested in sewing? Then try punching holes and threading with twine or other fibers. Still too much? Then use some fun or funky fibers and just glue it down like in the cover up method! (Okay readers, for once YOU get the bonus info. I forgot to include the pom pom pic in my video!)


There were a few other ideas covered in the video like brads and specialty adhesives. So if you want the full list you’ll have to check that out.
That is it for today. I hope you found some inspiration here. And until next time… have an artful day.
