Final March projects

Just a couple more things to share with you as I wrap up the month. The second item is my fav so don’t miss that one.

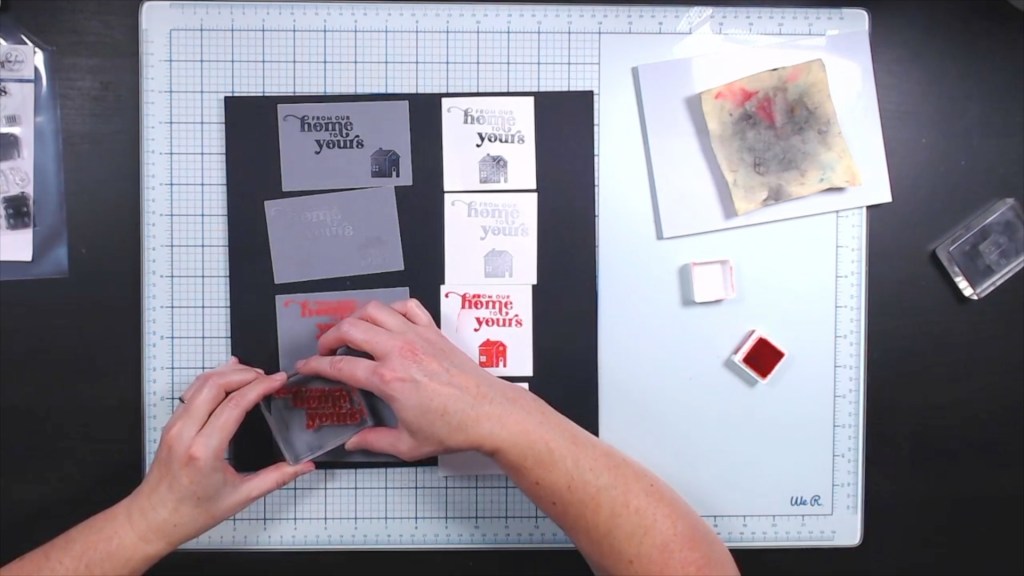
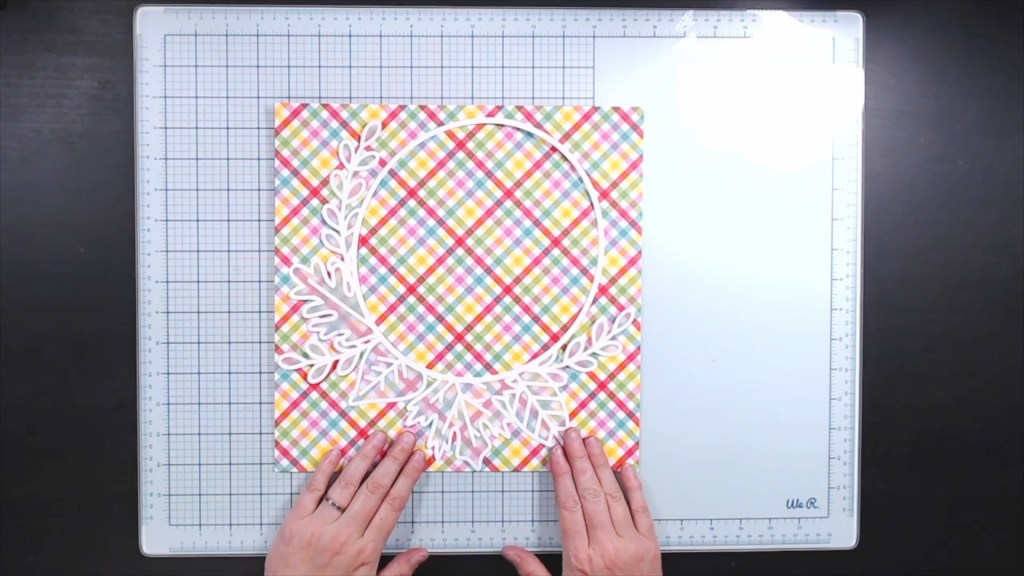
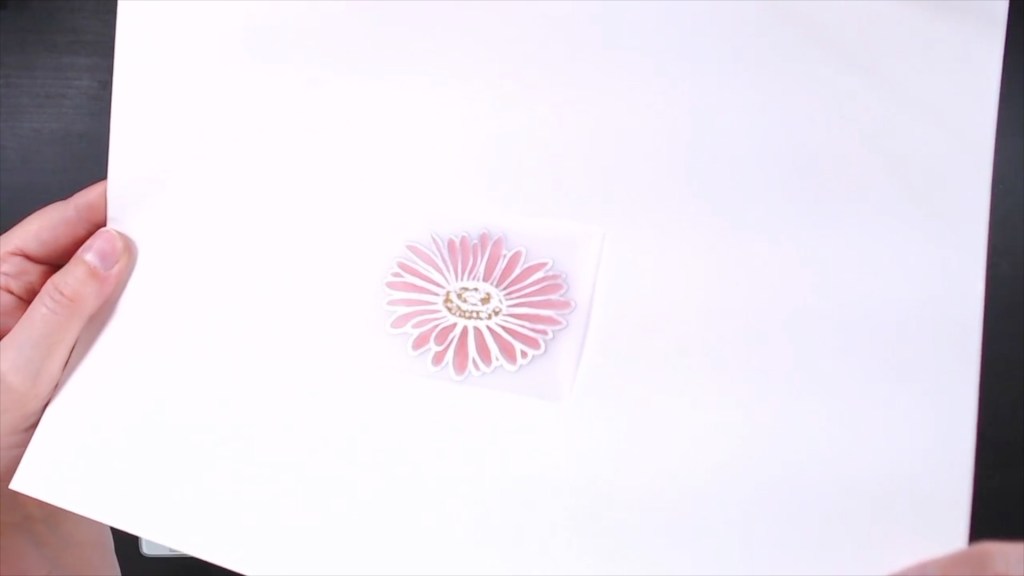
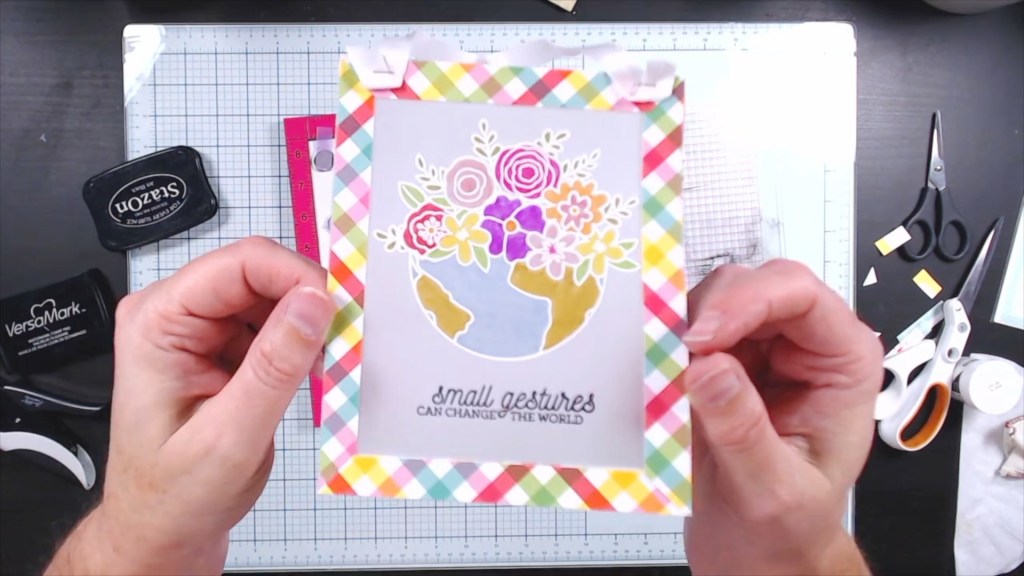
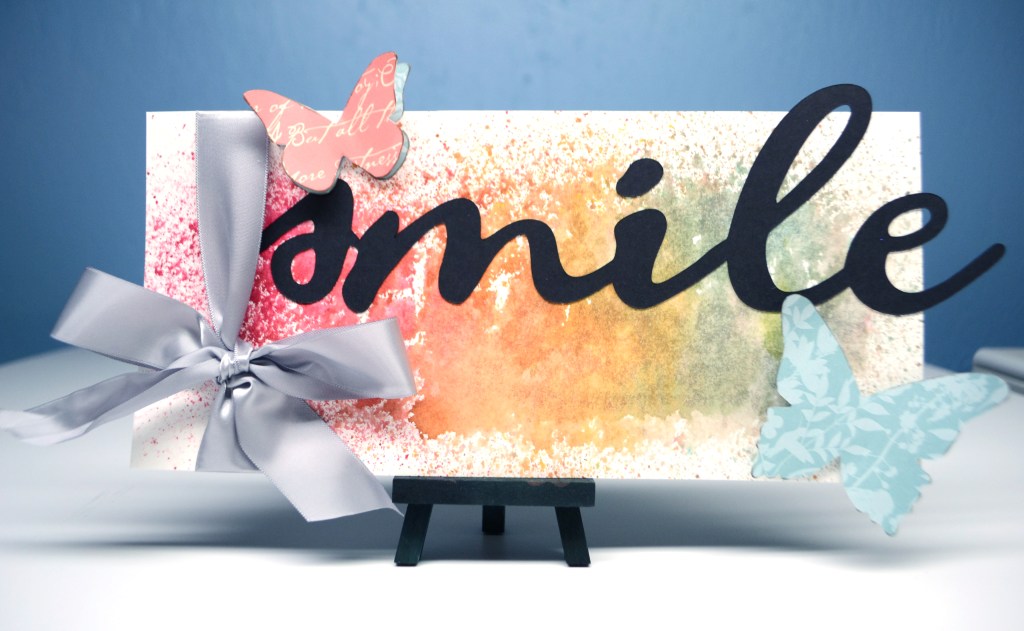
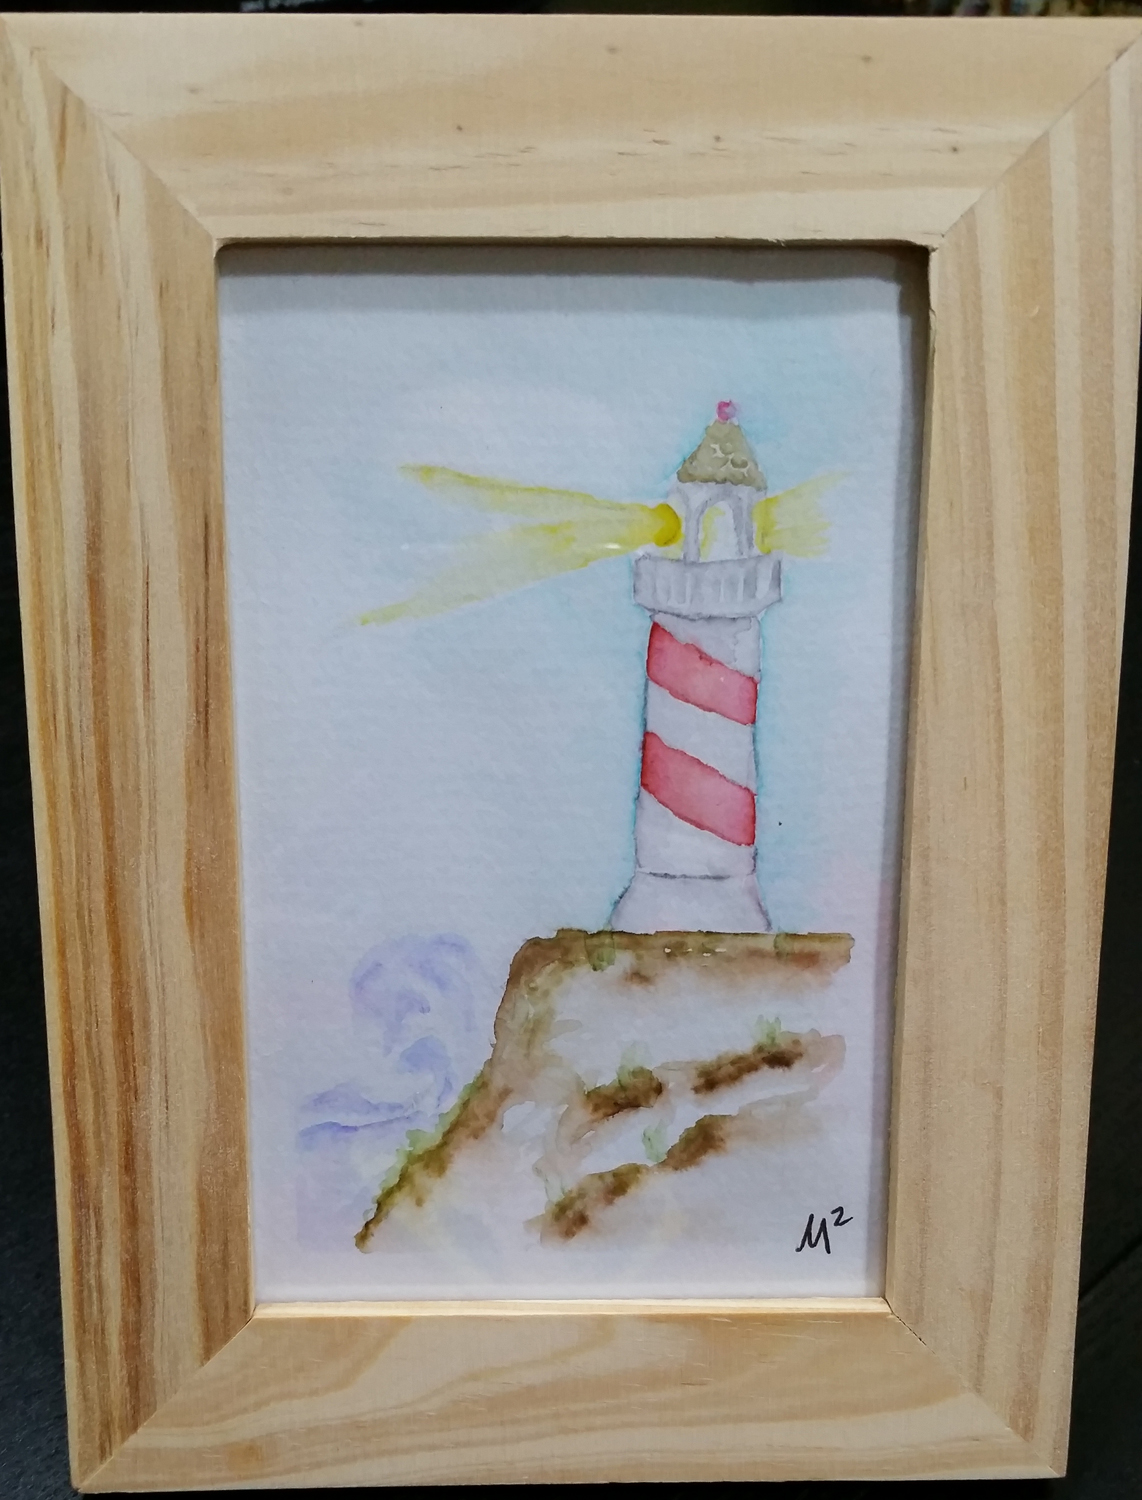
First up I did my Mystery Box Monday project. This is where I’ve purchased a grab bag of discounted supplies and I pull out three things from the box without looking. Then I have to put all of those to use on a project. It is just a silly creativity stretcher and a good excuse to purchase a box of random supplies.

I pulled out two ink pads and I was starting to feel nervous. Luckily, the third item was a stamp set. Whew! I had something more to work with. Although, now that I think about it, I totally could have gotten inky with stencils or stamps from my stash. As it was, I pulled way more inks and other supplies and went well beyond what my three mystery ingredients were!

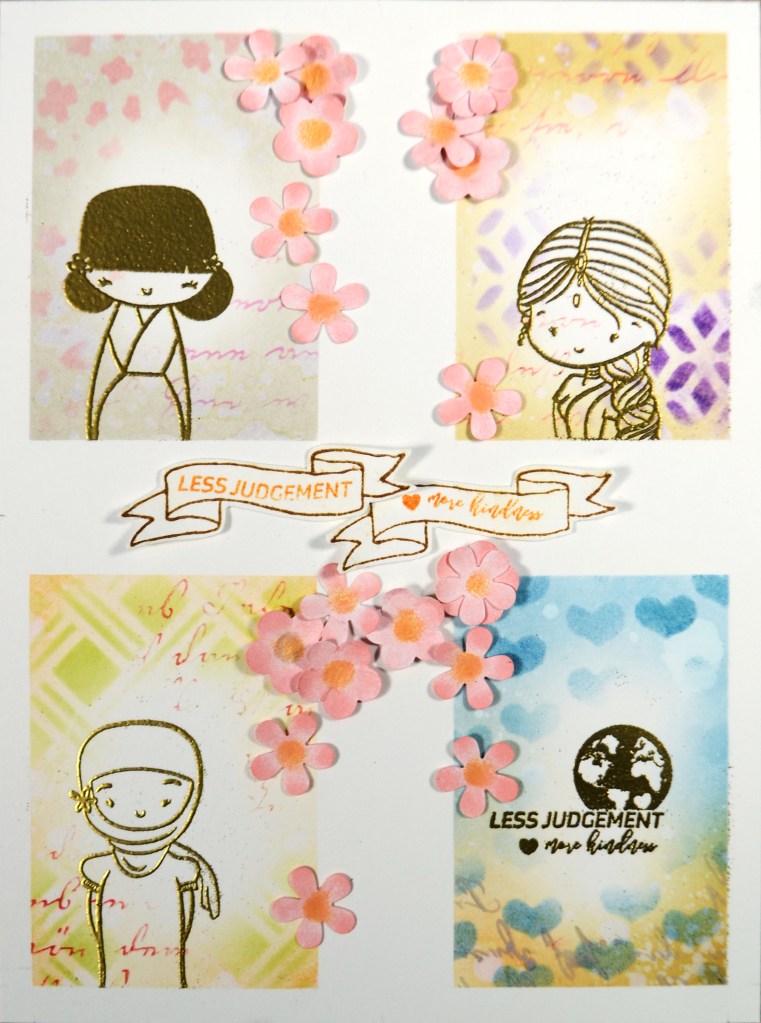
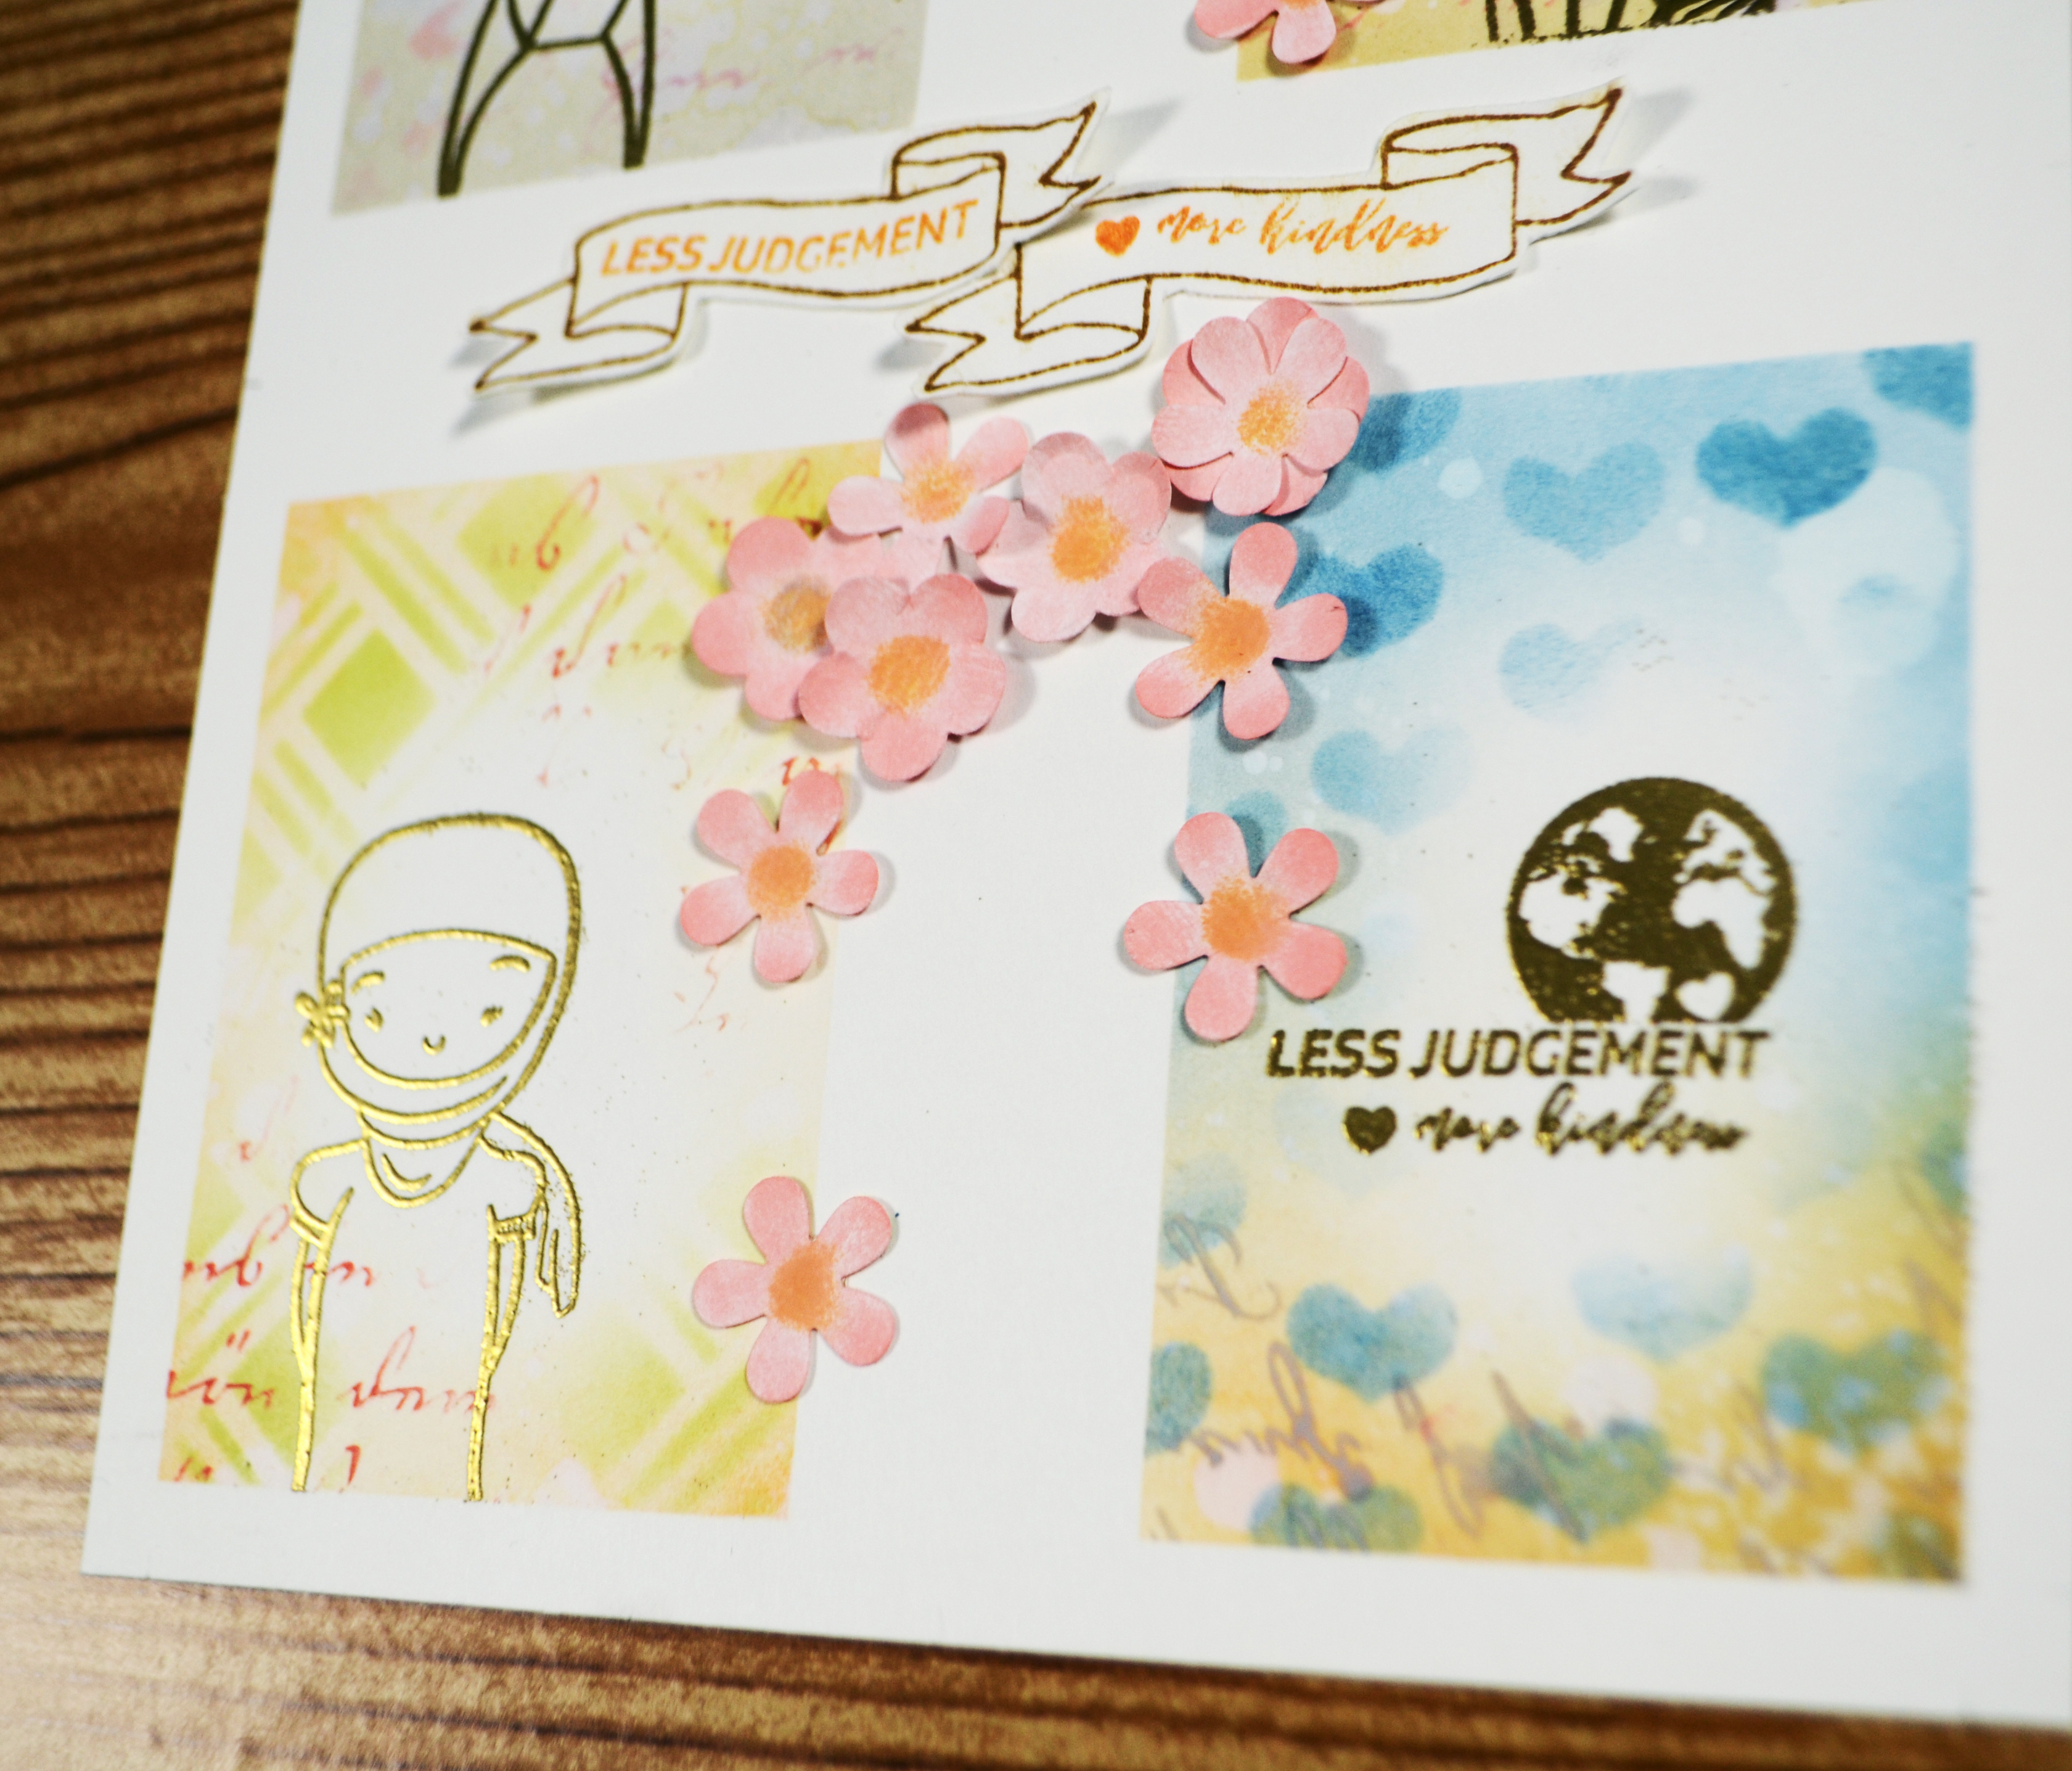
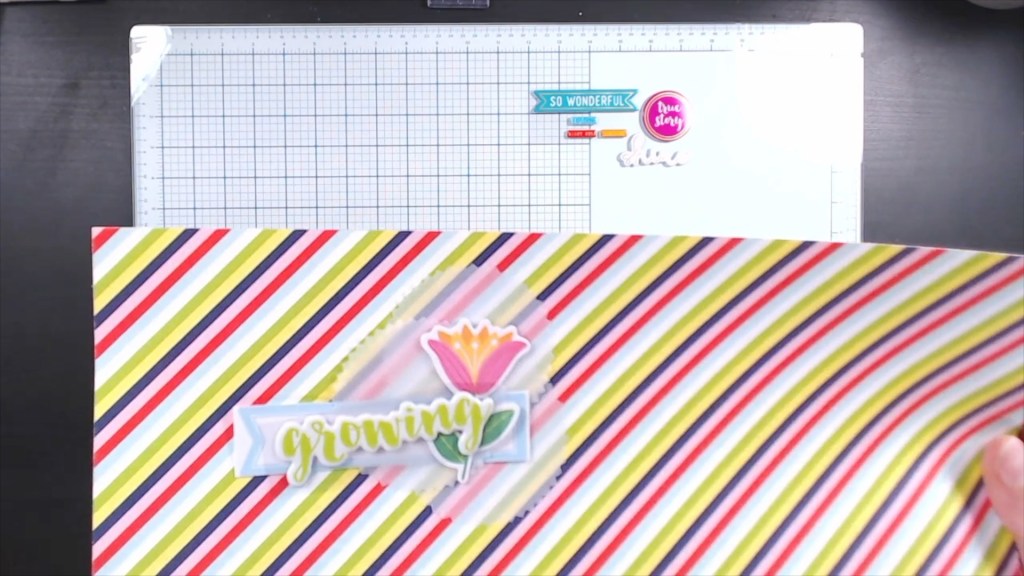
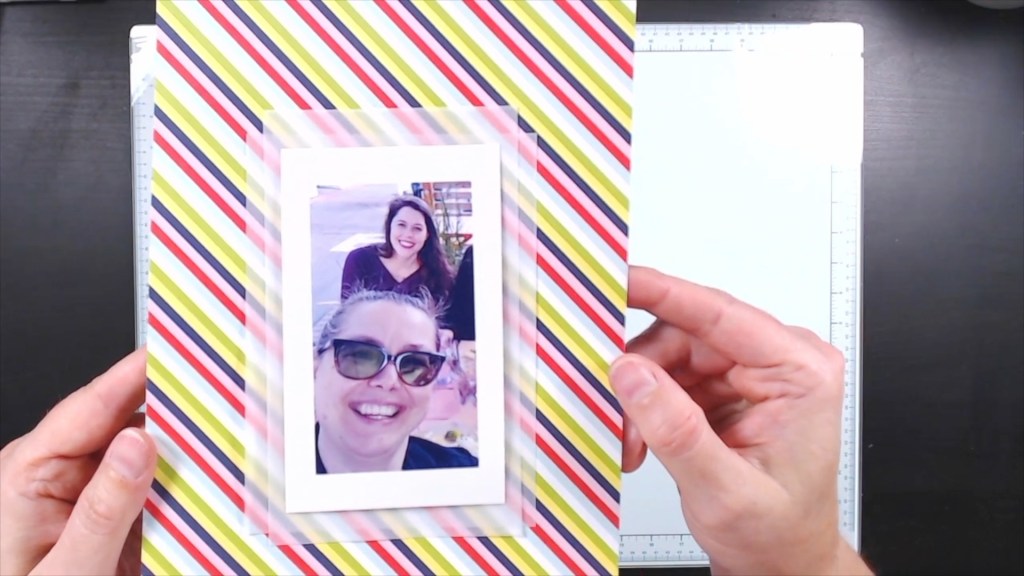
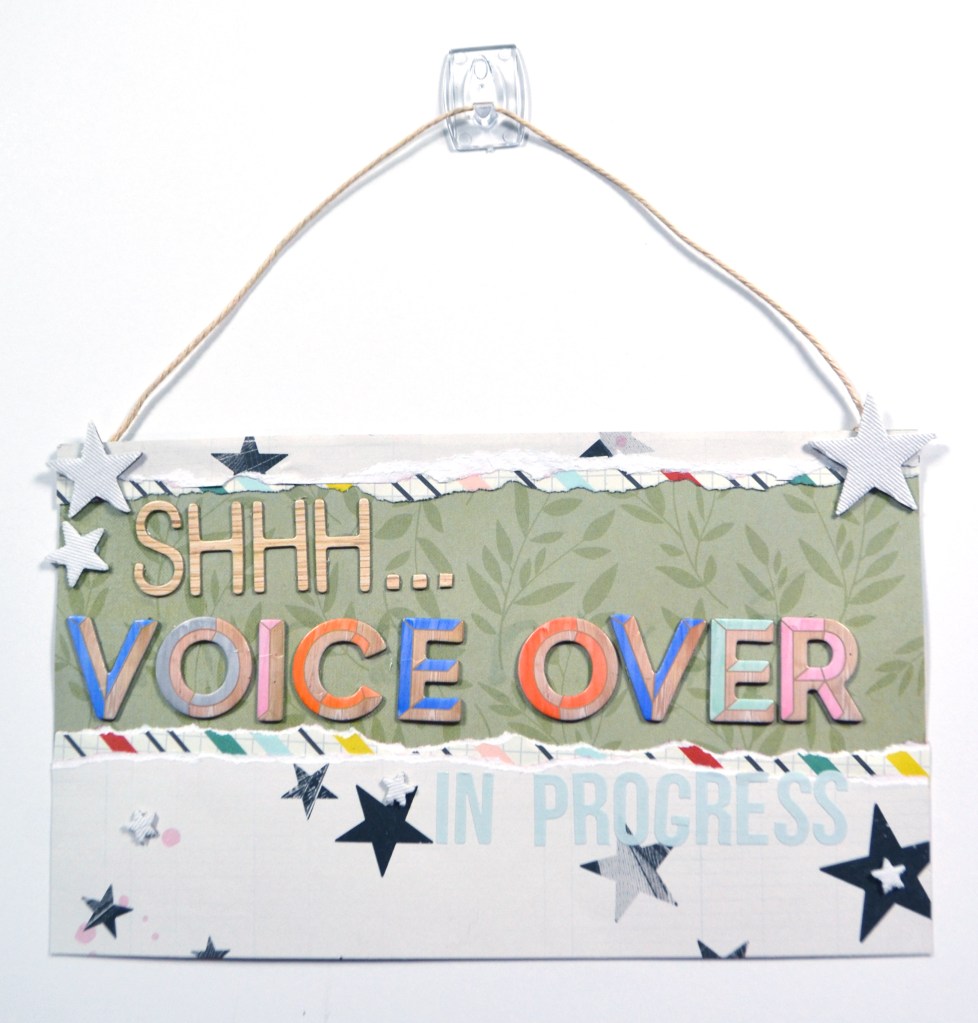
I had fun creating this 5×7 art piece. I’ve been thinking about doing something like this for a while to hang on my wall. This feeling of artfulness outside of the scrapbook page is growing in my brain more and more lately! I did decide to give this one away as I still have more ideas for MY walls! (More on this project in this video.)

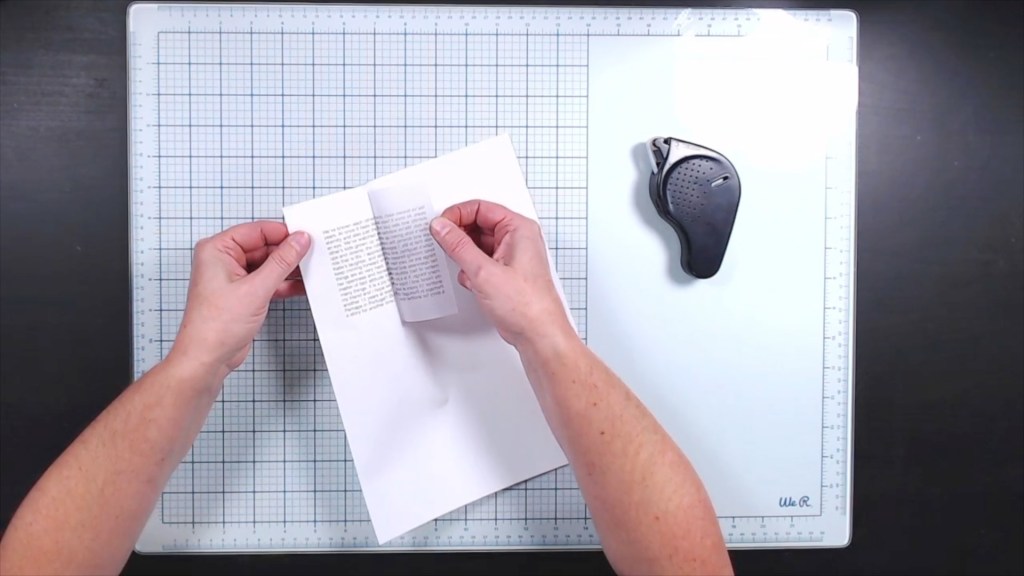
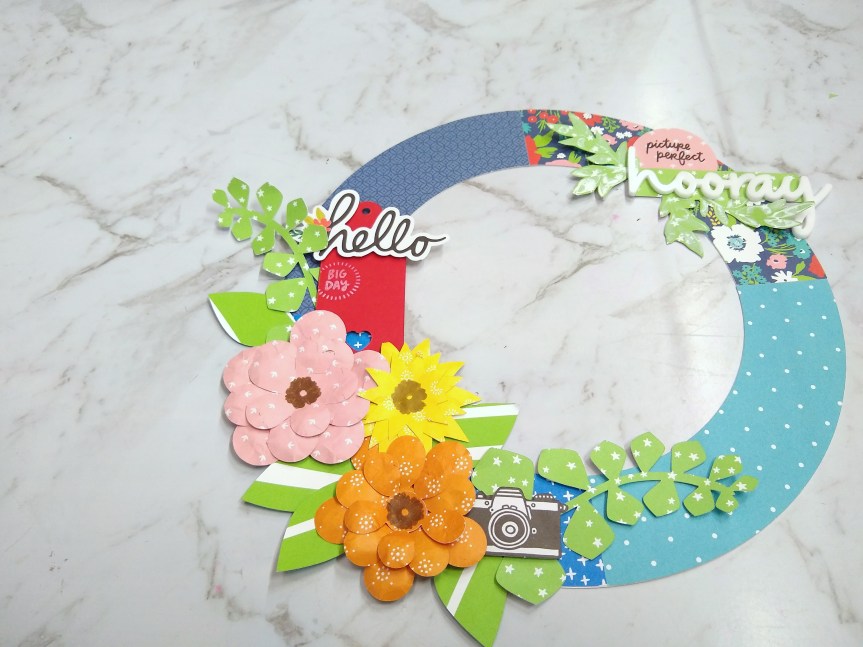
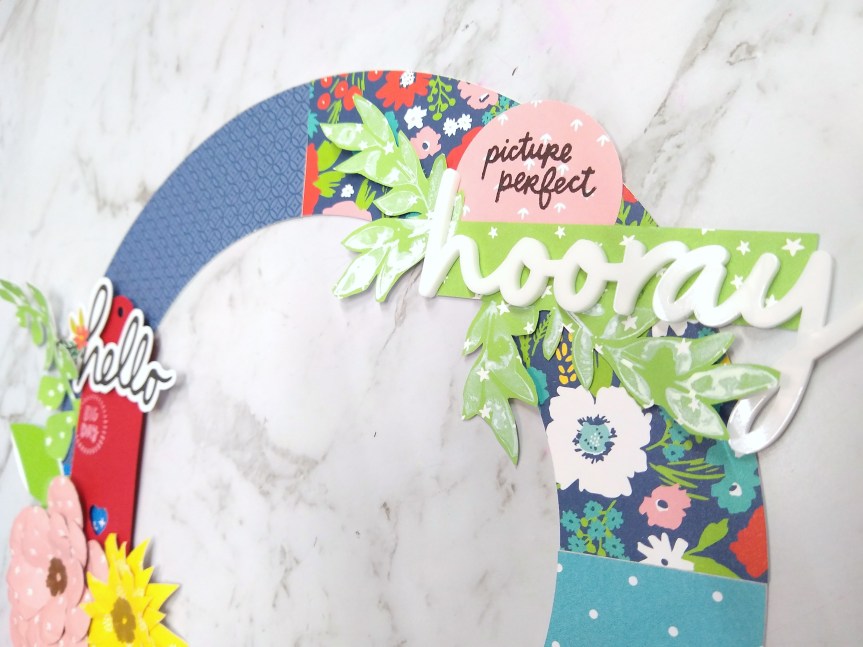
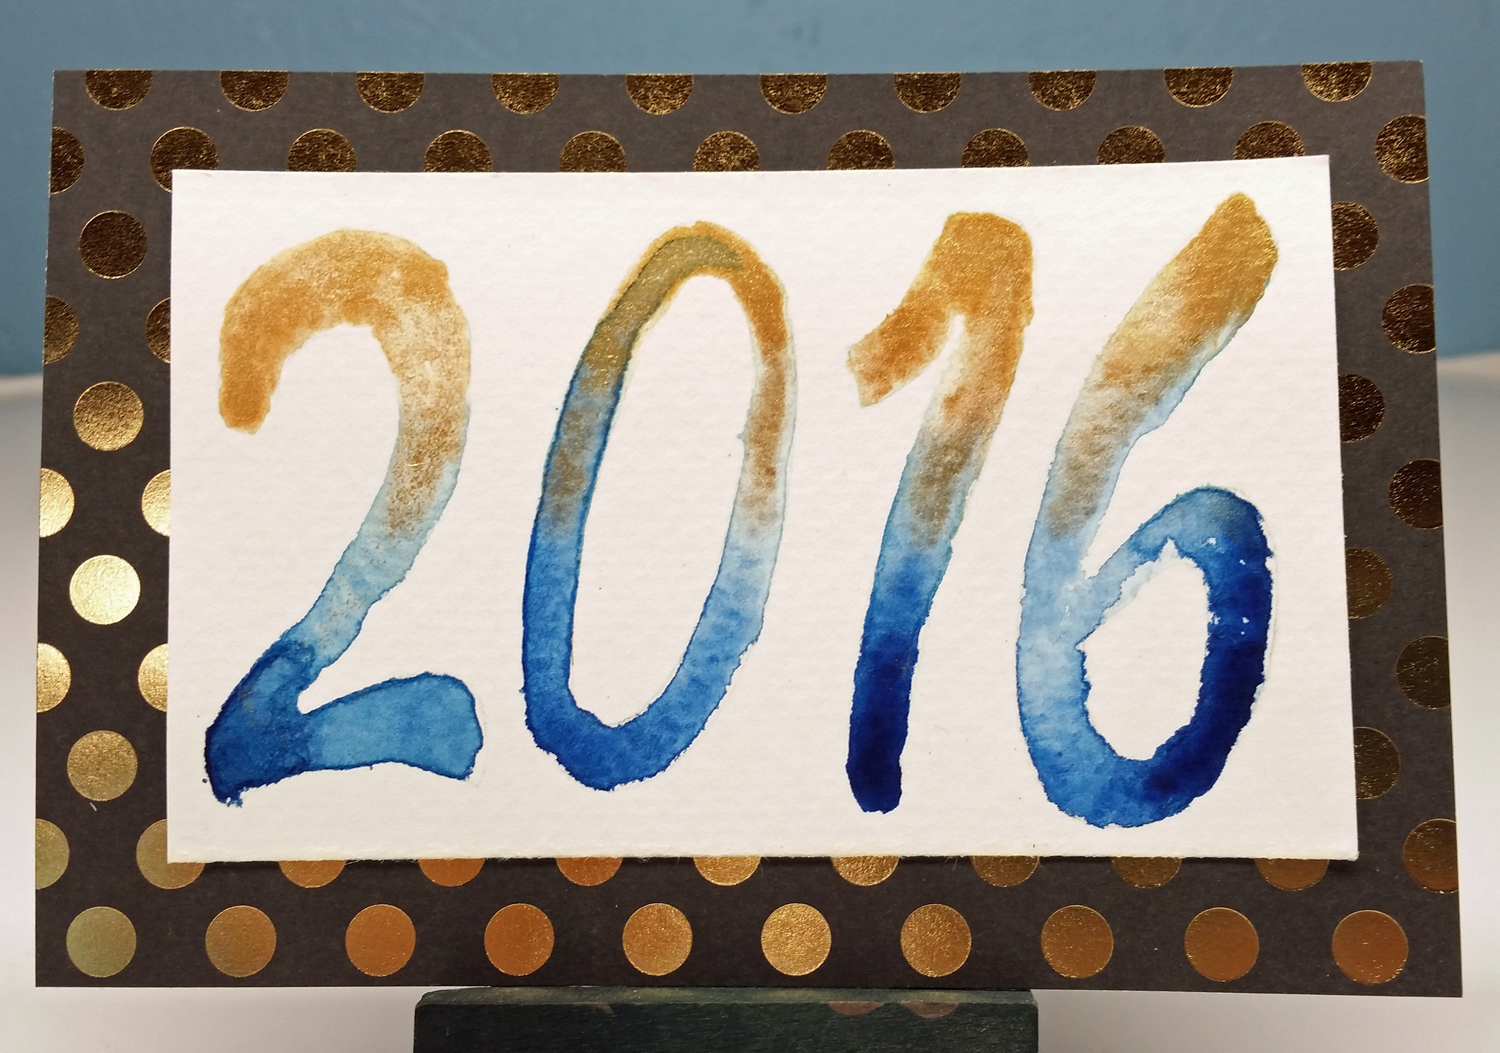
Speaking of artfulness, the next one gets very arty indeed. But it isn’t hard! It just needs a few specific supplies. I talk all about it in the video, which is the best way to get the hang of the whole process. However, if you want the step by step blog post, that is all over on the ScrapHappy.org blog where I am a creative team member.

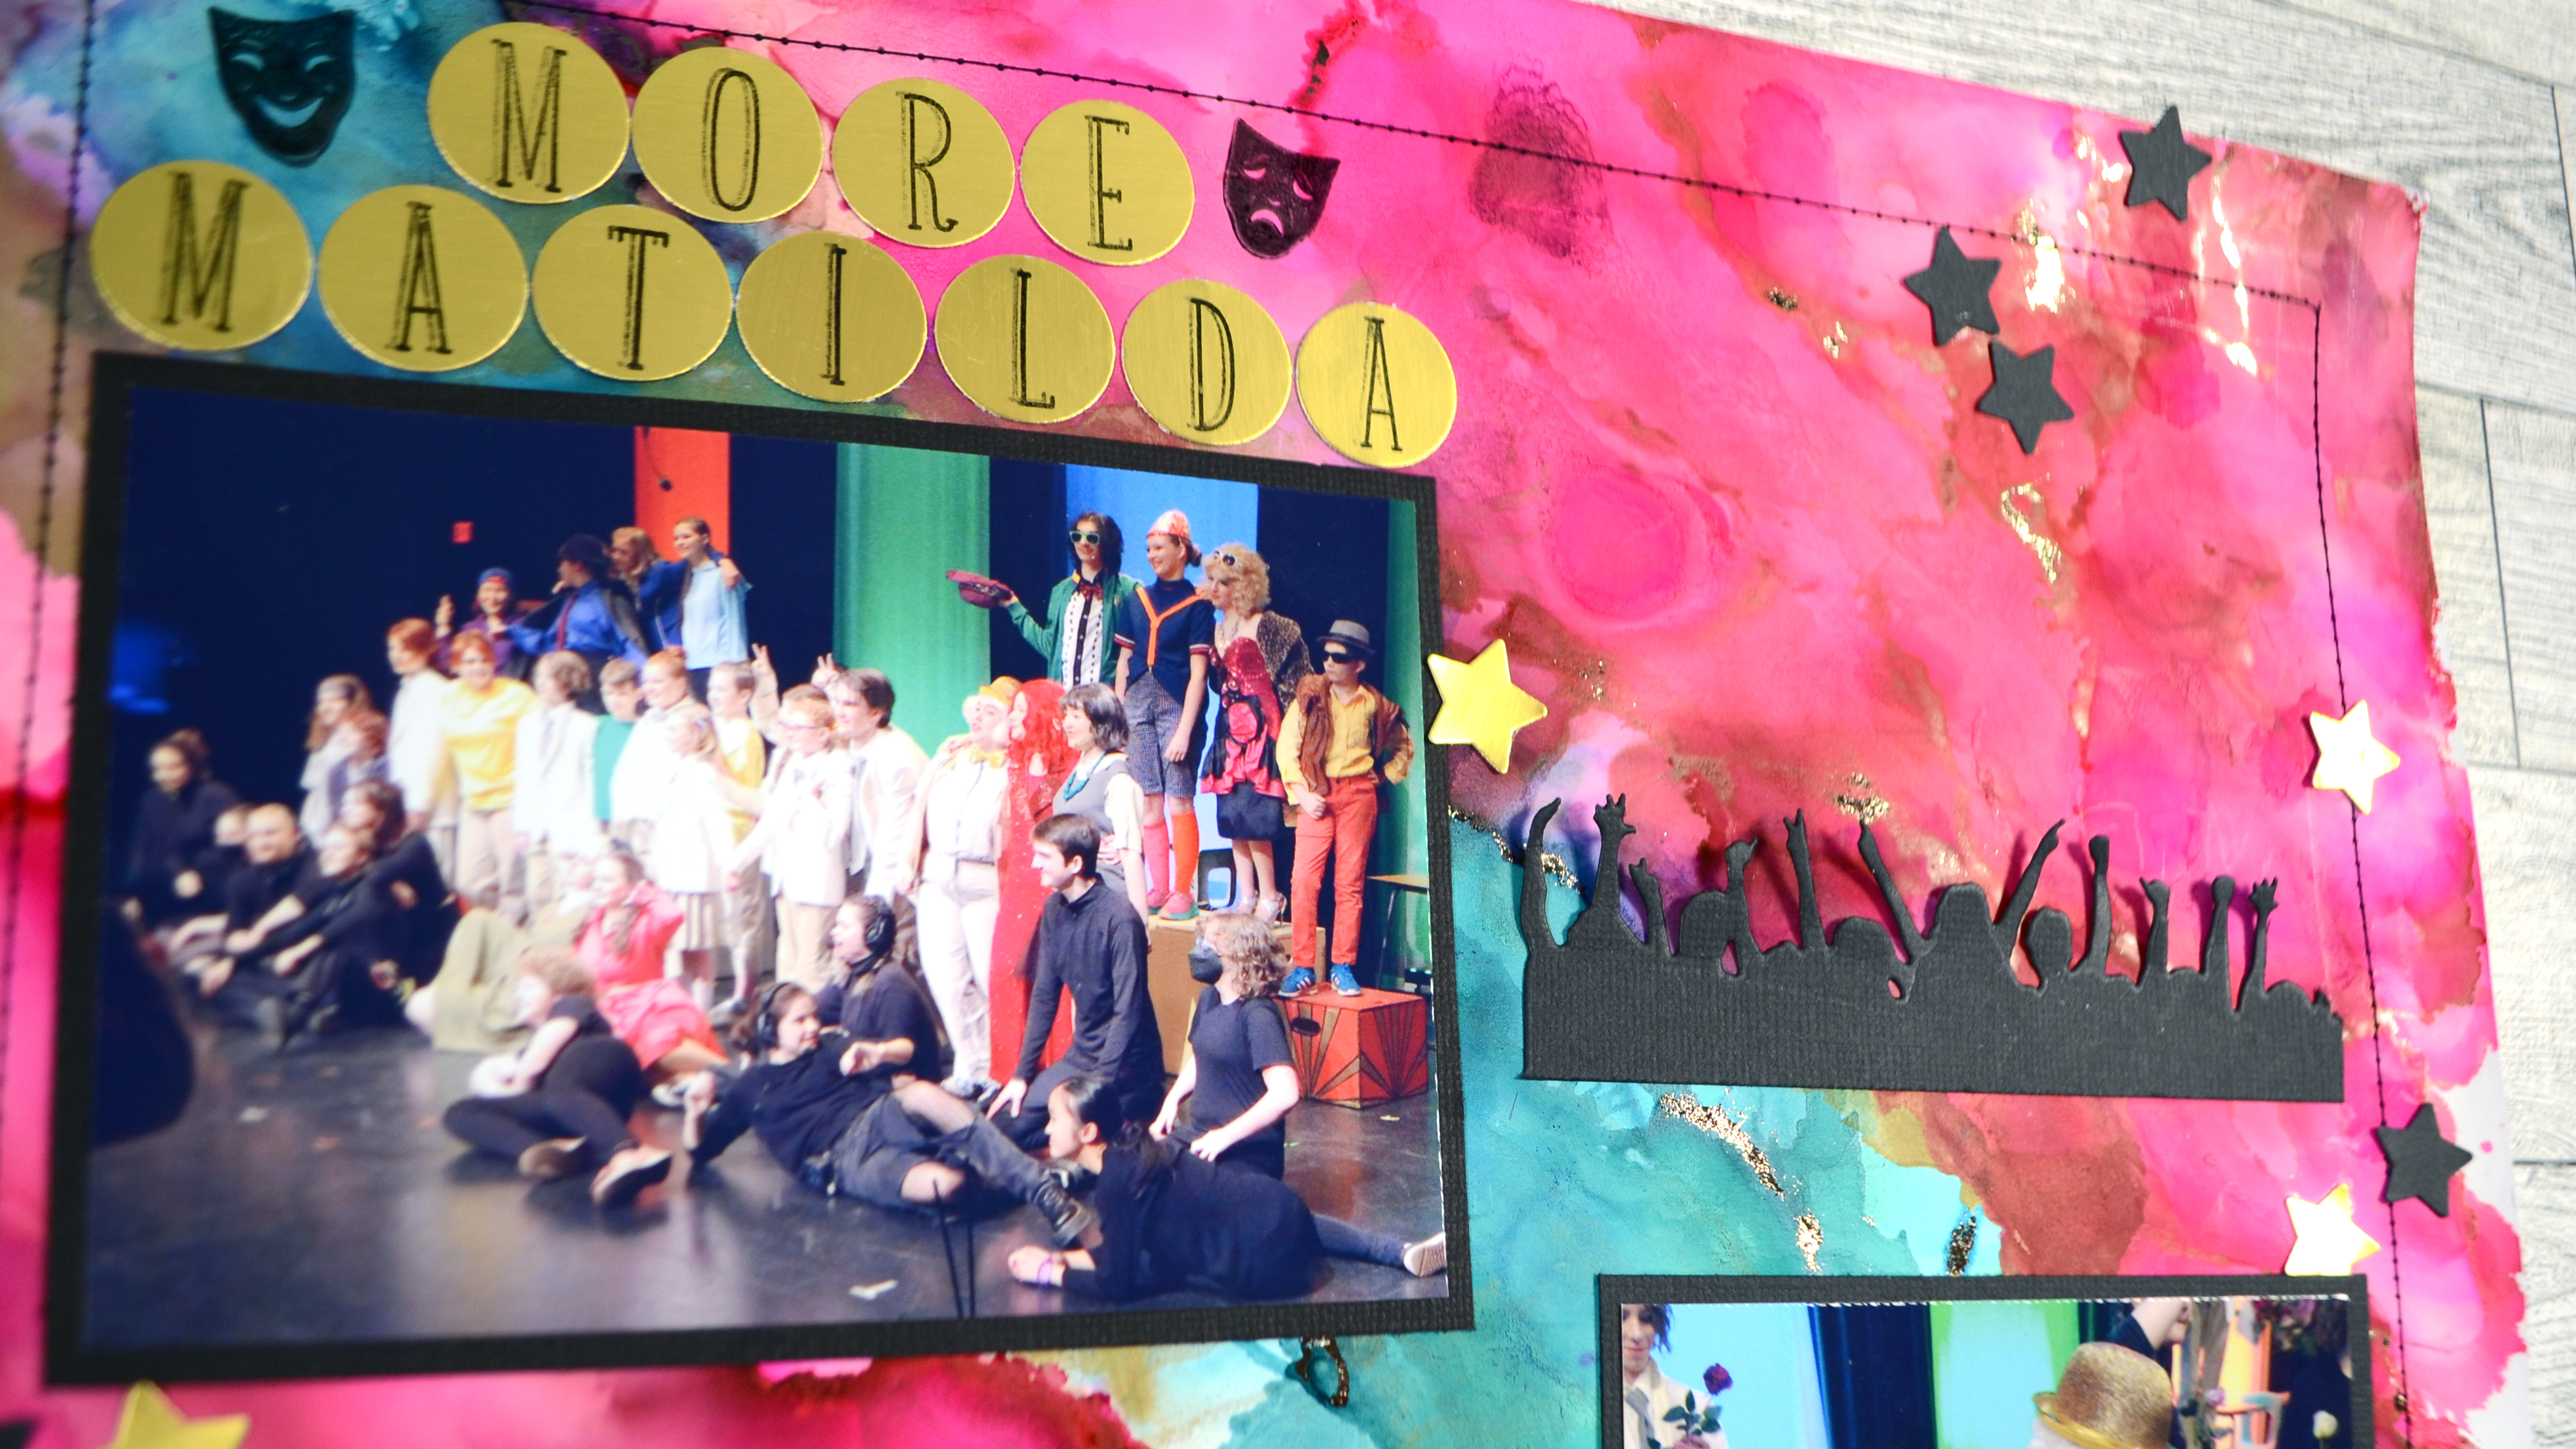
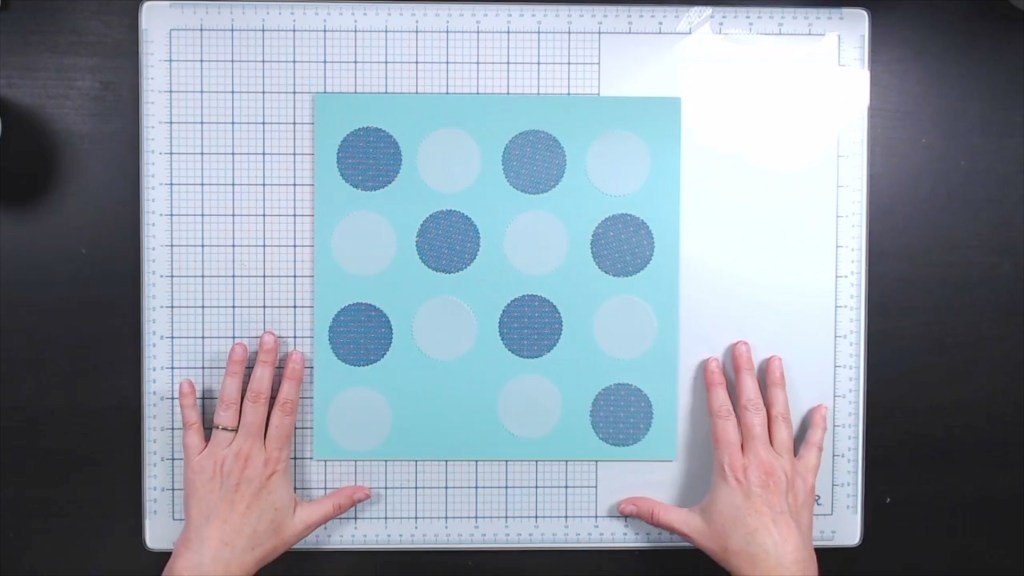
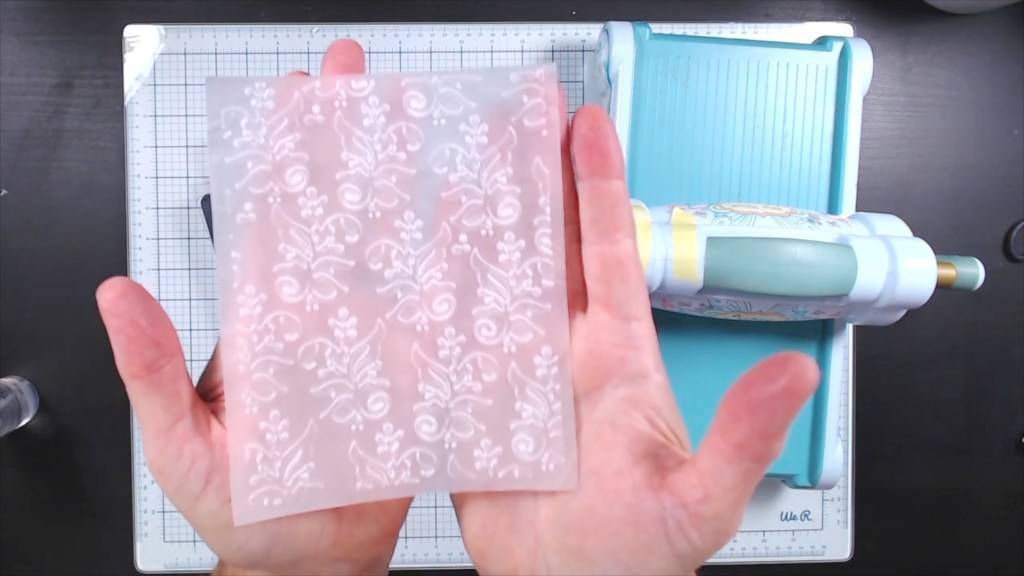
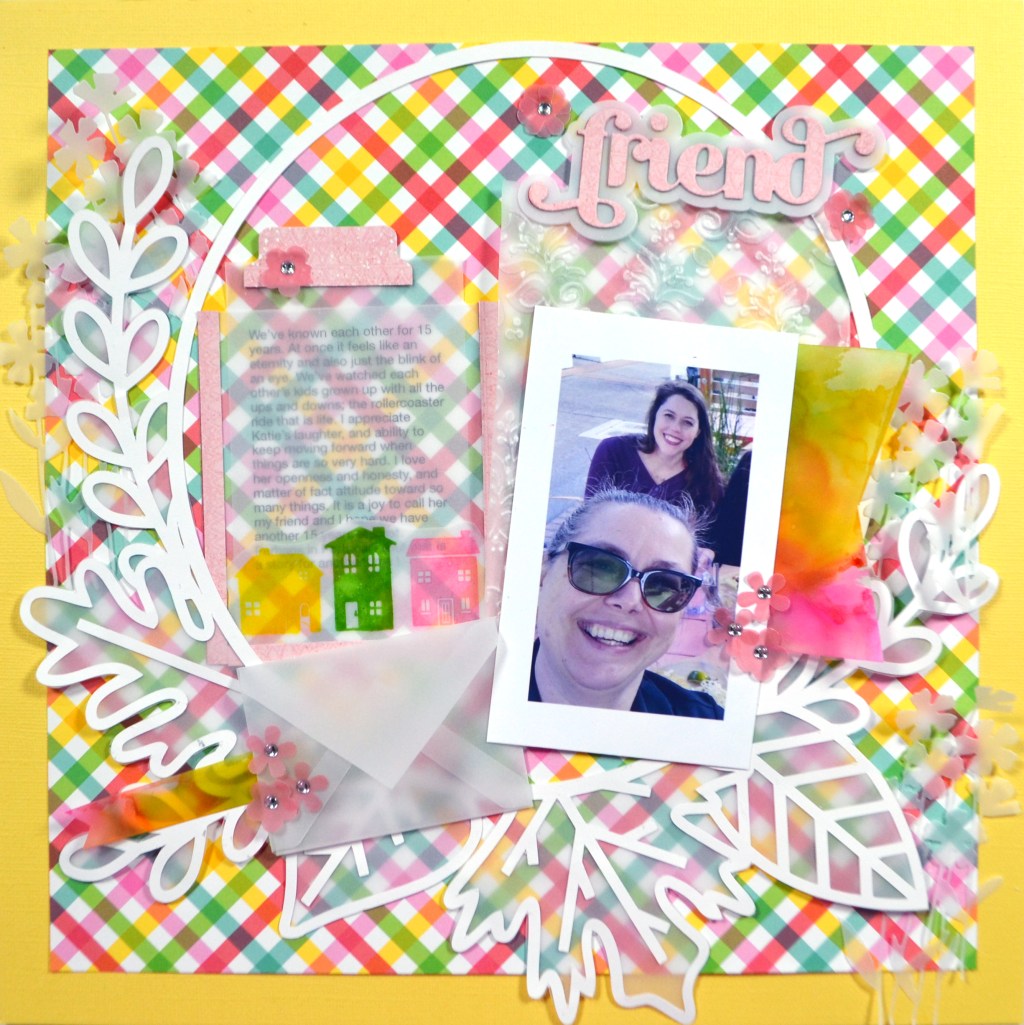
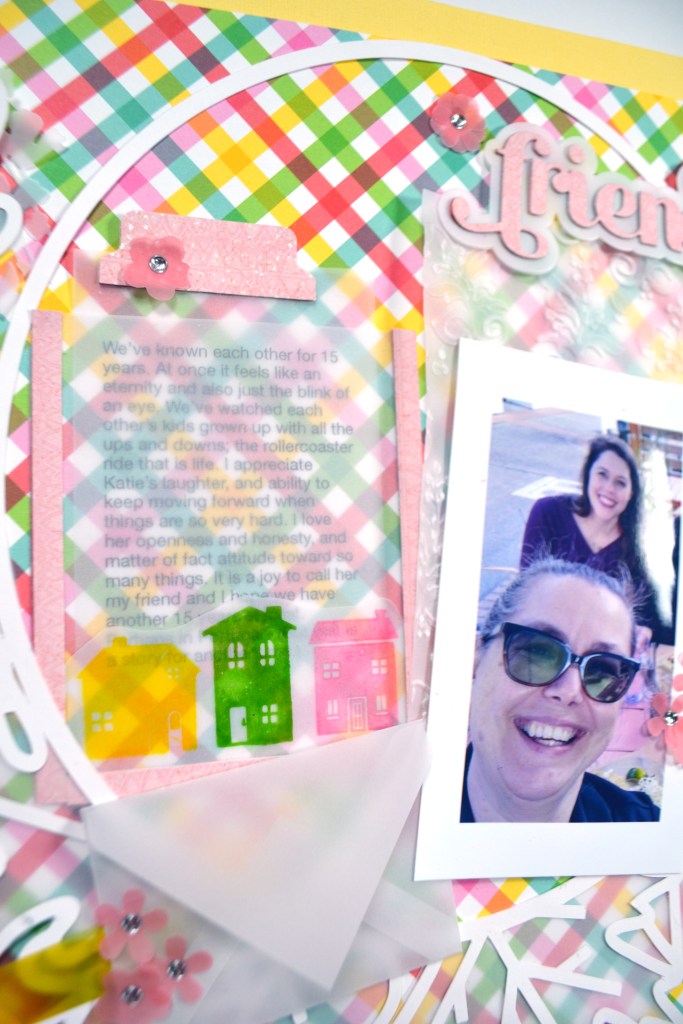
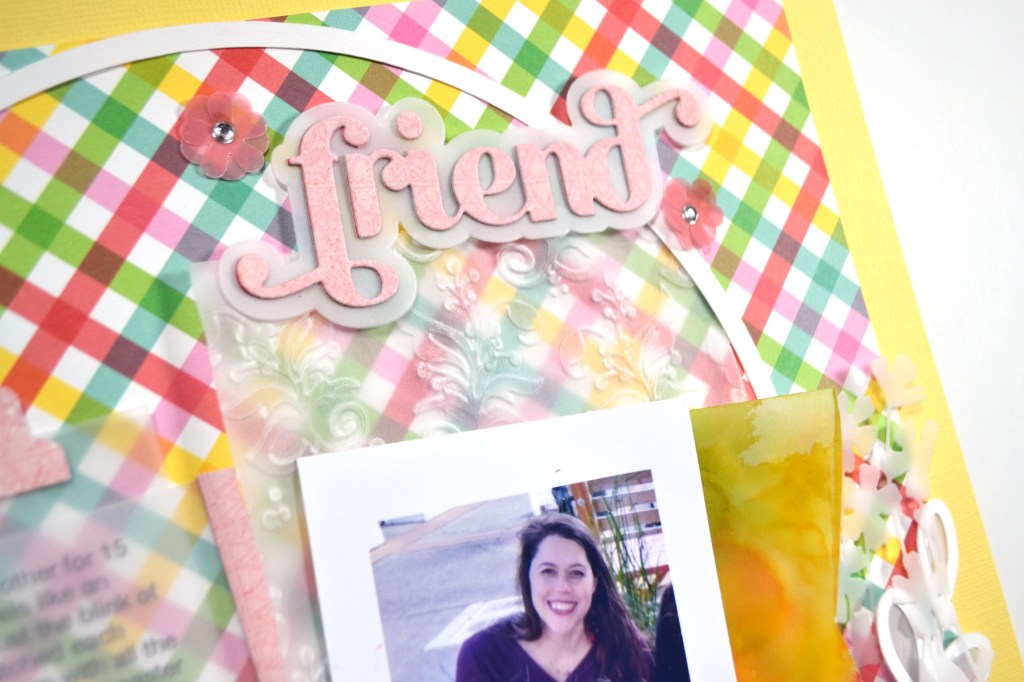
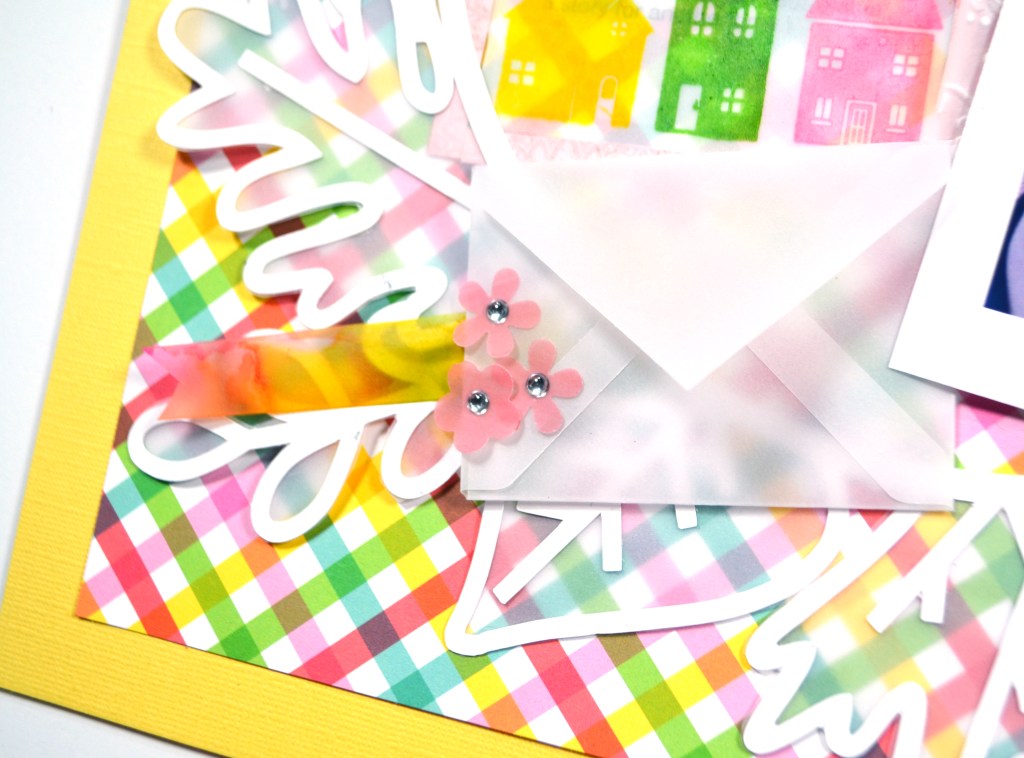
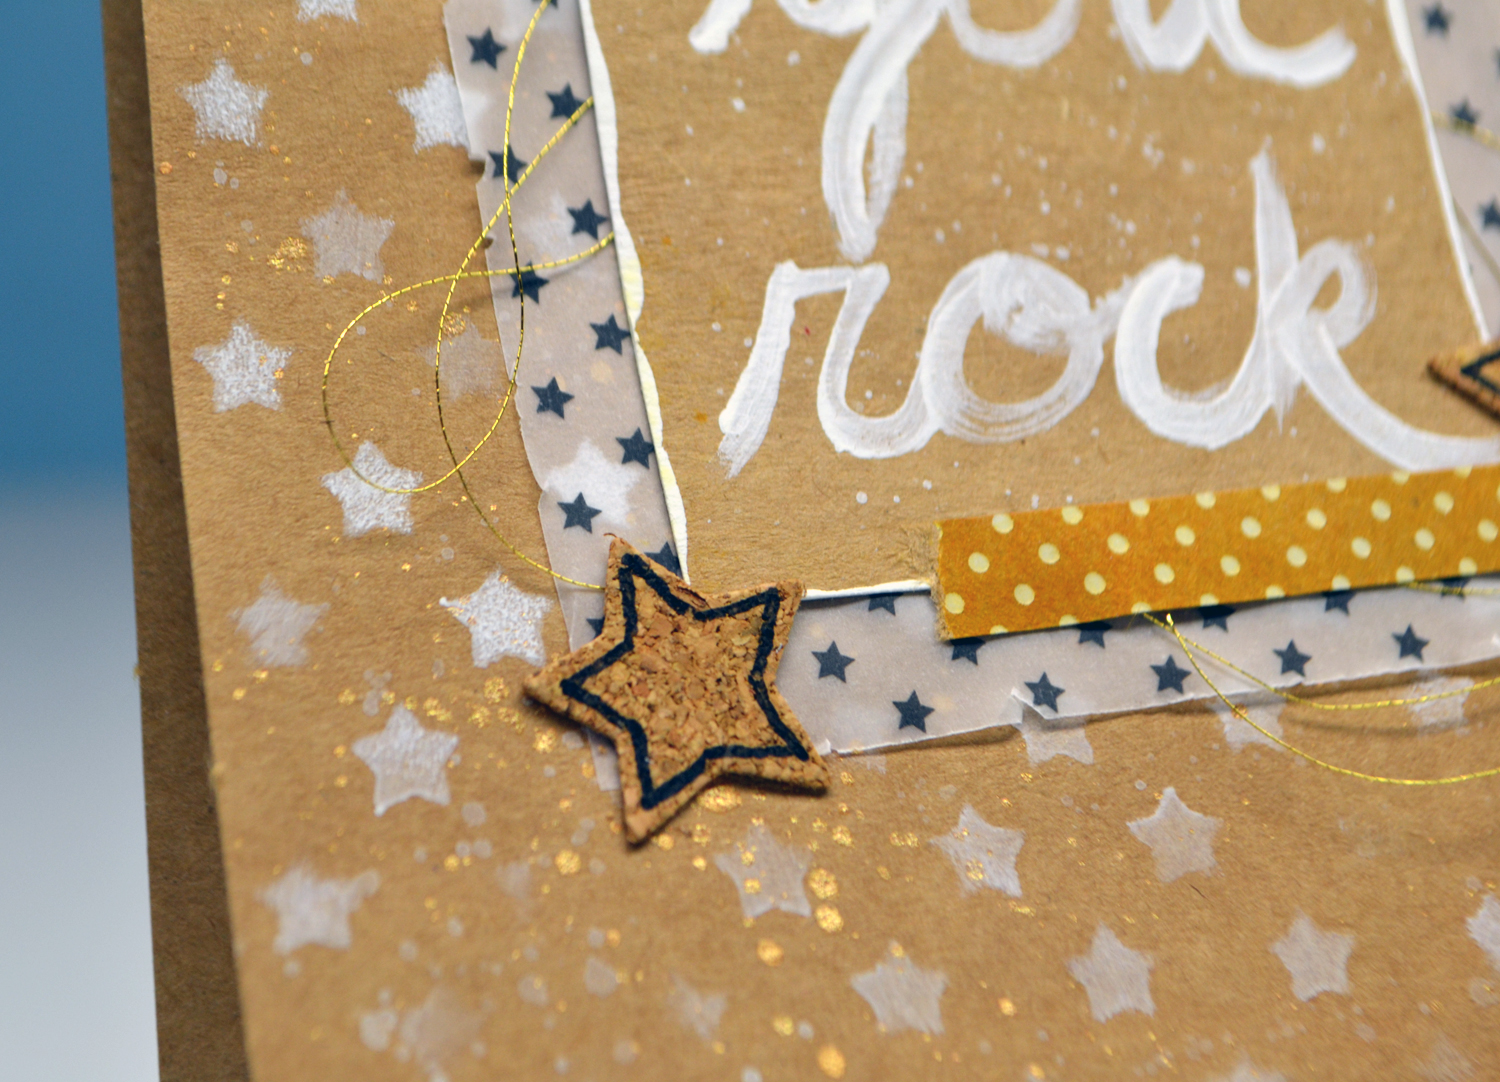
Oh my! Just playing with all that color is fun. Who cares about turning it to anything in the end. Yet, I did have this layout in mind, so my alcohol inked background did make it to a finished product!

Okay, that is it for March. I know Easter is in a couple of day from posting this. If you celebrate, I wish you a Happy Easter. Until next time, have an artful day!

The World of Vellum

Vellum is a product that I love and try to keep a stock on hand at all times. I want to share my love of vellum with you with two videos. The first is all about ways you can use vellum and the second is putting together a layout using a handful of the items I created in the first video. Plus the second video has an additional little vellum technique that you may find handy. As always, if you want the blog version, please keep reading!

Vellum Techniques Video
Layout process video using vellum

So let’s take a gallery journey through the techniques I mentioned. While each photo is captioned, the gallery system’s captions are a bit hard to read, so let me list it out more clearly.

  1. Layered Dimming
  2. Pattern Making
  3. Cluster Layering
  4. Photo Mats
  5. Stamping
  6. Heat Embossing
  7. Backing Cutfiles
  8. Printed journaling
  9. Alcohol Ink (No expensive Yupo “paper” needed)
  10. Embossing Folders
  11. Pockets
  12. Windows
  13. Shakers
  14. Envelopes
  15. Home decor — Votive Holders
  16. Home decor — Stained Glass Window technique + project

Once I had created a pile of goodies out of vellum I turned to creating a layout. If card making is your thing, these ideas totally work for that too! Now, not all the things I created are going to work on one project so the process of finding what will work, and especially giving up on what won’t work, is interesting. I tried really hard to get stamped flowers on my project and they just weren’t working. The flowers got lost in the amount of pattern shining through the vellum. In the end I colored vellum with a marker (that is your bonus technique!) and punched out solid colored flowers to sprinkle on my project.

Layout using vellum

Don’t forget that vellum can be tricky to attach since you can see the glue right through it! If you need ideas on how to overcome that, I’ve got you covered there too! This post shows off vellum attachment ideas. Of course you can take the short cut right to the source video.

I hope this post gave you lots of ideas for incorporating vellum into your paper crafting projects, and even some home decor. I’ll be back soon with more ideas. Until then, have a artful day.

Craft Projects… What do you make?

While scrapbooking, and to some extent card making, take up the majority of my crafty time, I also like to dabble in other crafty creations. Today I’d like to share some of those ideas with you, starting with my latest video on creating a door hanging sign. The good thing about the majority of those projects is that I use my paper crafting supplies and skills to bring them to life.

You can see a version of that sign in the video thumbnail above, but here is a better version.

I made this project as a challenge for the CKC group. While I was working on the project I started reminiscing about past projects. As I was pulling some of those photos to include in my YouTube video I really felt that blast from the past. Some of the projects I cringed at now, but some of them have been total favorites. I think that is how crafting goes in general, right?

At any rate, here is a gallery of some of those older projects. I’ve captioned them so that you know what they are all about.

Family Friendly Holiday Crafts

I have been very busy this December creating videos of craft projects for families to enjoy together. This year we all highly need some distraction from missing our normal routines! I created a play list of all the crafts from this moth, as well as a couple videos previously made that fit the bill. I hope you find something enjoyable to create with your families! Happy Holidays to you all, no matter what events you celebrate this time of year.

One technique, two crafts

Today I’m taking a tried and true technique and turning it into two different Christmas craft projects. And it you have kids, they can certainly play along.

I have an svg freebie for you of that Christmas tree available in this file download. Bundled together you will get the svg as well as a pdf copy of the instructions for the greeting card. (For the svg along click here.) If you make these projects and post them to Instagram, please tag me @craftysouppics and use the hashtag #craftysoupsharing and we can start seeing each other’s work!

Wreath Home Decor

My daughter graduated from high school last month and her ceremony was postponed until August in the hopes of having an in person celebration. While the gathering is still currently in the works, the format will be very different, with an outdoor event, limited family member participation, social distance zones on the lawn and no food or social time afterwards.

Still, even with those restrictions I will take some celebration over no celebration. And I want to capture a photo of the important moment and hang it in my craft space. So I designed my own svg file to create a floral wreath. (direct download, or go to my freebies page to find the file).

You can see my process in my latest YouTube episode.

I used my current month’s Scrapbook & Cards Today magazine craft kit, called the SCT Sampler as the base of products for this project. I love these little bitesized kits, but of course you could use your favorite supplies.

And here is how my wreath turned out, graduation photo pending!

Homemade SVG files

I’ve got a new YouTube video up showing the process I went through to create my own SVG cut file. Because I don’t own illustrator, I used an open-source graphics program called Inkscape. You can watch my adventure on my latest YouTube episode.

I ran into a few troubles with this process. I have basic graphics skills so that part was no problem. The challenges came when trying to understand the software itself and how svg files translate into machine-specific cutting software. To begin, the graphics software on my mac was a bit buggy and caused significant user frustration. Plus, it was not very intuitive. I decided to watch a two-hour long tutorial before I could get a hang of the controls.

Once I had those controls problems figured out the actual image creation went smoothly. It was just a matter of welding together some rectangle and text shapes. Voila, lovely graphic simply saved as an svg file type instead of an jpg file type.

How it behaved in the Cricut cutting software and the Silhouette cutting software was yet another story. Find out in my video how it all played out.

If you would like to have this svg file for your use, please visit my freebies page. The video will give you tips on how to make this cut file work if you are using Cricut or Silhouette cutting machines. If you have another cutting machine you’ll have to experiment on how to get it to work in your software.

CHA 2016 Projects for DCWV

I am so excited to say that I was invited to submit projects to DCWV for their CHA 2016 booth! I ended up submitting 5 projects. I was provided with the products to use for their “existing product” displays. While I was was compensated for these projects, I happily use their products anyway and was glad to showcase what I could do with some of their products I haven’t used before.

toothfairy

This was probably my favorite. I used the DCWV Insta Photo Fun paper stacks (4×4 in size!). I had a white + foil stack and a kraft + white-print stack. Using the back side of the kraft paper gave me some rest from all the pattern. I used my punches for the circles and fairy wings and my silhouette for the title and fairy dress. I also used some ink to change the white paper into colors that worked for the layout. The foil resists the ink, so you get lovely colorful foiled papers.  Add in some some silver thread to the fairy’s dress and that finishes it off.

5x5card

The second project used the DCWV 5×5 notecards. Just using punches and layering, I used DCWV cork and foiled vellum 6x6x stacks to bring a focal to the card. I punched the card edge and added more layering with the vellum. This allowed the sentiment on the inside to peek out for added dimension. Add in some twine, gold thread and Blue Moon seed beads and the card is nicely finished.

burlapcard

As soon as I was asked to use the pre-made burlap cards, I knew I wanted to add in stitching! And what better way to accent stitching than to add in some Blue Moon seed beads. I had some DCWV white-core cardstock out on my desk from another project, so I sanded it down and ran it through the printer. I sanded it both to get some texture of the white core peeking through and to get the ink to adhere to the cardstock! Cut out and back that sentiment tag with a little vellum. Punch some holes in the layered tag and tie it with a bow to the project using the loose thread ends from the stitching. Pretty.

yourockcard yourockcloseup

I used the DCWV 5×5 kraft pre-made cards, vellum, cork and printed kraft, and stencil stacks to pull this card together. While it used a number of differing stacks, you can see how all these products work nicely together. I used white acrylic paint for stenciling the stars and hand lettering the sentiment. I used ink to change the kraft color of the printed stack to create a “washi” tape look. A bit of gold thread and gold ink spray was used for a sparkly pizzaz of a finish.

flowercloseupflowerframe

And the final project gave the most oomph out of just cardstock! The frame I painted with white acrylic paint giving it a white wash then a layer of stenciling using the DCWV stencil stack. Punches and the Silhouette, gave me many lovely flower petals. Then it was just layering, layering, layering. A strong glue (Ranger matte multi medium) made the flowers sturdy. Add a little bling with the Wink of Stella pen and some Ranger Stickles gave a nice final touch.

Painting Christmas gift

Watercolor, watercolor, watercolor. I think I am obsessed.

My husband likes lighthouses, so instead of buying him a Christmas gift, I made one instead. I wanted to play with a freehand drawing, which quite honestly scares me. I don’t consider myself a “fine” artist, meaning I can’t do representational drawing very well. I’ve done a little practicing here and there with different things but I still have a long way to go. And you know what. That is okay. Everyone starts somewhere. Here I am at 41 starting something new. You can too!

lighthouse

I used a pencil to sketch out the drawing first. Erasers are your friend, let me tell you. I used markers to go over the pencil once I was happy with the composition. Double ended markers made this job easier. I used the broad tip for larger areas like the rocks, and the fine tip for details like the roof tiles, railing and grass. The fine tip left enough detail to give the hint of structure without leaving harsh lines. Once the color is in place, use a wet brush to pull and move the color. Don’t work two different colors near each other while they are still wet as this will cause colors to bleed into each other. Luckily, this simple marker technique drys fairly quickly and you can just move around the piece working here and there.

I wasn’t sure how to achieve a nighttime sky for the lighthouse so I skipped it and went with daytime. That presented another challenge. Blue for the ocean and blue for the sky. I just played with the markers I had and made a decision. I was happy with the cool blue ocean water (I did touch in a hint of violet also for some depth on the crests of the waves). The warmer more vibrant blue of the sky I think is too much of a mismatch in tone. But it is what it is and I learned plenty.

If you want to learn more about watercoloring (aimed at card makers) I highly recommend the Online Card Classes website. They have 2 self-paced workshops (for card makers and exploring mediums) on their site as well as an upcoming intermediate watercoloring class beginning at the end of January. I’ve taken the first two and will be in class for the third. Maybe I will see you there.

Happy 2016

2016

I hope you all had safe & happy holidays. I wish you many good things as we move into 2016. I started off my year with watercoloring of course. I realized after I photographed this painting I hadn’t actually finished it. I intend to add spatters onto it, because everything is better with spatters!

Here is a little closeup of the work.

2016side

In real life it is shiny and sparkly from the foiled DCWV paper and the Prima gold mist I used. A festive start to the year.

Every year I start by printing out my letter size calendar pages. I journal on these throughout the year. One for each kid plus one for the family. Each month I create a layout for each kid’s scrapbook and tuck the month’s journaling behind the page. Here is a peek at the binder I use to store all these pages for the year. The binder sits by my bed so I can make some notes before I go to be.

calendarbook

calendarbook2


Maybe this system will work for you too. I will post .pdf files soon for you if you’d like to print them to use.