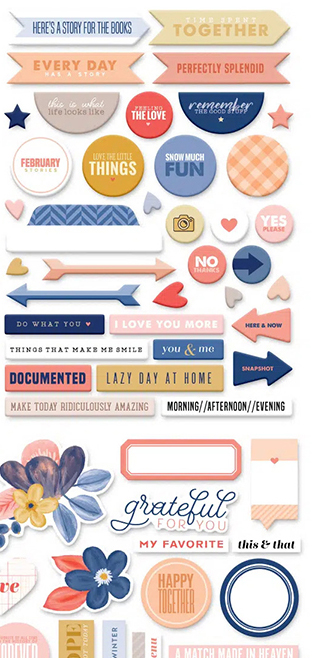
I love kit building and I am on the design team for the Counterfeit Kit Challenge project. We take an inspiration kit each month and proceed to replicate it, or as we say, counterfeit it. But sometimes it can be hard to get started. For example, what if you don’t like the color palette for a kit and you think, “that isn’t for me.” This month’s kit has plenty of pink and that may be off putting for some. Don’t give up; instead, dive deeper.
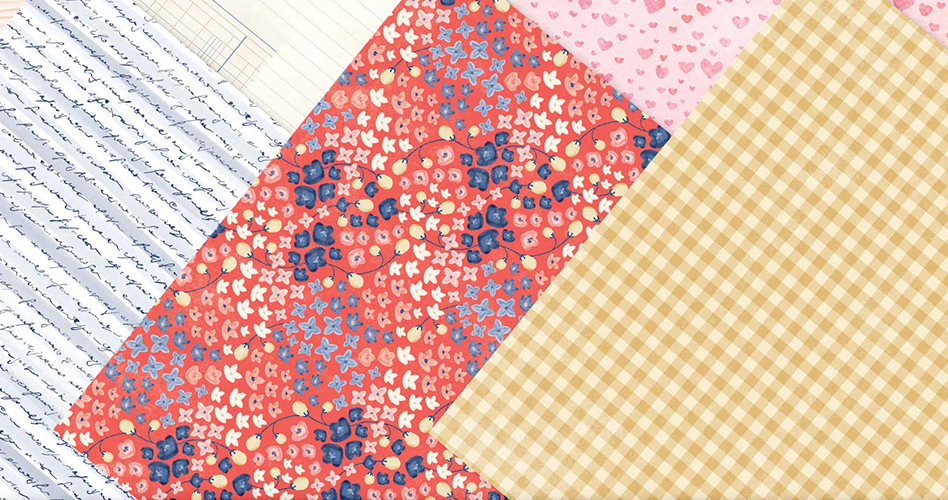
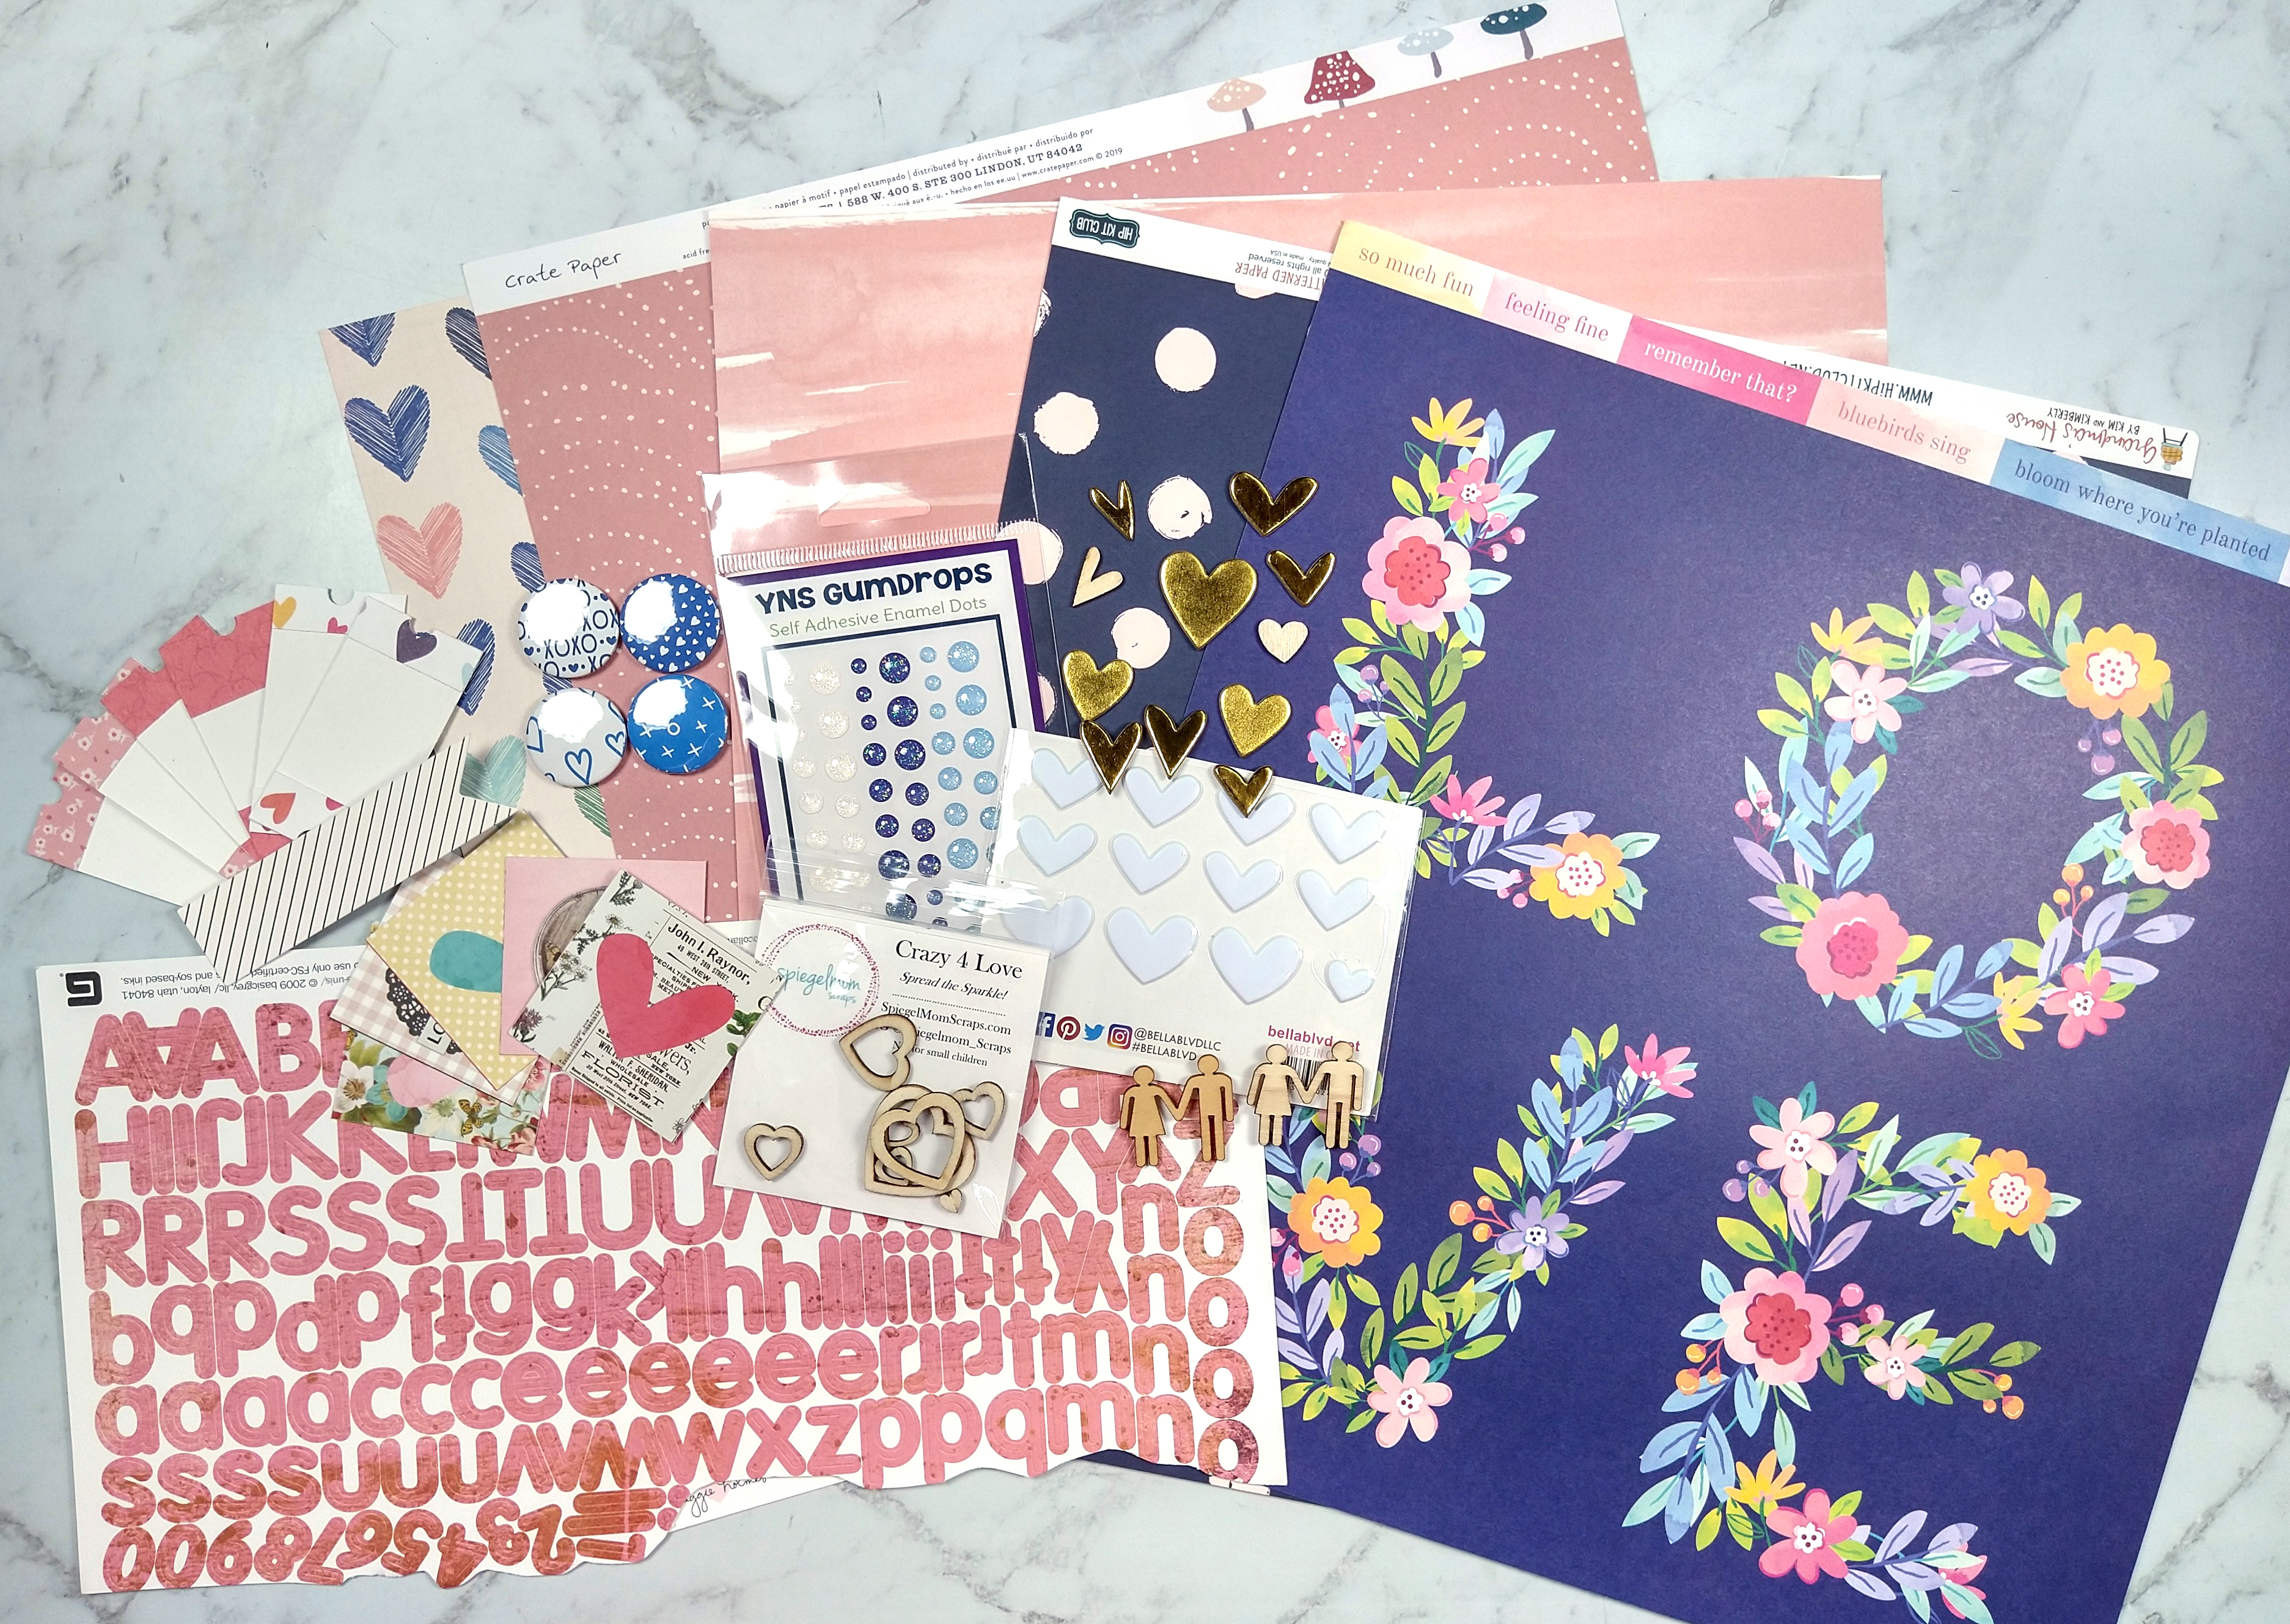
If we take a closer look at the embellishment cluster in the photo and these sheets of pattern paper, we can start to see something besides pink in this kit. We’ve got a coral red, a powder blue and a golden yellow.
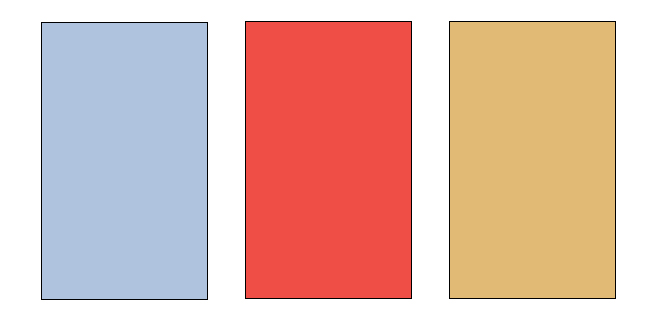
So now we have a very different color palette.
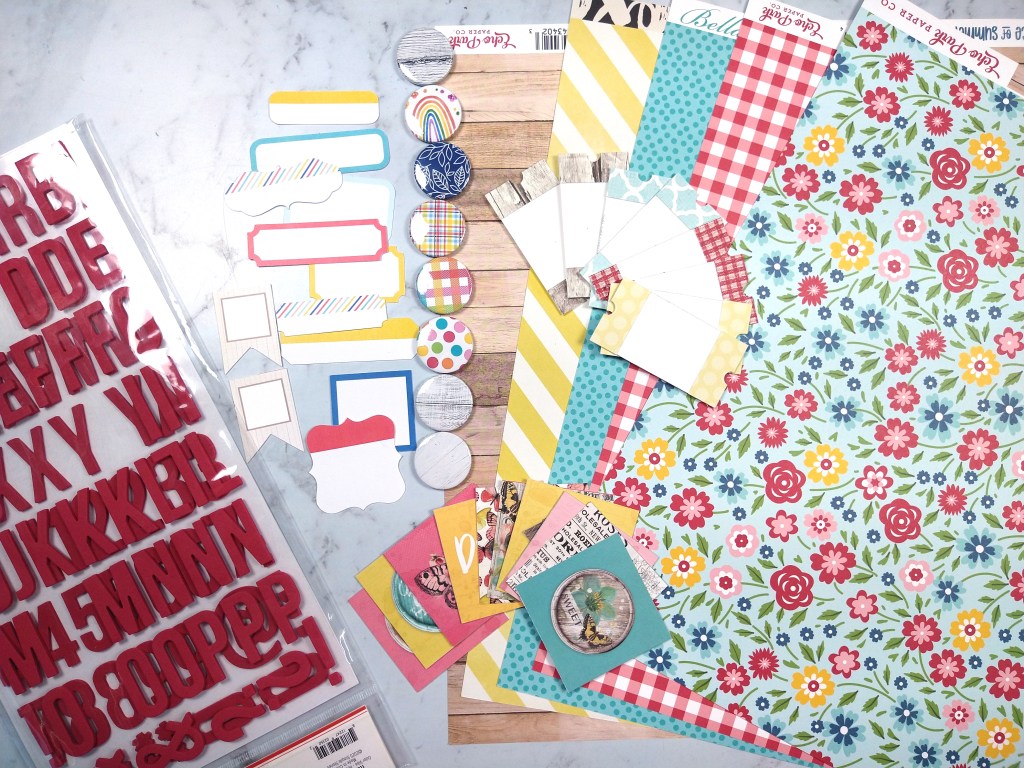
With that in mind I started pulling supplies from my stash. Here is what I ended up with
Admittedly, these colors are bolder than the updated color palette. However, those were the supplies I had in my stash that came close to the new colors, so I’m going to roll with it. That is the flexibility of the CKC group! Make it work for YOU!
Have fun kit building and don’t forget to show off your stuff over on the CKC Facebook group, or tag us on Instagram @counterfeitkitchallenge or use #counterfeitkitchallenge.
I love kit building and I am on the design team for the Counterfeit Kit Challenge project. We take an inspiration kit each month and proceed to replicate it, or as we say, counterfeit it. This is a free, friendly group that helps inspire you to use up supplies you already own. We are not about needing to buy the latest and greatest thing (though we won’t stop you if you enjoy new crafty goodies😉 ).
It is my turn to host a kit for the Counterfeit Kit Challenge team. This is my first time hosting so I’m pretty excited! Check out the inspiration kit I chose for this month. It is the Denim & Blush Modern Memory Keeping Kit from Coca Daisy for Feb 2021. I love this kit for the bold navy and softer blues, pinks and corals. Plus yellow. Don’t forget yellow! It has plenty of embellishments to inspire me and an ever so slight bit of Valentine’s goodness. And since this kit is sold out it gives us the perfect reason to counterfeit it!
As the kit host, I get to choose a guest designer for the month. I’m happy the Gretl Dixon agreed to play along with us this month! You can find her work on her blog. If you read the CKC kit reveal blog post then you can get to know Gretl a little bit by seeing her photo and reading her bio. Do leave her some love to make her feel welcomed!
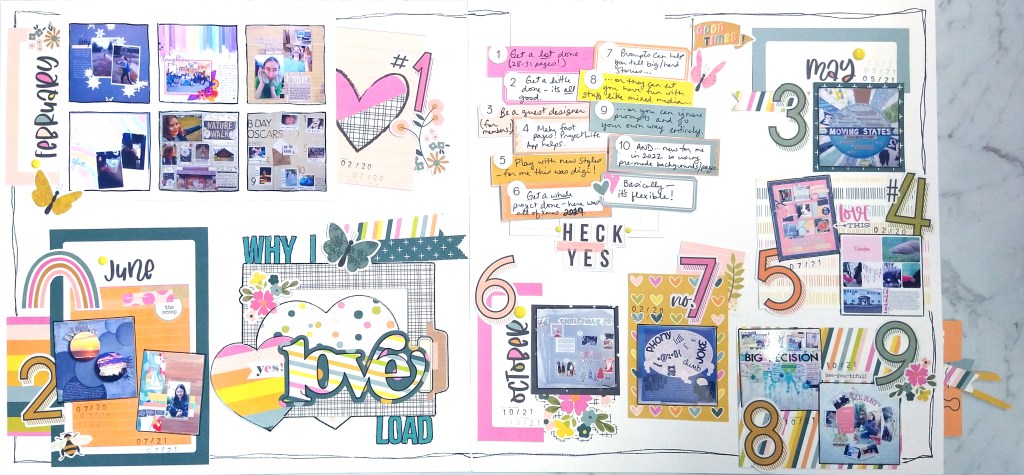
When I chose this kit I thought I’d build one big kit. But as I was working I realized that this month is a LOAD month (Layout A Day challenge hosted over at ScrapHappy). Since LOAD leads me to tell a myriad of stories, I wanted products that would have different feels to them so things wouldn’t get repetitive. That is when I got the idea to create 5 mini kits! Yes, I could have thrown all this stuff into one giant kit, but by breaking it down this way it will help limit the choices I need to make when creating. Sometimes too many choices is overwhelming. If I make the choices ahead of time, then when I sit down to craft that part is already done!
So take a look at these 4 kits (yes I did say earlier that I have 5, but you’ll have to wait until tomorrow to see the final one, for, um, reasons 😉 ).
You can hear all my thoughts that went into each kit in my video.
I hope you can follow along with the other designers and see how they interpreted their kits.
Have fun kit building and don’t forget to show off your stuff over on the CKC Facebook group or tag us on Instagram @counterfeitkitchallenge or use #counterfeitkitchallenge.
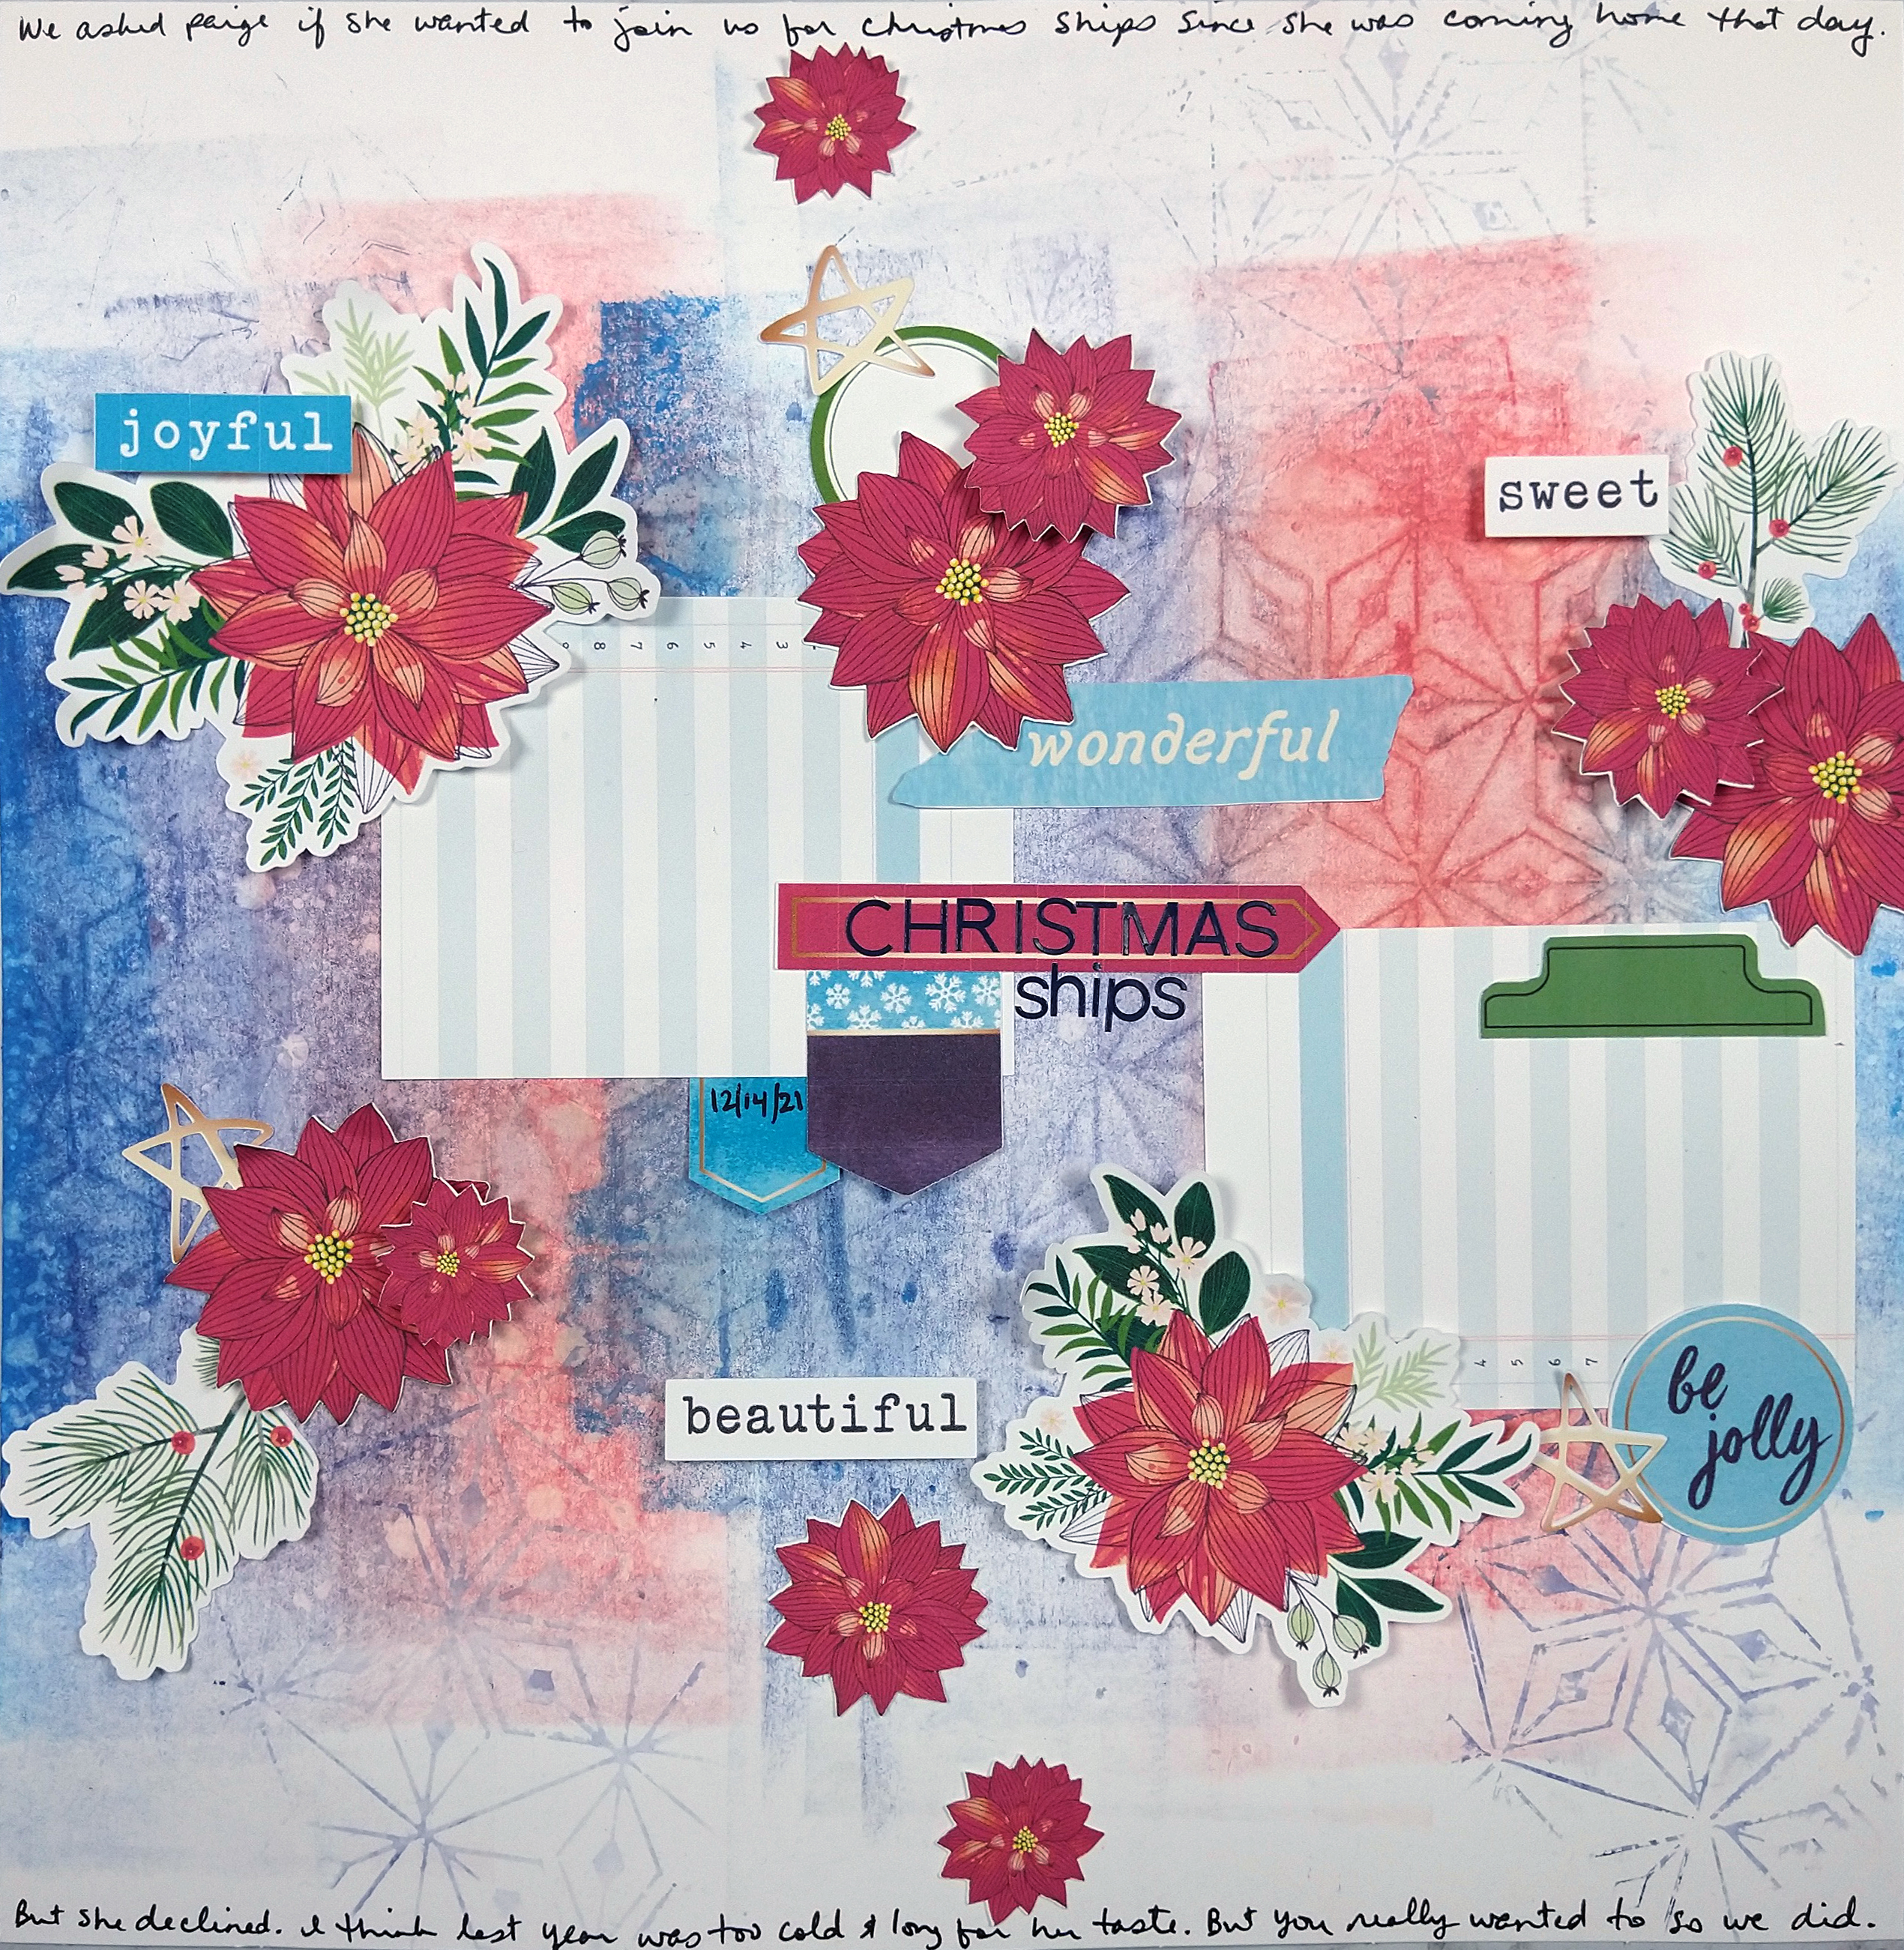
My month almost always wraps up with a mixed media layout as I play along with the free Mixed Media Frenzy Facebook group and join in the monthly membership hop. We typically work with some form of inspiration to inform our projects. Lately we’ve been scraplifing other talented scrapbookers!
Check out the inspiration photo on the left and my take on the right…
Since my printer was misbehaving (well actually it was user error, sigh) I did not have photos to include when I photographed my project. But you can see the place holders where I included two photos instead of the single in the inspiration.
As always I have a YouTube video sharing how I approached my take on this inspiration. And since it is a hop, do find the show description and hop over to all the other creators.
I revealed my freebies for this month over on YouTube, but failed to write up my post here. So here is the quick version…
This month’s sketch was based on a layout I shared on YouTube earlier when I did my SCT Sampler Kit unboxing.
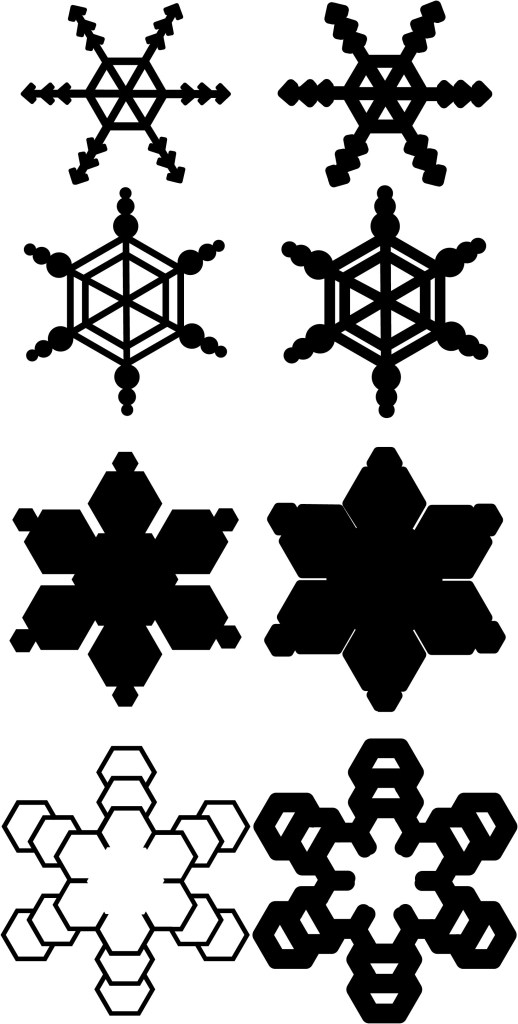
For the cut file, I haven’t had a chance to use up my pieces on a project, but the video shows how they all turned out, as well as some tips on cutting intricate files. Here I cut them out of cardstock, vellum and silver mirror paper.
Download the sketch here, the cut file here or, head over to my Freebies Page to peruse all the files I have to offer.
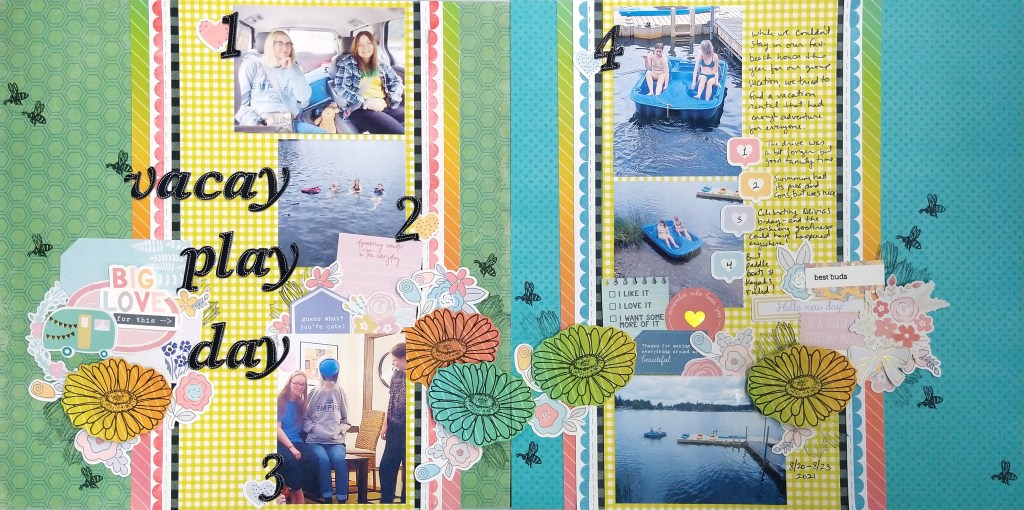
Last time I revealed the SCT Sampler Kit for the month of January. If I haven’t said it enough, I am in LOVE with the kit this month. The dies are to, well, die for. Not to mention the Simple Stories paper collection is super fabulous. So I have another project to share. Well actually, this was my first project, but I needed to hold it up until the DT post over at ScrapHappy went live! 😉
So my photography setup needs some work for doing double page layouts to get equal exposure across the entire image, but other than that I loved putting this project together. And notice that little tag sticking out on the right hand side? That is a pull out interactive element. I got 15 photos on this layout, but I just HAD to have one more photo, so I hid it and made it work!
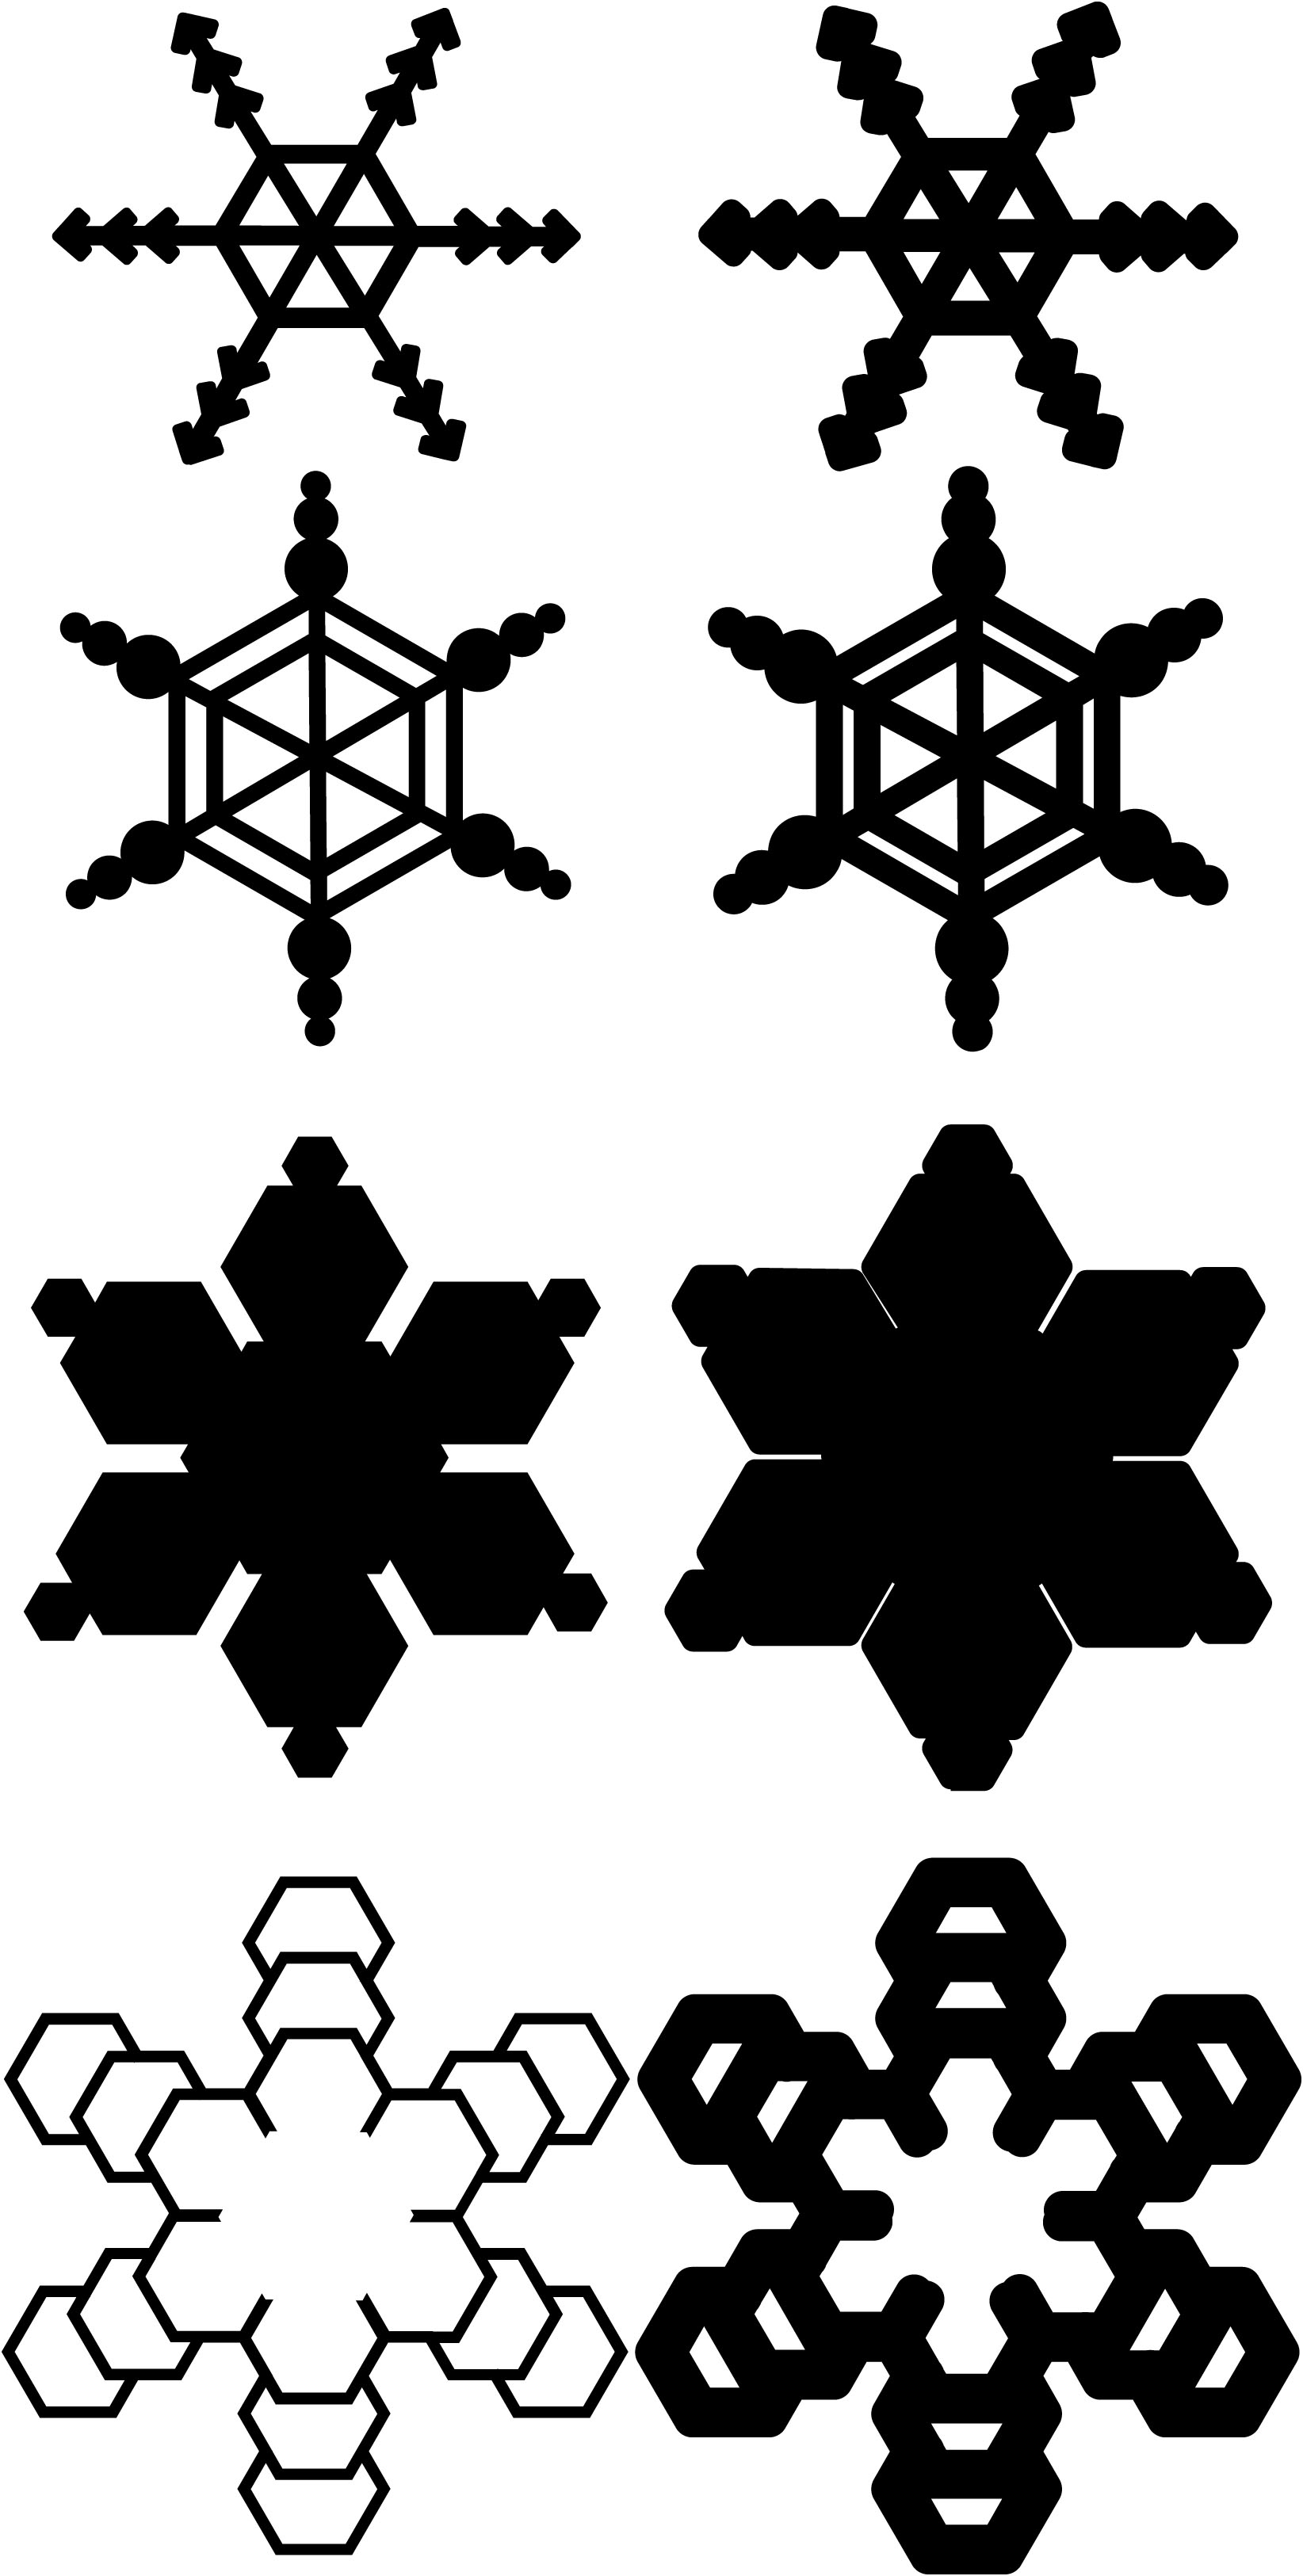
I did take a break in December to get some other things in my life worked on. Nothing big, just stuff that needed doing that was being neglected. I had hoped despite the break that I’d be able to get a sketch and cut file out to you. Alas, life did not make that happen.
But… I am back and I have some freebies for you now. Be sure to check out the Freebies page to see all that I have to offer. I hope you enjoy! Now let’s see the new files for this New Year!
Of course I’ve got a video. There are a couple of small tips in there on how to get better results when cutting intricate die cuts on your Cricut. And then I just play with those snowflakes in various materials.
I’m here with my take on CKC’s second challenge for the month, and that is to use a sketch from Master Forger Cindy’s Pinterest board. You can check out the full process video here or read on for the short version 🙂
First up, I chose this sketch…
from CREATE: Issue 7, July 2014
I chose to rotate the sketch sideways and then created a double page layout. I didn’t really change the layout much between the two pages. I did use the two small photos and the tag pocket in the sketch as embellishment clusters and stretched those across both pages to help tie things together. These sort of stretched into the banner cluster as well to become one long horizontal embellishment zone.
So what do you think about sketches? Do you like to stick close to them, or do you like to adjust as you see fit?
For 2022 I’m starting on a once a month adventure of incorporating more hybrid scrapbooking into my memory keeping. So what exactly is hybrid scrapbooking? It is the process of using digital scrapbooking supplies to turn them into physical items and then using them to complete a physical layout. If you do a photo collage in an app and then print and use that photo collage as in on a layout, technically you are hybrid scrapbooking. Even using a cut file on your electronic die cutting machine could be considered hybrid as well. My intentions are to use the collection of digital scrapbook kits that I have purchased over the years. I have a backlog of these files because I thought I would turn into a mainly digital scrapbooker at some point. However, the need to use physical items matters so much to my experience of creating art that I can’t go fully digi. However, I can get some of the benefits of digi and use them in my physical layouts.
I’ll start you off with the layout process video I created this month.
In the video I mention the benefits of hybrid as I create. Here I can just easily list them.
You don’t have to have lots of space to store a ton of supplies! You just need a stack of paper and a printer to turn the digi items into physical items. (An electronic die cutter is super helpful, but I’ll cover that in a bit.)
You can use only the pieces of an embellishment pack that you actually like. No leftover unwanted bits.
You can resize items to a smaller size if you like (going larger usually doesn’t work well due to the pixel nature of digital graphics.)
You can duplicate and create as many of the same element that you love.
If you mess up an item, you can always print a new one!
While there are real good things about using digital elements, there are some cons as well.
If you are a 12×12 scrapper, an investment in a 12×12 printer OR the flexibility to design 12×12 layouts using 8.5×11 papers is critical.
It takes more time to select and then print your products as opposed to just pulling out some items and getting to work.
If you want to create embellishments, an electronic die cutter is going to be a life saver. Otherwise you are going to become the fussy cutting champ of all time. A machine is yet another money, time and tech know-how investment.
I’m hear to help with that last point! I have a tutorial for you on one way to use your Cricut machine to take some digital scrapbook die cuts and create physical die cuts.
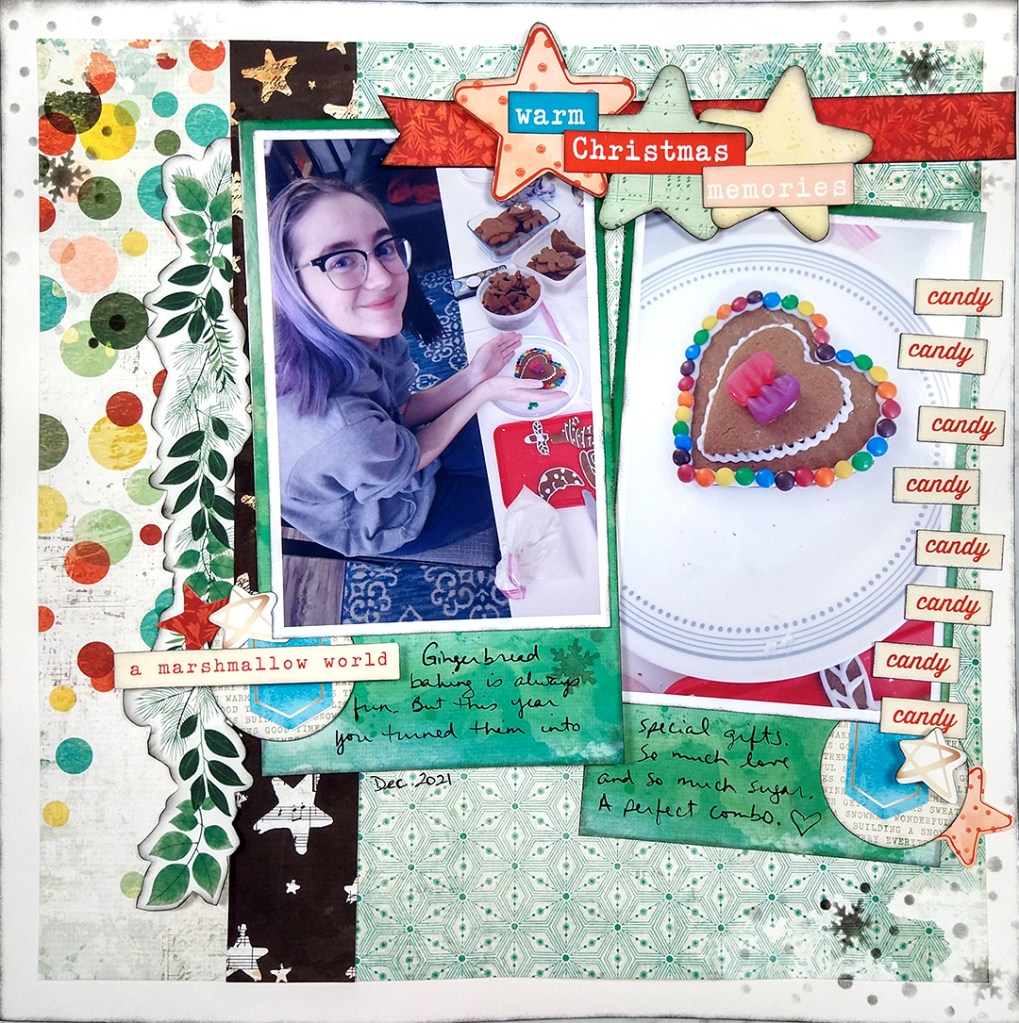
And here is a look at the final result.
What do you think? Can you tell that I printed most of these products myself?
Let me know what you think about hybrid scrapping!
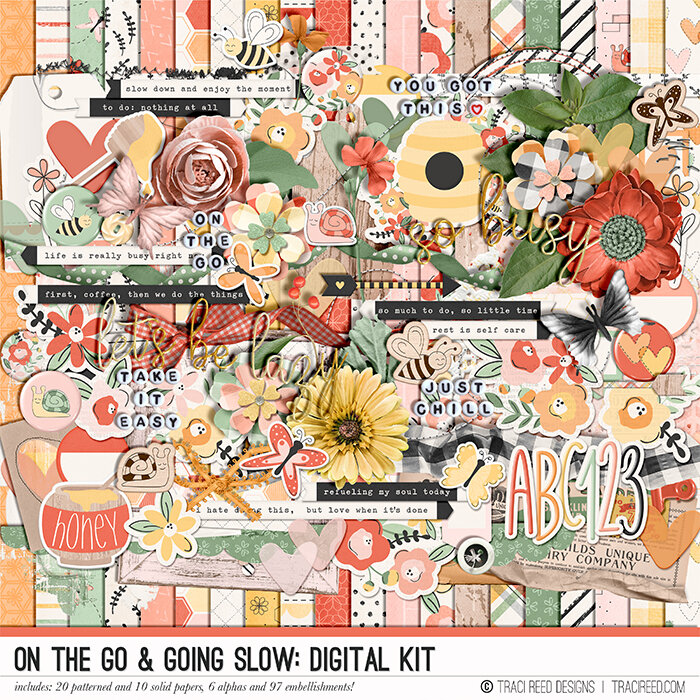
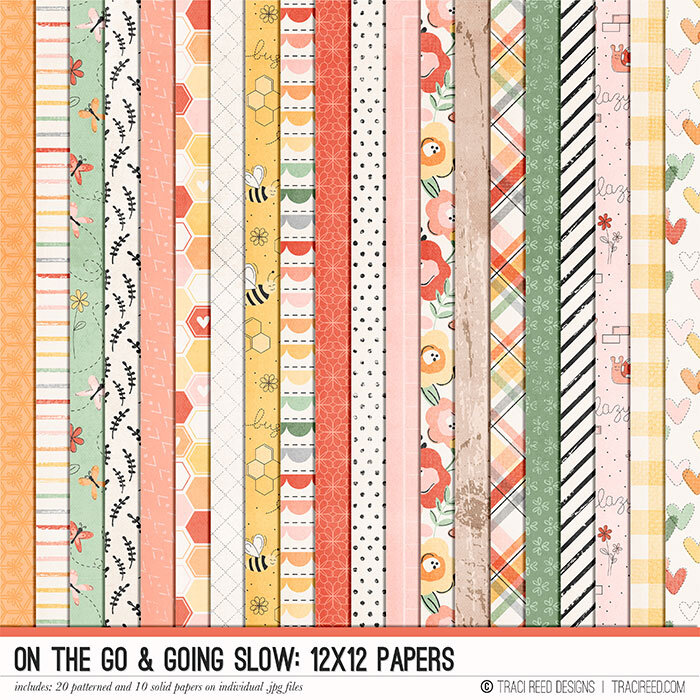
Each month on the 4th, Counterfeit Kit Challenges hosts a product forgery challenge. We select an item from the inspiration kit and create our own version. As a reminder our kit is On the Go and Going Slow by Traci Reed. Now in this version of the kit you can’t easily see the item I want to forge. So let’s take a closer look.
Here are just the pattern papers. The ninth paper from the left is the one I’m looking at. It is the multicolor scallop & dashed lines stripe print.
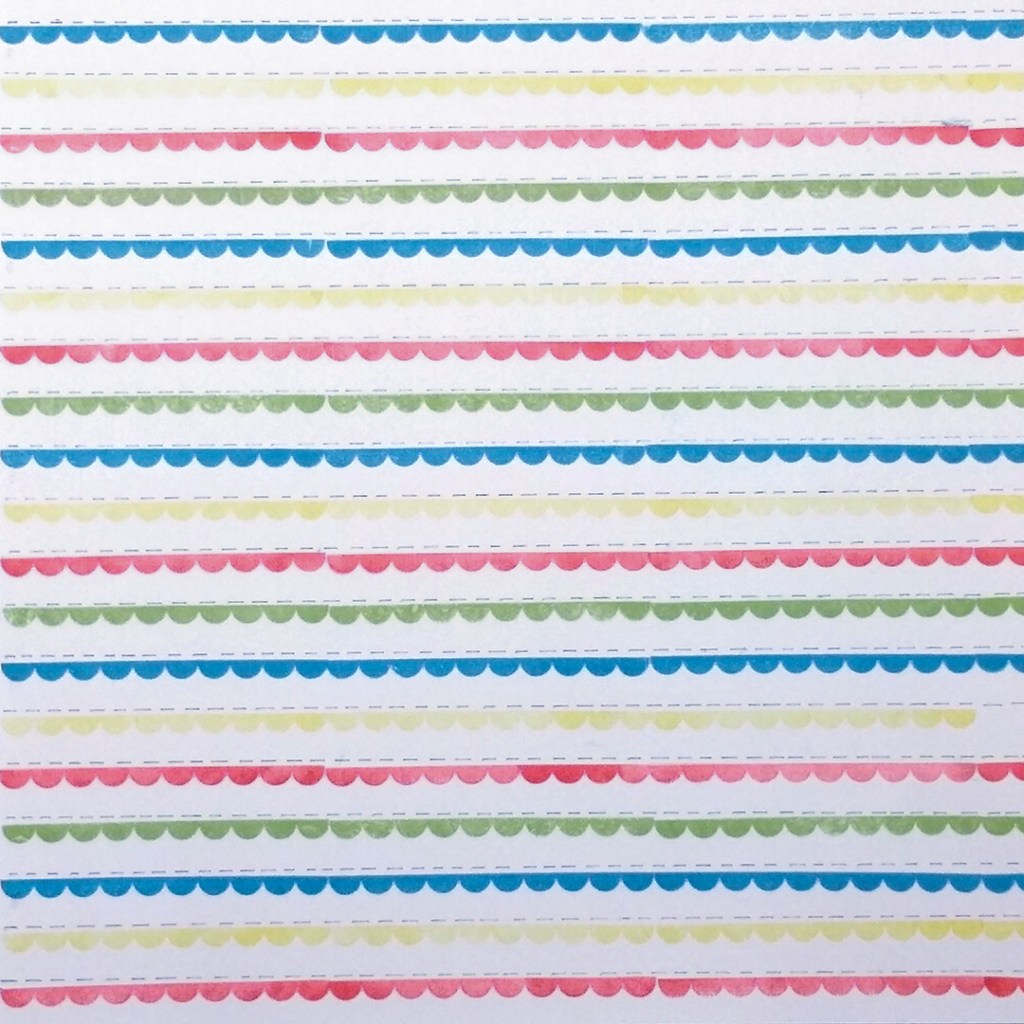
So I grabbed an old stamp set that has a short scallop border, a ruler, a black pen and some inks and I got to work.
Here was the final result.
I do go over in the video how to make your own scallop stamp if you don’t have a scallop border. So be sure to check out the video for that tip.
I’ll be back on the 12th and again on the 18th with the CKC layout challenges.
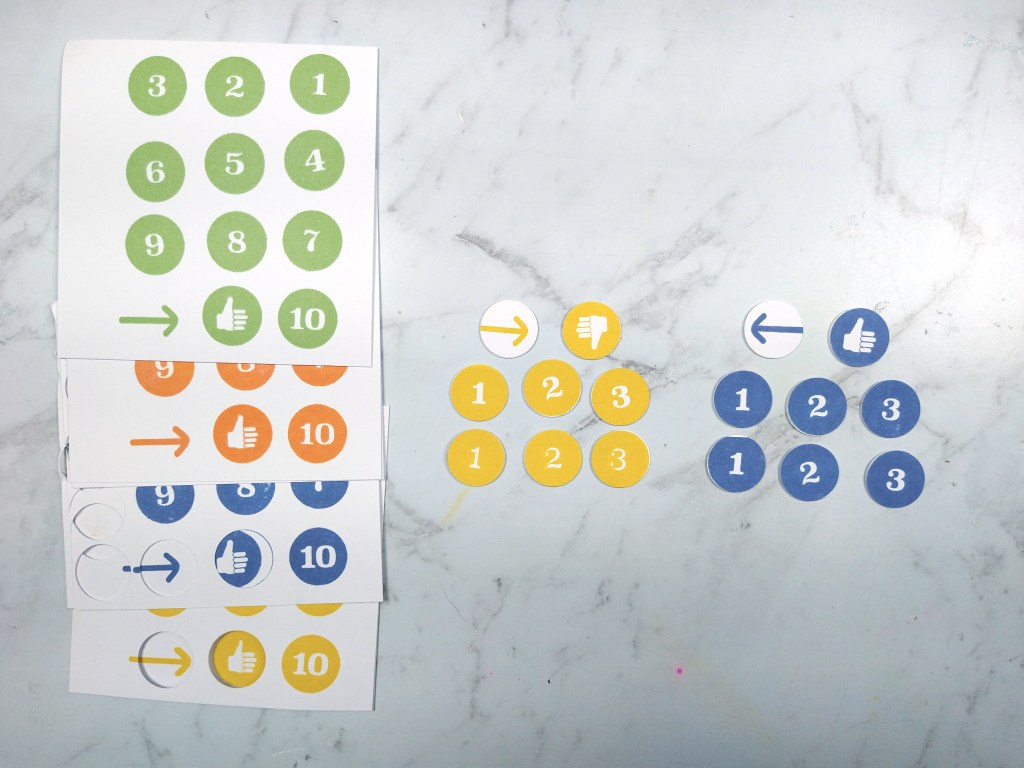
I’m at it again with my DIY embellishments. I was so inspired by the kit this month that I had to make myself narrow it down to just two forgeries. So let’s take a look at the kit again first.
From this kit I decided to forge those number & icon circle chipboard pieces. I chose that one specifically because I like to number photos along with the corresponding journaling. That way photos can have their own say as part of an overall story.
I also decided to forge the phrase stickers. I like to add little words strips to areas of my layout as a sprinkling of a finishing touch. I used a Concord & 9th sentiment stamp and die set to accomplish this task.
A full look of my process is up on my YouTube channel.
But the short version is here as well.
I used four ink colors to do all the stamping across all the forgeries. This lends itself to plenty of color choice for layouts as well as just lots of elements to use in general. Here I stamped (with an old stamp set) and then used a circle punch to get these number disks. I only completed a few of the finished chipboard pieces and I cam complete any others I need along the way.
The word strips took longer to create since these very solid stamps can be a bit fuzzy to get crisp images from. But perseverance paid off and I got some good results in the end. While these words are larger than typical sticker sheet phrases, I can make them work on plenty of layouts.
Be sure to check out the other forgeries the design team is up to this month over on the blog.