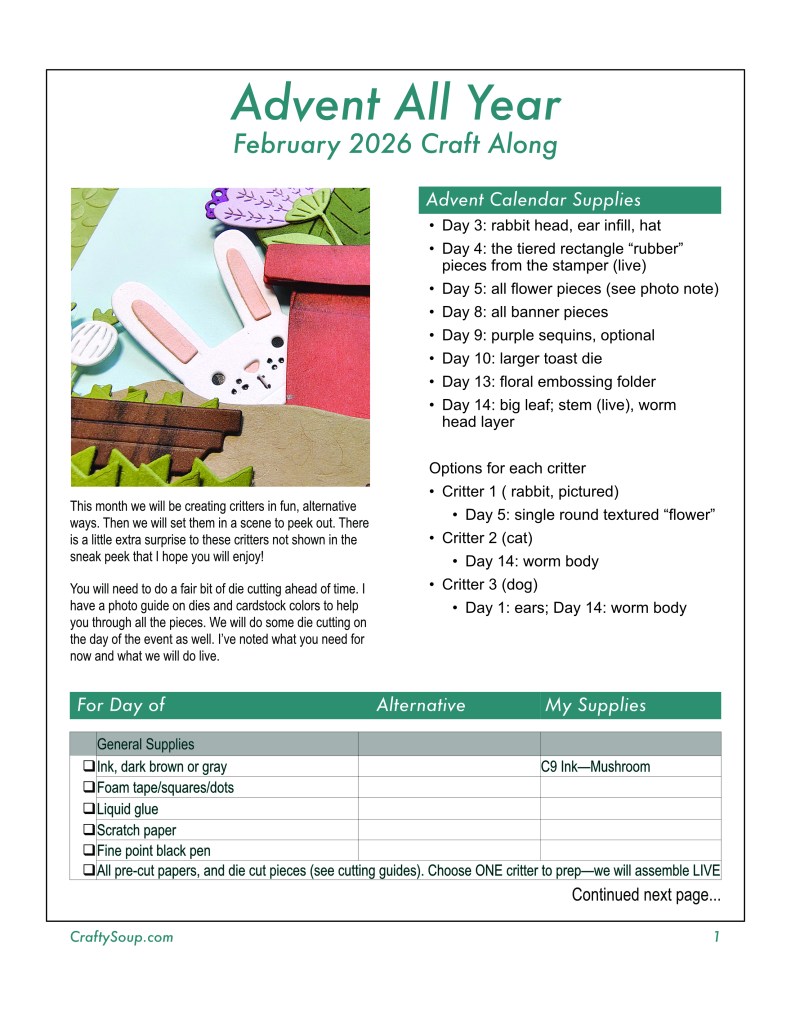
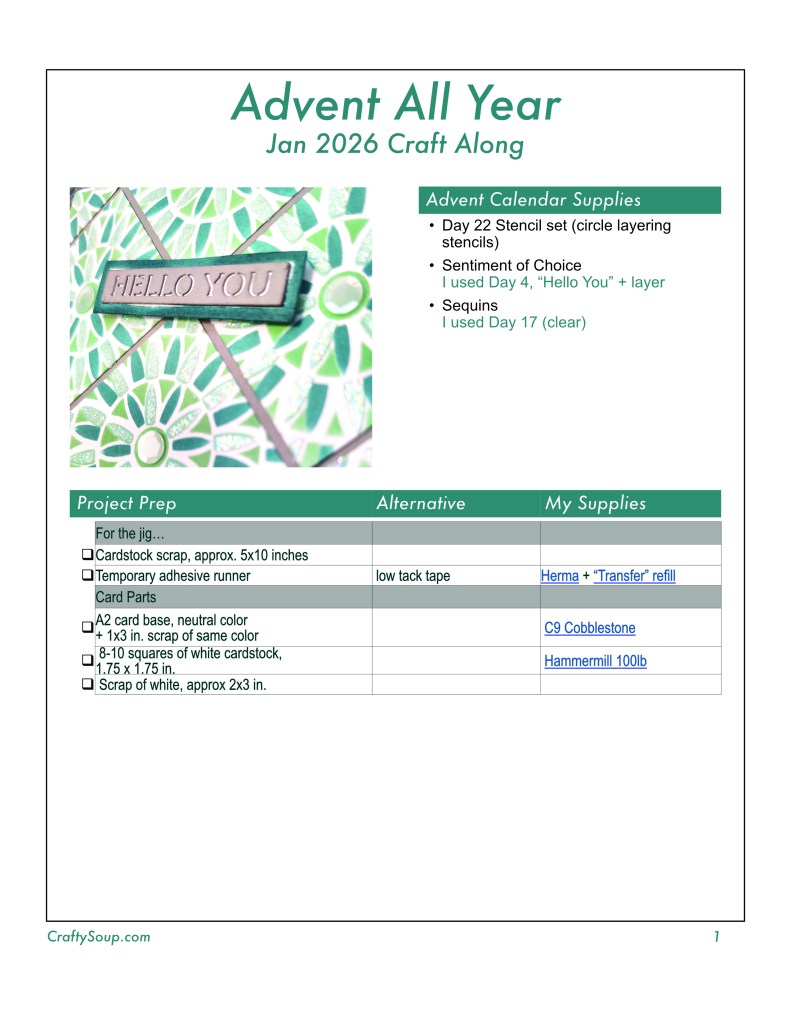
Hello, hello! Welcome to the info page for my livestream series. I’ll be using my Spellbinders Crafty Advent Calendar from 2025 to extend the fun all year long in 2026. I’ll have a live stream on the 4th Friday of every month at 4pm Pacific time. The stream will last between and hour and an hour and a half. This series is also a craft-along!
I will preplan a project, post sneak peeks and post of things you can prep ahead of time if you want to craft live with me. I’ll try to use the advent supplies in a way that may not be super obvious. That way you can get more ideas on using your advent goodies. Hope you will join me.
May 2026
The next live will be May 15, 2026 at 4pm Pacific time. Note that this is a change of time due to scheduling conflict. Join the live now or watch the replay.
Project
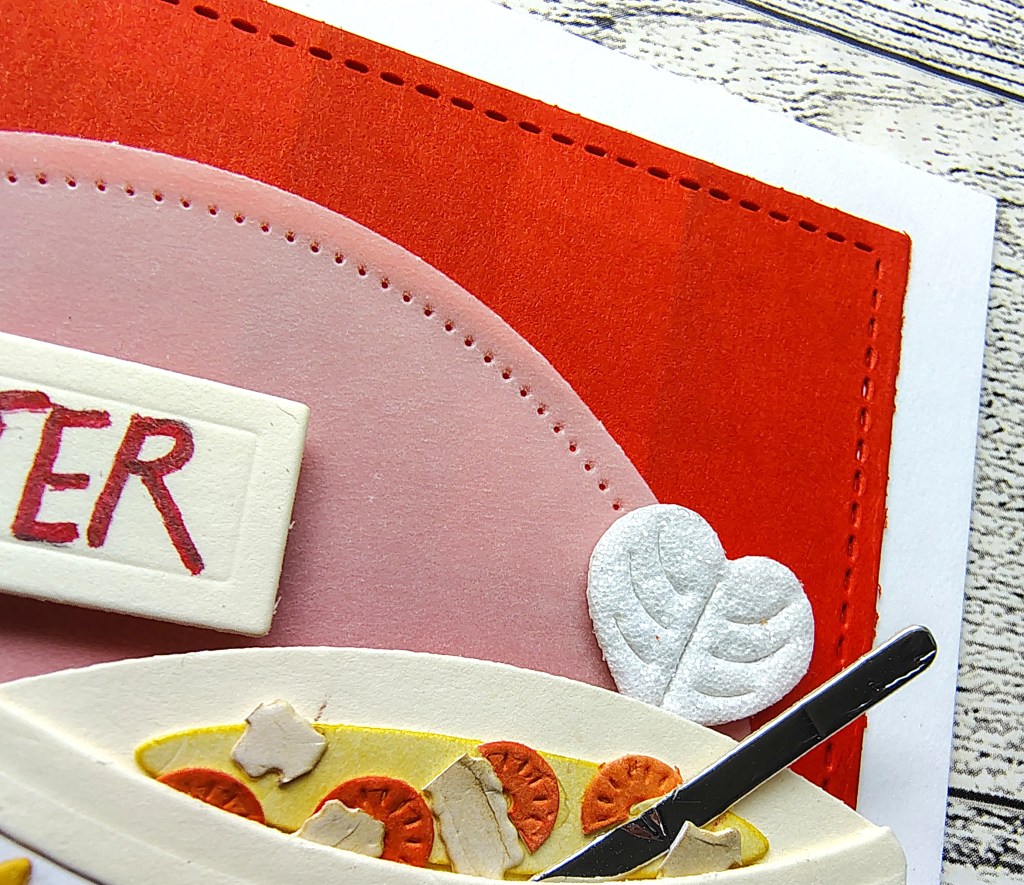
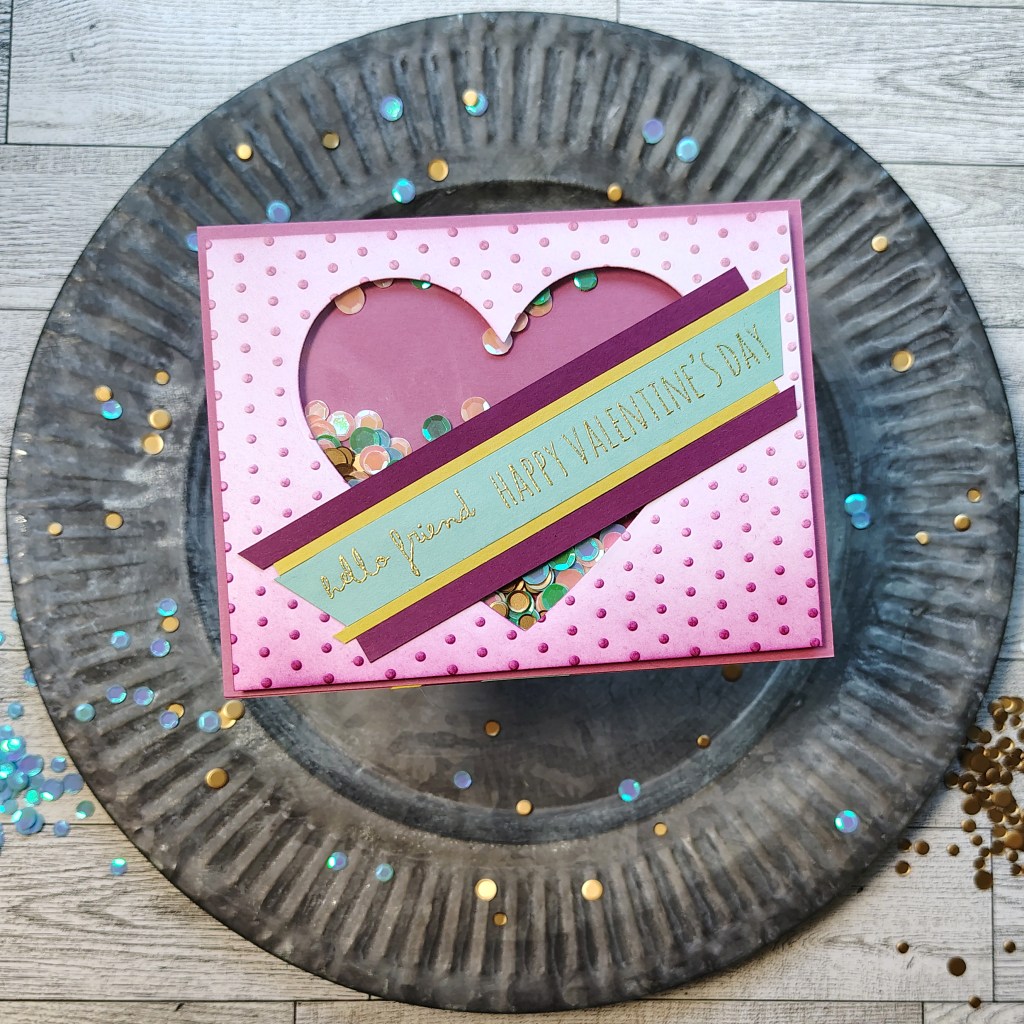
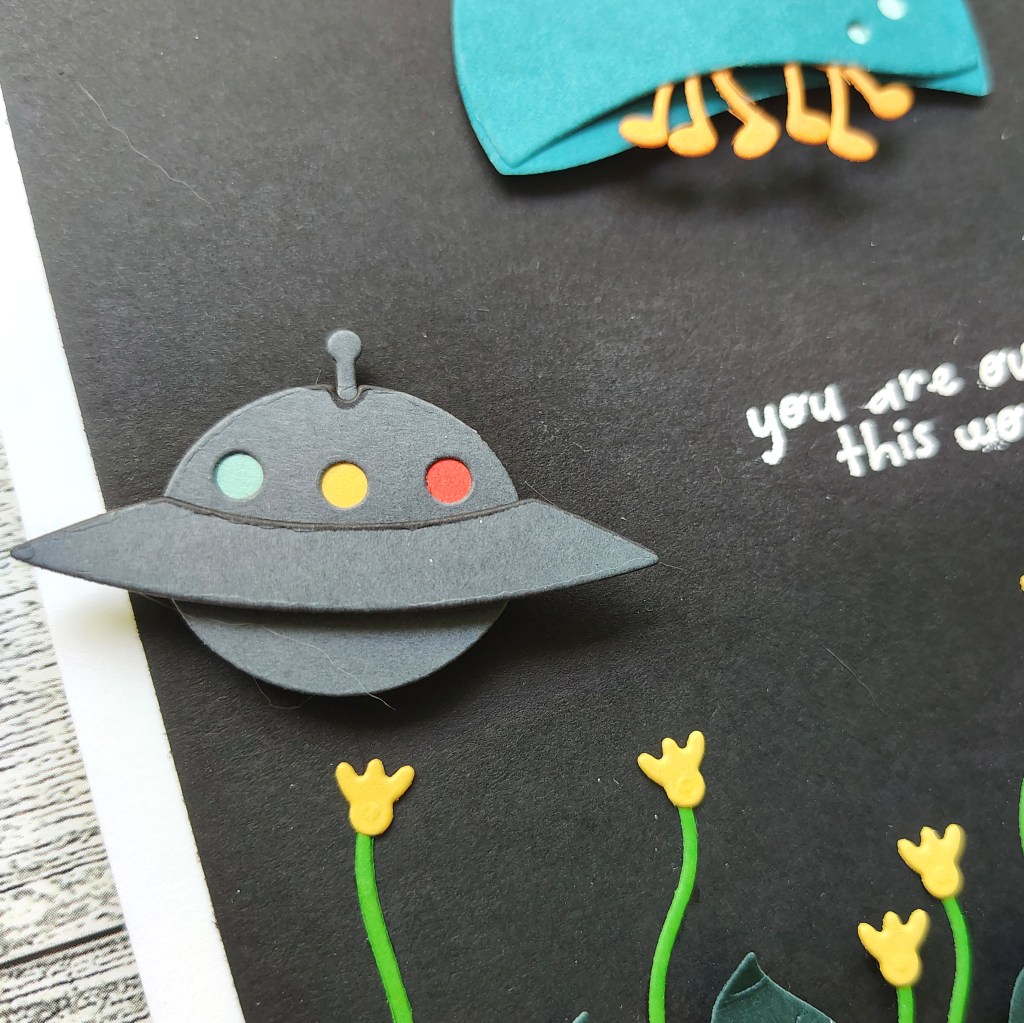
This month we will be exploring color an size to crete an out of this world scene!
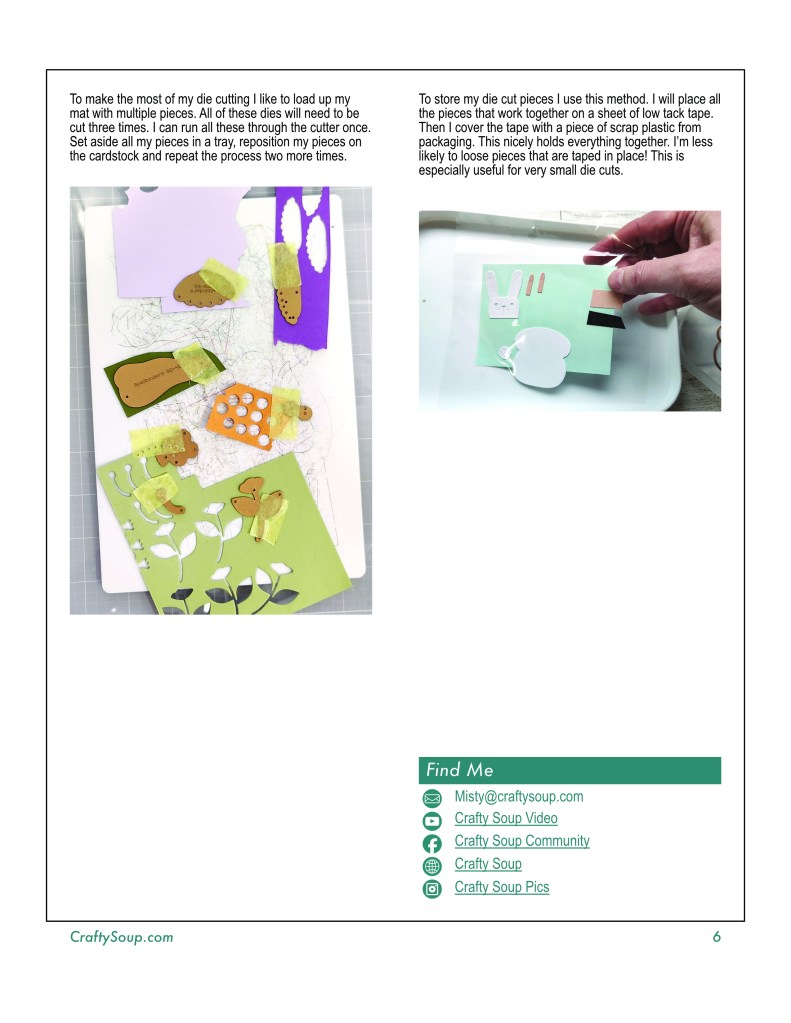
There is a good amount of die cutting to pull this all together. The repition does help set the stage though!
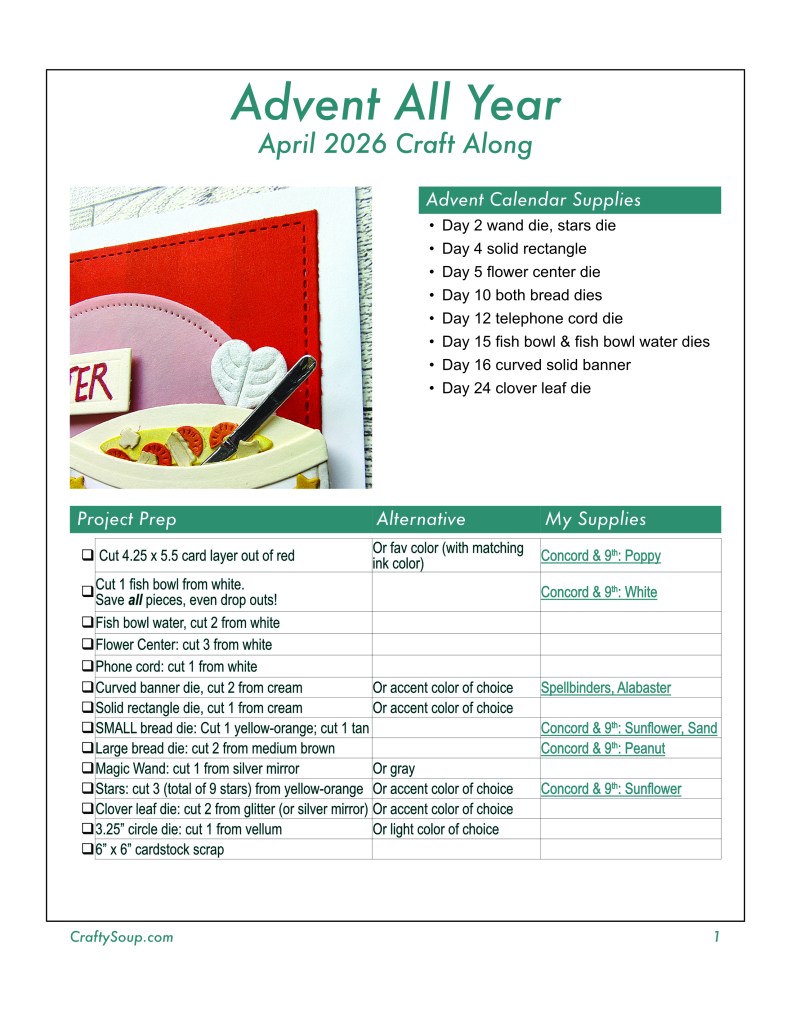
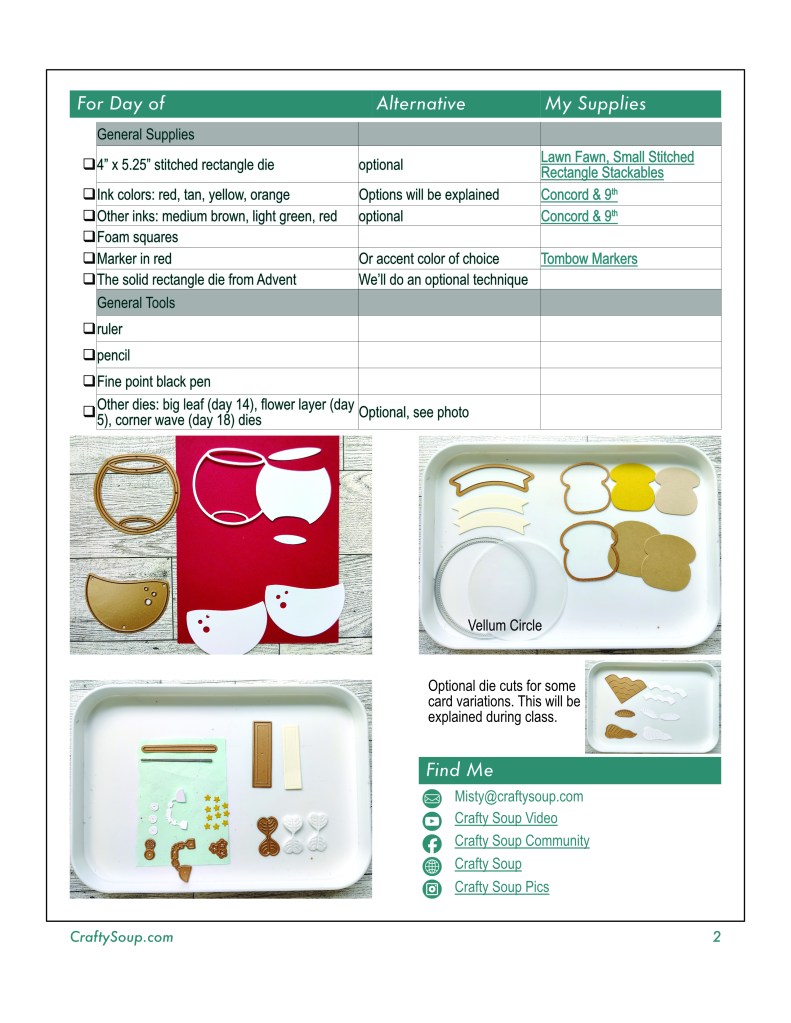
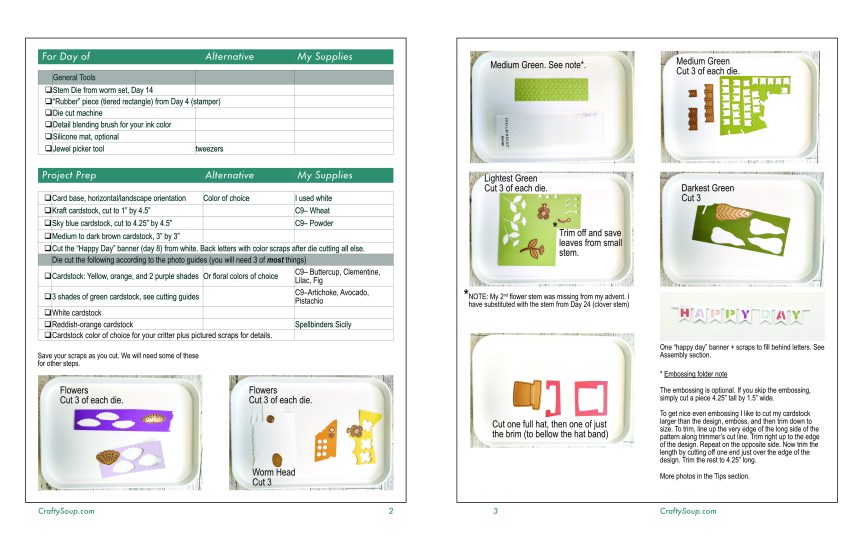
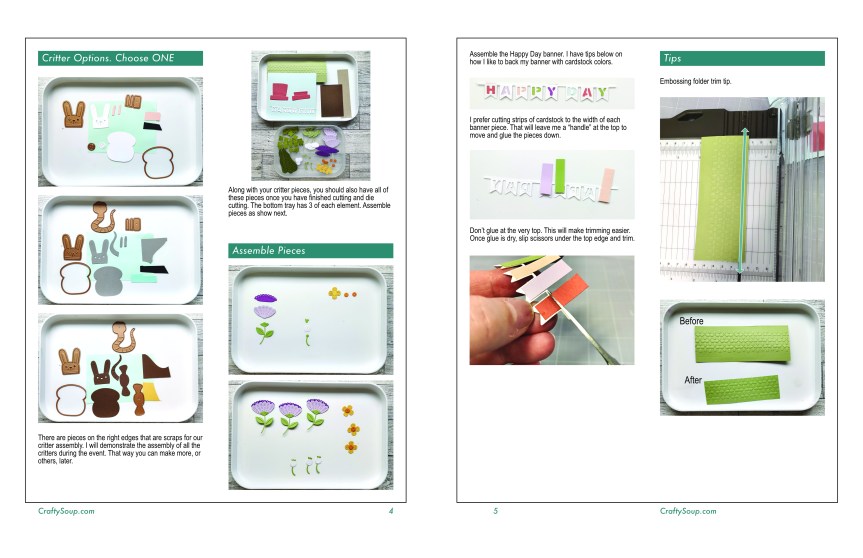
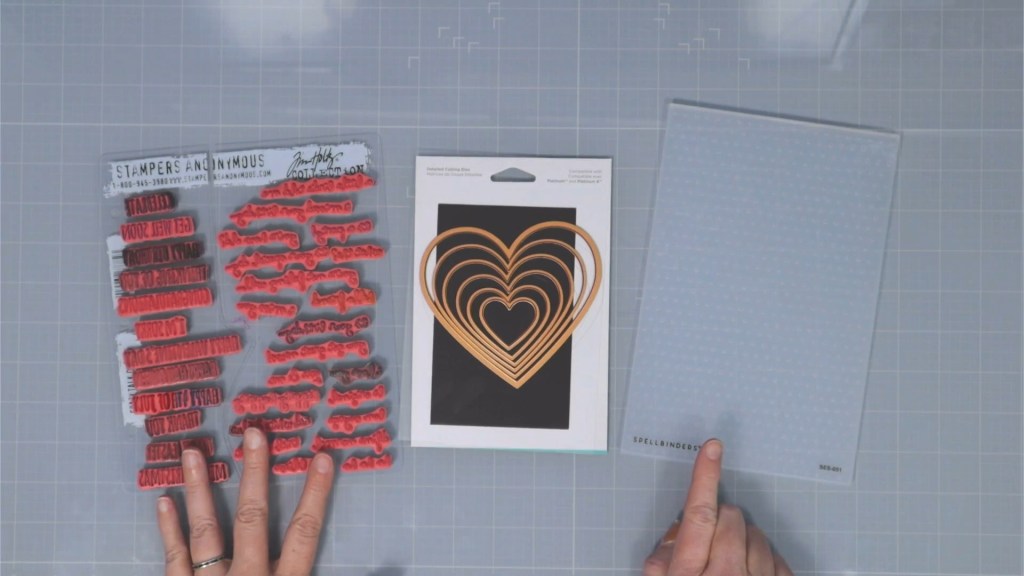
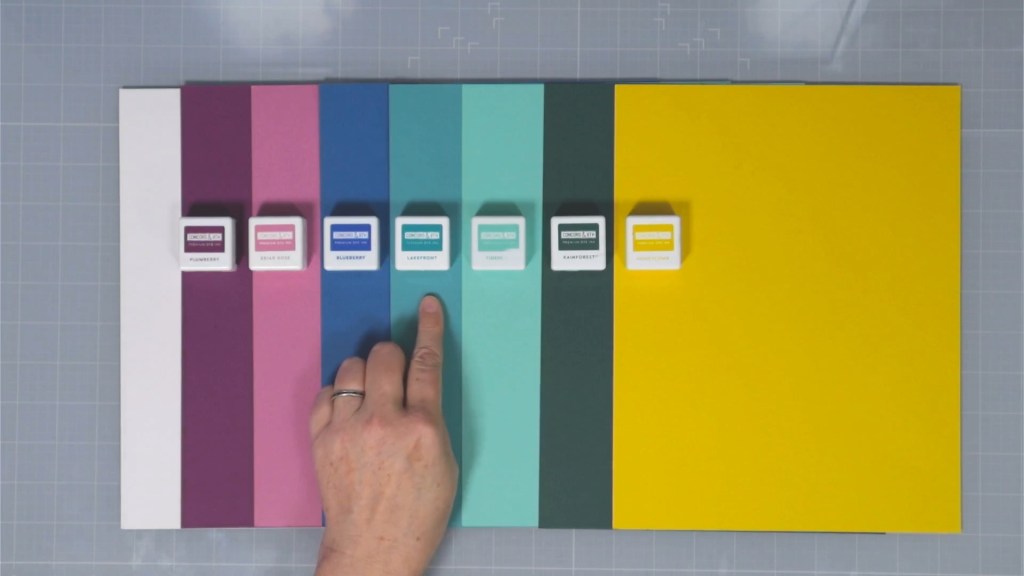
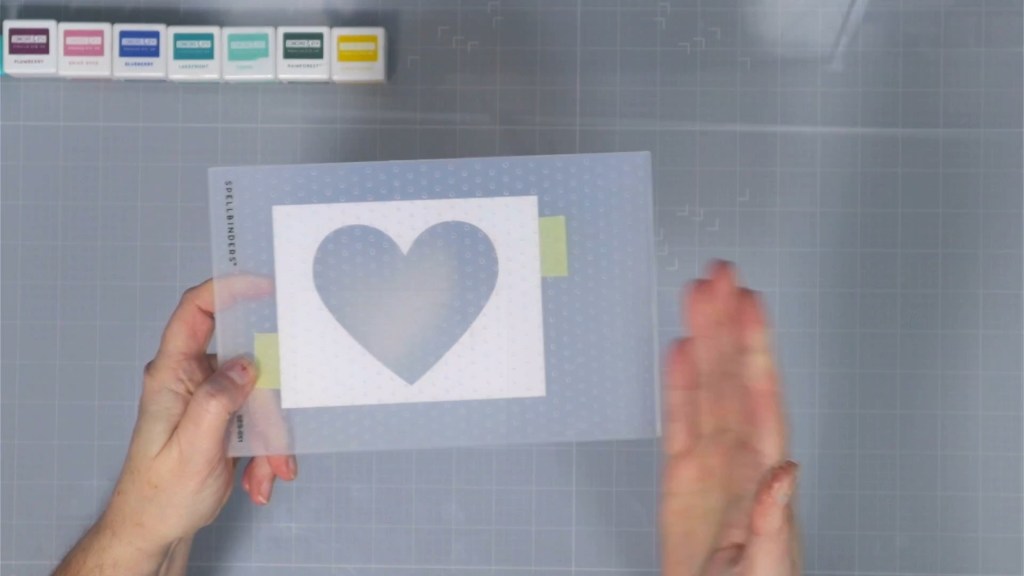
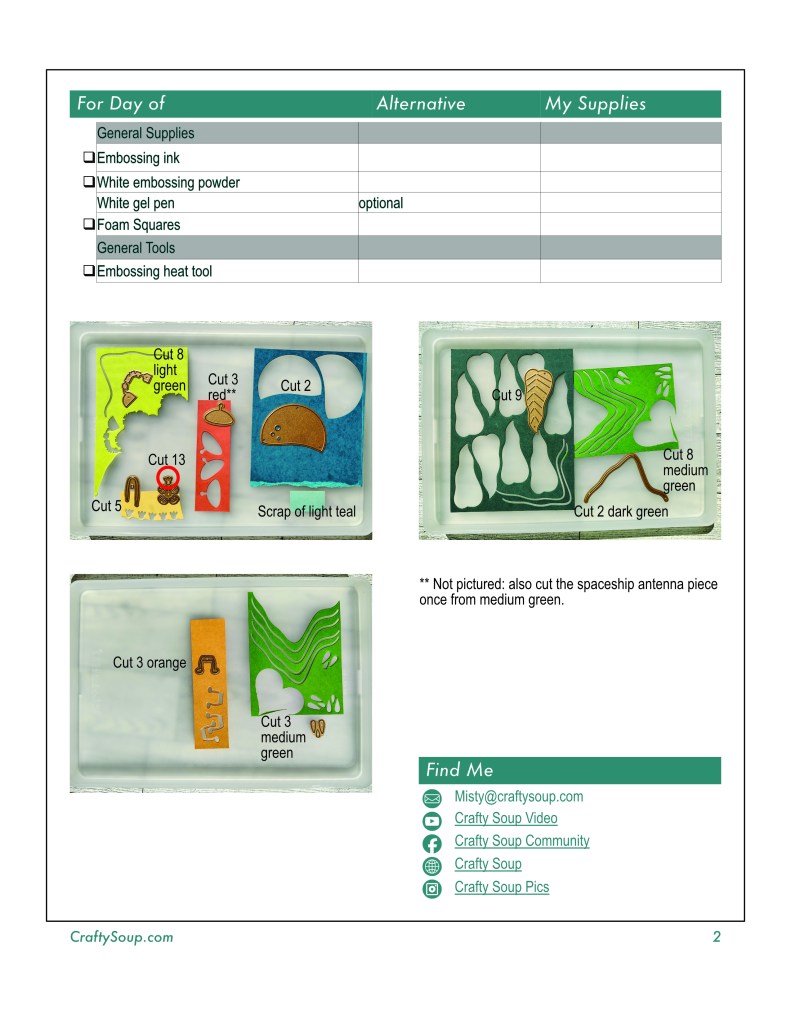
If you want to craft along with me, here is a preview of the preparation list. Click this link to download the instructions. A zip file will download. The folder includes PDF and JPG files.

If you have any questions or comments, you can message me here on the blog from the Contact tab. Or you can email me by using misty at craftysoup dot com. I’ll do my best to get back to you in a timely fashion. Hope to see you on the live!