Forgery on the Fourth, April ’22

As a design team member over at the Counterfeit Kit Challenge group I play along with as many of our monthly inspiration challenges as I can. The FOF — Forgery on the Fourth — project is definitely one I enjoy! I like getting creative to create my own embellishments. So let’s go ahead and dive in to what I have for you this month.

We are working with this kit from Papers and Beyond called Follow Your Bliss as our inspiration.
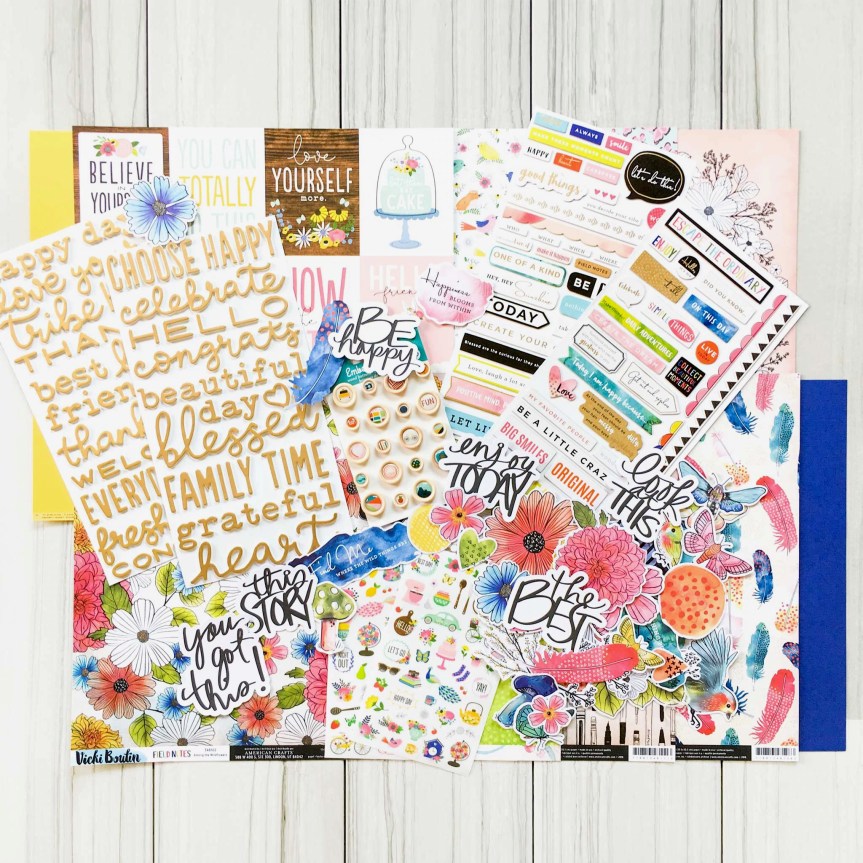
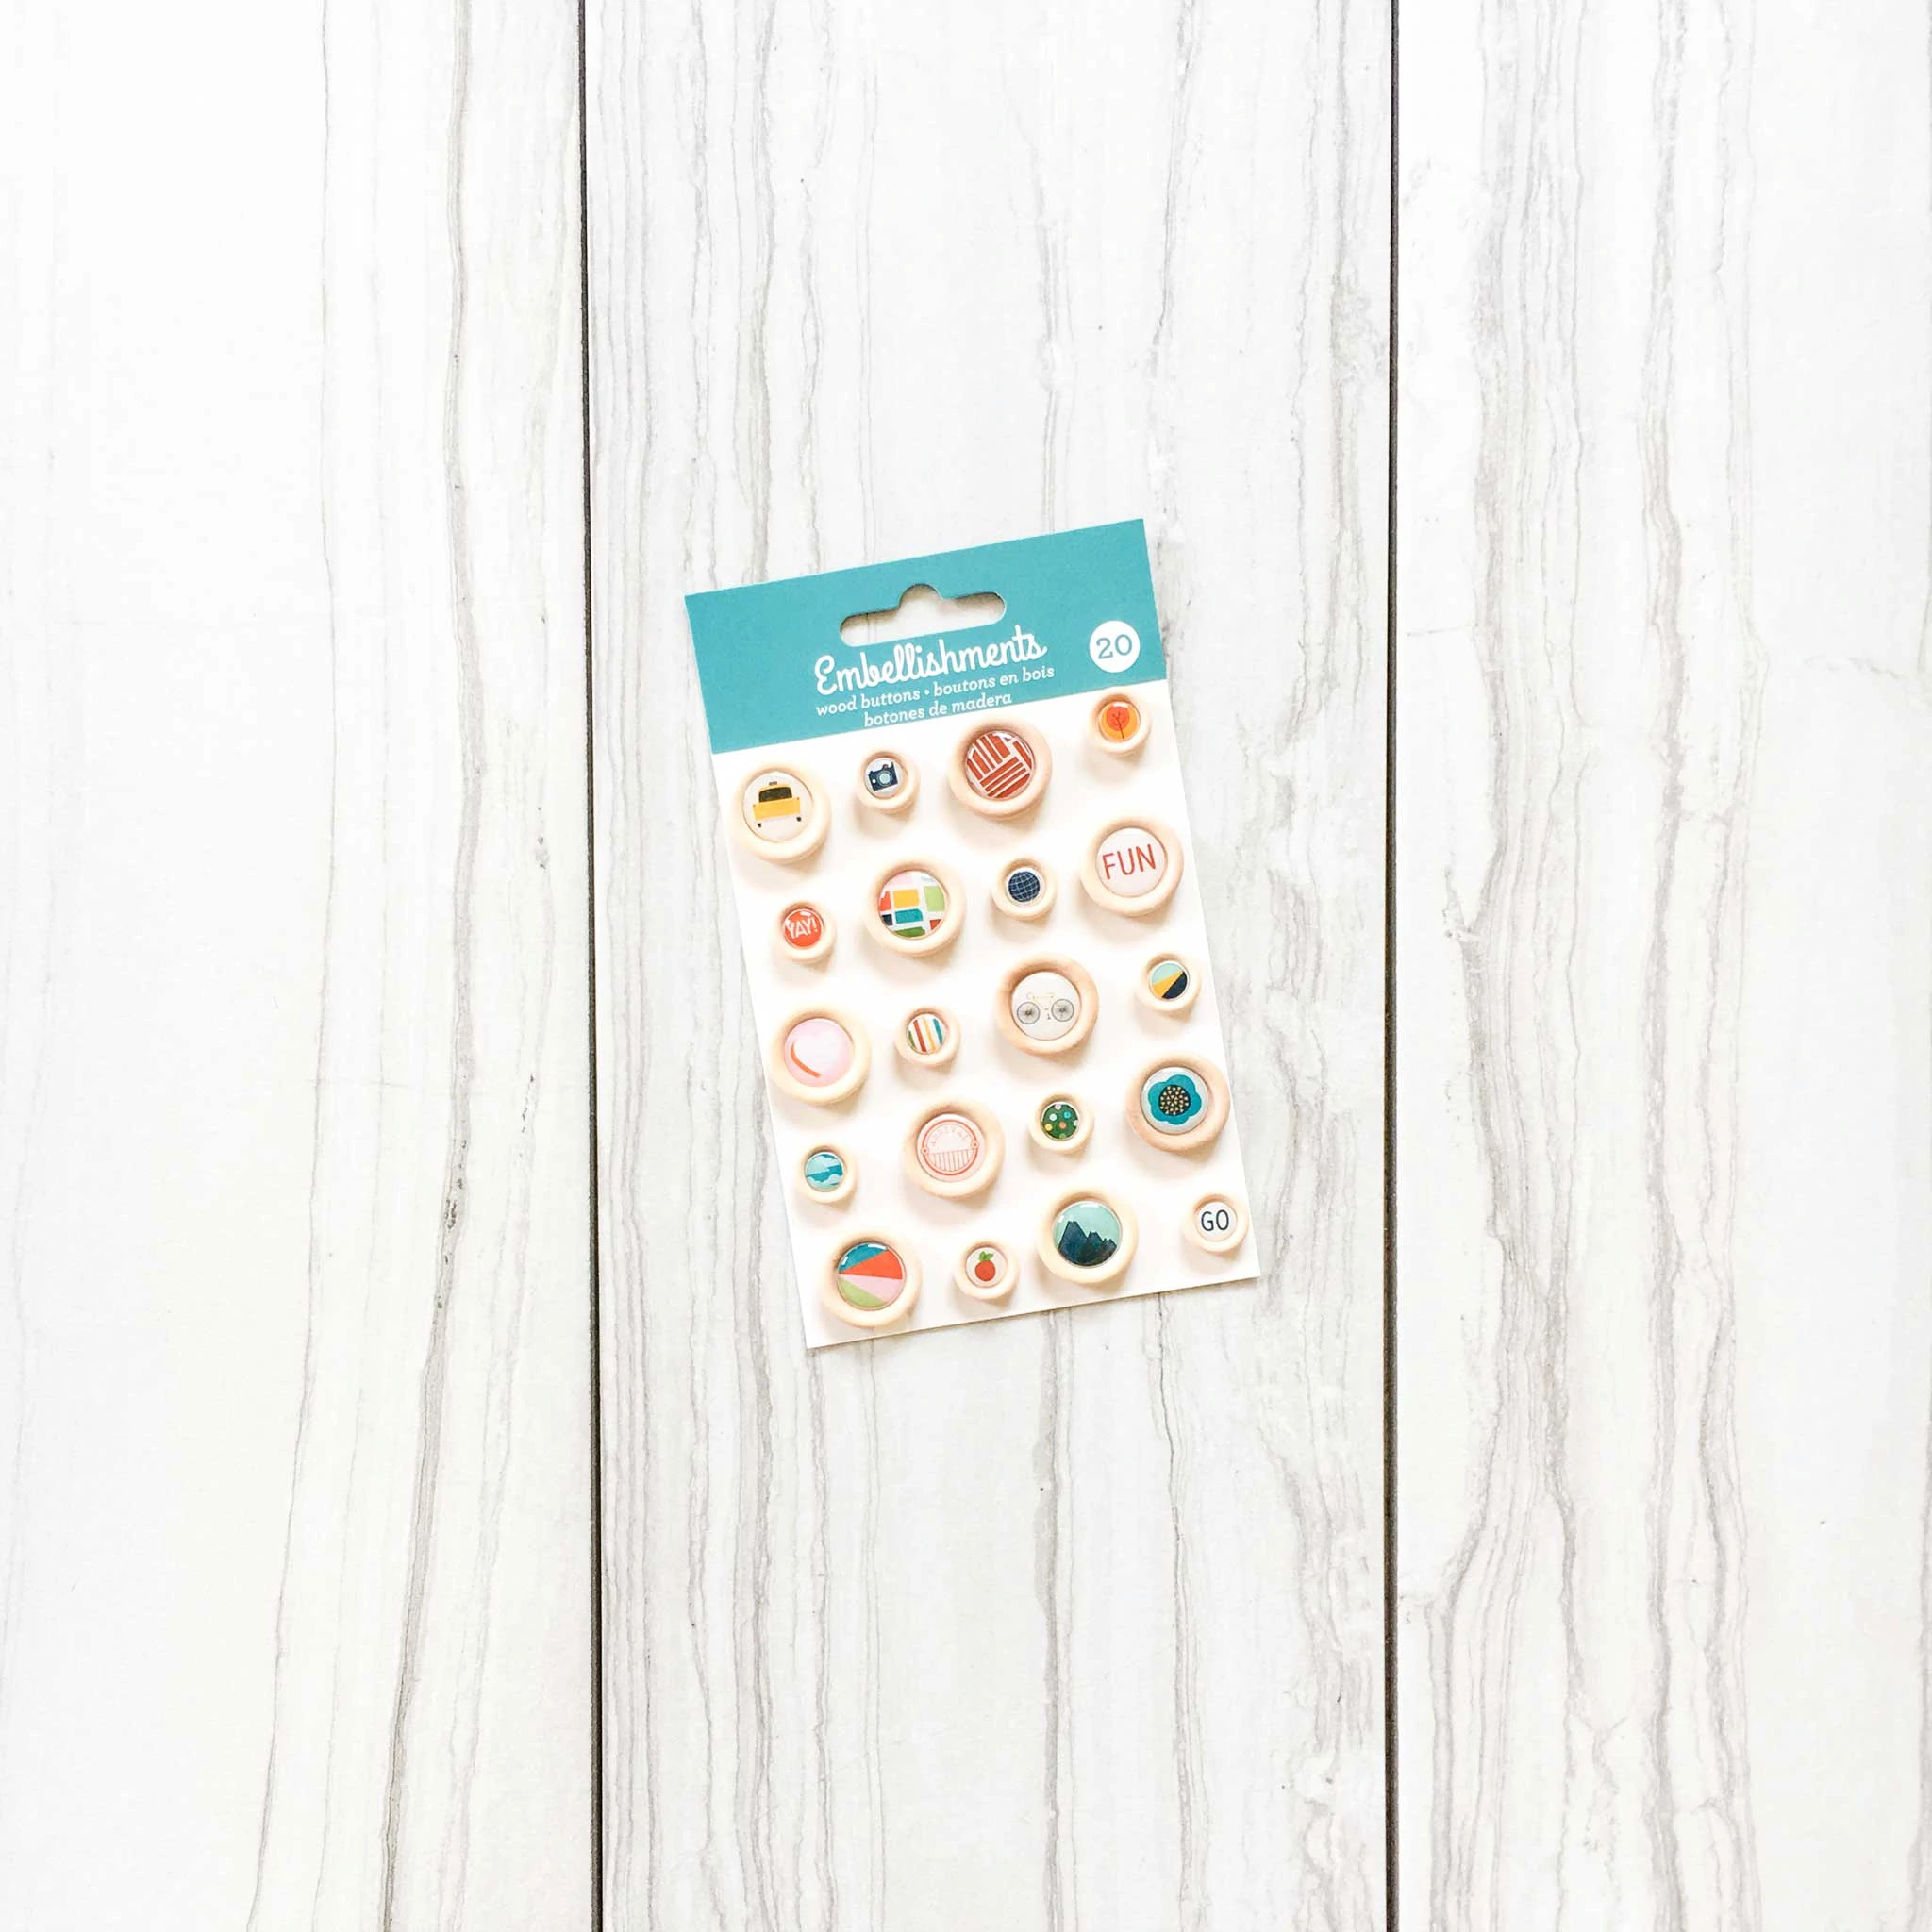
Did you notice the wood rimmed button flair in that kit? Well that is where I got my idea.
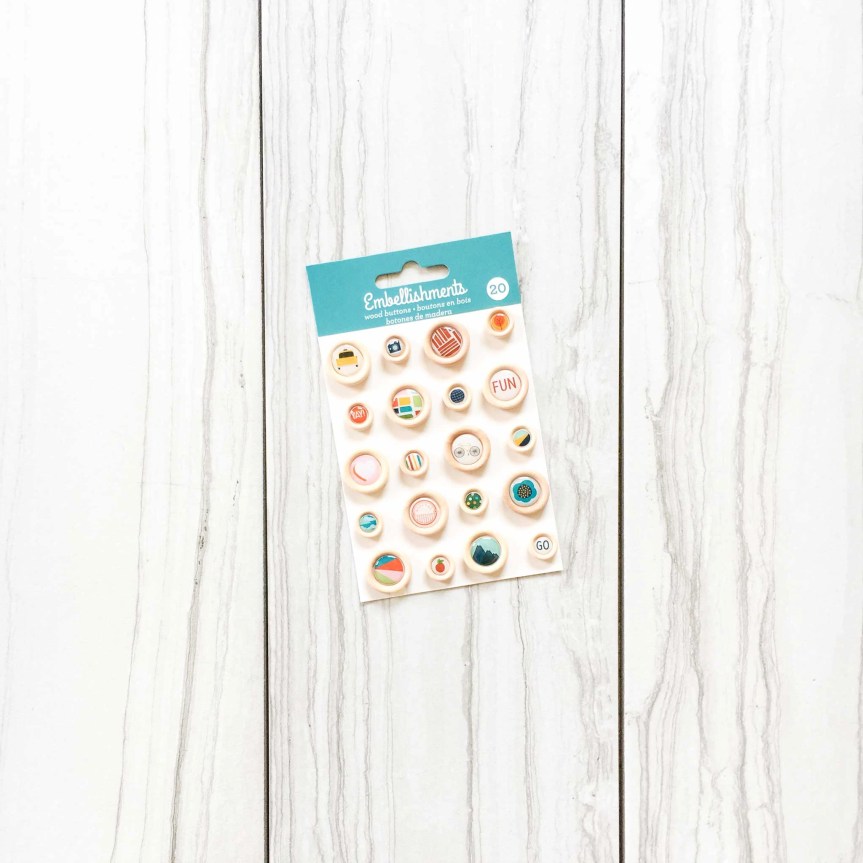
You can see how I went about creating my forgery in video form, or keep reading for the quick photo version.

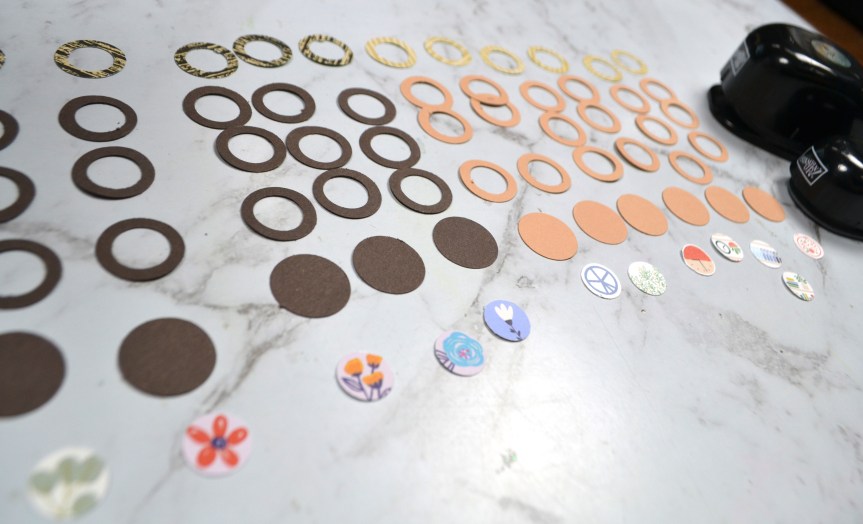
I’ve done this technique before in this DIY embellishment video, but at the time I was mimicking metal brad flairs. That technique totally translated into this technique. I used a 1/2 inch punch and a 3/4 inch punch to create rings. The top layer is the decorative layer and the three solid colors are the thickness/filler layers to create depth and texture. Finally, the large punch was used to create solid base circles. With the smaller punch I punched images out of scraps of patterned paper. Then it was just a matter of layering them all up.
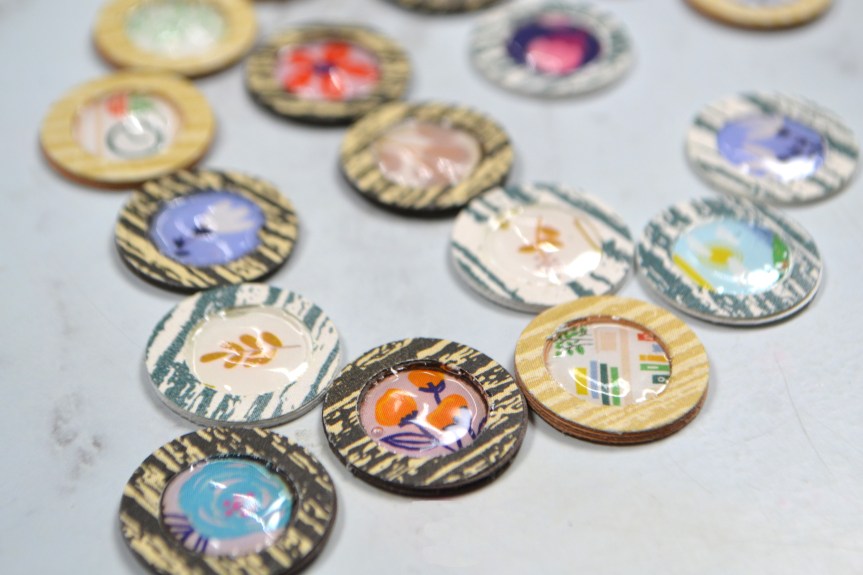
I did choose to top them off with a layer of Nuvo drops in clear for that domed flair effect, but that is optional. If you do the Nuvo, let them dry over night.

That is it! While it took a little bit of time, it wasn’t hard to create these little embellishments. Next time I may speed up the process by creating cut files in the Cricut to do all the circle & ring cutting for me. That way I could also get thinner rings as well. That would make them more button-like. So, while these aren’t exact replicas of wood button flair, I really like how the came out!

Of course the CKC blog has more forgery examples to check out. I hope this gave you some ideas on how you can create forgeries of your favorite products with supplies you already have on hand. Don’t forget to show off your stuff over on the CKC Facebook group, or tag us on Instagram @counterfeitkitchallenge or use #counterfeitkitchallenge.
CKC Kit Build April ’22

I love kit building and I am on the design team for the Counterfeit Kit Challenge project. We take an inspiration kit each month and proceed to replicate it, or as we say, counterfeit it. This is a free, friendly group that helps inspire you to use up supplies you already own. We are not about needing to buy the latest and greatest thing (though we won’t stop you if you enjoy new crafty goodies😉 ).

Our fearless leader, Lisa Hausmann, is our kit hostess for April. She chose a kit from Papers and Beyond called Follow Your Bliss. We are also welcoming Helen (DeRam) as our Guest Designer. She can be found on Instagram. Be sure to give her some love over there!

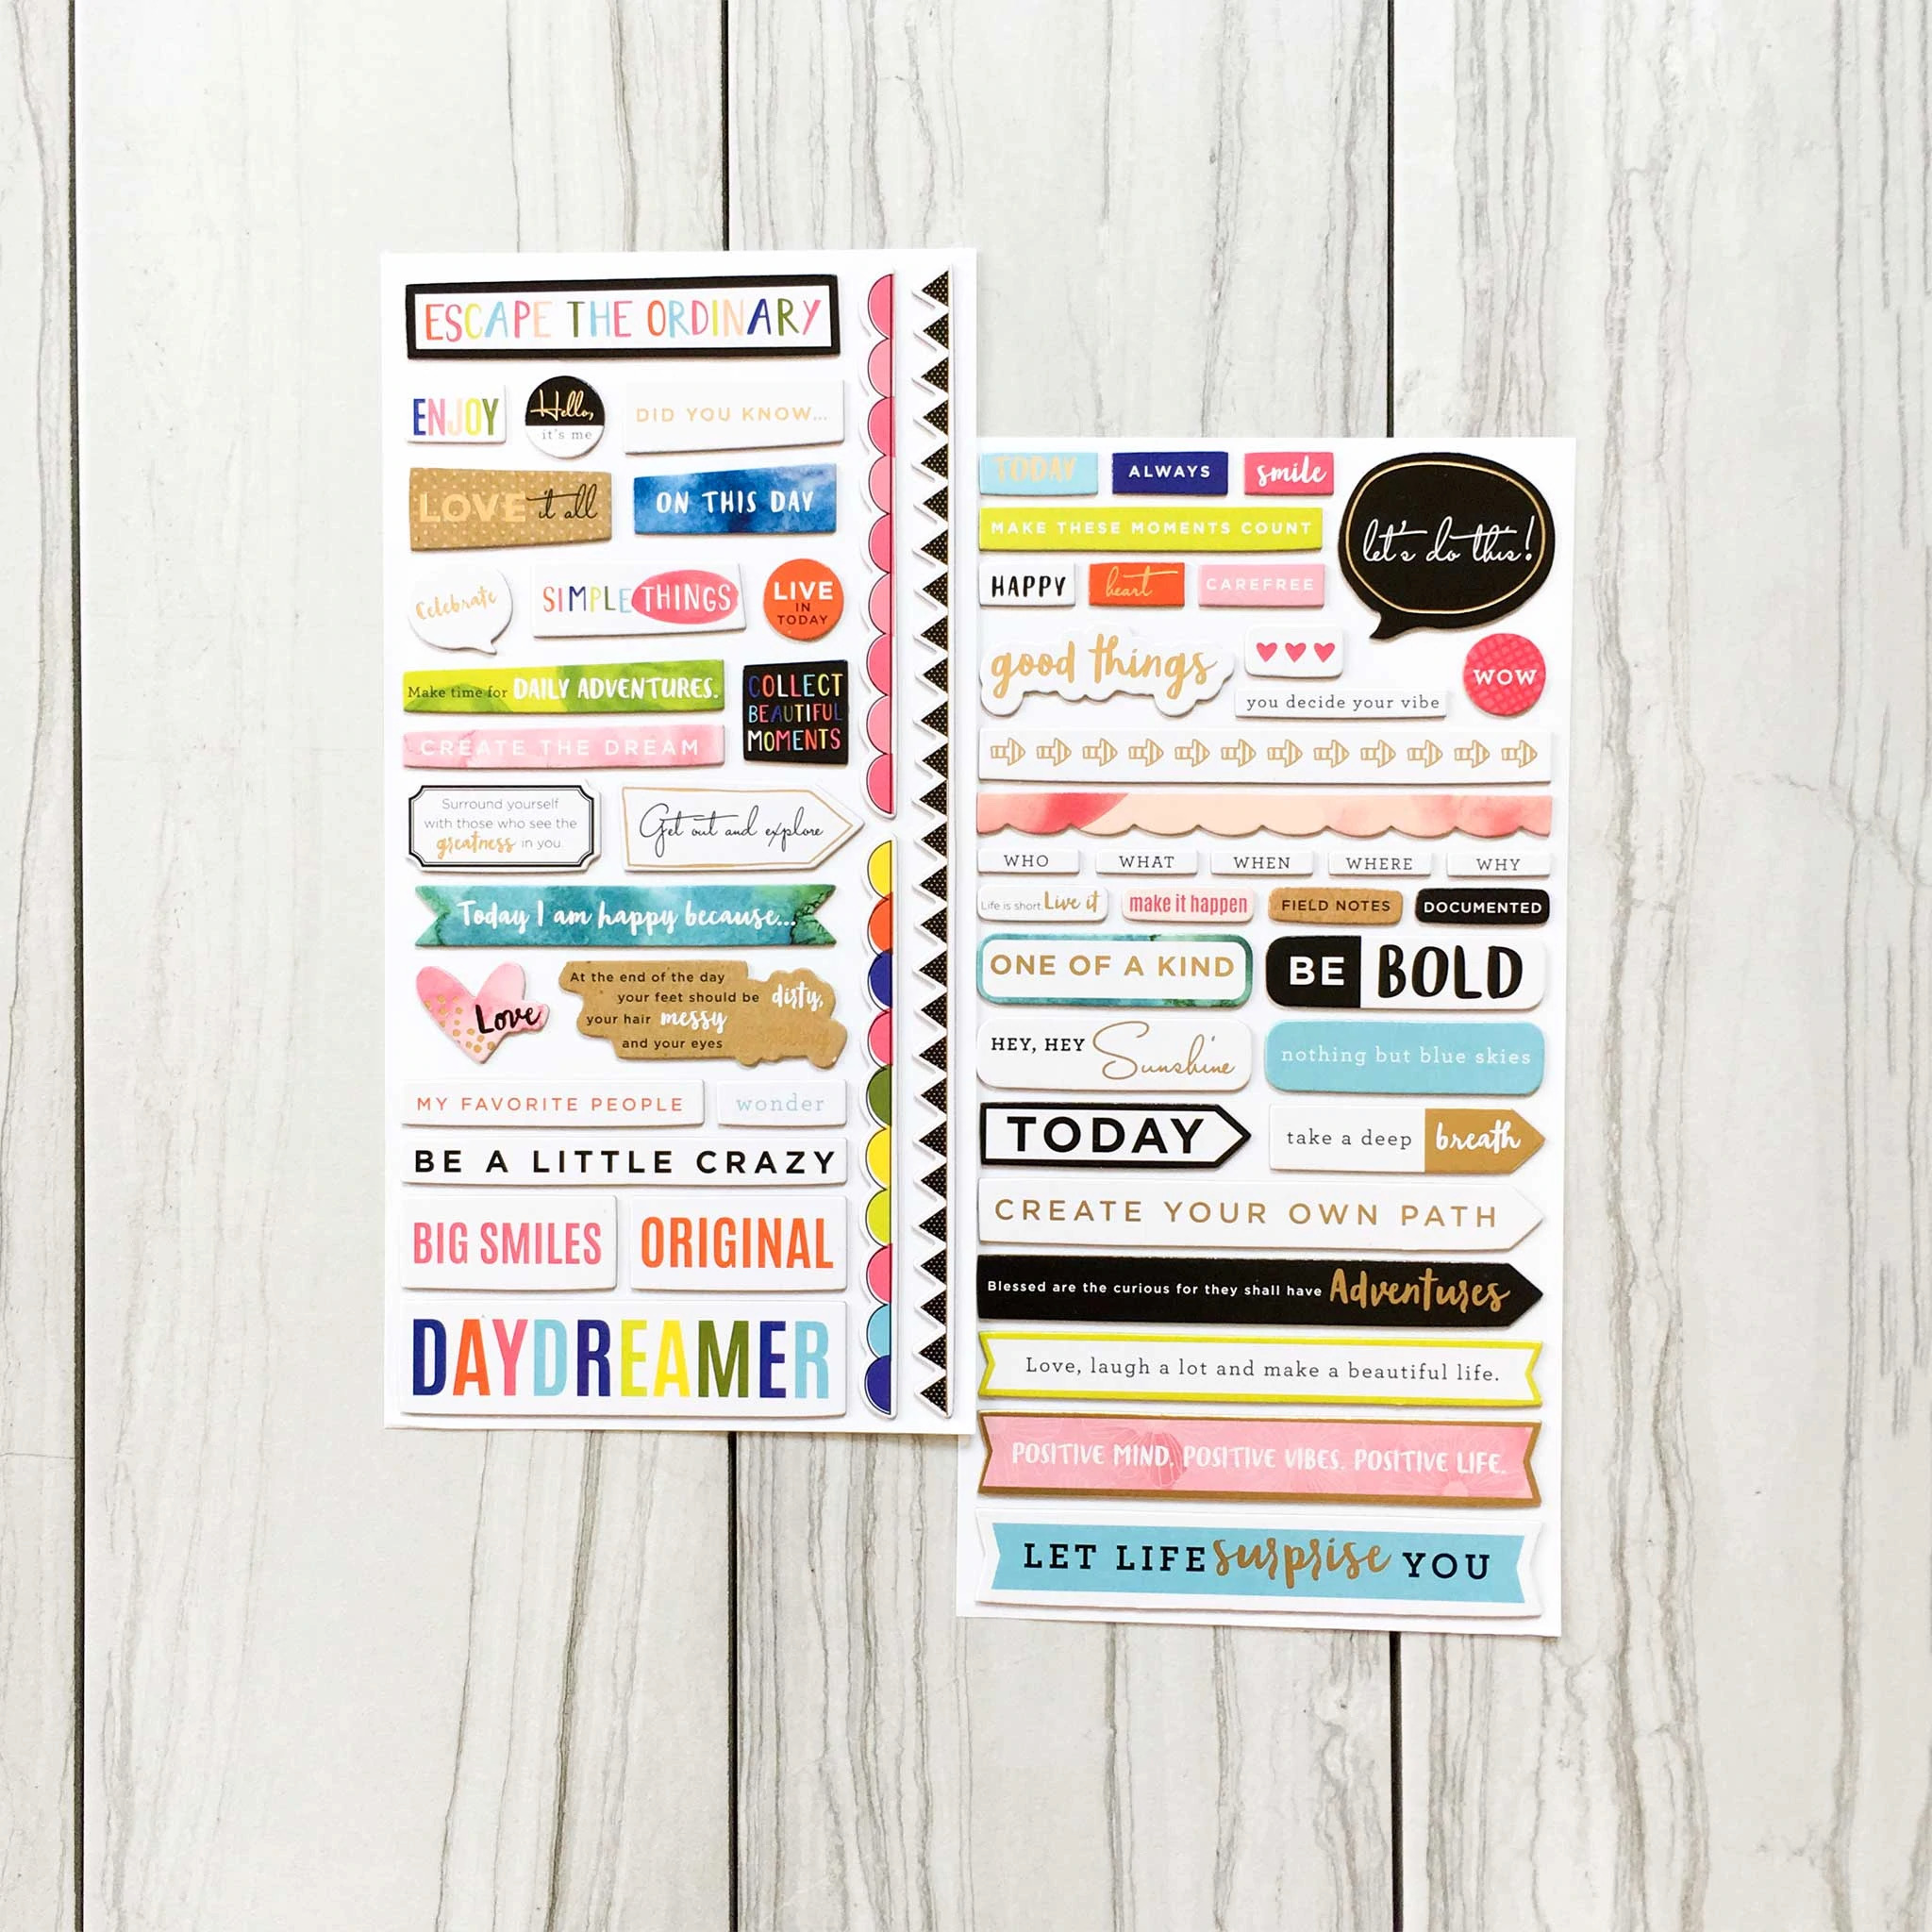
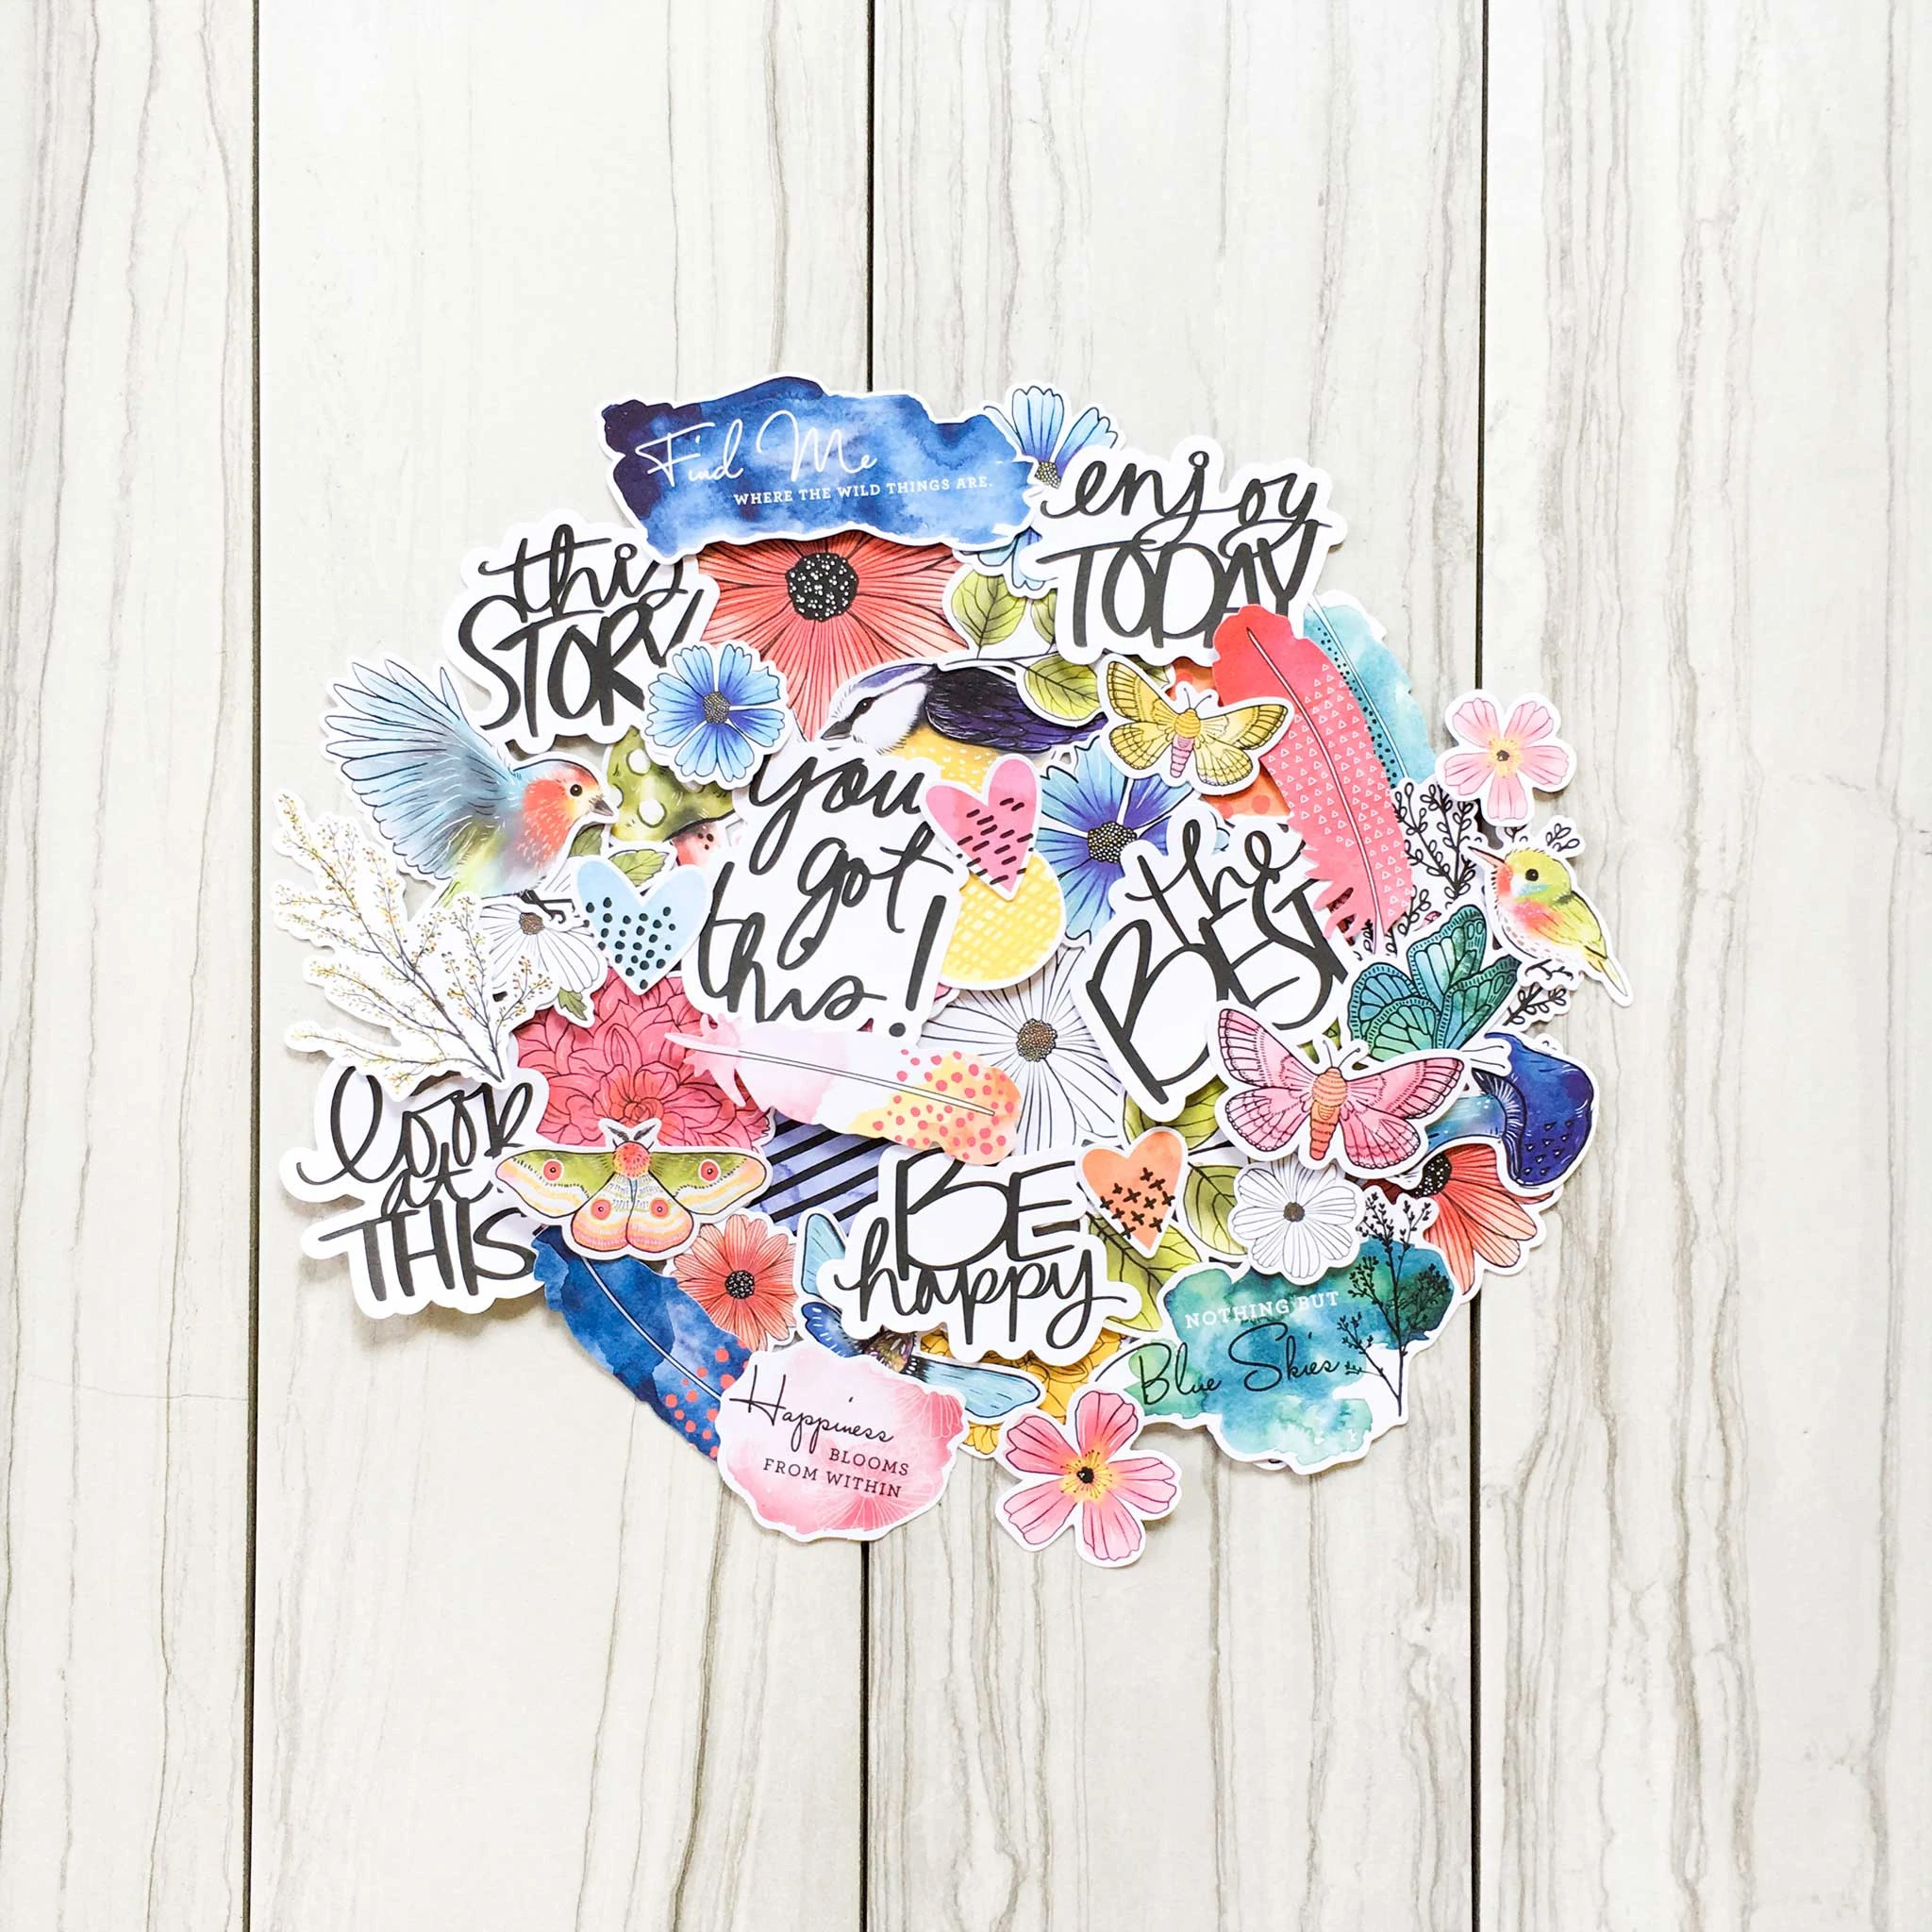
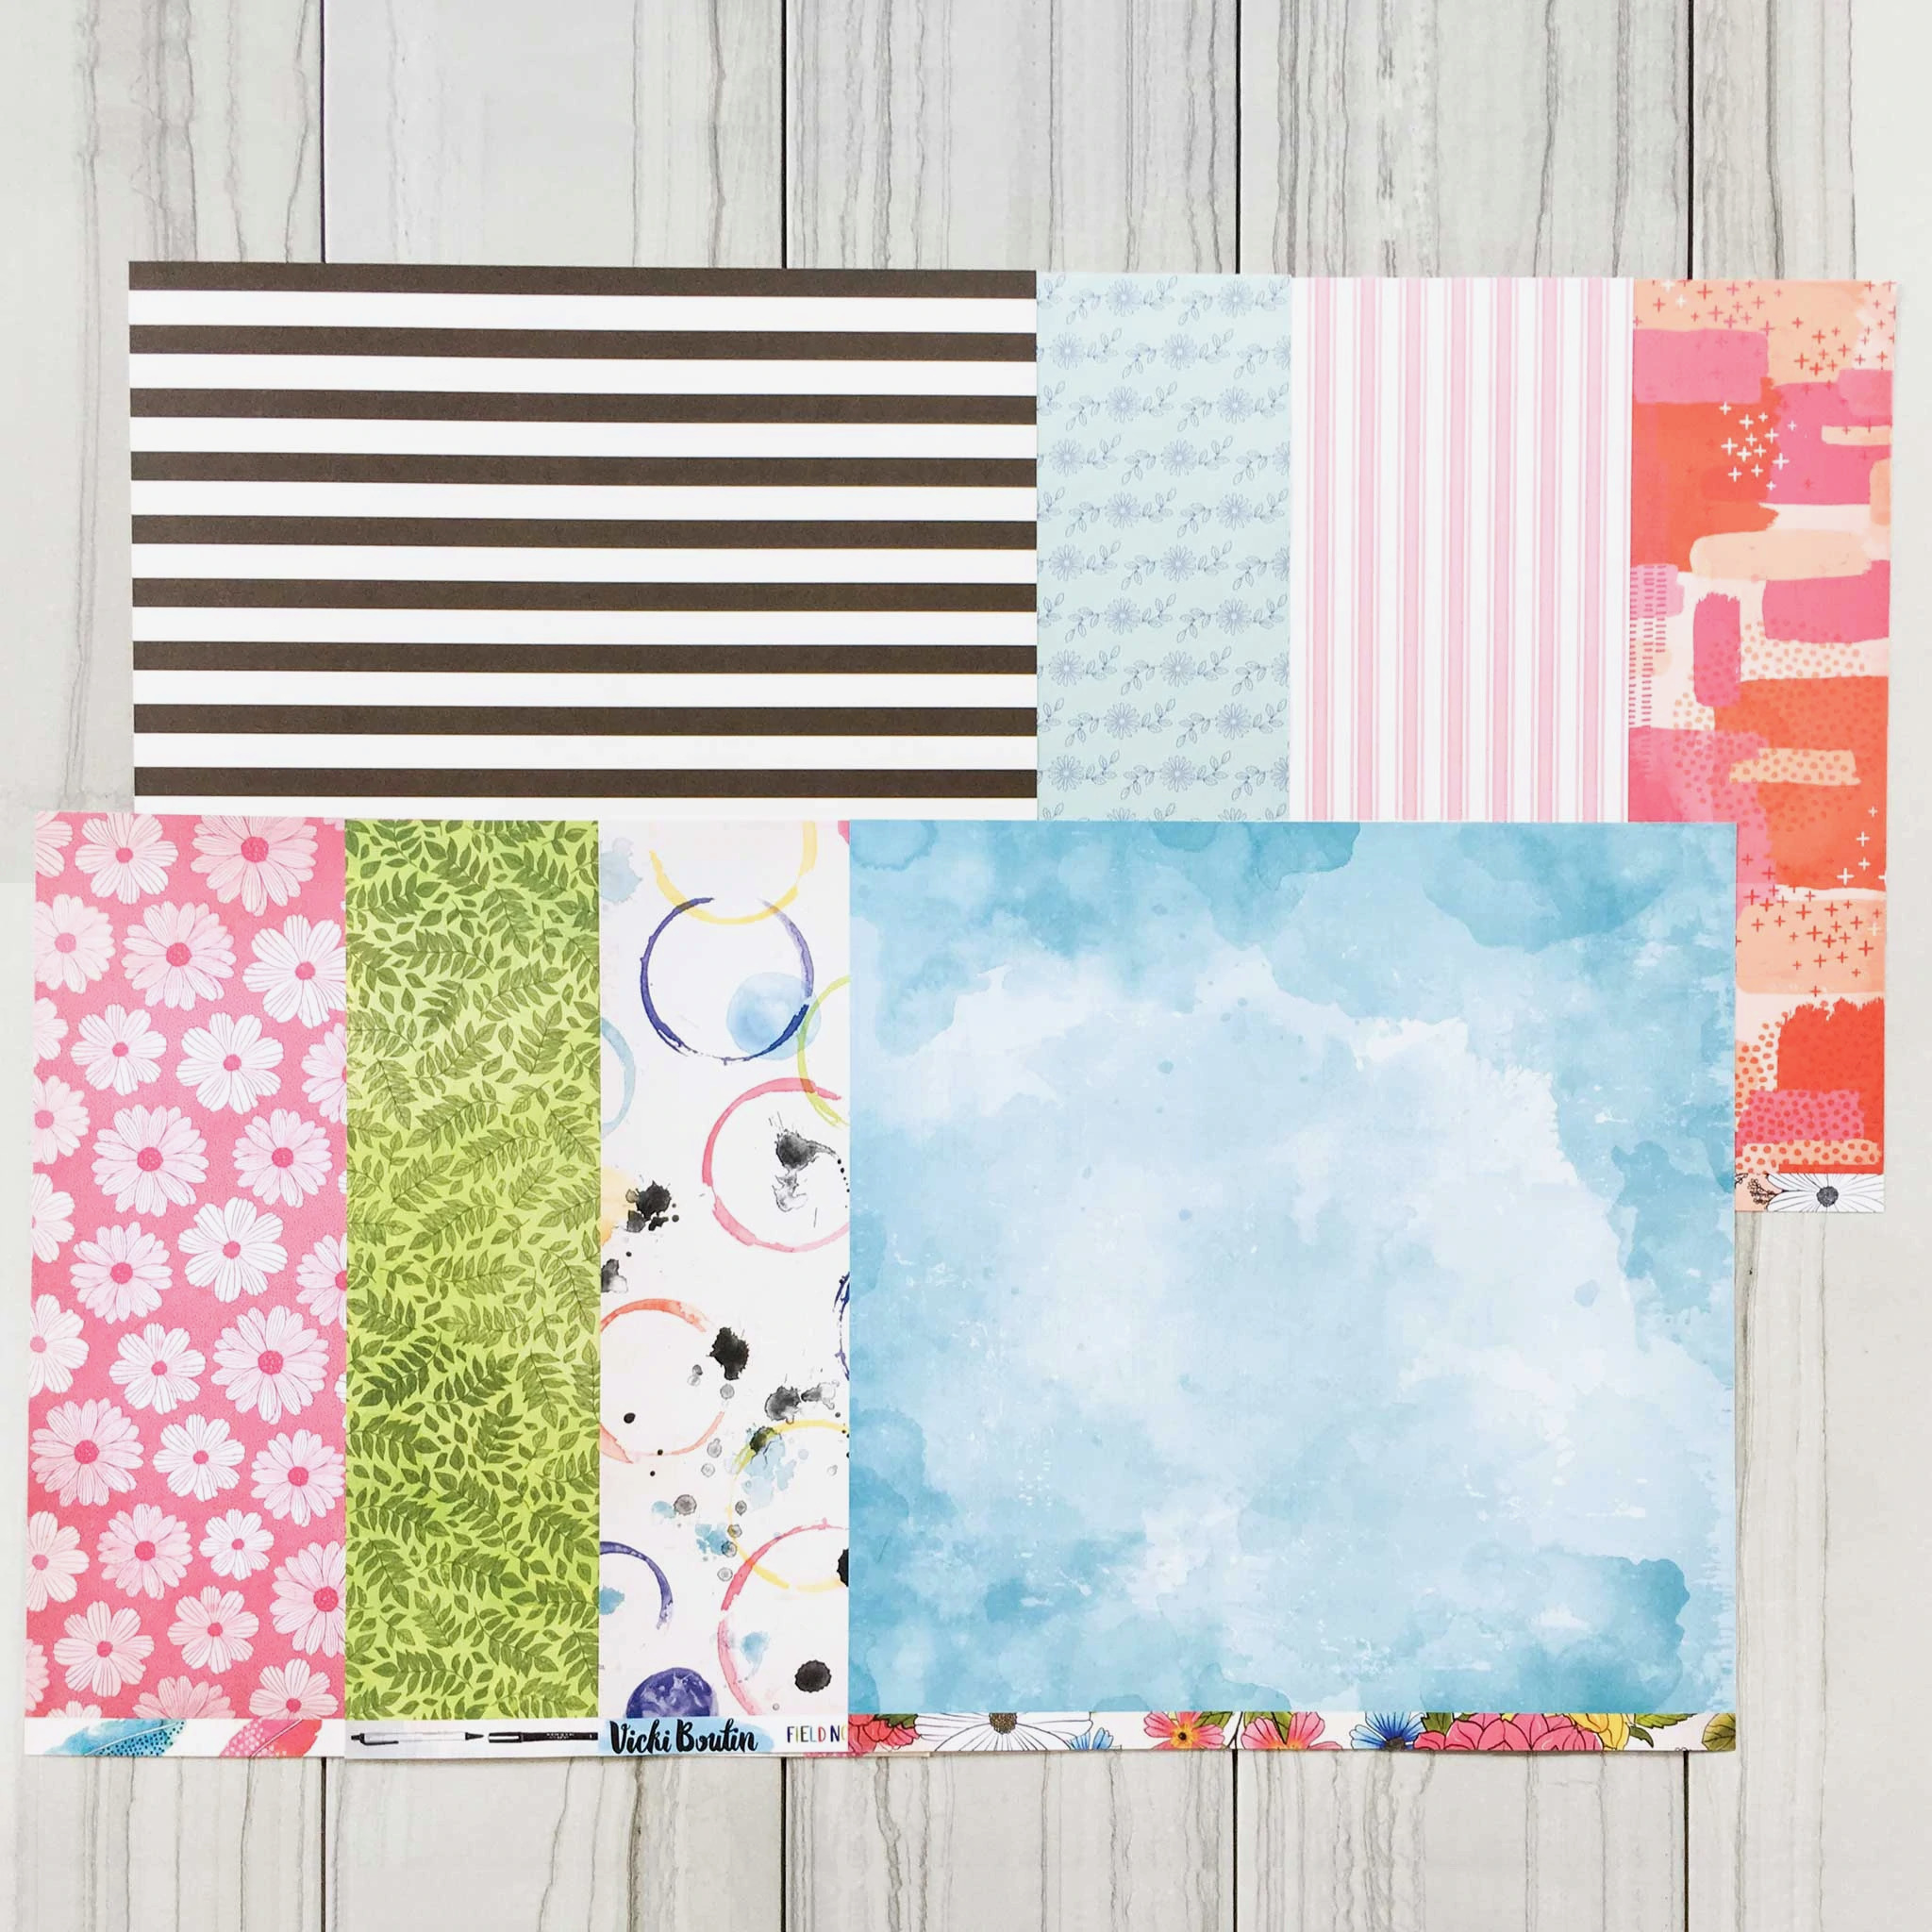
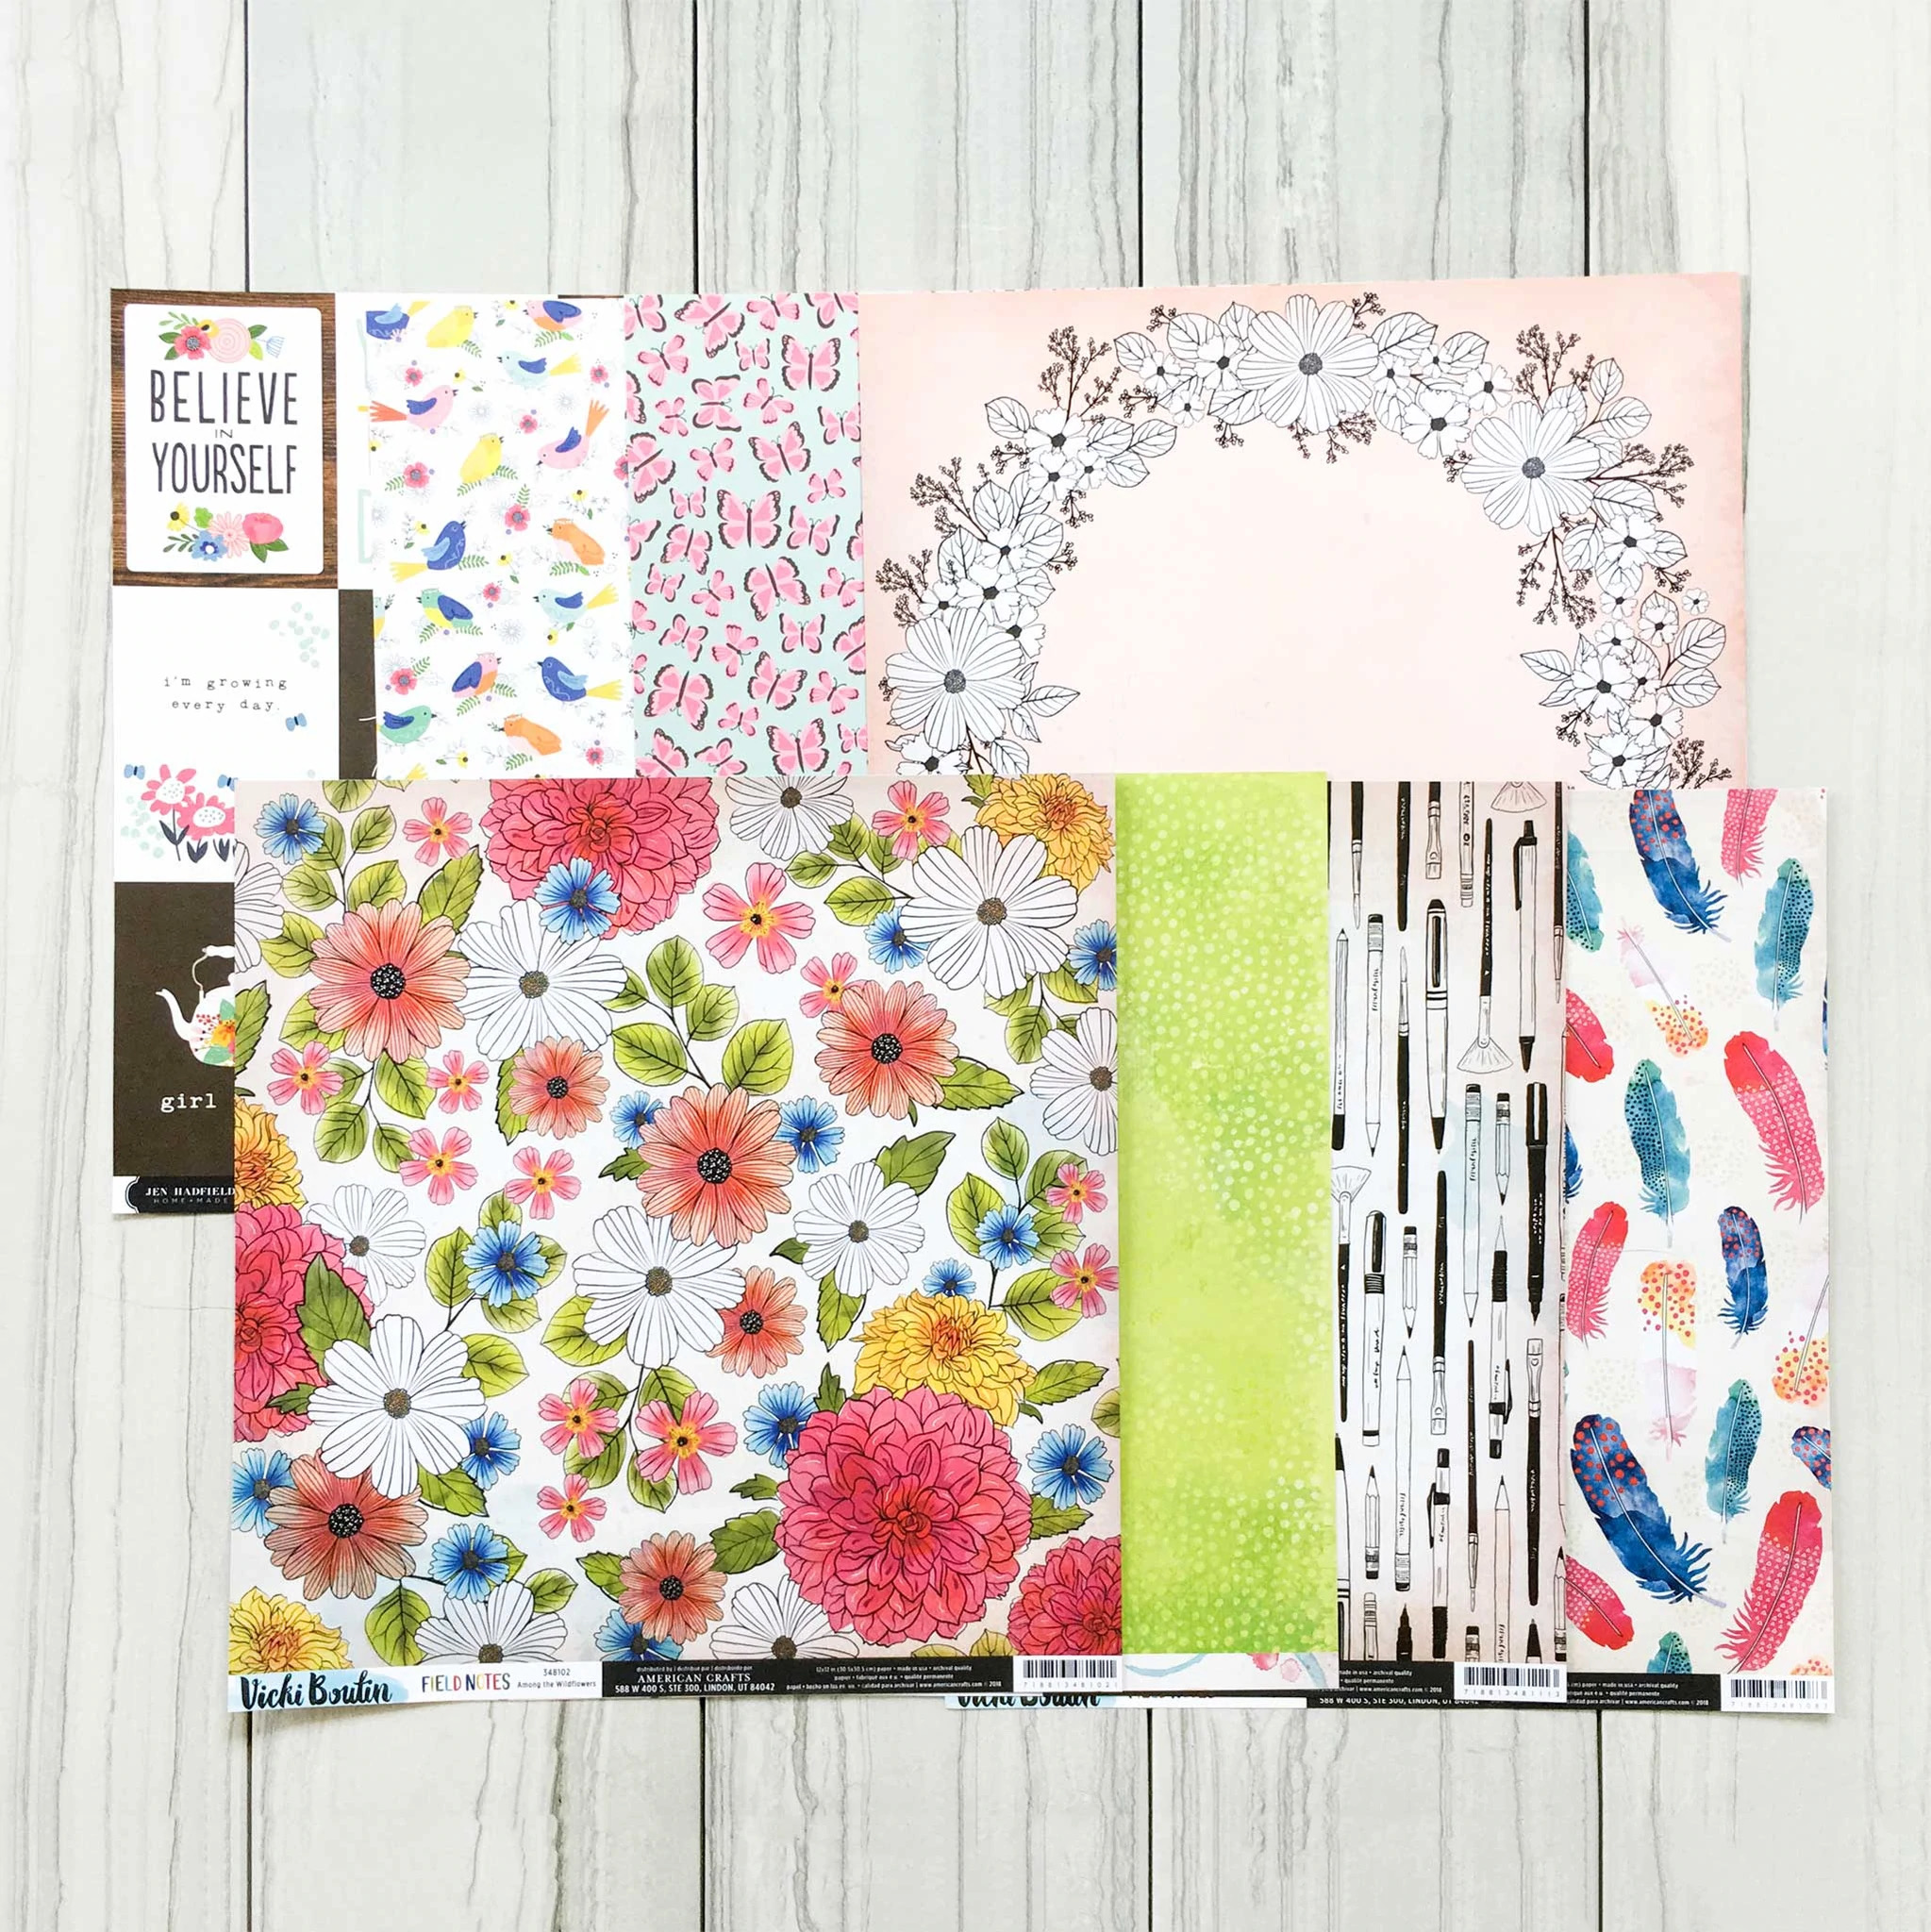
Here are just a few more detailed photos of what this kit has on offer.

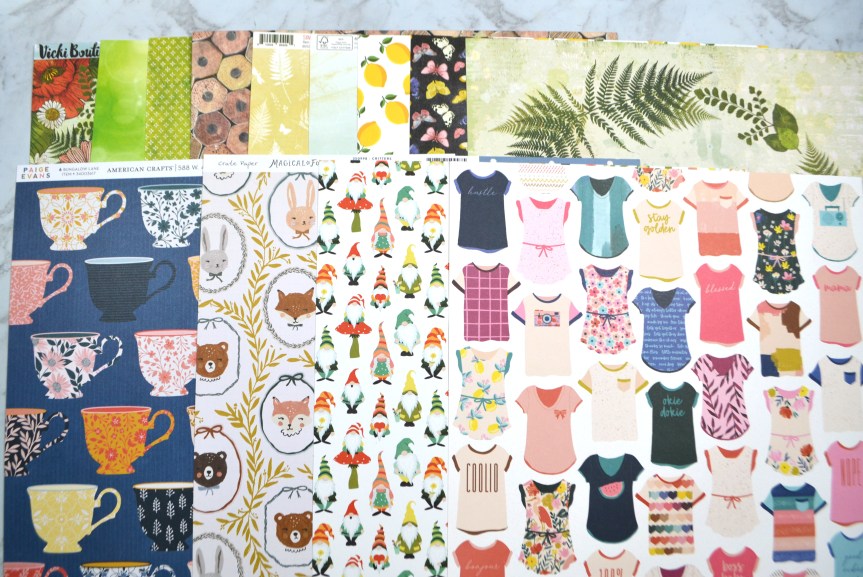
This kit is loaded with Jen Hadfield and Vicki Boutin products. As I am a fan of both designers I happen to own a chunk of their work. So, taking in all this inspiration, and the fact that I have some of these designer’s paper lines, here is the kit I came up with.

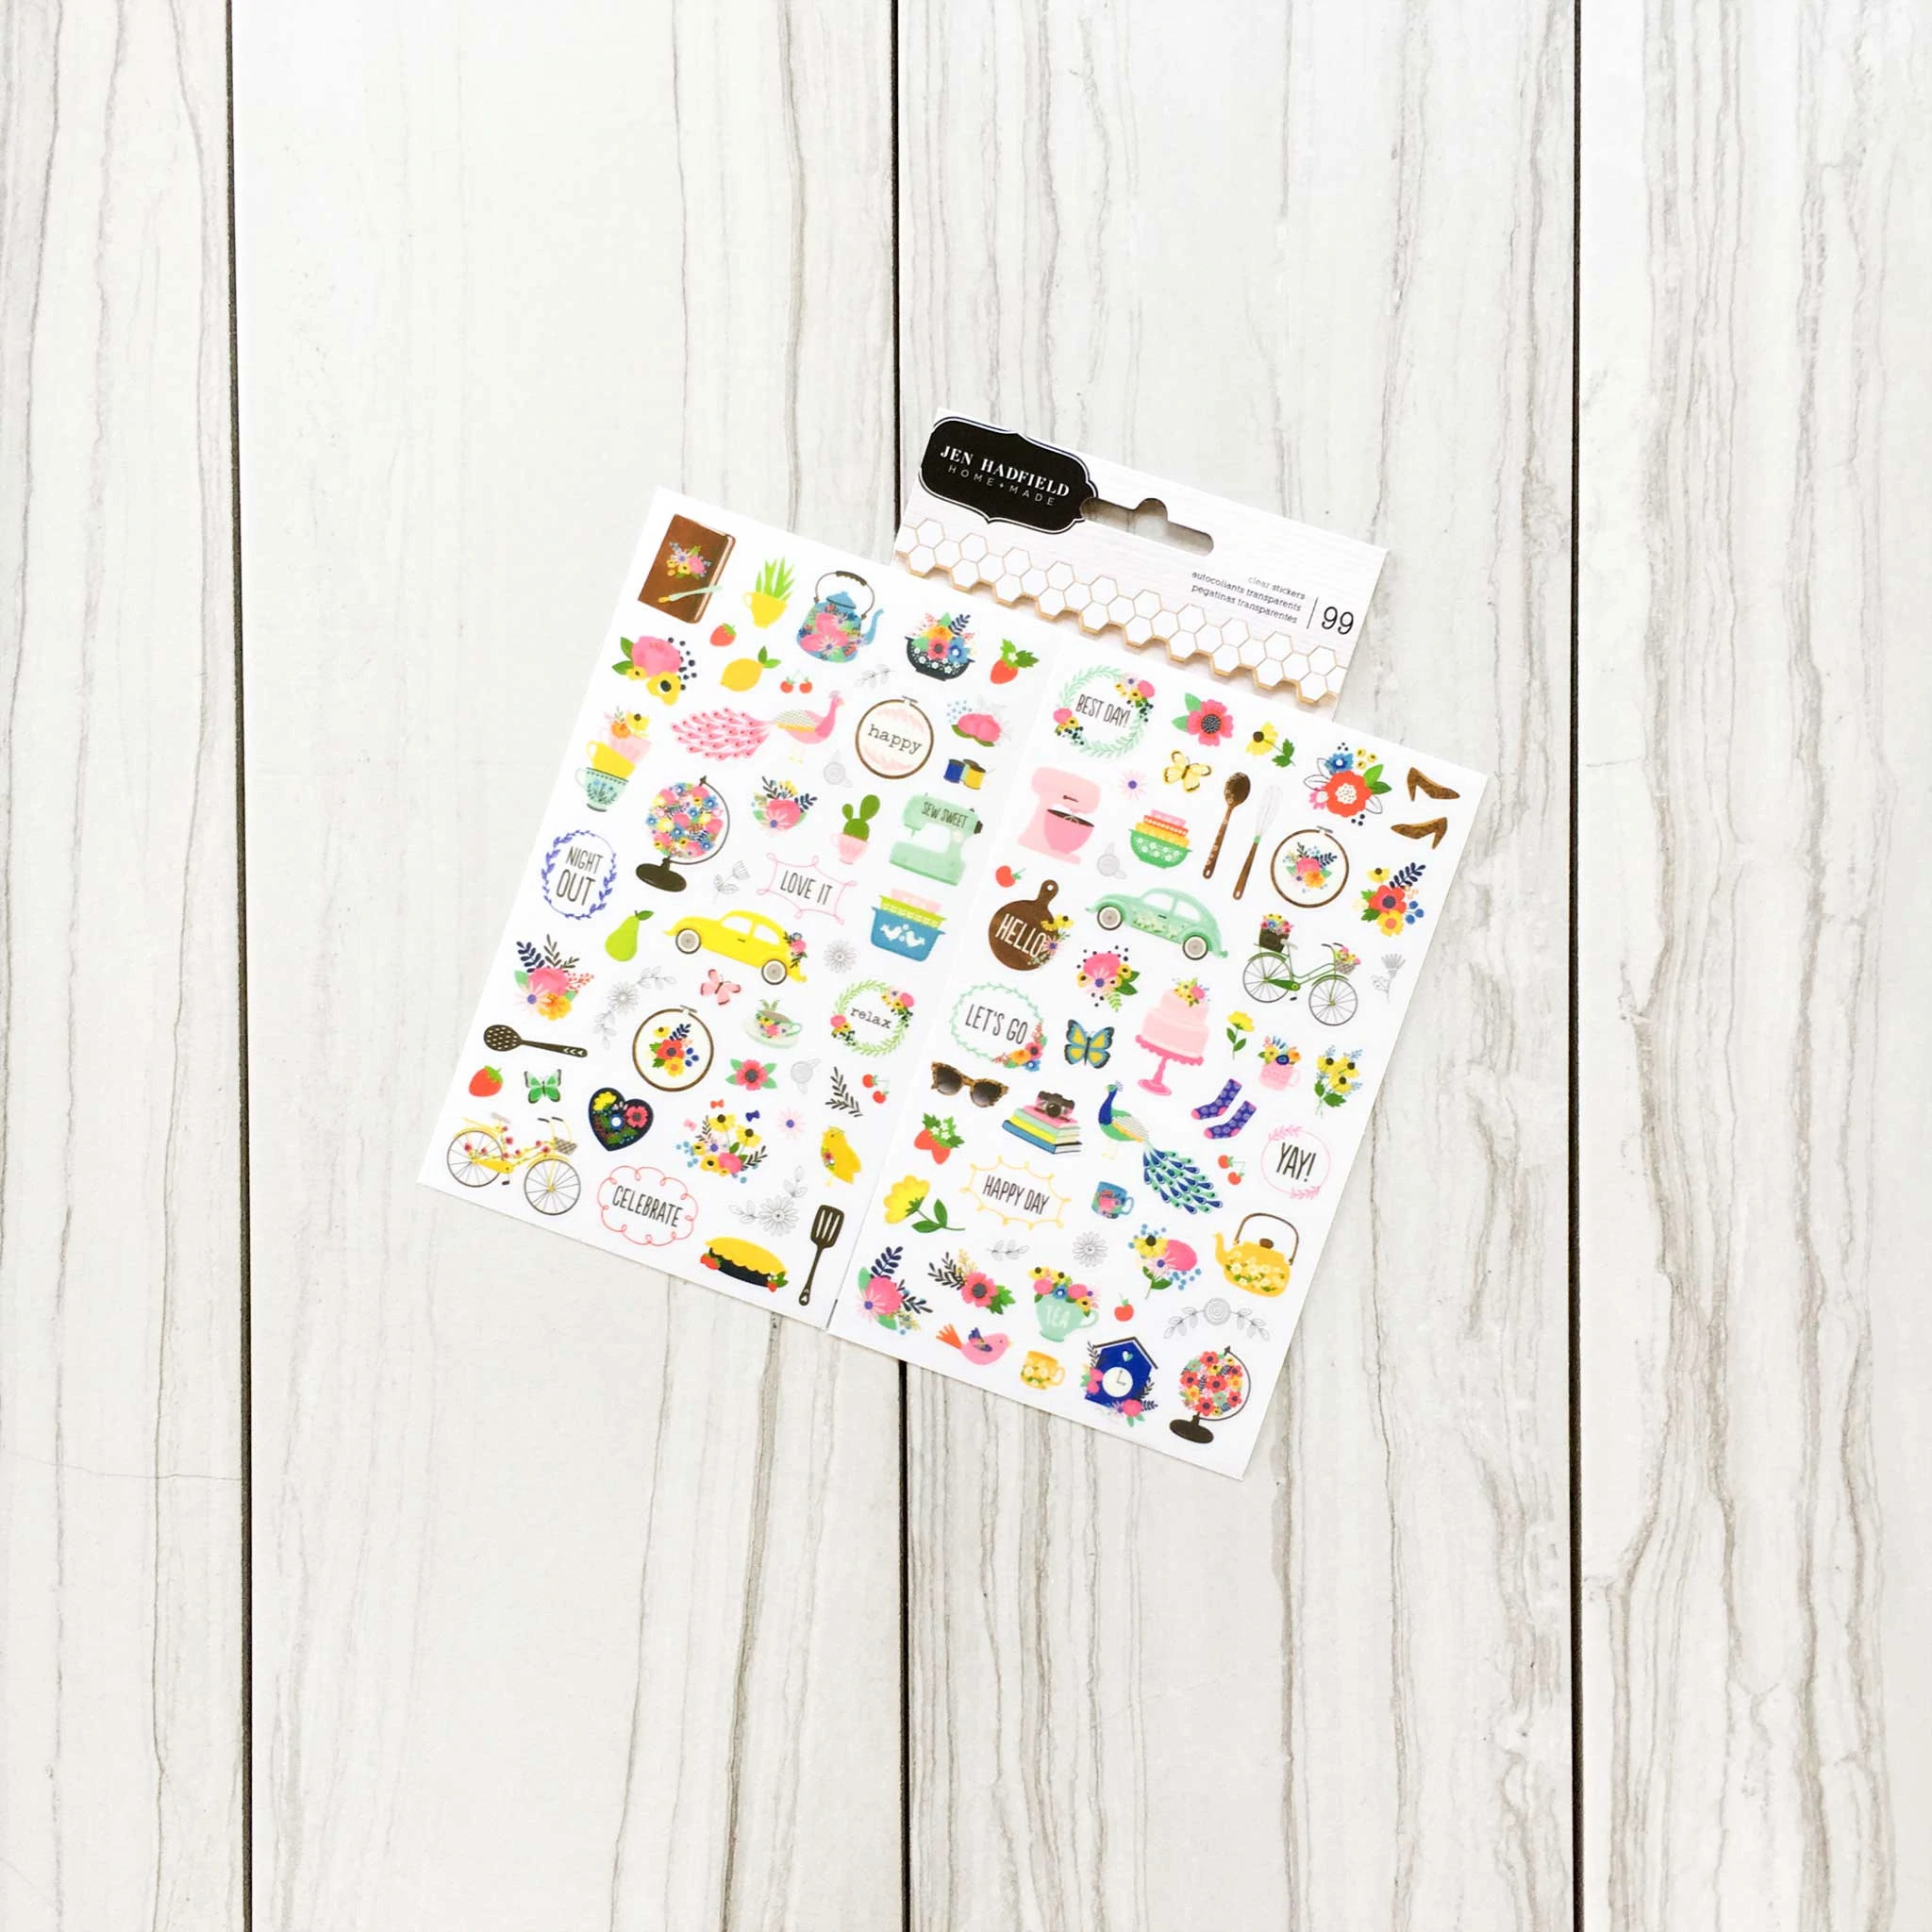
The top row of papers come directly from the kit inspiration. The lemon paper replaced the bird paper, but if you look at the Jen Hadfield sticker sheet, there are lemons in there! The second row of paper are extras that I was inspired to add. The cups are a nod to the food theme in the Jen Hadfield stickers. The critters are in line with some Easter thinking. The gnomes go along with an icon on the Vicki Boutin ephemera that I added. And the shirts are there for the home theme that emerged from the Jen Hadfield supplies.

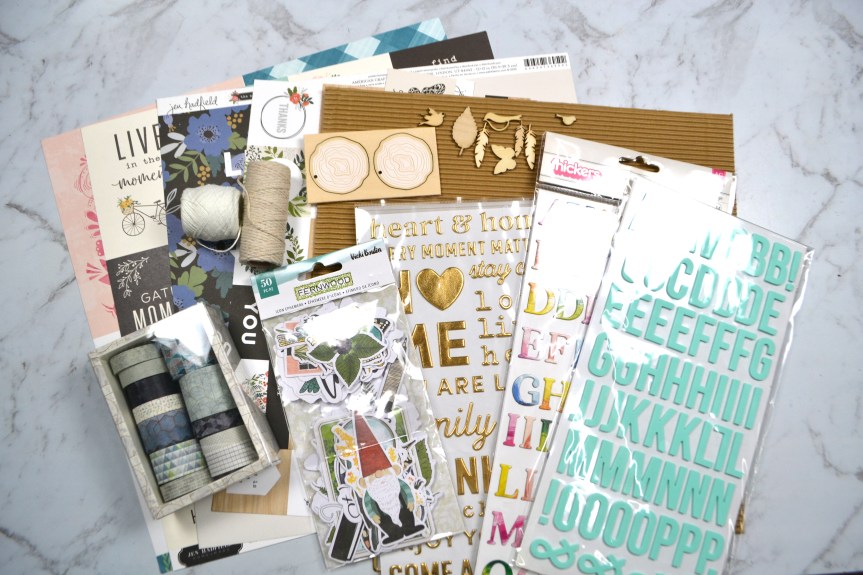
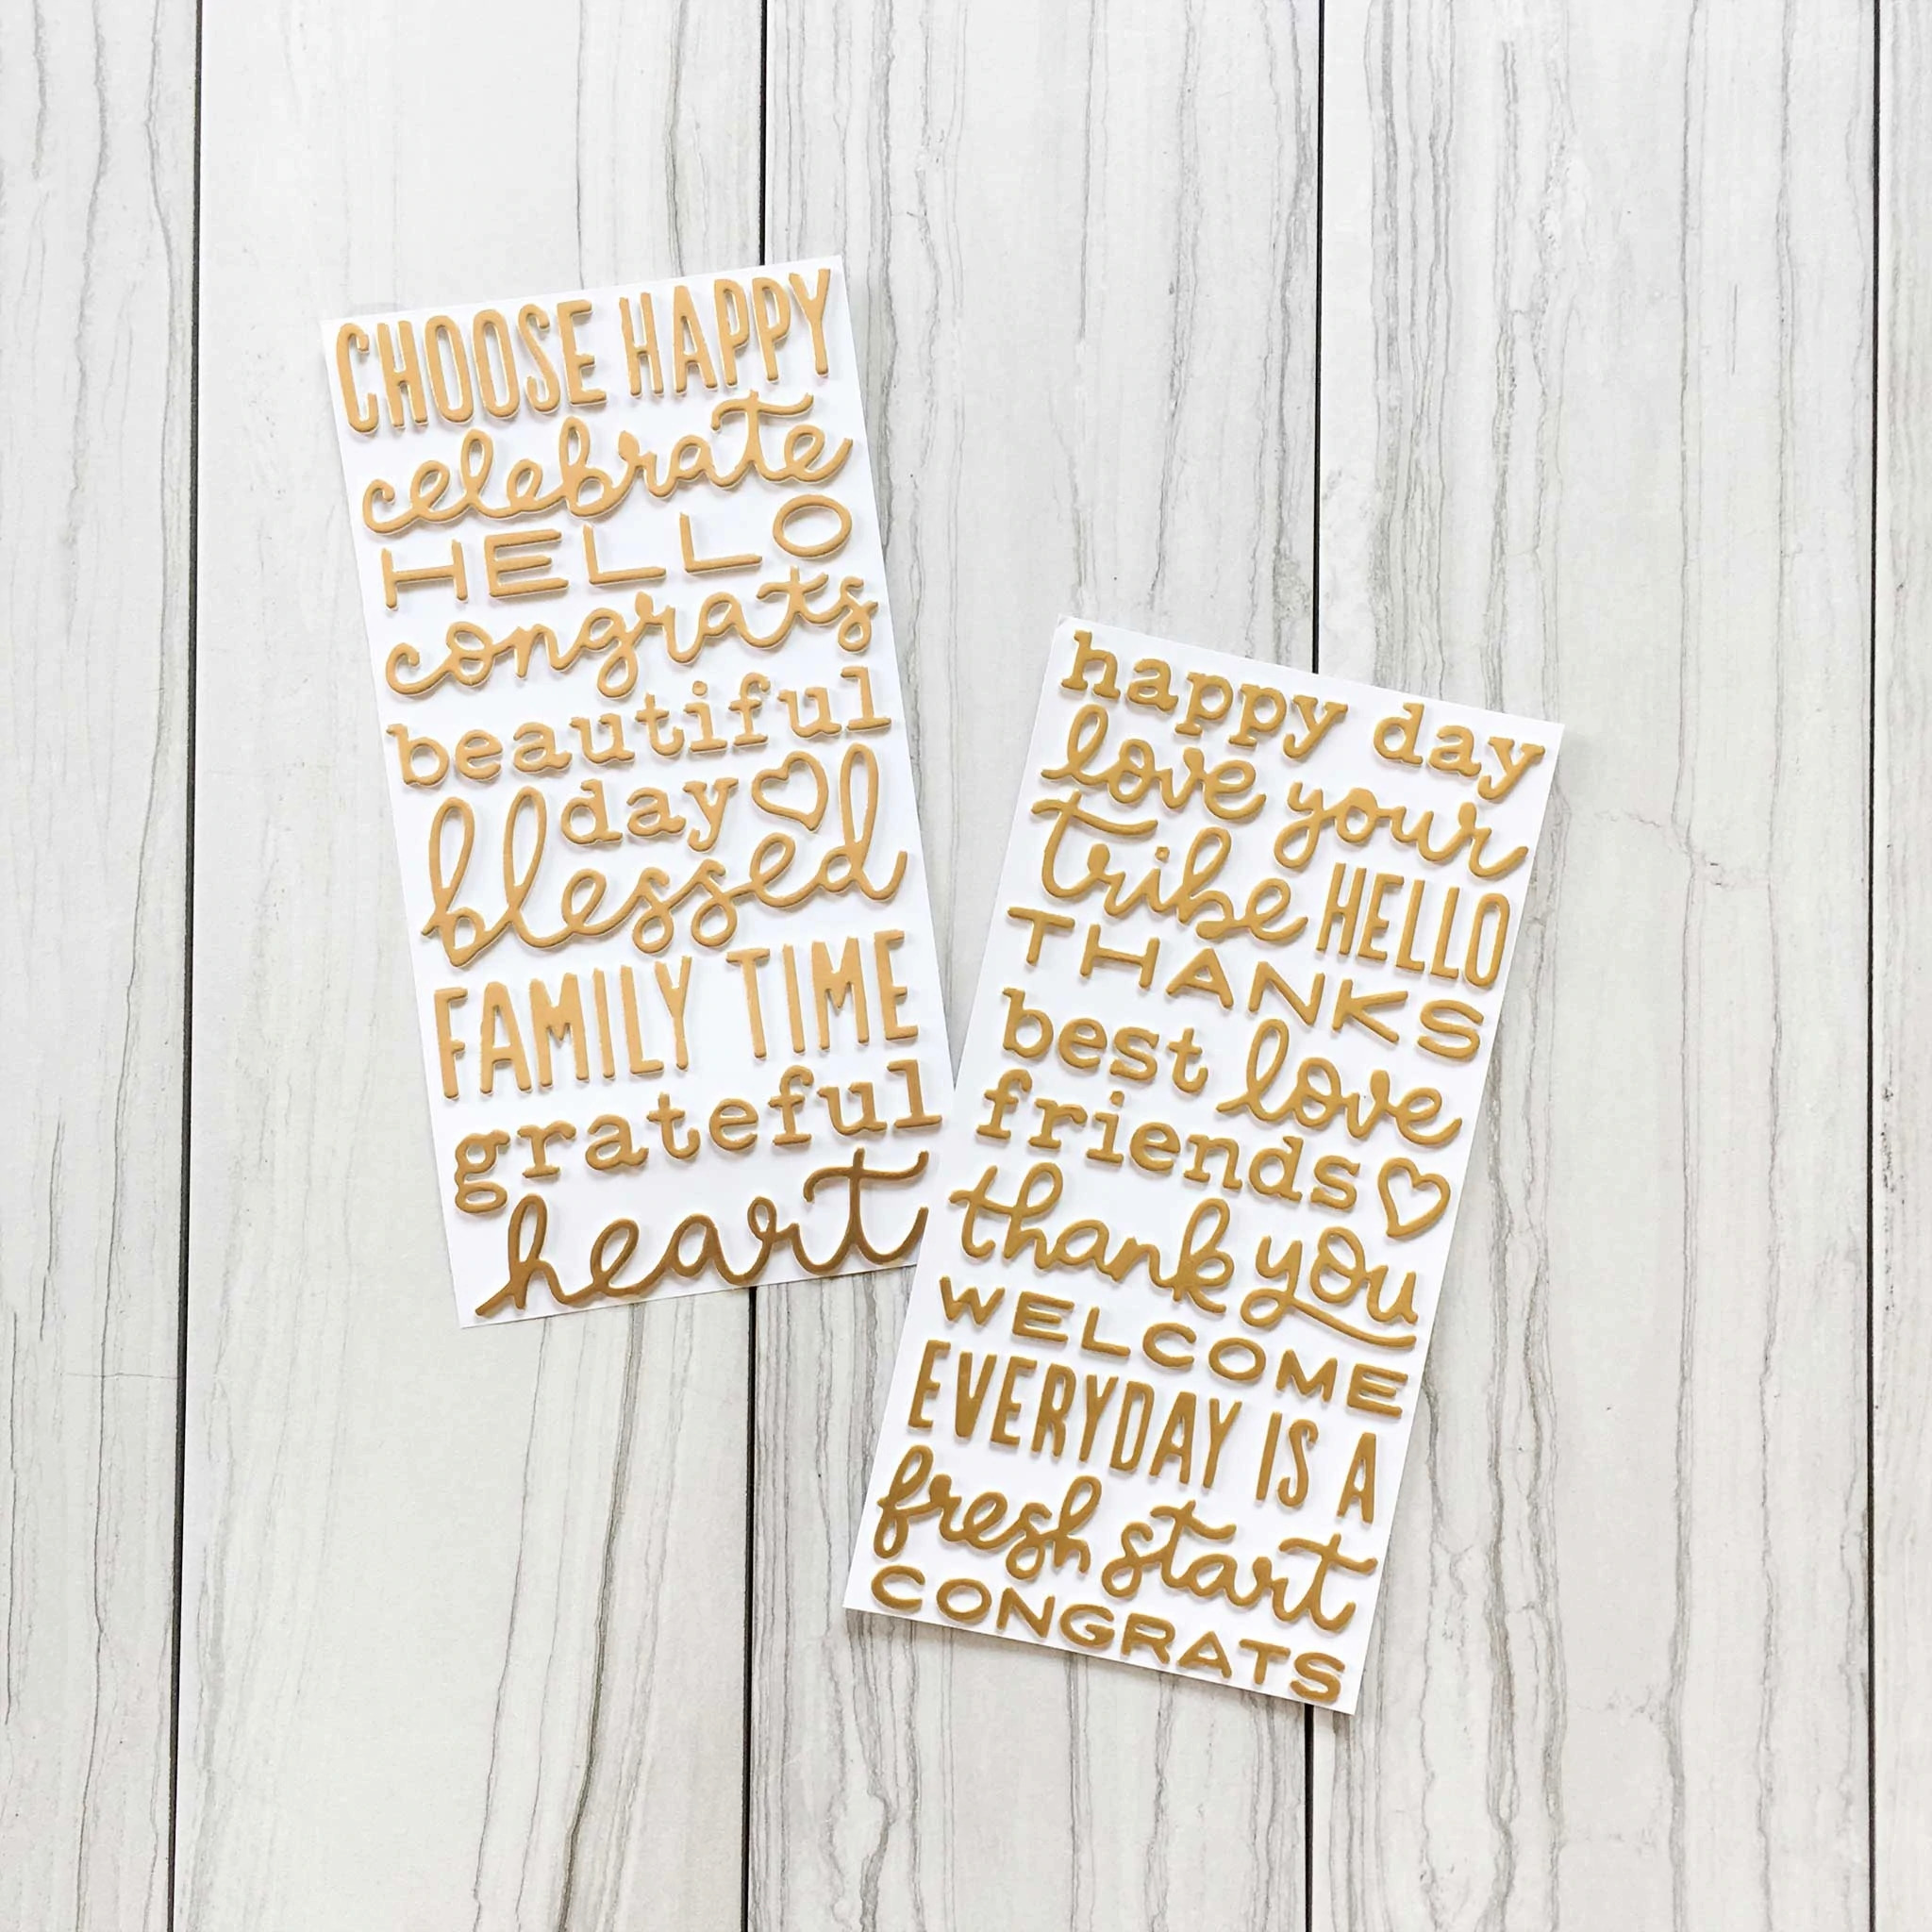
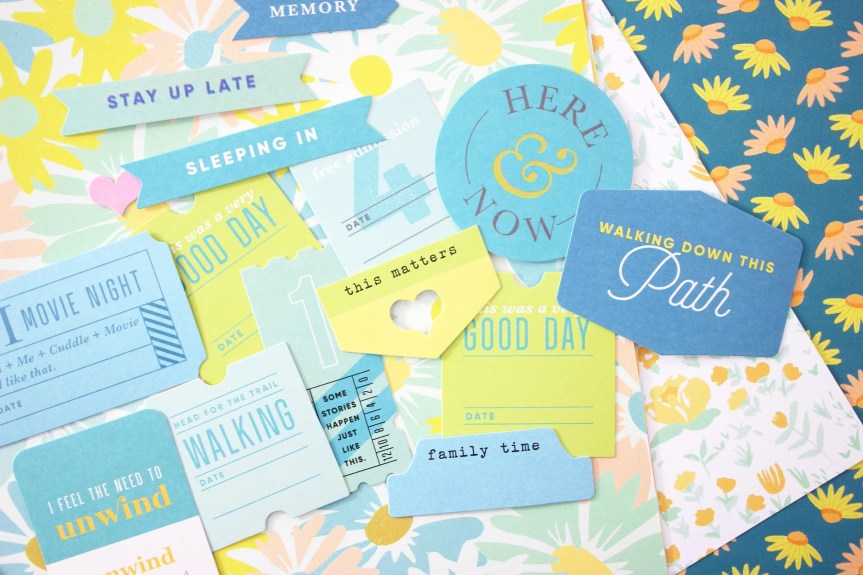
The embellishments started with a Jen Hadfield cut-apart sheet, much like the one in the inspiration papers. And I added in gold phrases, and Vicki Boutin die cuts. Plus birds, butterflies and feathers from many of the icons made for great embellies. I chose those in wood veneer inspired by the wood buttons. I also added corrugated cardstock for more wood vibe. I needed more texture so in with the twines. As I bonus I had that washi tape sitting on my desk from my recent washi review so I tucked that in as well. Add some alphas and the kit is complete.

You can hear my thoughts that went into all the choices I made for this kit in my video. There is also a sneak in there about what I have coming for the Forgery on the Fourth project.

I hope you can follow along with the other designers and see how the interpreted their kits.

Here’s the full hop link list

Have fun kit building and don’t forget to show off your stuff over on the CKC Facebook group, or tag us on Instagram @counterfeitkitchallenge or use #counterfeitkitchallenge.
Freebie Friday, March 2022

It is that time once again! I love learning, creating and sharing. That is why I offer freebies up to you each month. I have both a layout sketch (in printable pdf as well as editable psd) and an electronic cut file (in svg). This month I was inspired by the reawakening of all the plants and they burst into spring (and the sweat and dirt that goes into keeping the garden looking good!!). You can see all the details in my reveal video, or read on for the short version.

Here is a closer look at the sketch and the project I created based on this sketch.

If you are a cut file lover, I’ve got you covered too! My video covers any details for this file and any tips and tricks I have to share. Be sure to get all the info by watching above.

Download the pdf sketch here, the psd version here, the cut file here or, head over to my Freebies Page to peruse the catalog of files I have offered in the past. And if you have any ideas for sketch or cut files, I’d love to hear your ideas. I can’t make promises but I can take suggestions!

Scrap BACKWARDS! March ’22

If you have spent any time at all with me here on the blog or over on my YouTube channel, then you know that I like scrapbooking kits. The Scrap Backwards facebook group (totally free inspiration group) has their own twist on approaching scrapbook kits. They start with an older supply, often something that has been left neglected because of difficulty using it, or it being not a favorite item. Then they build a kit around that specific supply. In this way, the group is very much a stash busting process. Yet it can be made fresh by tucking in favorite new supplies as well.

The photos come very last in the process and that is why it is called scrap backwards. So many crafters often start with the photos and pull supplies to match that. Since we end with the photos, this process is also a process in letting go… letting go of the perfect product, the perfect color palette, the perfect embellishment. When we let go of the just right, it frees us up to tell more stories. We don’t waste time hemming and hawing over what will be perfect. We put somethings together, learn from what we liked and didn’t like, and move on to the next project.

This month I started with the embellishment pack on the left. I love the pack, but the color palette has been a challenge for me. So I pulled the set of brads next. It has the reds and blacks, but pulls in some other colors to work with as well. Since I had an expanded color palette I could now pull in papers and a few other goodies. Pulling in orange washi tape, which is a color I avoid, challenged me to use up that supply that has been hanging round in my space.

You can catch more details in my video.

So far with this mini kit I’ve created just one layout. I’ll update things here if/when I get more layouts done.

I hope you are inspired to check out this group and do your own backwards scrapping.

CKC Challenge #2

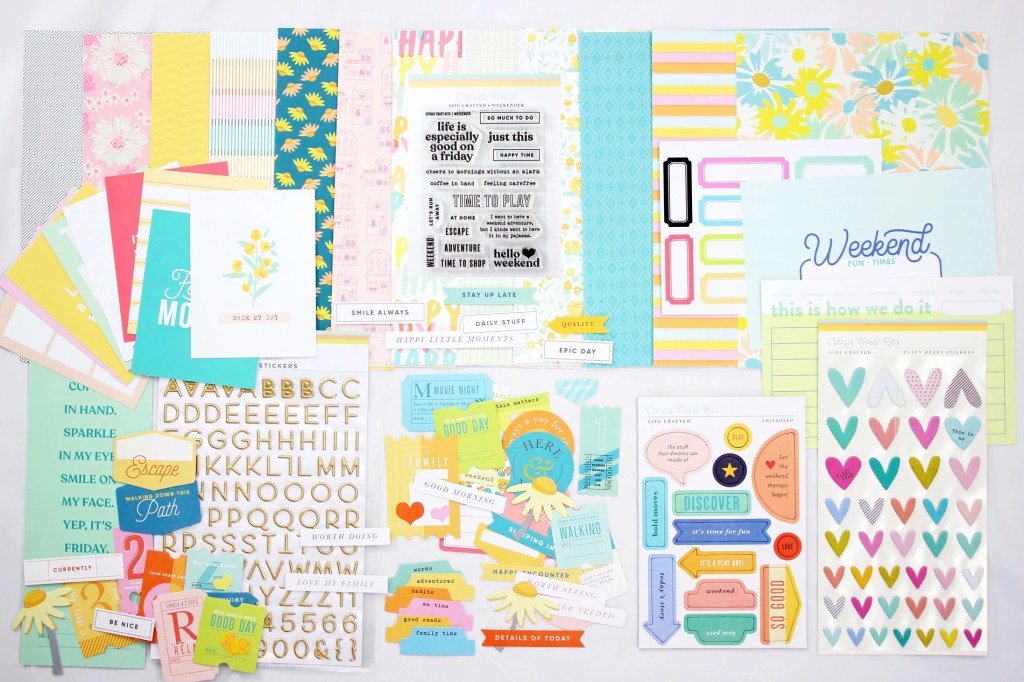
It is time for the second challenge over on the Counterfeit Kit Challenge blog. Our hostess for the month, Tara was inspired by pattern paper in the inspiration kit she chose. First off, lets take a look at the whole kit from Citrus Twist Kit from March 2020 called Life Crafted, Weekender.

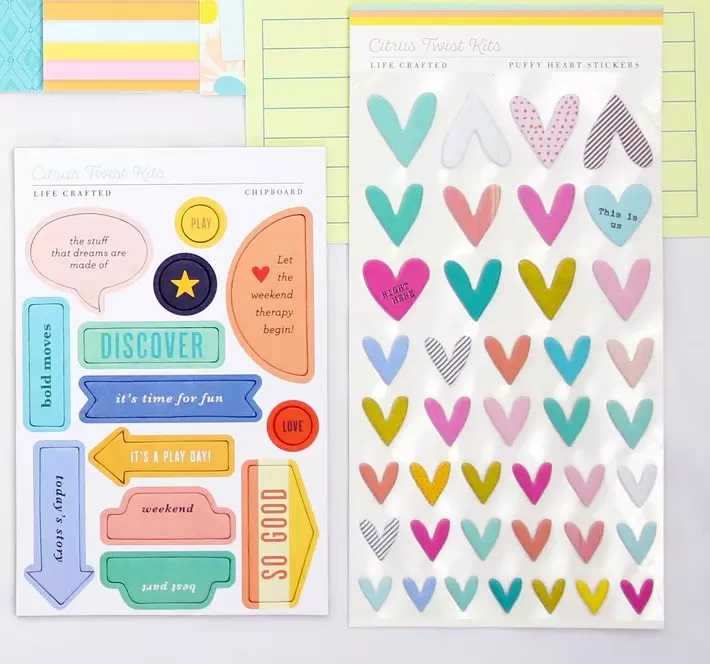
Now let’s check out that pattern paper. That piece down on the bottom left says “happy happy happy” all over it. And so that is our challenge. Scrap about something that makes you happy! Easy peasy.

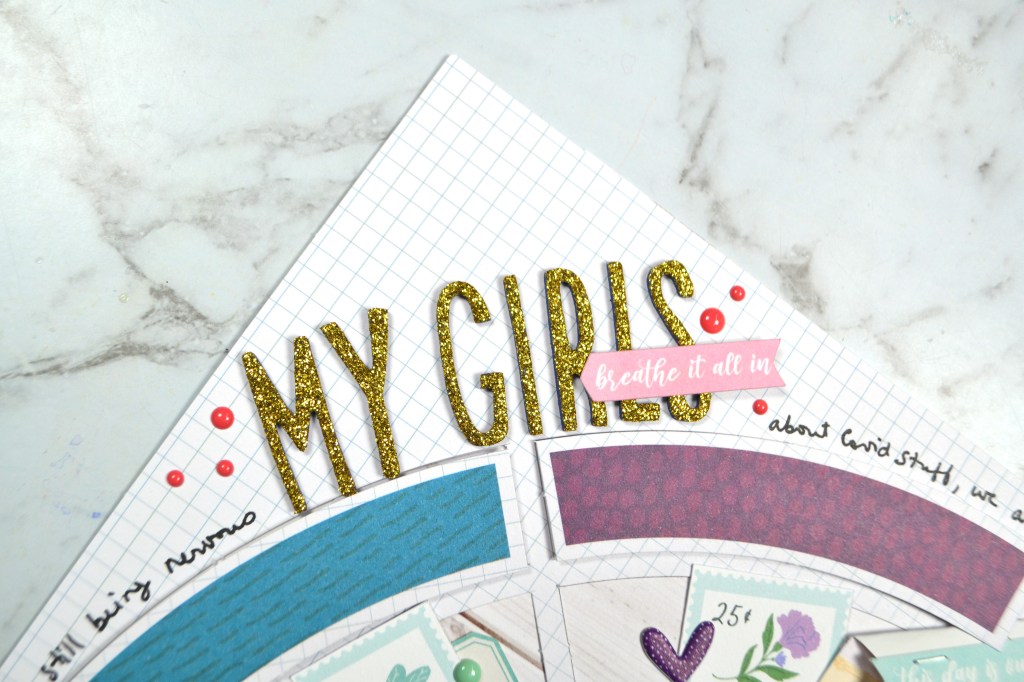
What is making me the most happy right now is that my girls are back to their theater life after covid restrictions and delays. That is making us ALL happy!

You can hear (and see) more in the video.

And here is the final layout and a few closeups.

I hope you can scrap what makes you happy!

SCT Sampler Kit Unboxing, March ’22

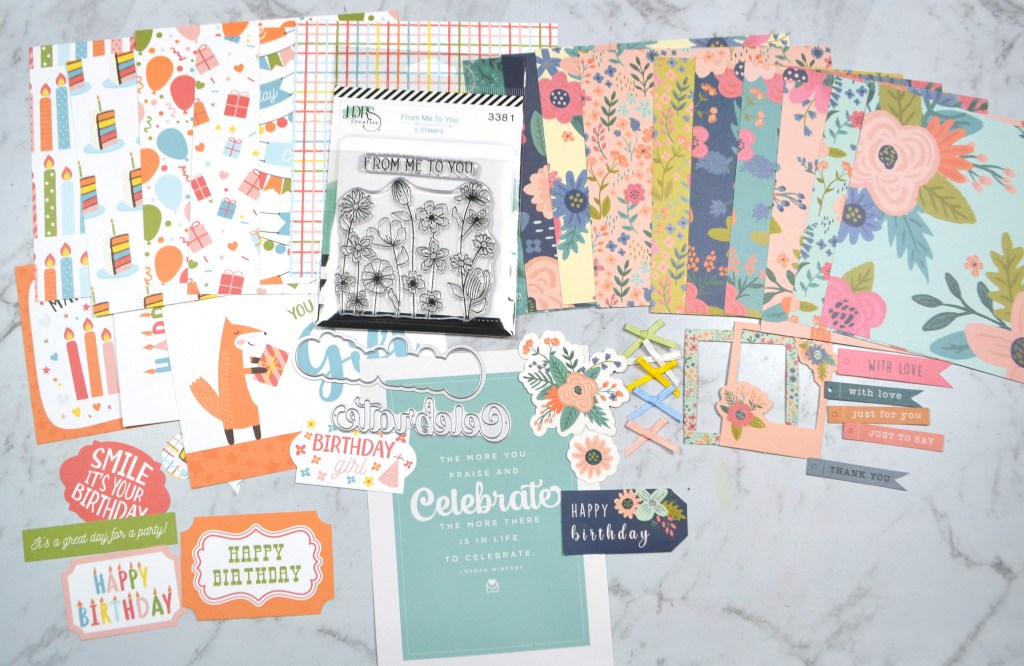
Getting my SCT Sampler kit in the mail each month is a bright spot. This small affordable package is just enough newness + surprise to keep me satisfied. This month the package contains brands new to the SCT kits — LDRS and Crafter’s Companion. I’m fairly new to both of these myself so I’m excited to learn more what they have to offer. In addition, we have more from Echo Park, and the 2022 die set from SCT. Such a full package.

Here is a list of the included supplies:

You can see the full set of products and my project process in this video.

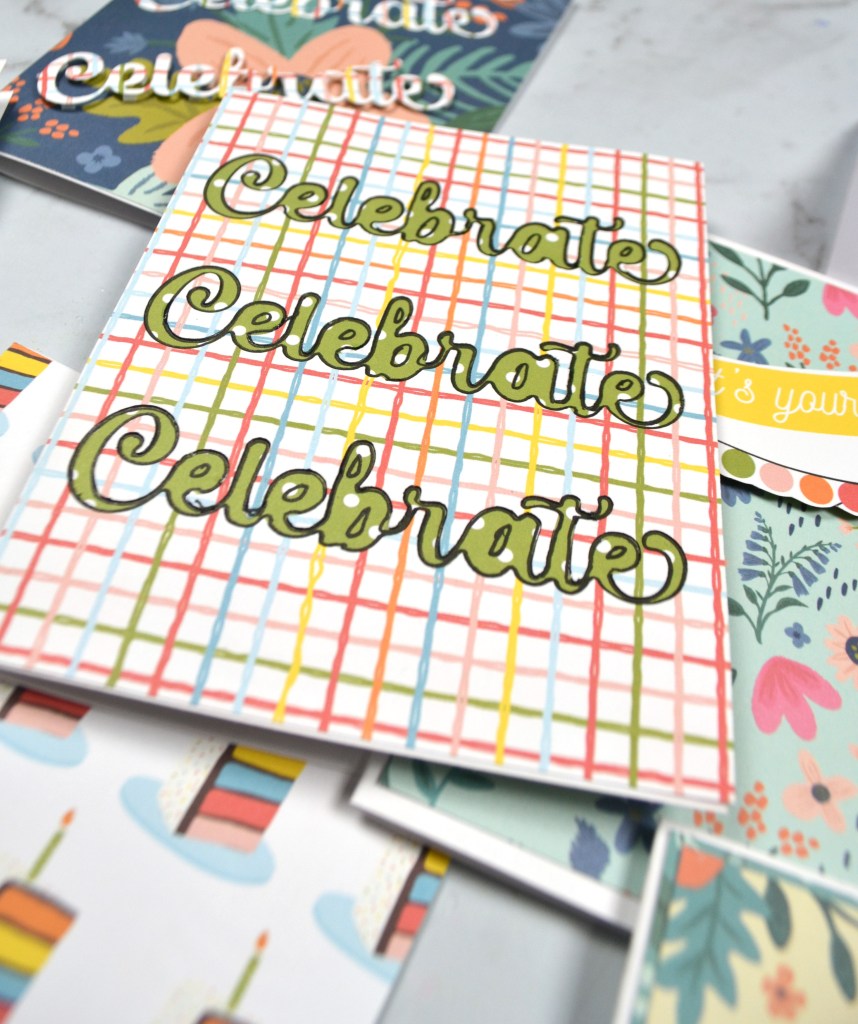
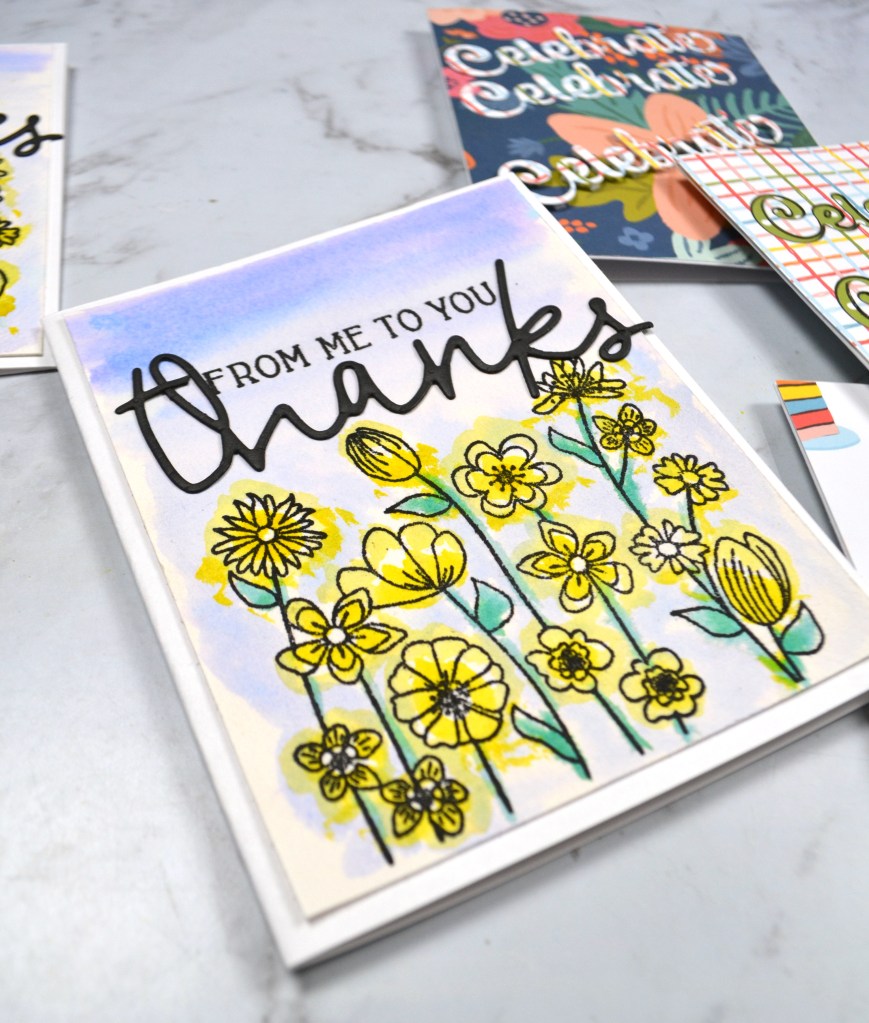
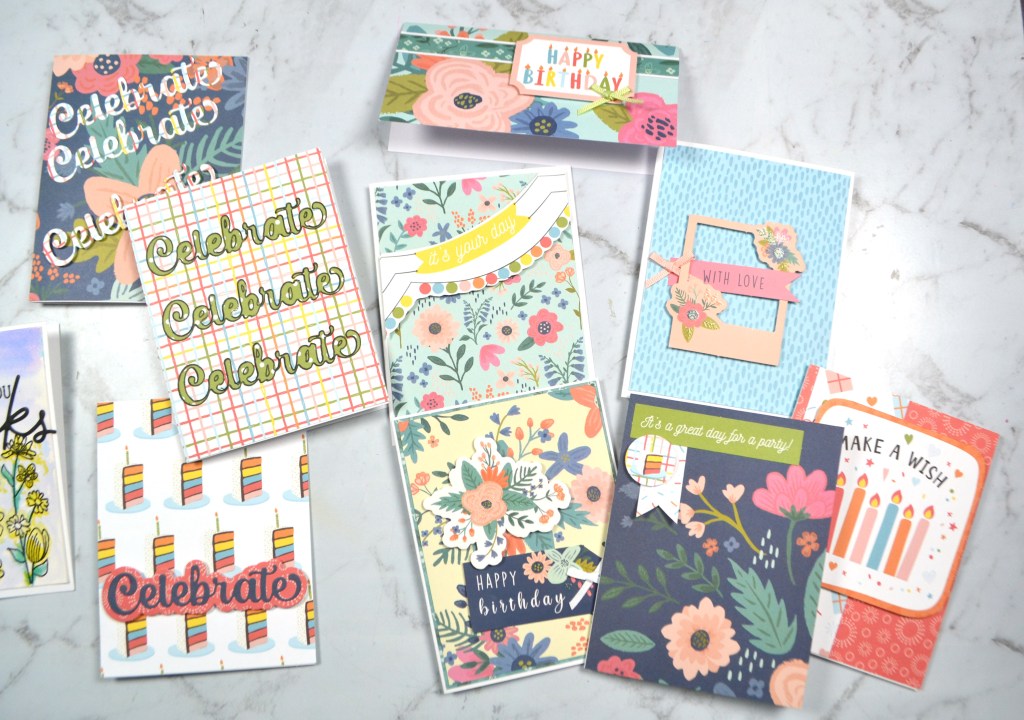
Because this kit had a stash of birthday themed products, and birthday cards are the cards I send most, I decided to make a whole set of cards. I played in three different ways with the products. I focused on the paper + ephemera for one set of cards, the die set for another set, and the stamp set for a third grouping.

That is it for this time. Happy crafting to you all.

Life Unfiltered. Seriously.

It is challenge time over on the Counterfeit Kit Challenge blog. Our hostess for the month, Tara was inspired by an ephemera piece in the inspiration kit she chose. First off, lets take a look at the whole kit from Citrus Twist Kit from March 2020 called Life Crafted, Weekender.

Now let’s zoom in to one piece in particular. See the label that says “no filter needed”. Tara wants us to use this idea to tell stories of “your life unfiltered… the beauty in the mess of real life.”

Challenge accepted. Big time.

These are many photos over the past 15 years that I filtered out of my storytelling. They were all ugly to me for one reason or another. In fact sharing them on the internet has been a cringe inducing challenge. But here they are, totally unfiltered. I chose each one for a tiny bit of story it could tell. Since I didn’t have enough room to add journaling labels to each photo, I went old school and just scribbled all over them.

I asked this question in my YouTube video and I’ll ask again here: What do you do with bad photos? Do you chuck them right away? Save them? Scrap them??? Let me know in the comments!

And speaking of videos, here is the full process video.

I hope you can check out the other designers takes on this challenge! Don’t forget to show off your stuff over on the CKC Facebook group, or tag us on Instagram @counterfeitkitchallenge or use #counterfeitkitchallenge. We love to see your work!
Ink Lifting/ghosting technique

I posted this pic over in my ScrapHappy community group and got some very kind responses. One of my scrappy friends over there happens to be a kind supporter of my YouTube channel and requested I demo the inked card fronts on the left. I was happy for the suggestions and showing it off today with an ever so slight variation.

As you can see I have a different color pallet, circles instead of hearts, a layout instead of a card and a touch of distressing. If you want to see how to give this technique a try you can check out the video

If you want just the very basics, I ink blended a sheet of watercolor paper with a mix of Distress and Oxide inks (Tim Holtz for Ranger), used a stencil to dab a damp sponge trough to reactivate and lift the ink, adding a bit more traditional ink stenciling over the top and finished off with some water spatters. Hope you are inspired to give this technique a try.

Gentle Watercolor

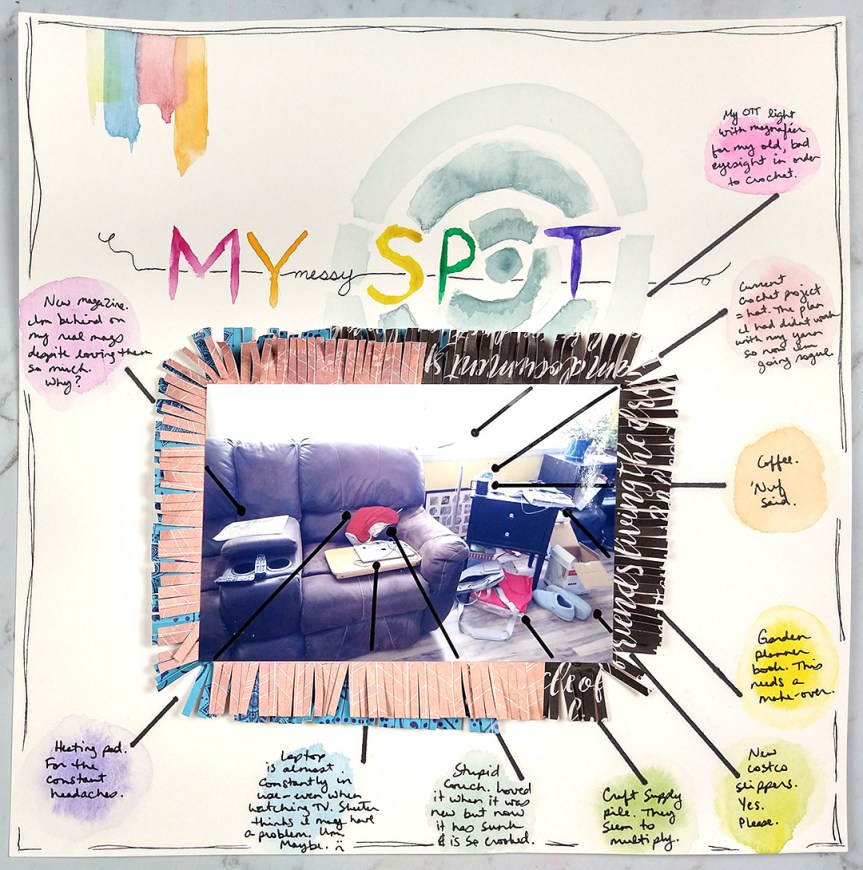
The idea of watercoloring can stress some people out. It doesn’t have to be that scary! This layout shows a few very simple watercolor techniques that can be easy, even for newbies.

All the details are up in the video below so if you want to know more, you can check it out. For the quick version:

  • The journal spots are created with circles of very lightly tinted paint and then more concentrated color dropped into the middle while the paint is still wet. This creates a halo effect for the spots.
  • For the title I penciled in straight lines with a ruler, penciled in my letters and then use the edge of a wide flat brush to trace the letters. Be sure to pencil lightly so the marks don’t show later.
  • The “washi” strips at the top, as I call them, were created with a glazing technique. Paint a strip of color; i purposely made the edges look torn. Dry that color!! Then paint another color slightly overlapping the first. Repeat until you have the number of strips you want. I varied the width and length of my strips for more detail.
  • The target spot was more complicated and I’m not fully happy with it. But you could do a simple version just by dragging the full edge of a wide flat brush around a circle. I suggest tracing something circular first in pencil to get a nice straight line. I didn’t do that an my circle is a bit wonky.

Hope this inspires you to get painty. Have an artful day!

CKC March ’22

I had a great time hosting the CKC for February but I am ready to sit back and let my teammate take the reins for March. Tara is hosting our kit this month. If you are new here, we take an inspiration kit each month and proceed to replicate it, or as we say, counterfeit it. This is a free, friendly group that helps inspire you to use up supplies you already own. We are not about needing to buy the latest and greatest thing (though we won’t stop you if you enjoy new crafty goodies😉 ).

The guest designer for this month is Anna of Piece Craft Love and you can find her on YouTube.

Before we go too much farther you should know that there is a special surprise offered by Anna. Check out the CKC blog March kit reveal for the details!

This time around we are drawing inspiration from a Citrus Twist Kit from March 2020 called Life Crafted, Weekender. Here is the over all photo and a gallery of details.

The neon bright colors are common to Citrus Twist (as their name implies!) but they are not my go-to colors. However, I did find some tones that came close and captured the spirit of the bright, happy kit.

I’m calling my kit Spring Tease since the bright colors and florals make me ready for my garden to start blooming! Yet this time of year in my neck of the woods we will have some warm sunny days that make you thing spring is here, only to go wet and gloomy again. I always call that weather the Spring Tease.

You can see all my choices and hear all my thoughts that went into this kit in my video.

For the brief version, check out these photos.

Several of those papers I printed off from the Traci Reed Here Comes the Sun freebie collection. If you want this collection you do have to hit several places to get all three parts, but honestly it is so worth it. I love Traci’s design sense and I own many of her collections. So, if I can support her by sending people her way, I’m happy to!

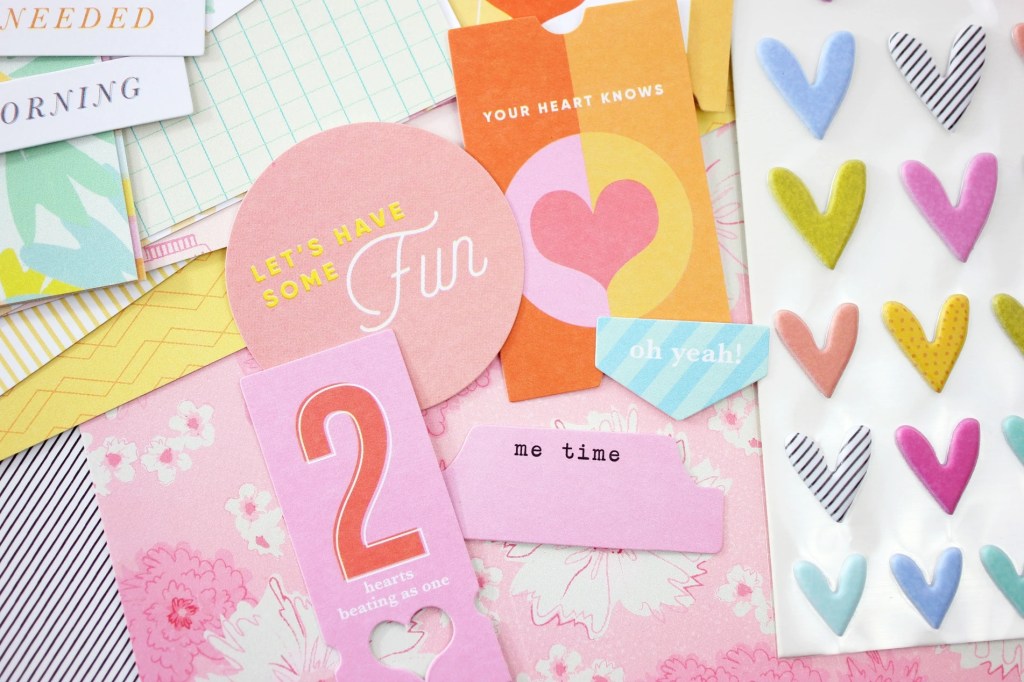
While I have a wide assortment of embellishments from Elle’s Studio (hearts), Concord & 9th (enamels), puffy & faux leather stickers (Citrus Twist), cut aprts (Scrapbook & Cards Expo, The Stamp Market, others) and more, most of my embellishments are again pieces from the Traci Reed collection. Since she offers “sticker sheets” that are super easy to print at home and then use a machine (Cricut, Silhouette etc) to cut for you, this makes embellies so much more affordable.

I hope you can follow along with the other designers on the CKC team and see how they interpreted their kits.

Here’s the full hop link list

Have fun kit building and don’t forget to show off your stuff over on the CKC Facebook group, or tag us on Instagram @counterfeitkitchallenge or use #counterfeitkitchallenge.