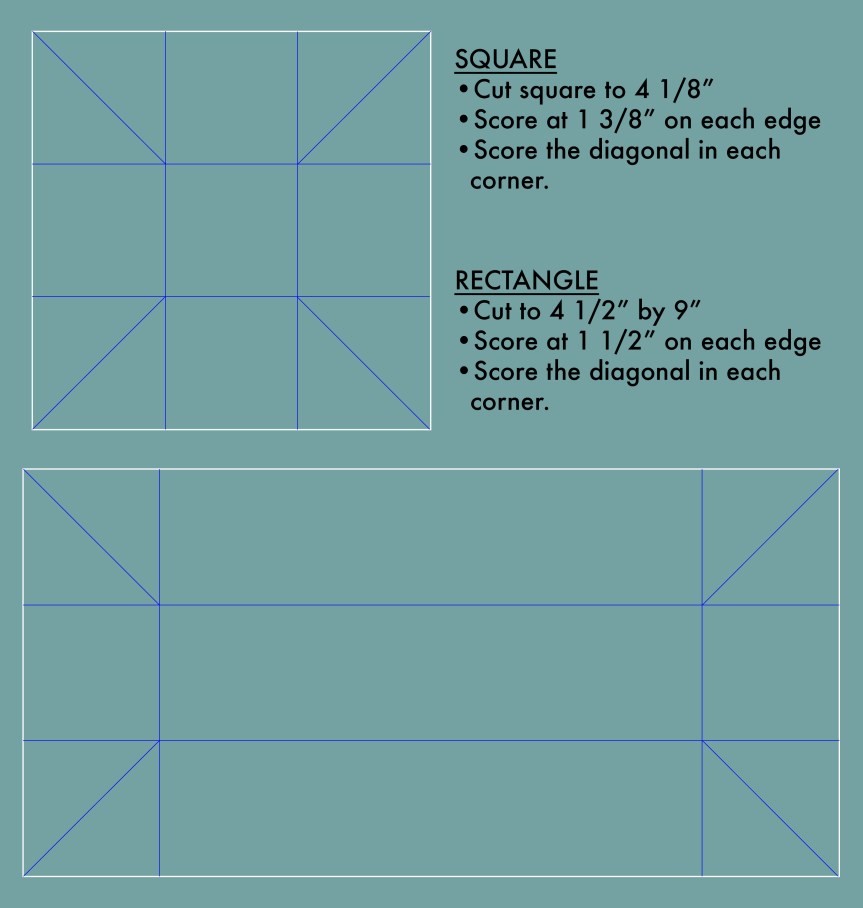
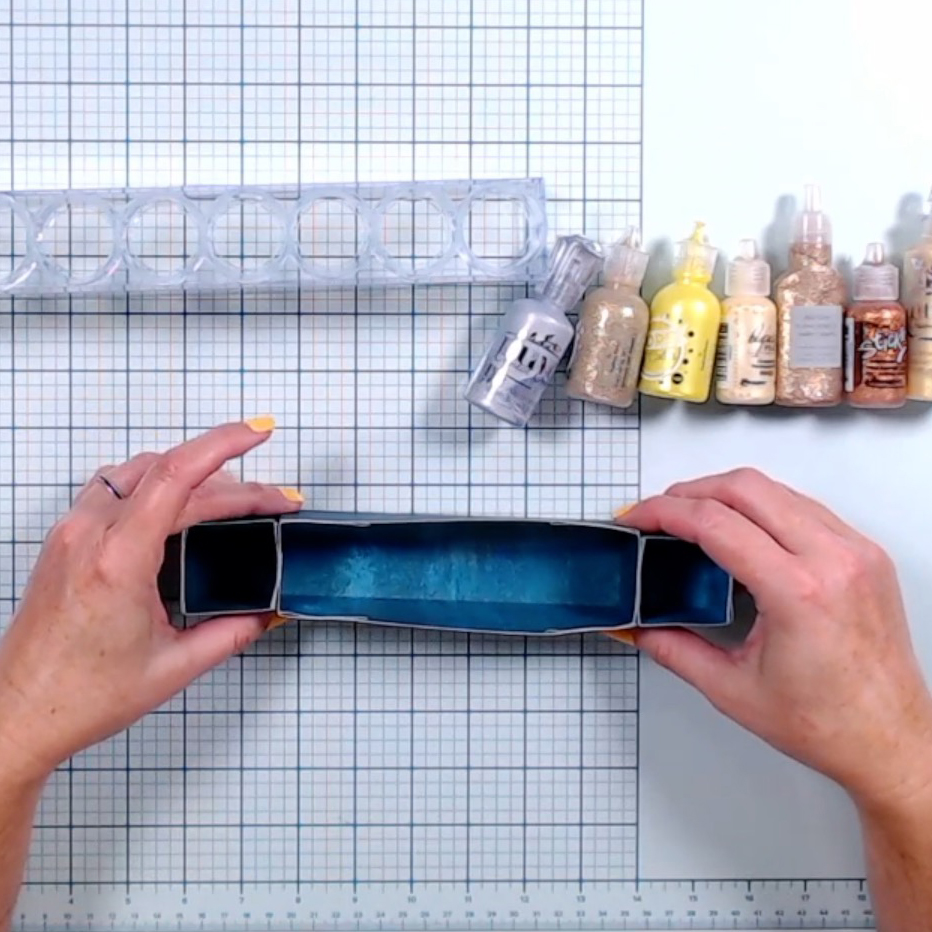
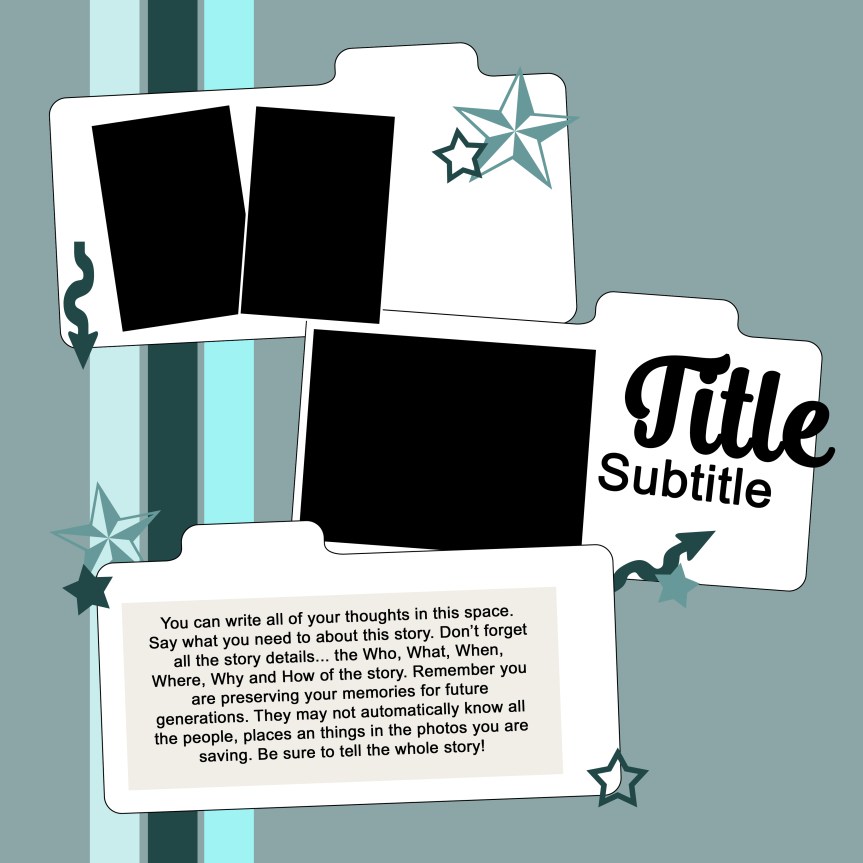
I love learning, creating and sharing. That is why I offer freebies up to you each month. I have both a layout sketch (in printable pdf as well as editable psd) and an electronic cut file (in svg). This month I was inspired by an organizational project I was working on. I needed my own specifically sized file dividers and I turned to Illustrator to get what I needed. Plus, it can make fun layouts as well!. You can see all the details in my reveal video, or read on for the short version.
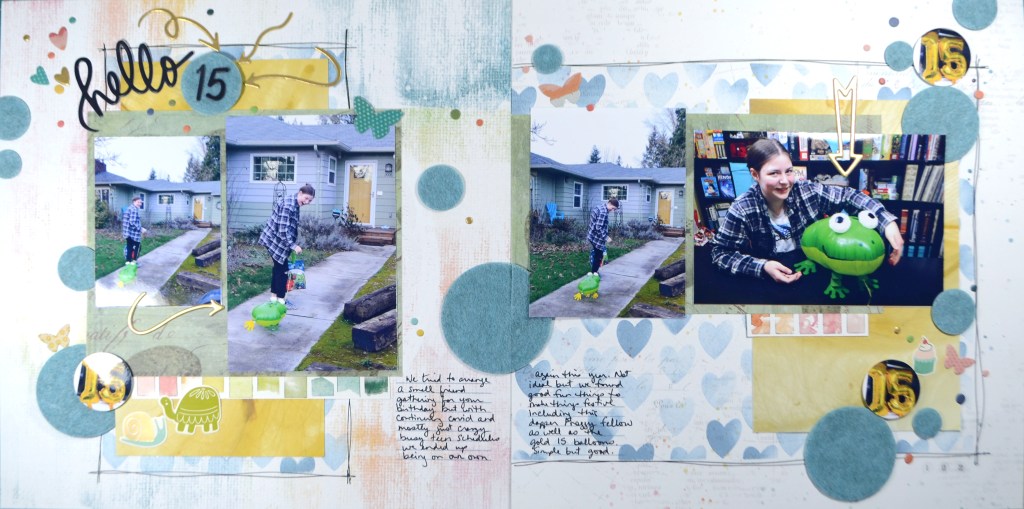
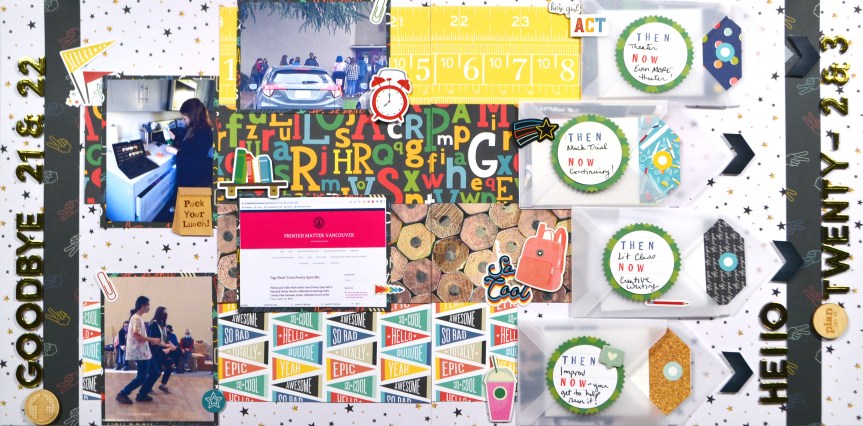
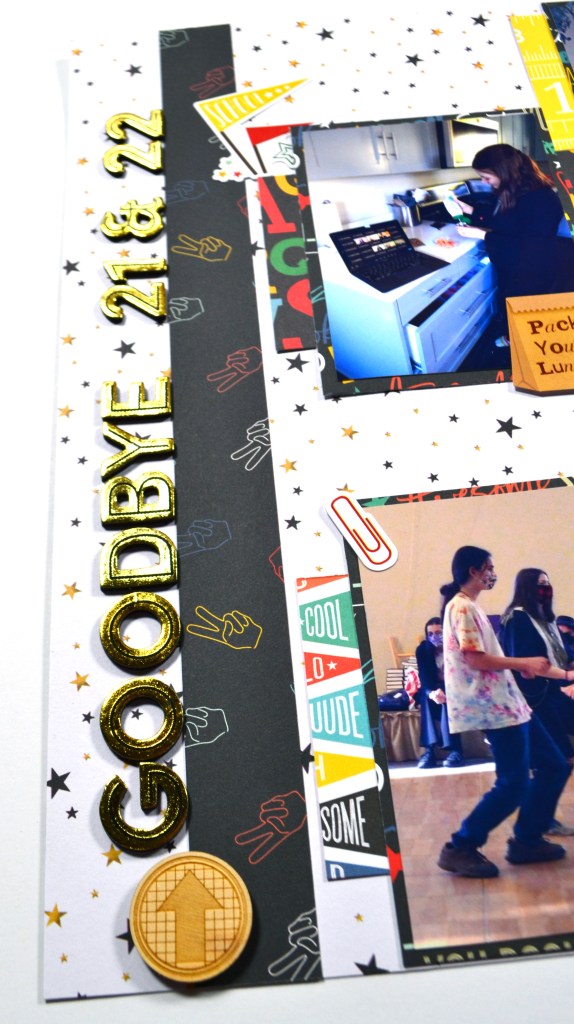
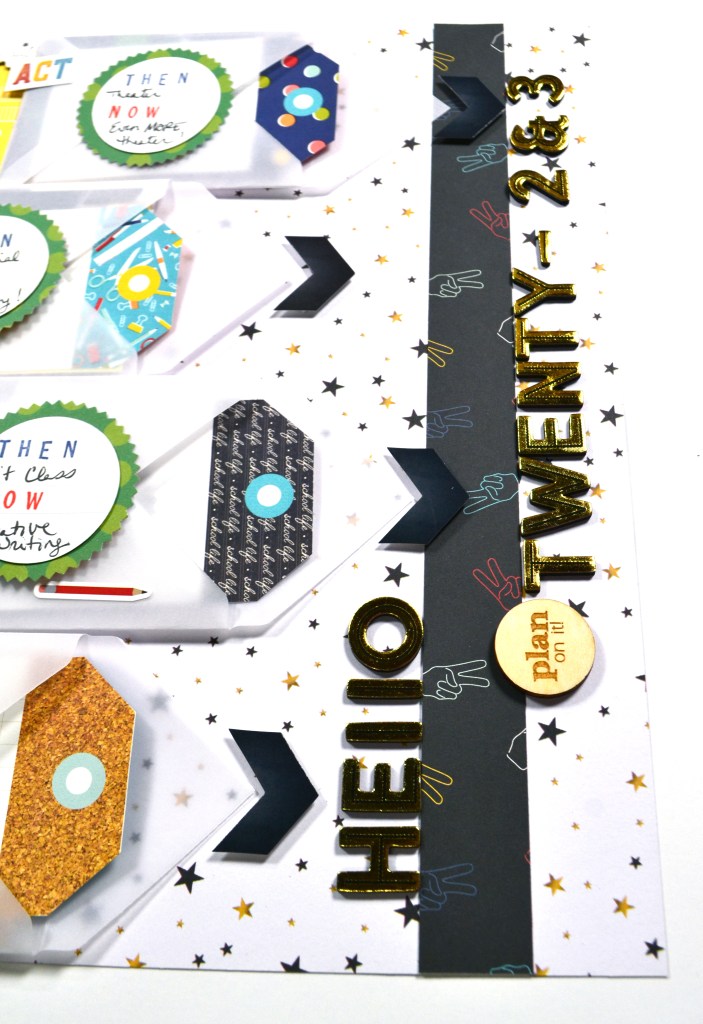
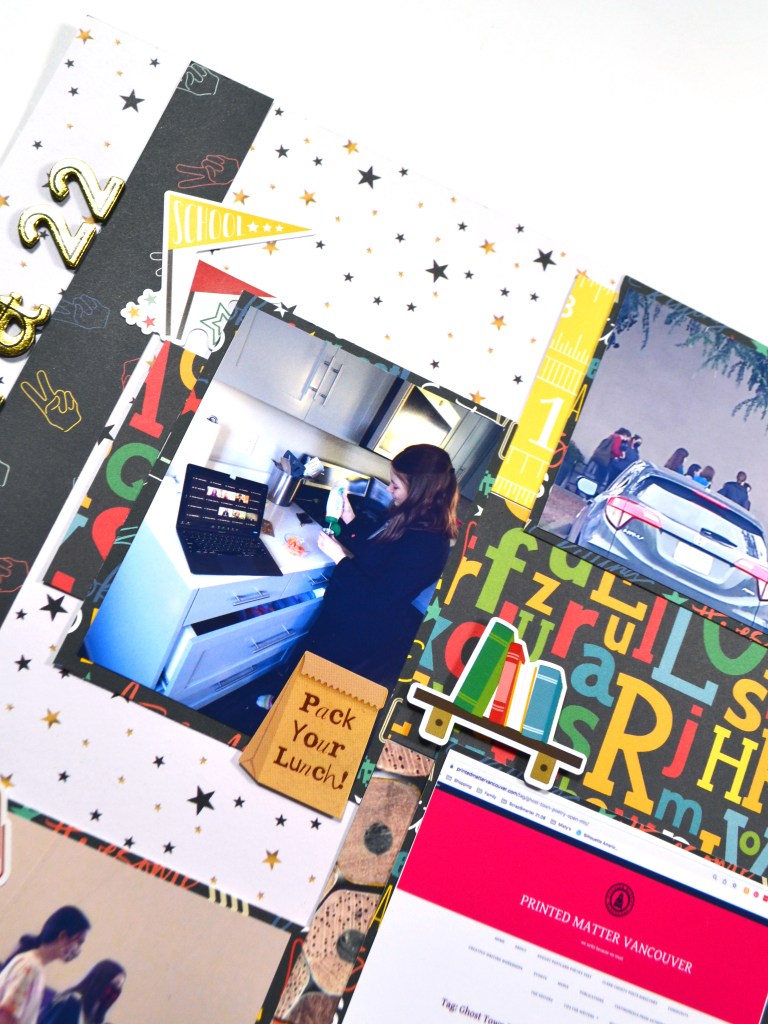
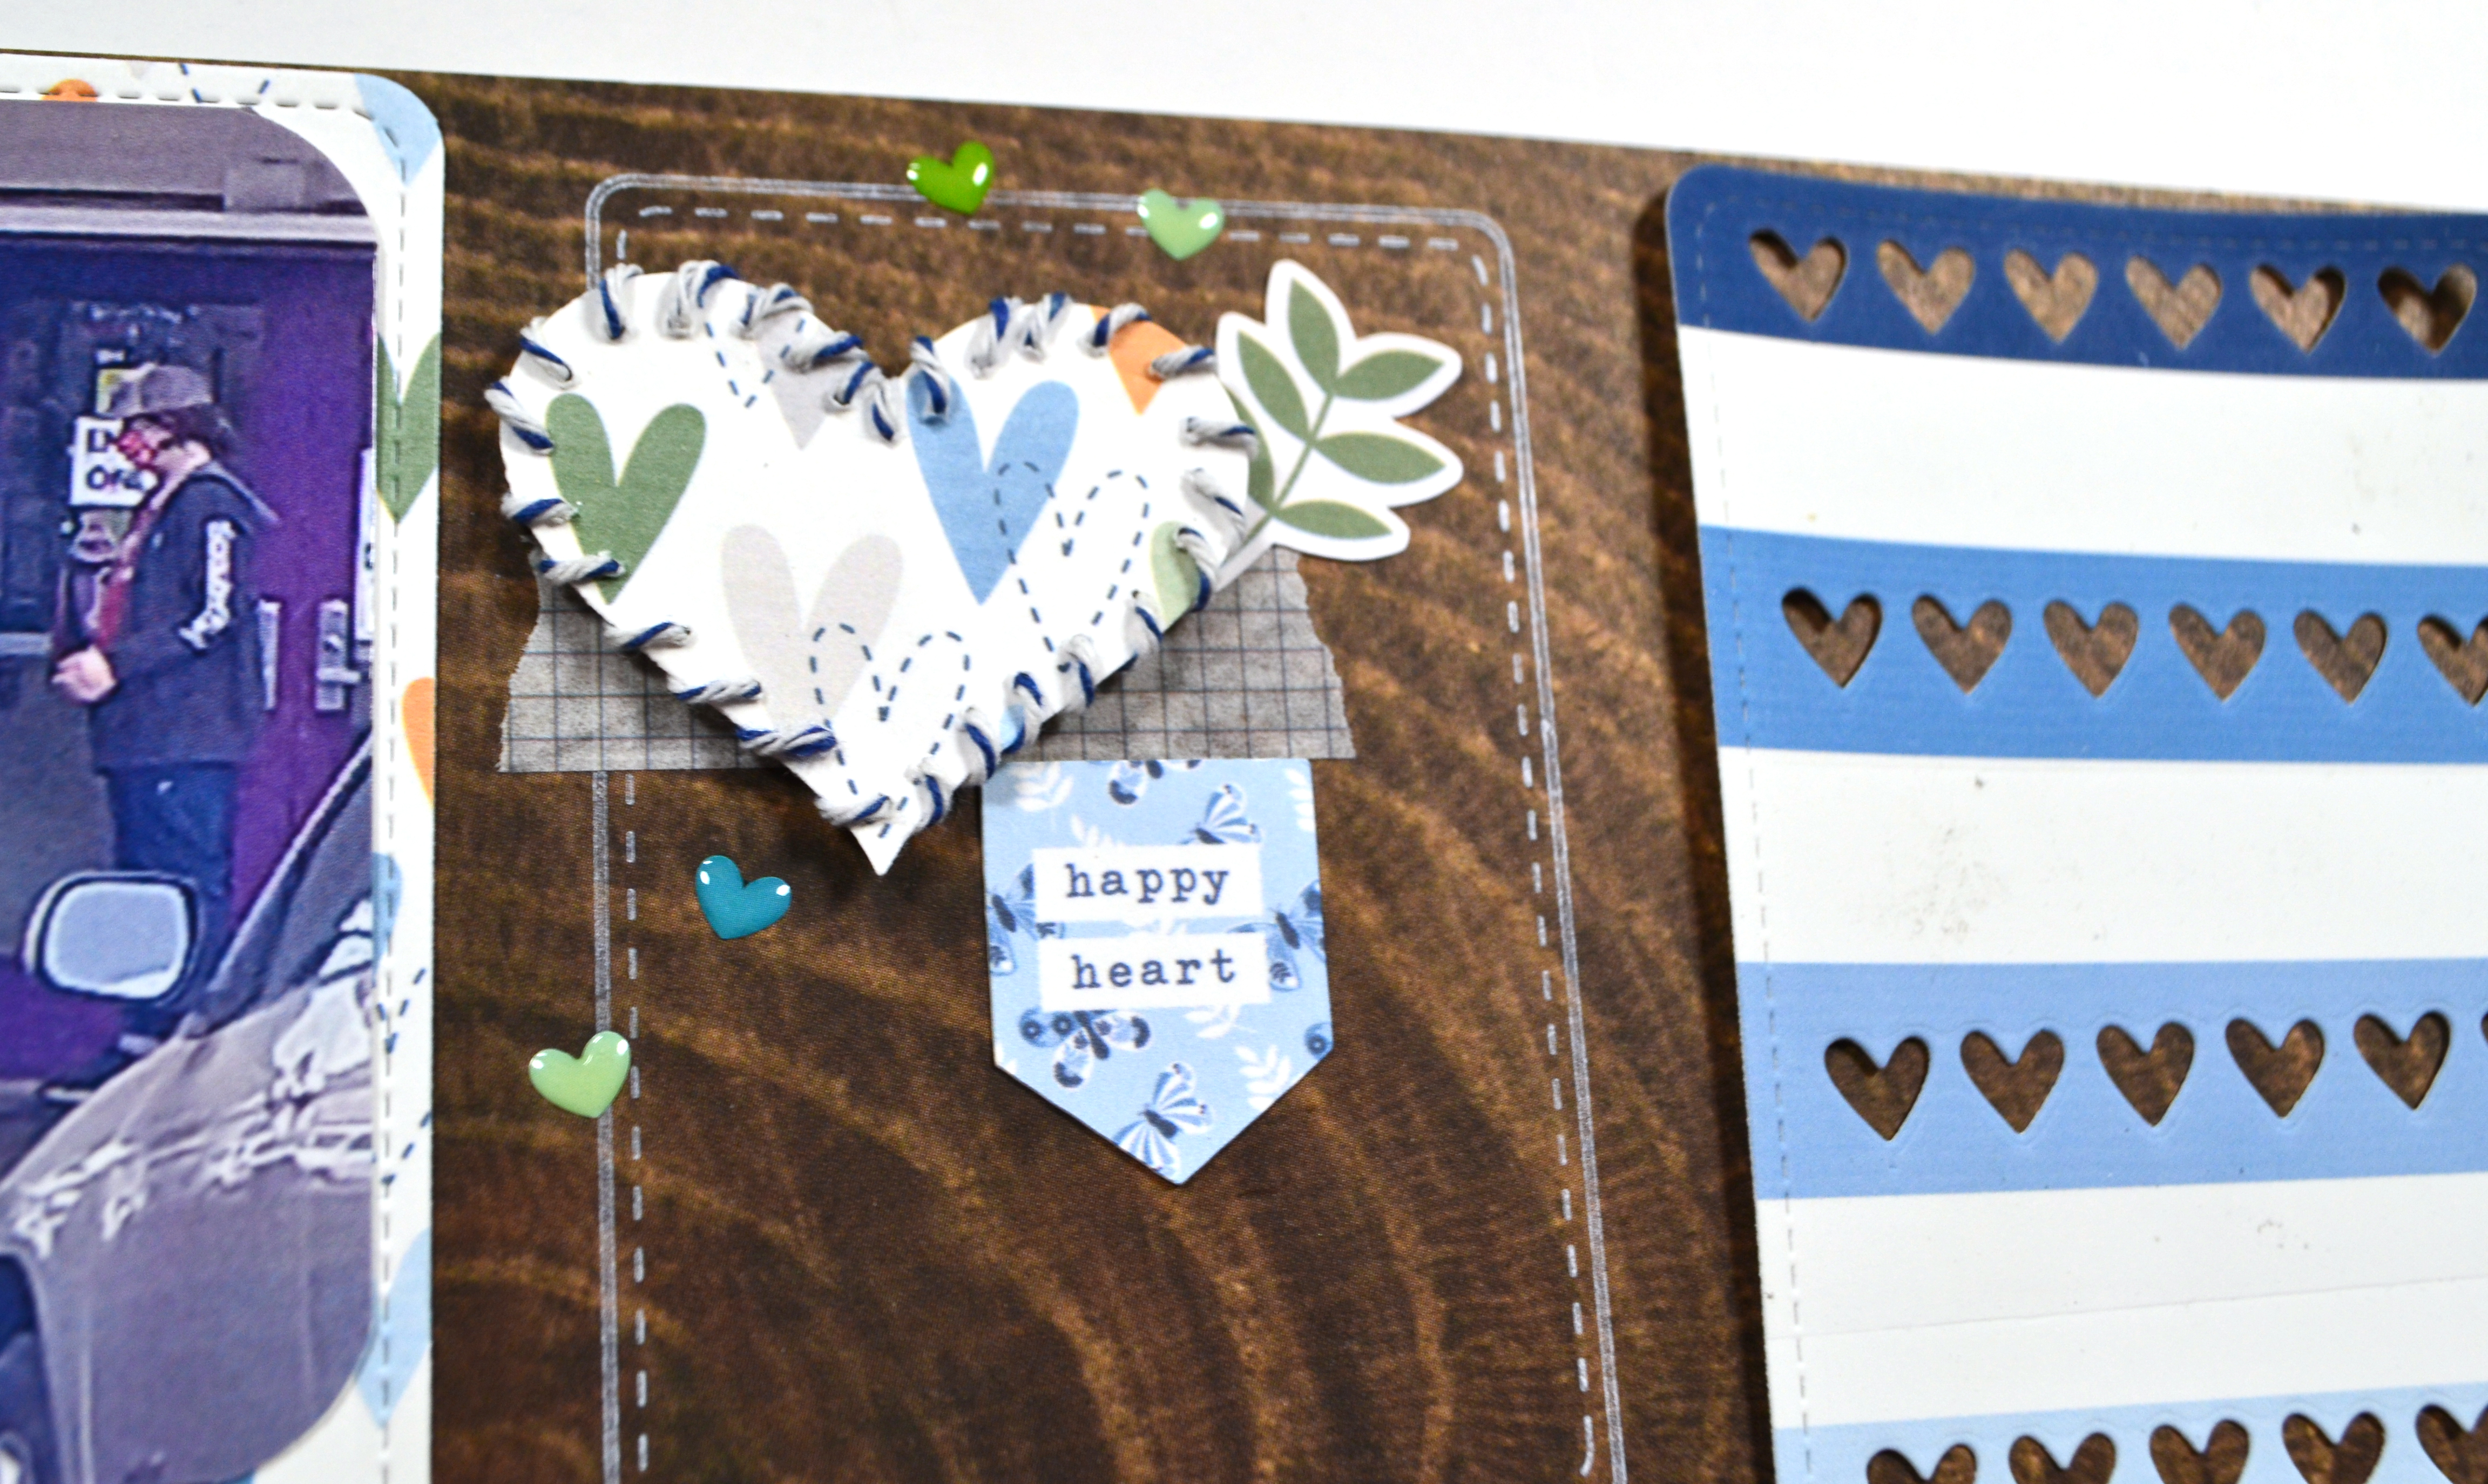
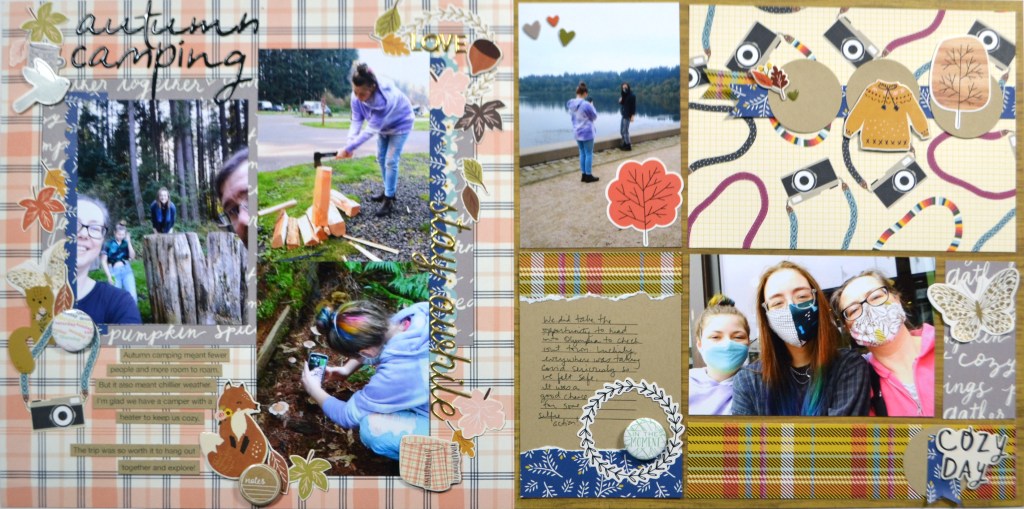
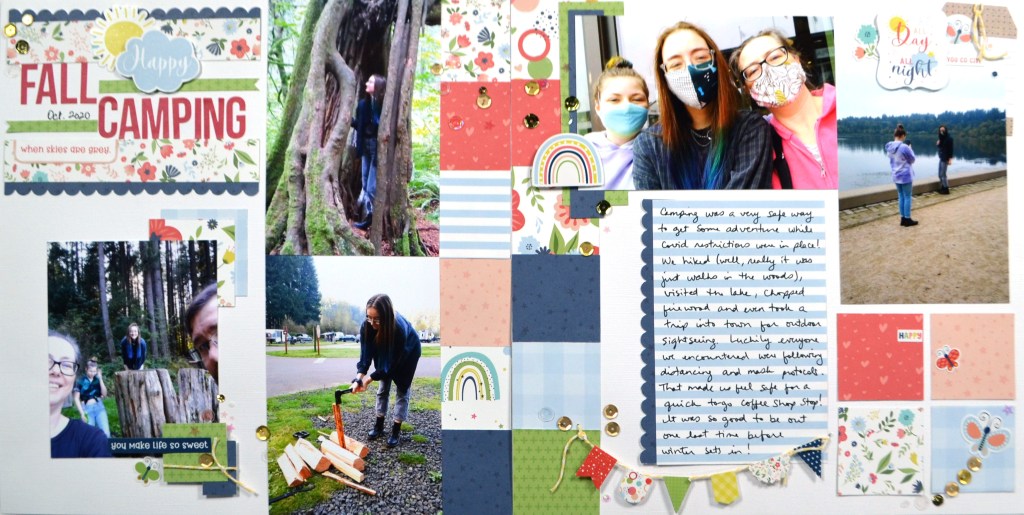
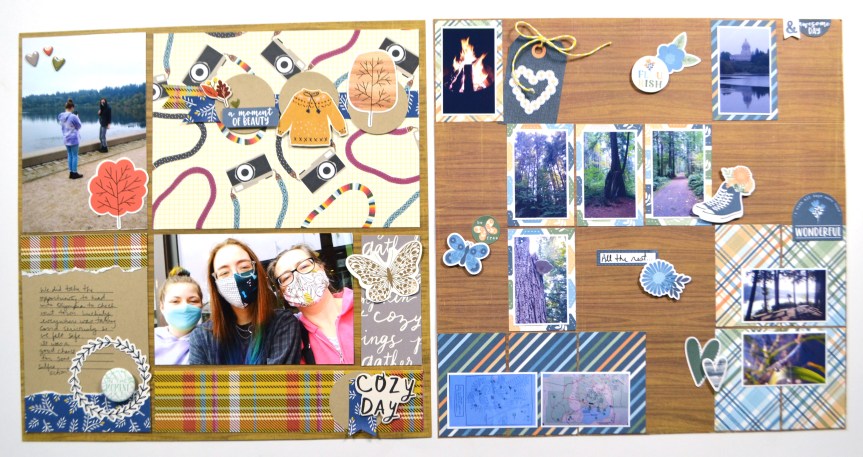
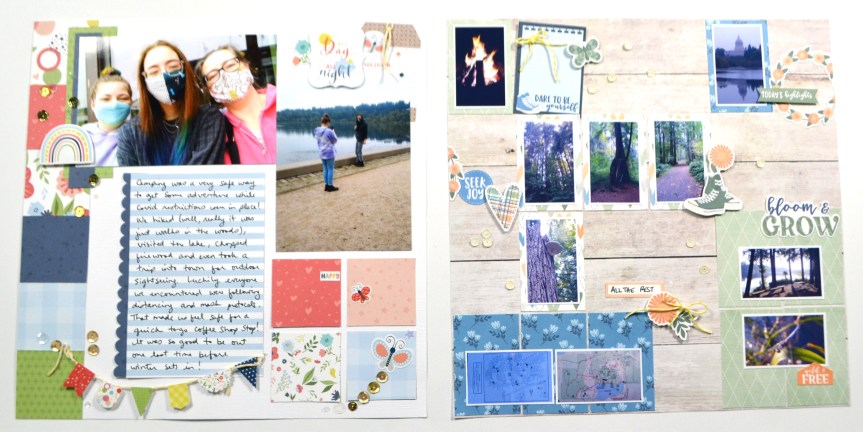
Here is a closer look at the sketch and the project I created based on this sketch.

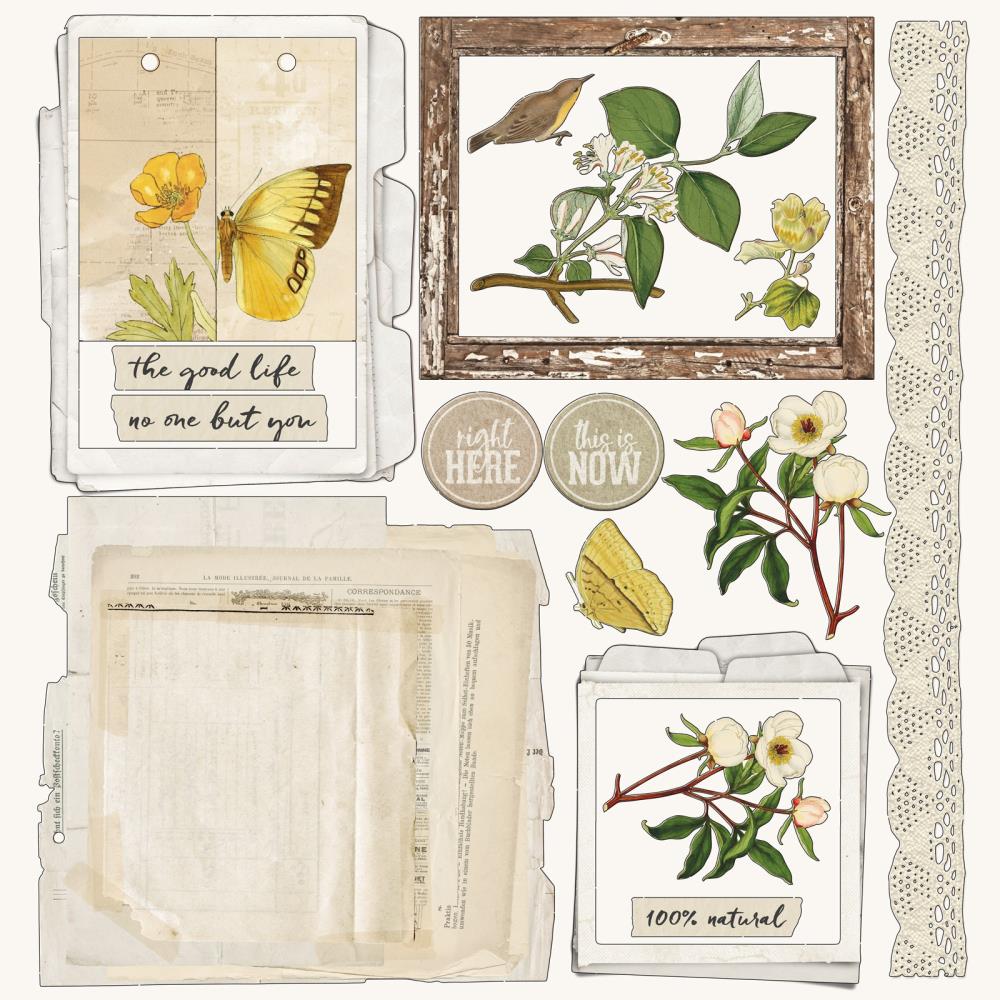
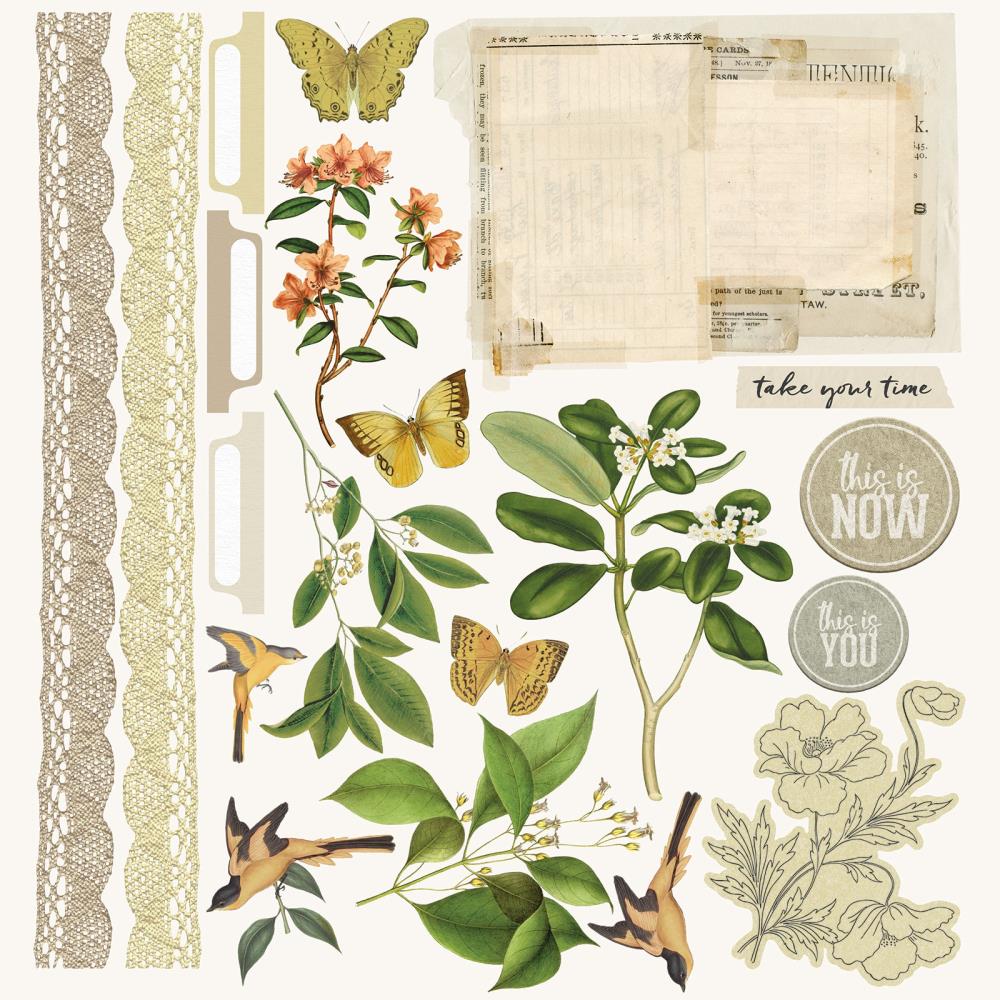
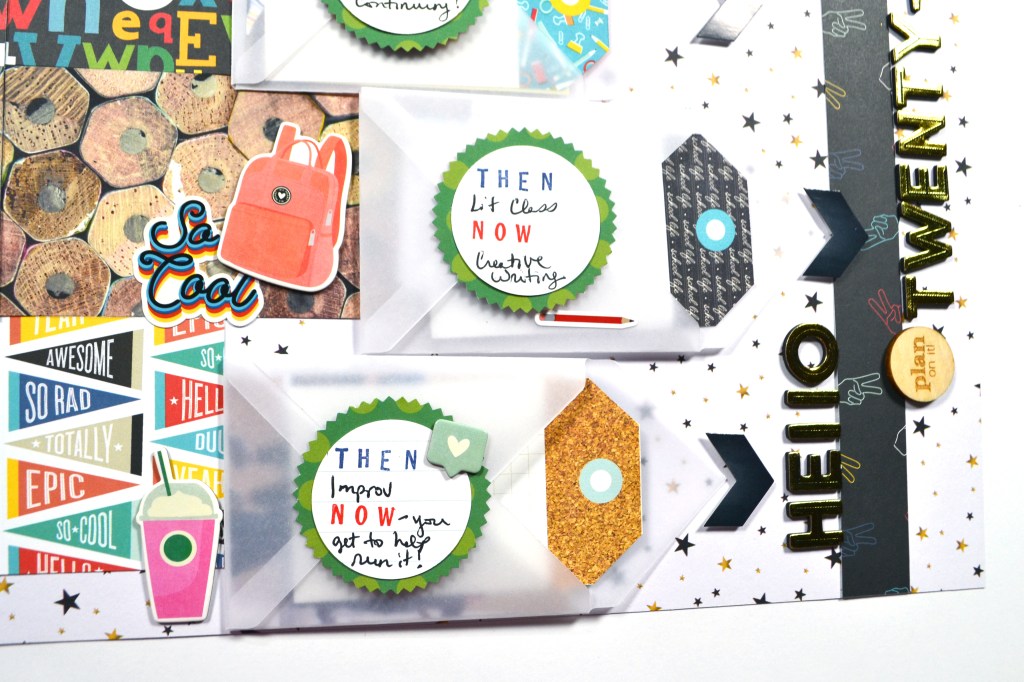
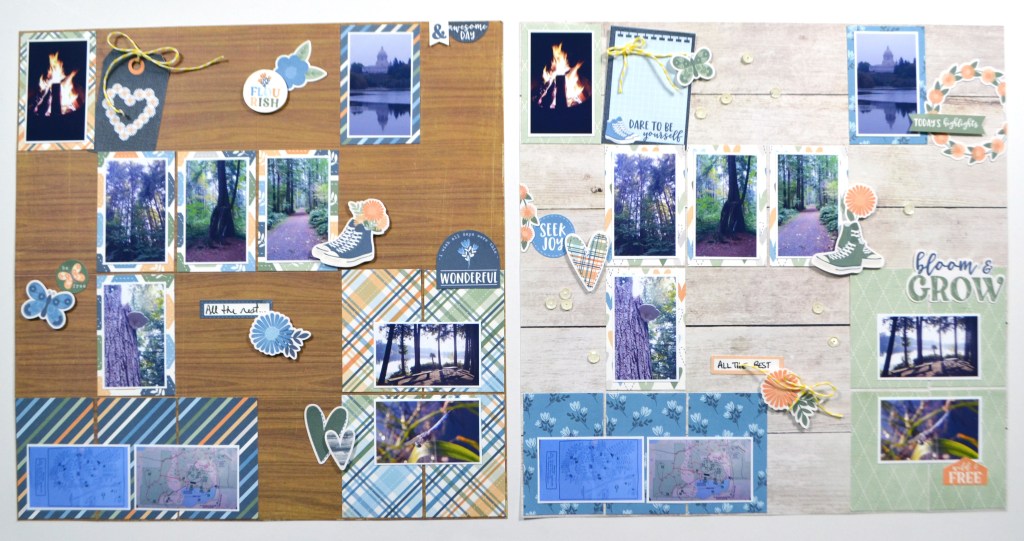
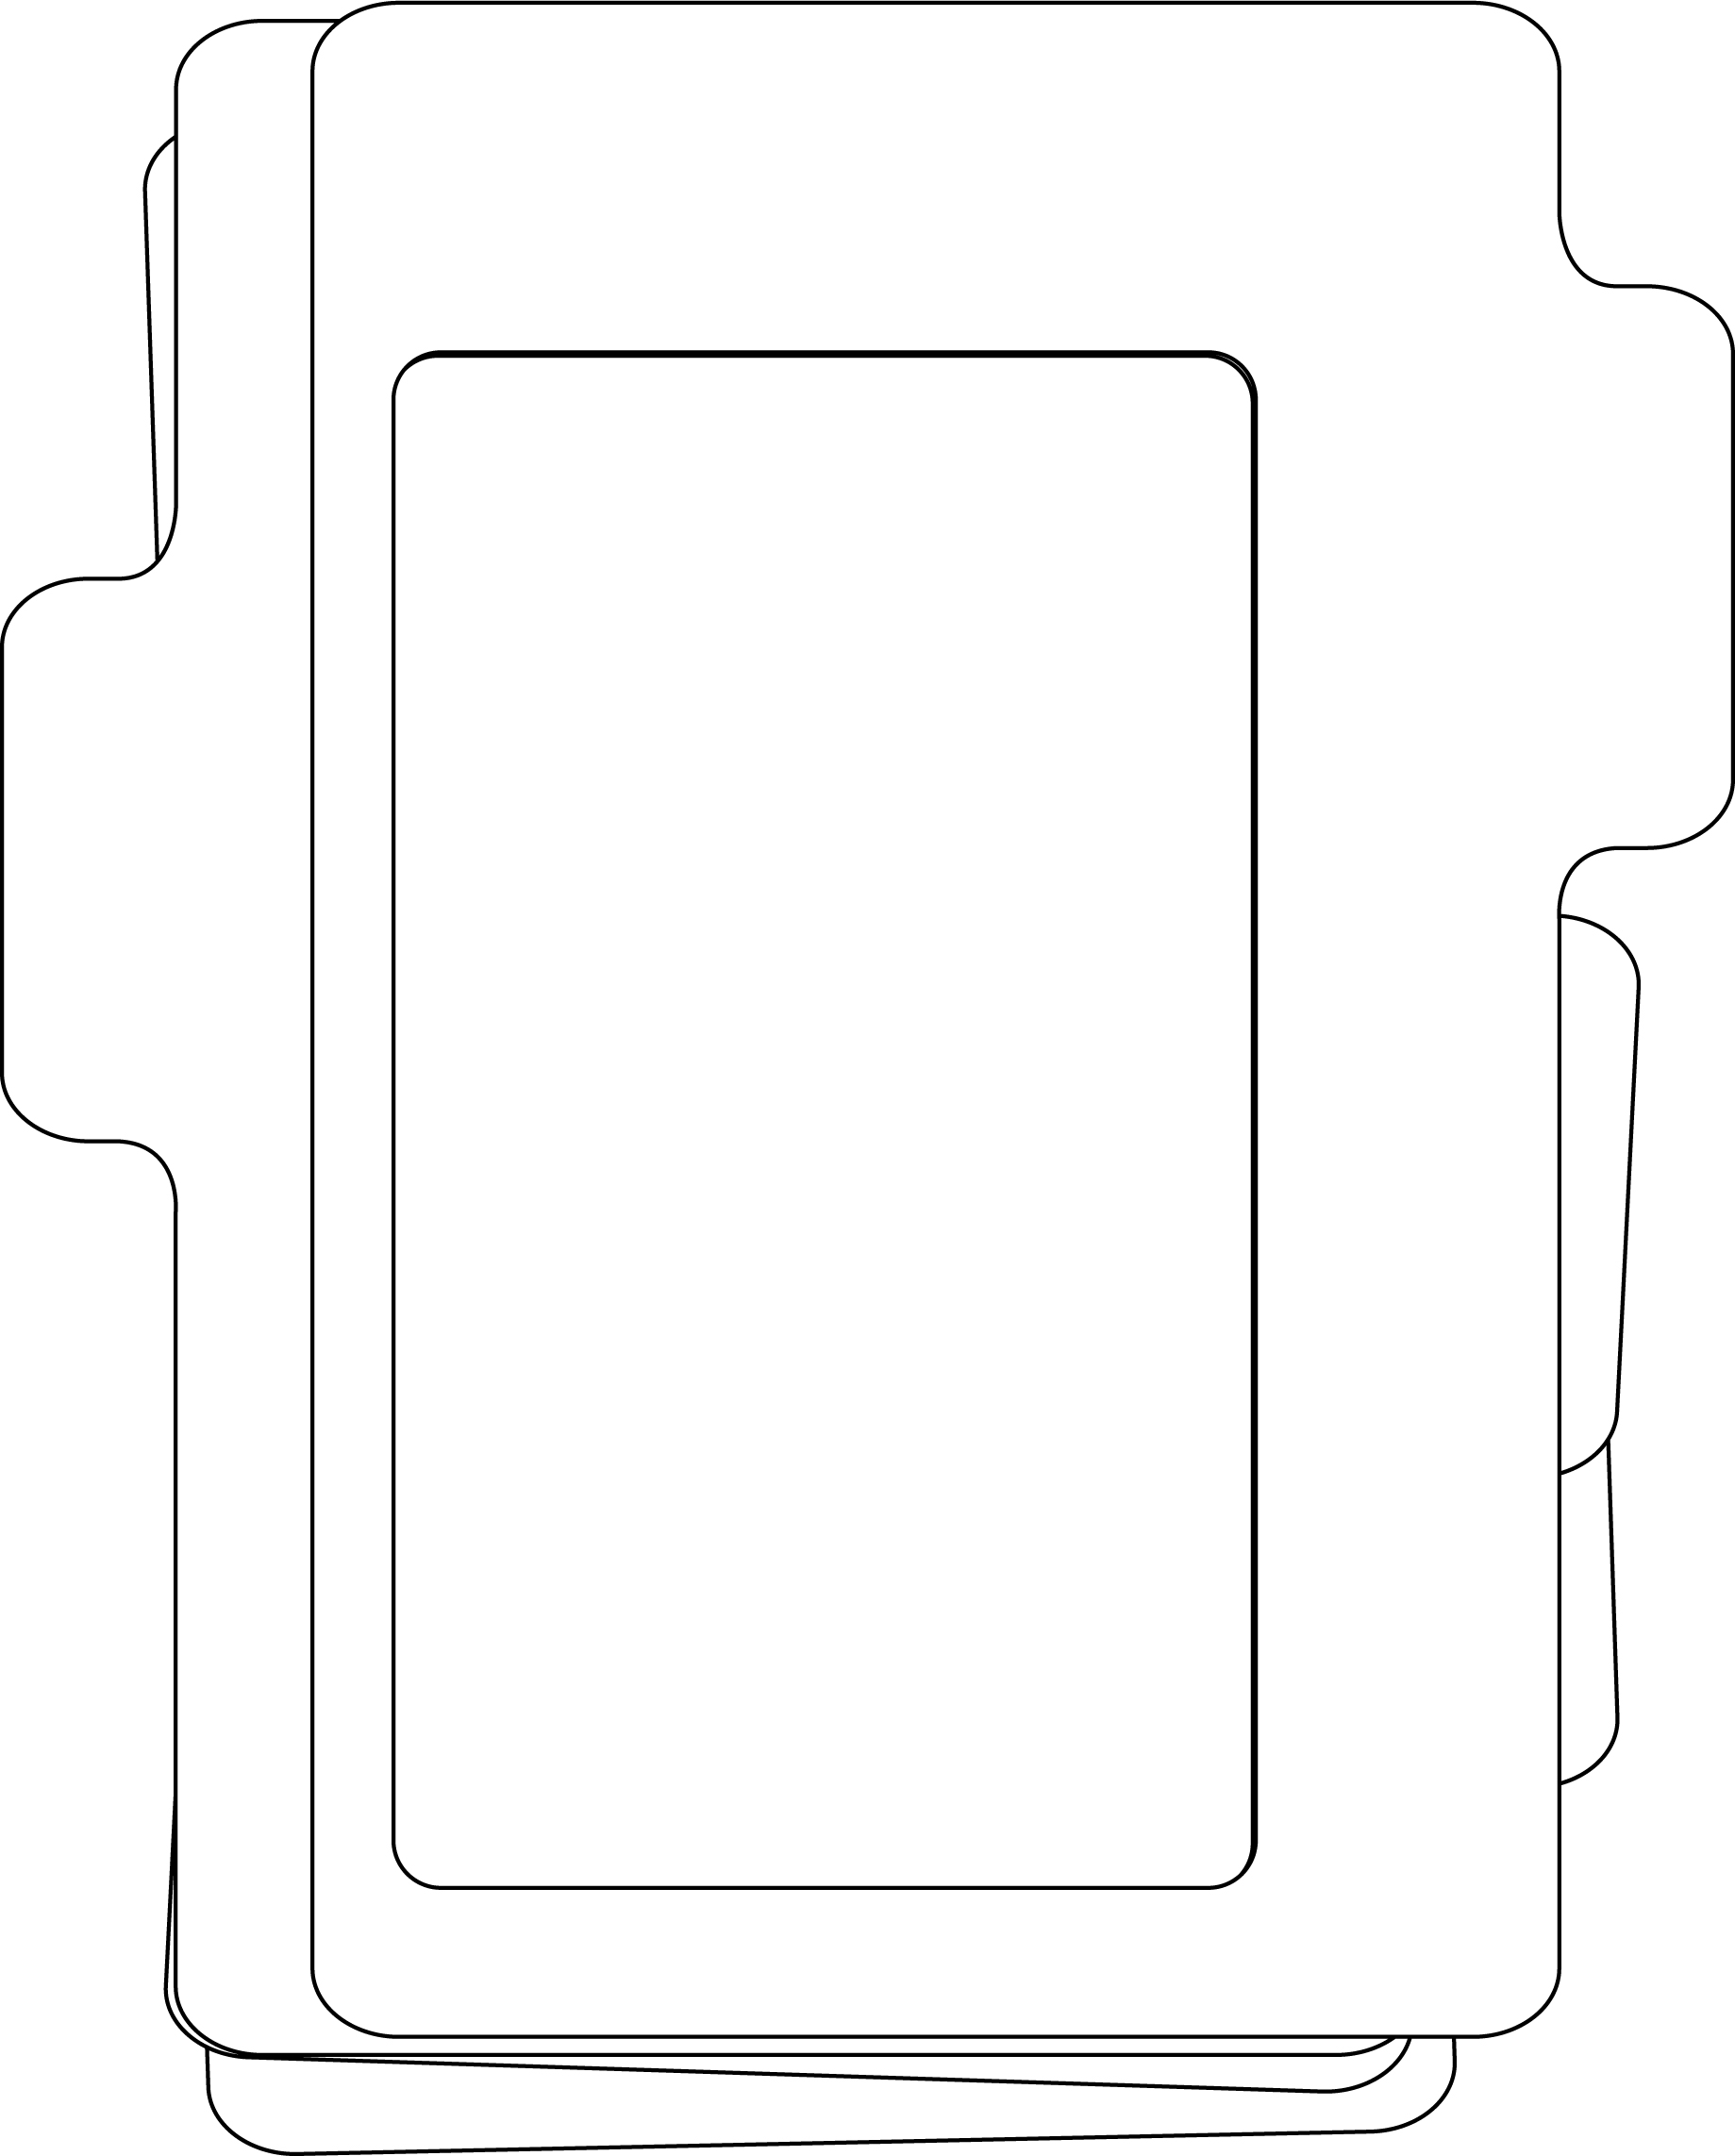
If you are a cut file lover, I’ve got you covered! I’ve actually got two files for you, the frame on the left, and the file cards, folder and tabs on the right. The video talks about how to use the first file card to layer over the file folder if you want to layer it will different pattern papers.

The photo frame on the left was described as part of my design team work over at the Counterfeit Kit Blog. It’s at the bottom of the post so be patient and scroll down! Plus I used the finished frame in a recent YouTube video, so you can check it out there as well.
Download the…
- Sketch pdf version here
- Sketch psd version here
- File Frames cut file here
- File Cards & Folder cut file here
OR… head over to my Freebies Page to peruse the catalog of files I have offered in the past. And if you have any ideas for sketch or cut files, I’d love to hear your ideas. I can’t make promises but I can take suggestions!
Until next time, have an artful day.
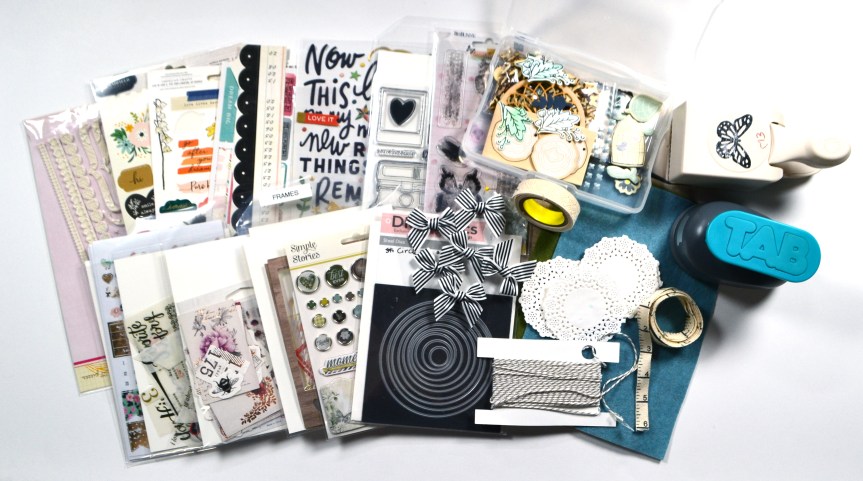
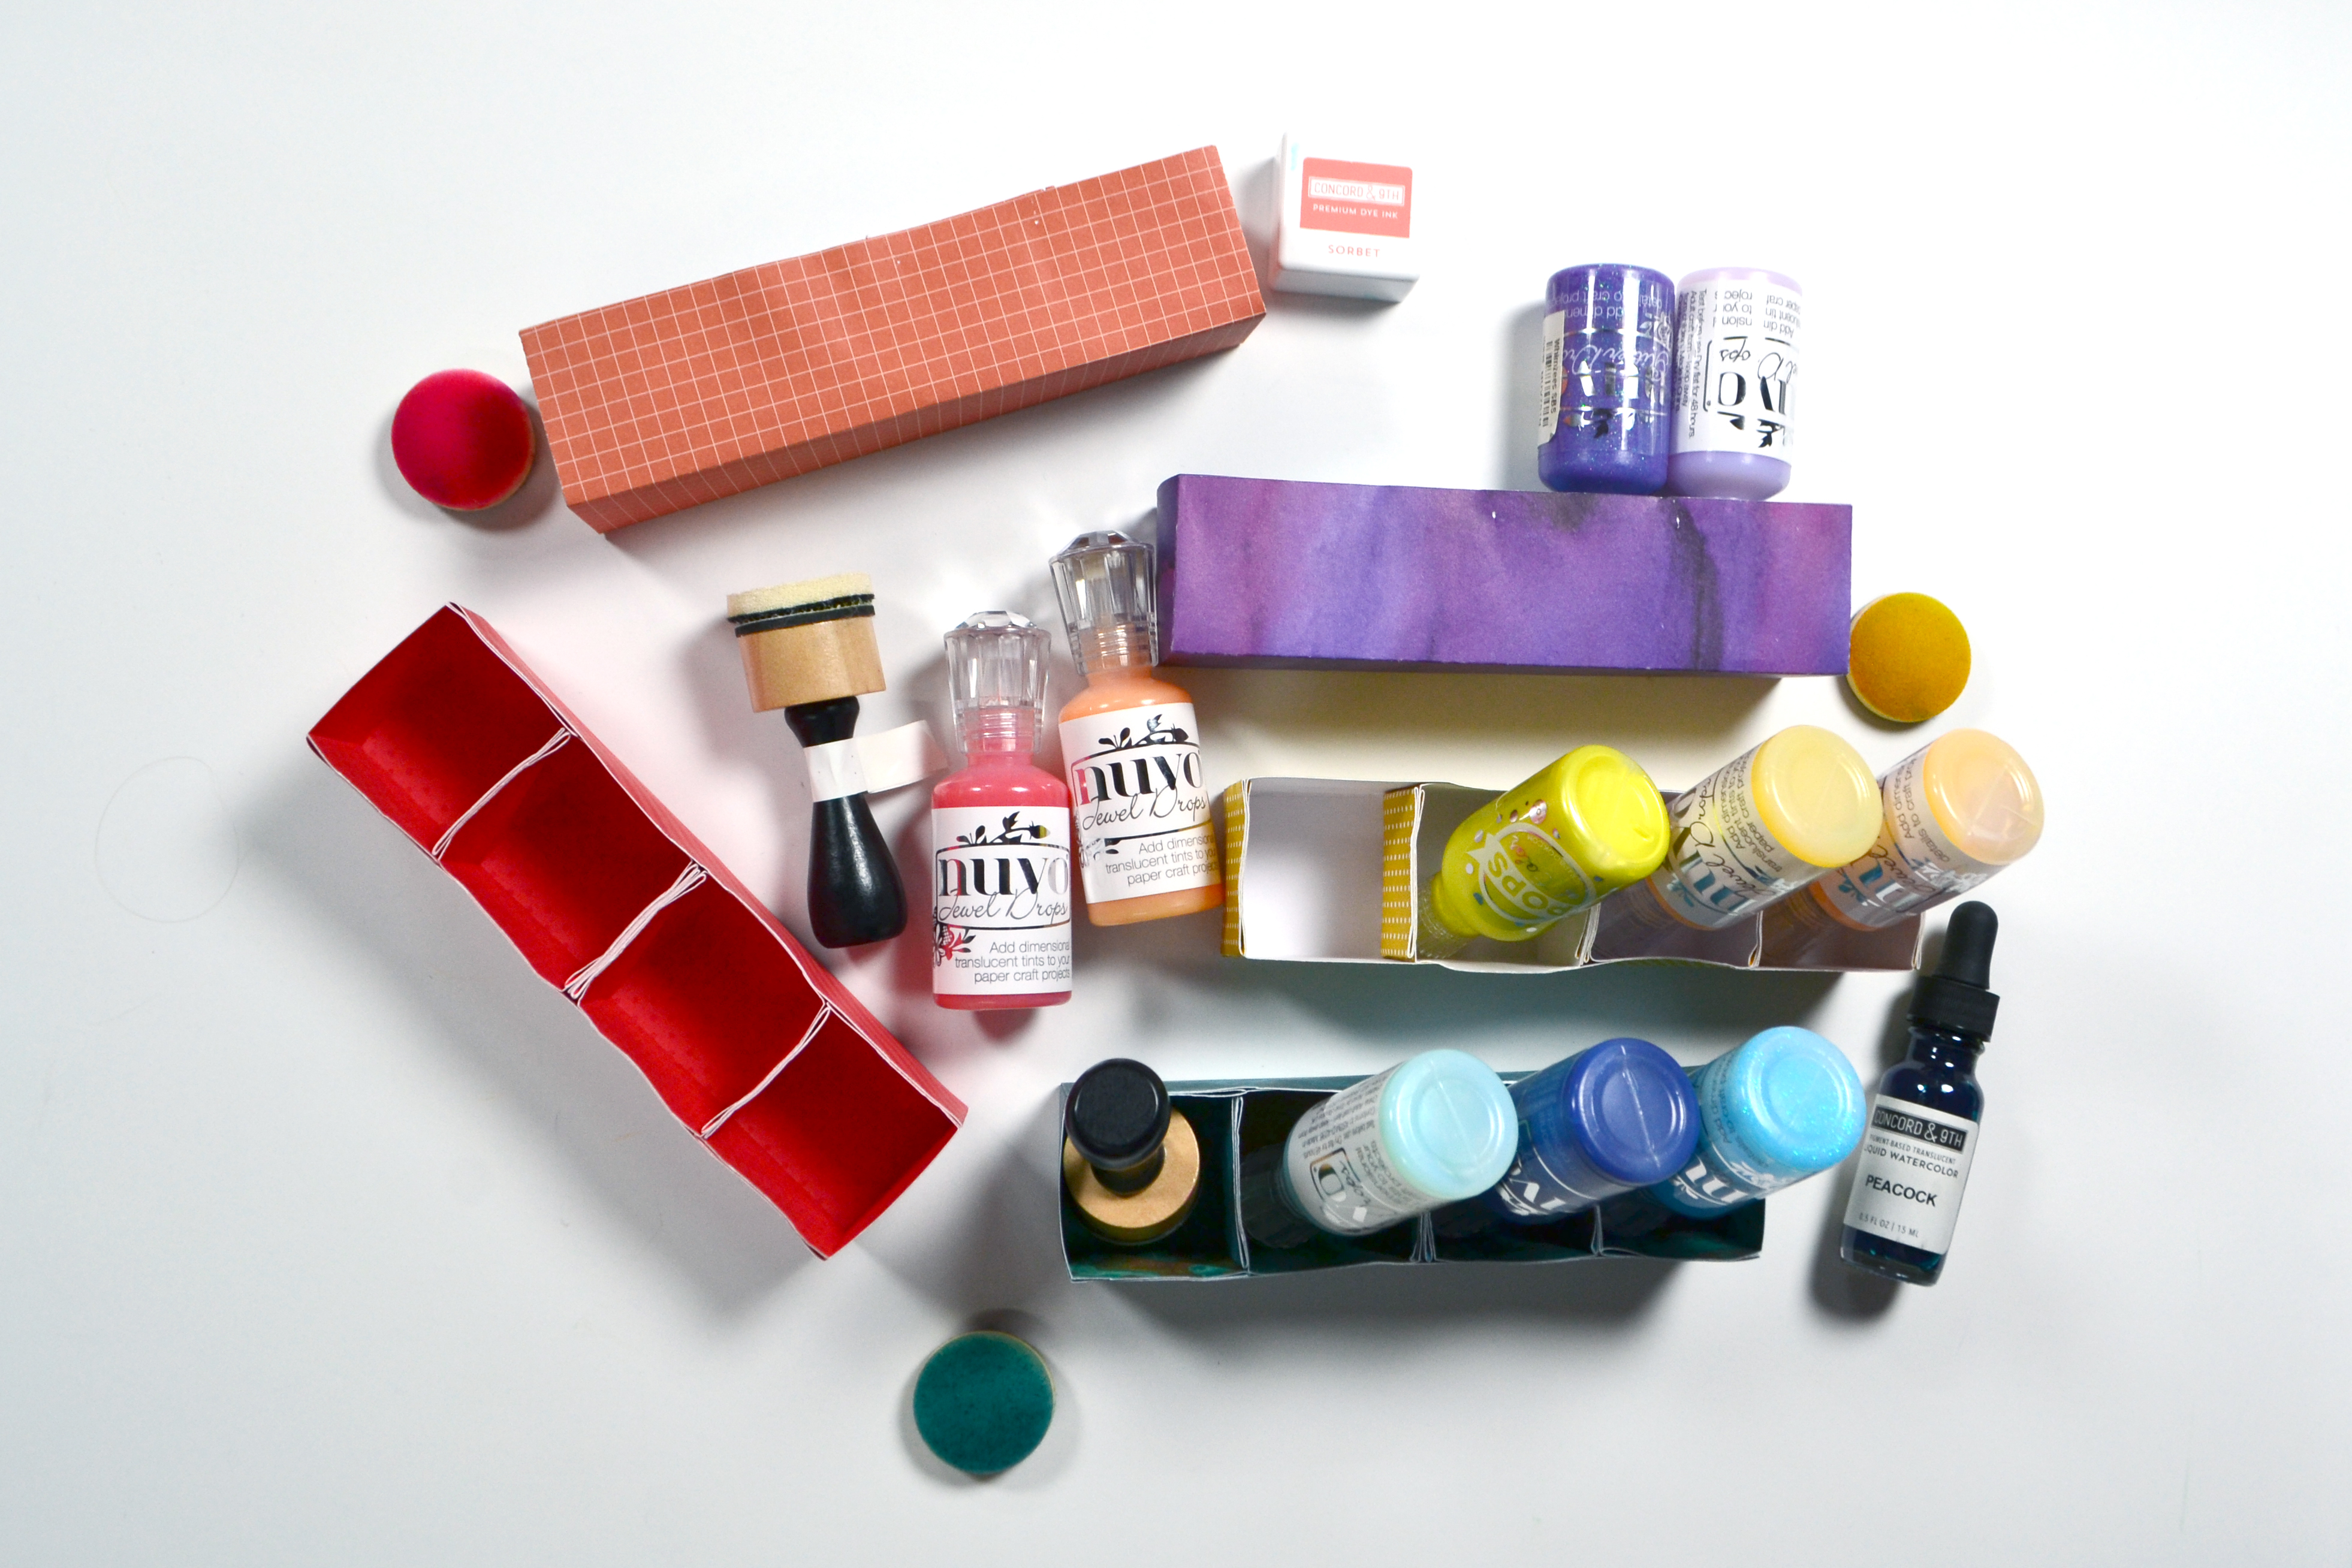
PRODUCTS USED**
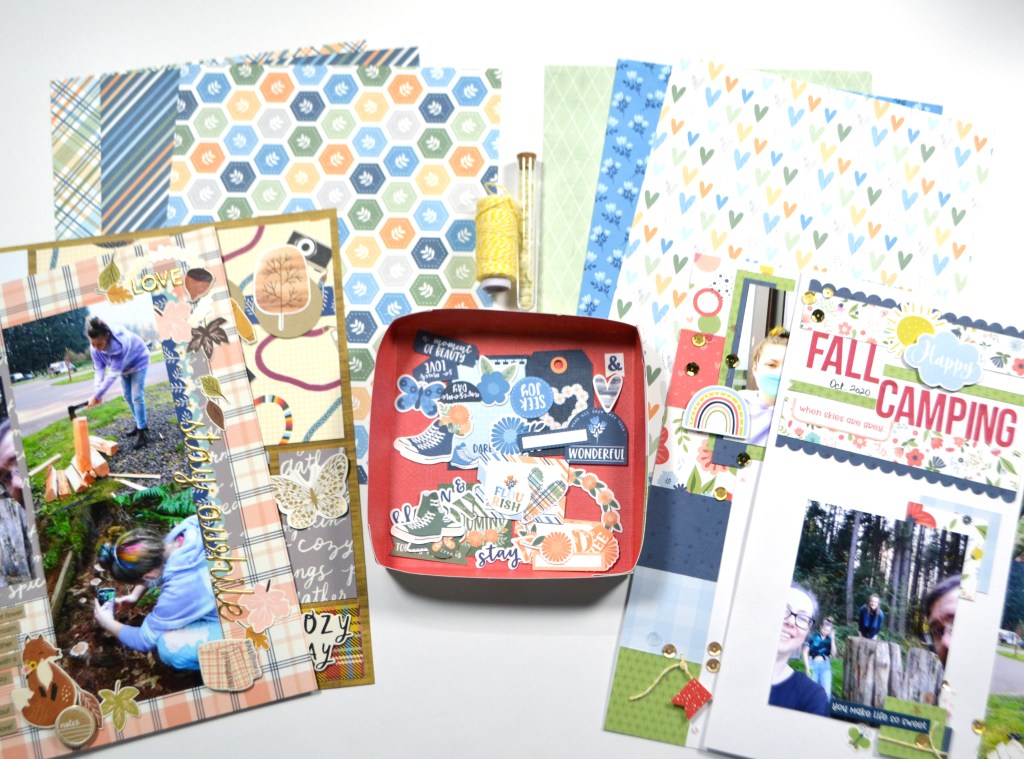
- Simple Stories, Sunkissed collection pack
- Simple Stories, Sunkissed enamel dots
- Simple Stories, Sunkissed puffy stickers
- Fancy Pants, Simply Summer ephemera
** Disclaimer: I offer affiliate shopping linked products when possible. This shopping won’t cost you anything extra, but I get a small kick back from the companies for sending business their way. It is an easy way to tell me “Thank You” for the content I provide. I appreciate you using my links!