I love kit building and that is why I am on the design team for the Counterfeit Kit Challenge project. We take an inspiration kit each month and proceed to replicate it, or as we say, counterfeit it. This is a free, friendly group that helps inspire you to use up supplies you already own. We are not about needing to buy the latest and greatest thing (though we won’t stop you if you enjoy new crafty goodies😉 ).
Welcome to June. Can you believe we are at the halfway point of 2025?? Yikes! Well, a new month means it is time to kit build. Tara, our community leader, is our hostess this time. She chose the Intrinsic Limitless kit from Not Just for Boys to inspire us. Before we dive into the details of this kit, let’s give MK Gunn a warm welcome to our guest designer this month. She is the owner of the shop called Some Assemblage Required. You can find her products there and you can check out her YouTube channel as well for inspiration. I know she has something in store for us this month, so stay tuned!

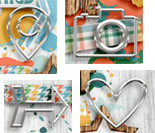
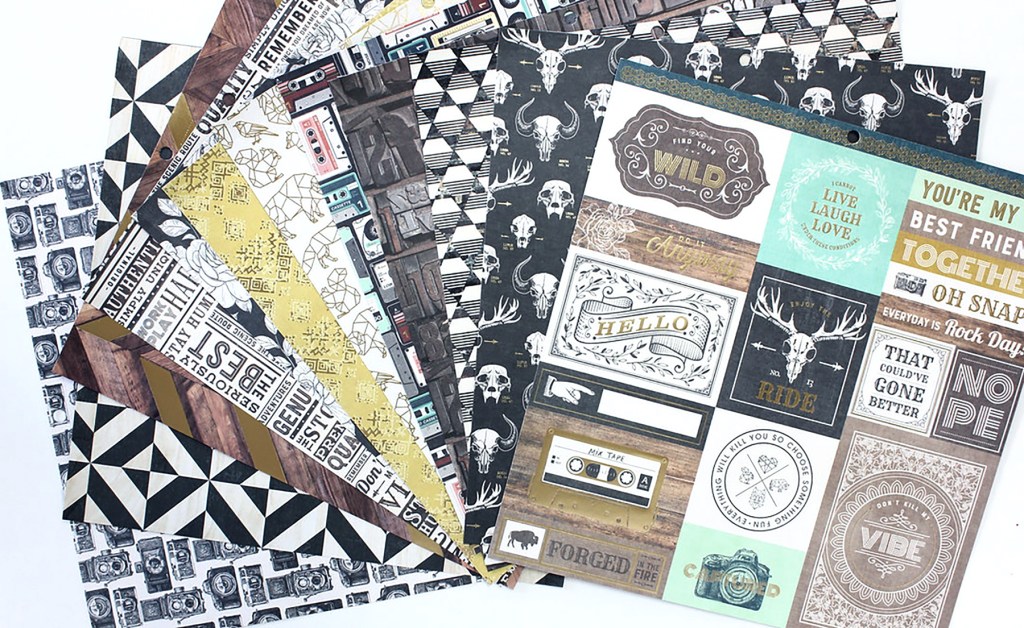
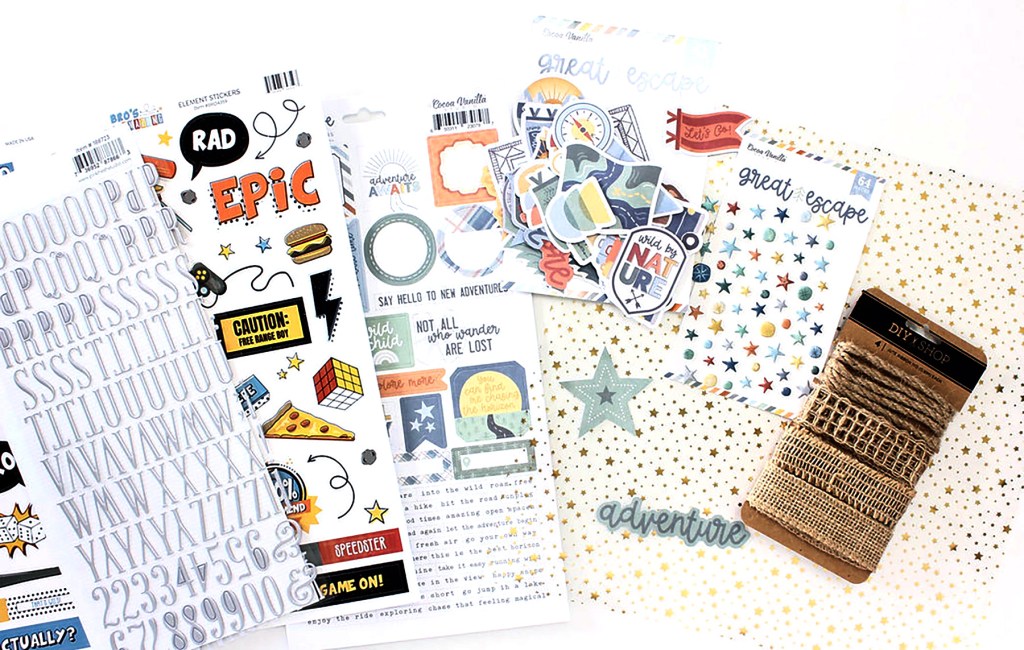
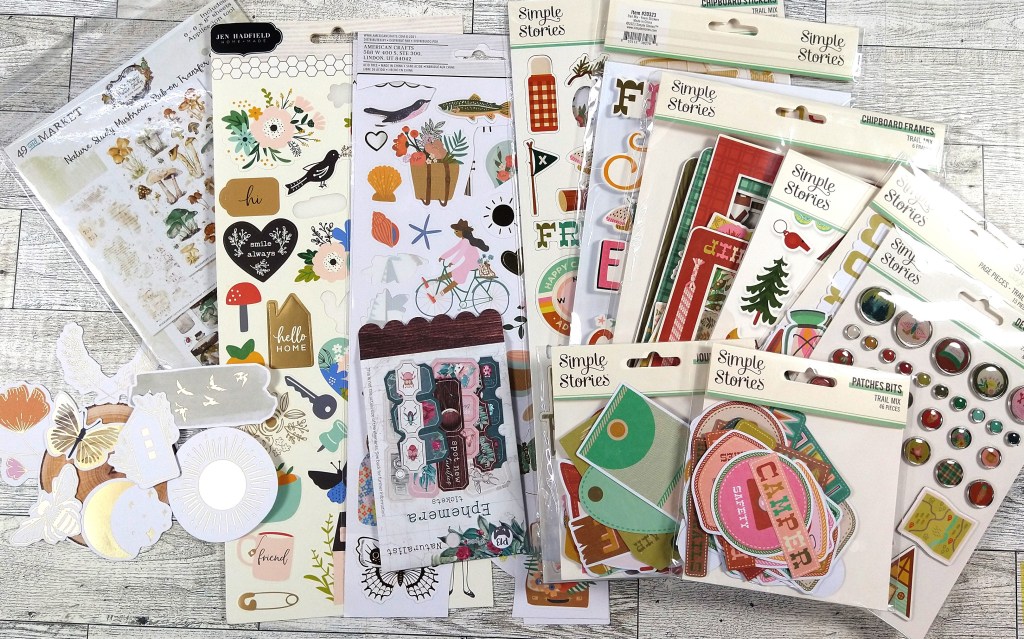
So, let’s move on with our kit. Here are a few looks at what we have in store this time around.

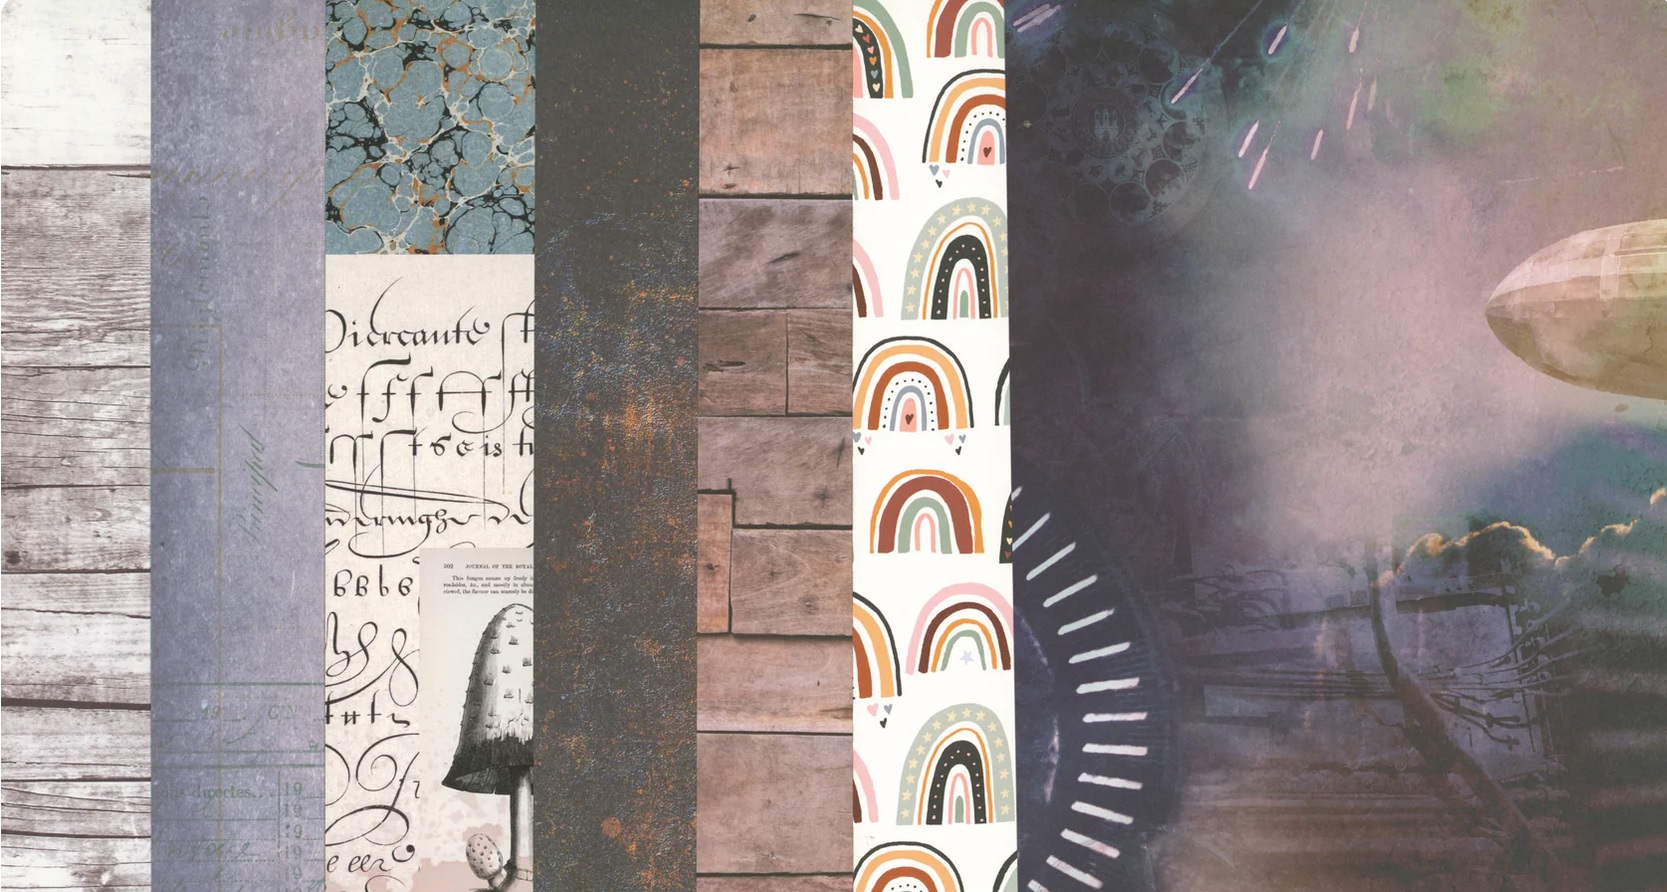

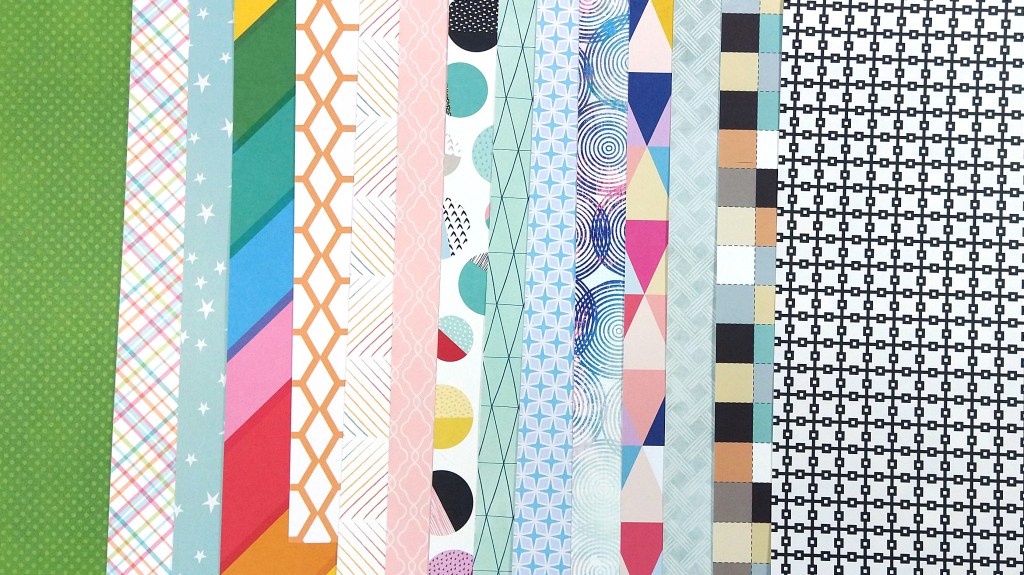
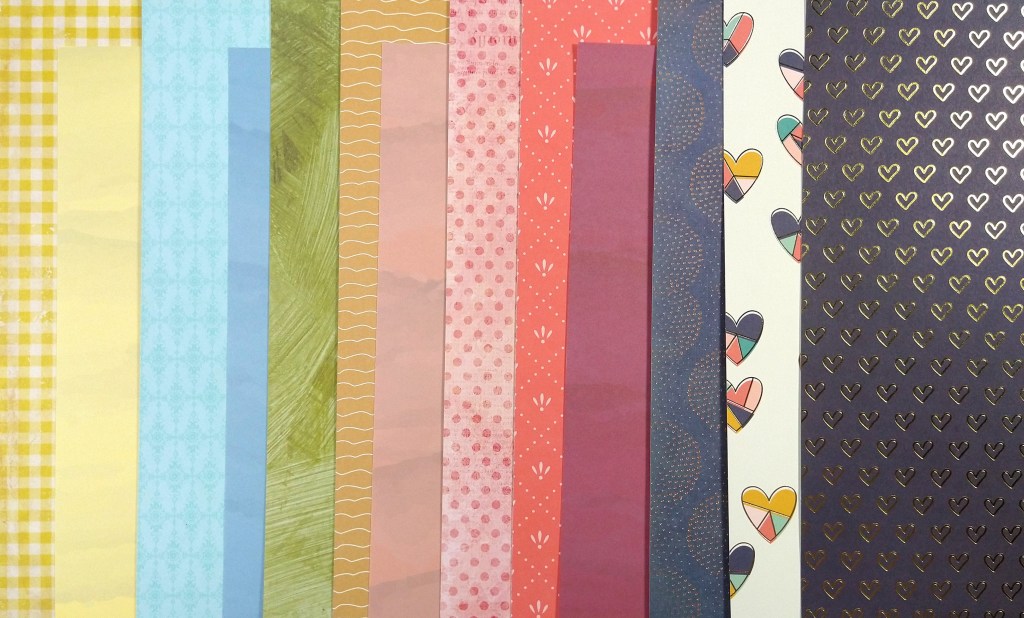
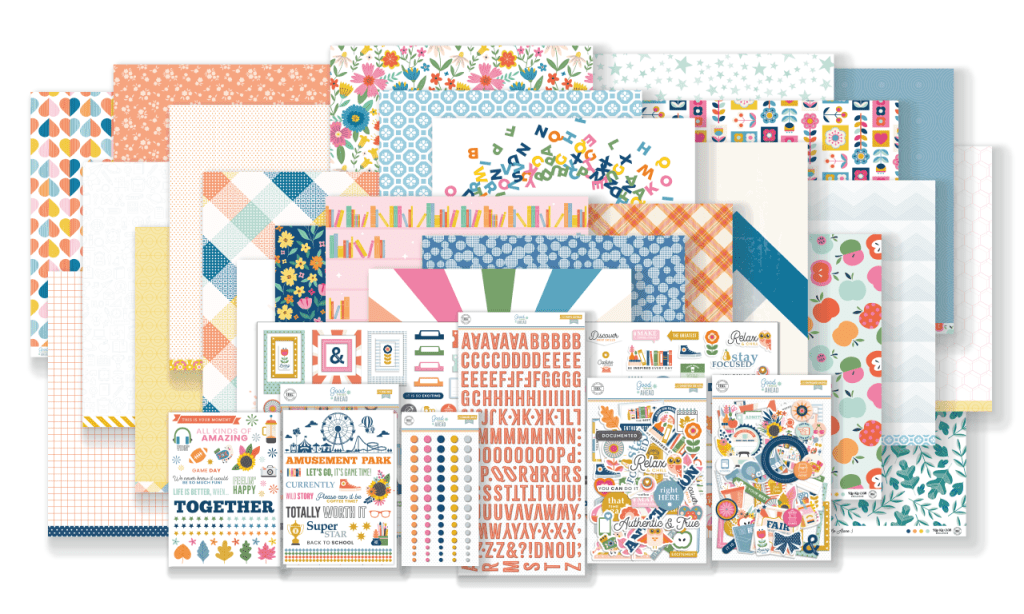
This collection made me think of the new Vicki Boutin collection called Flower Market* that is being produced by 49 and Market. They both have very neutral color palettes. So that is where I started my kit build!
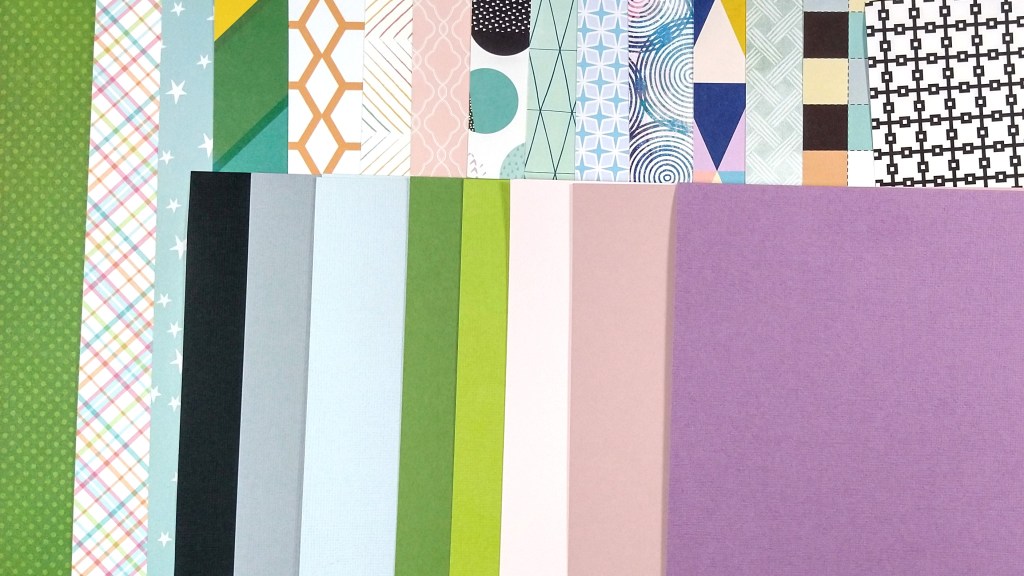
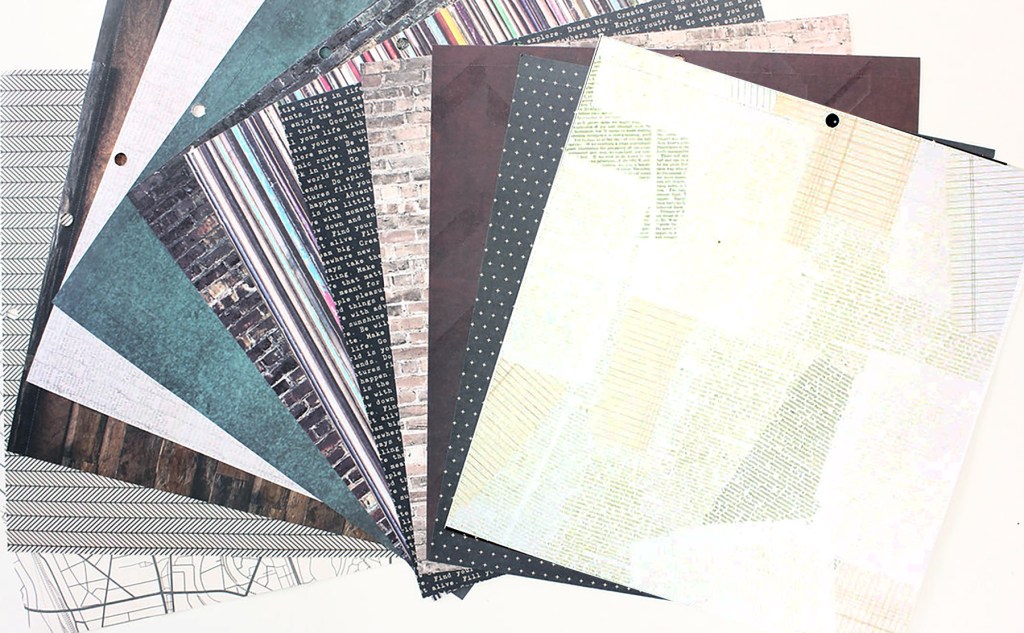
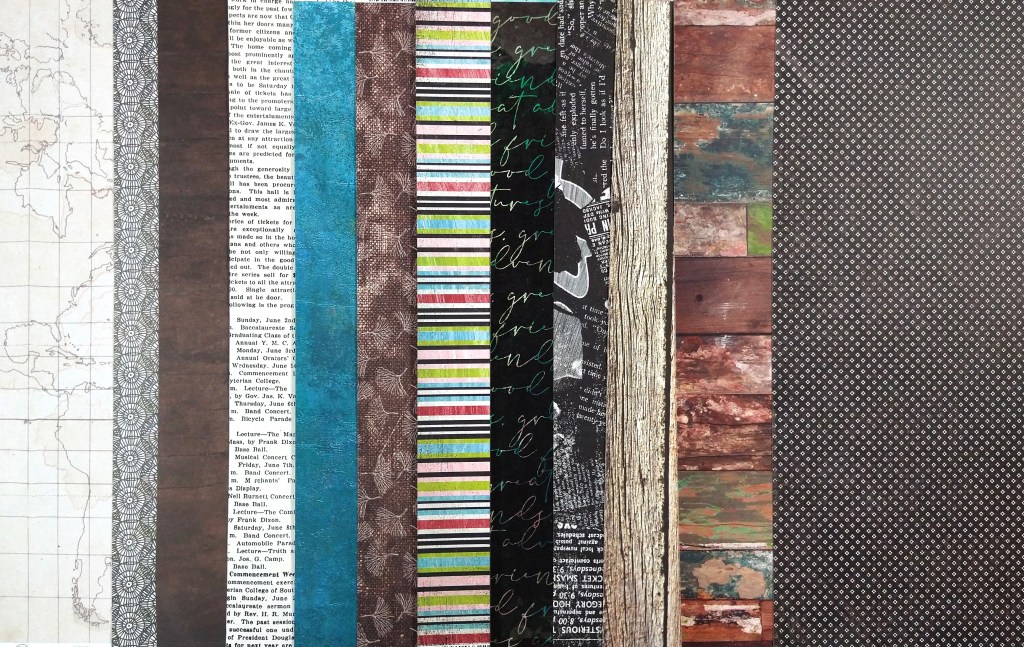
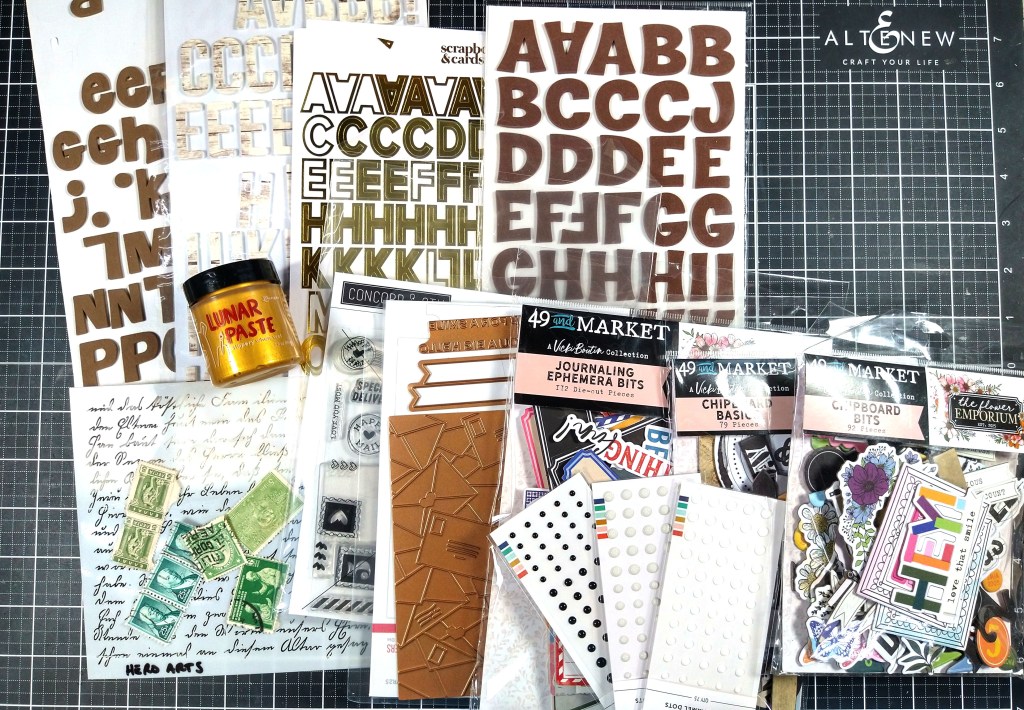
So these are the papers I came up with. I tucked in four papers from the Flower Market collection. I wanted more but couldn’t bare to use them all up at once!

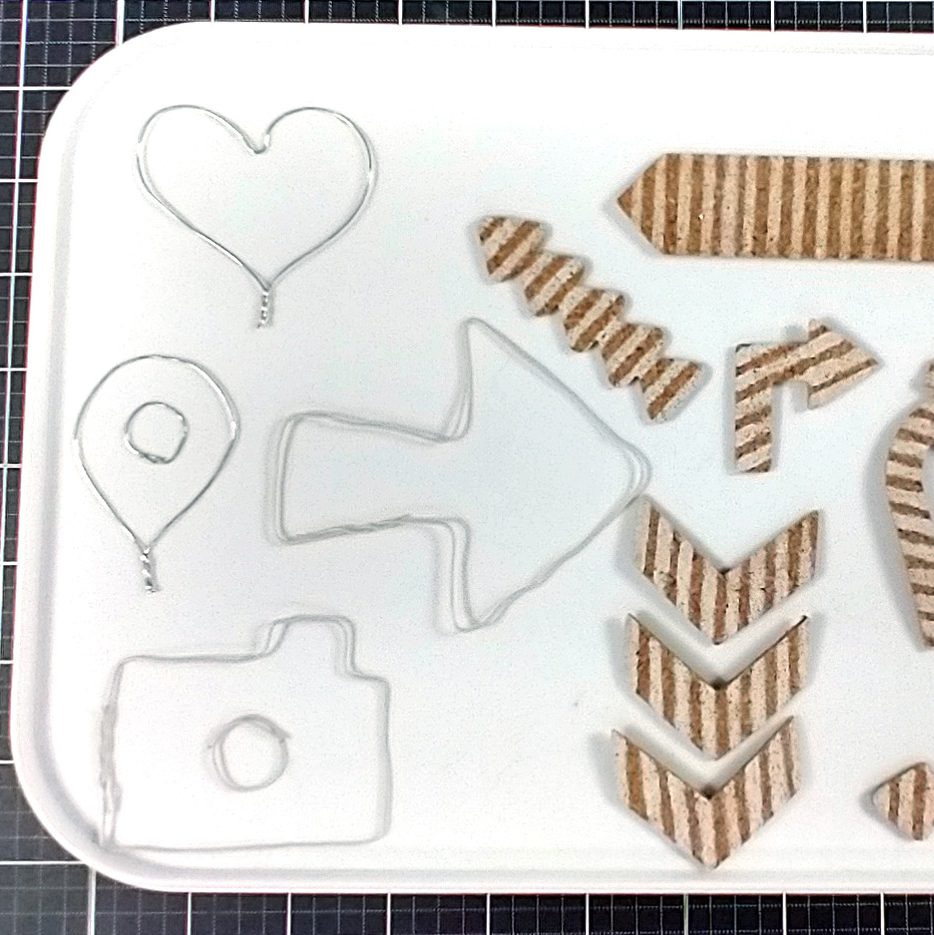
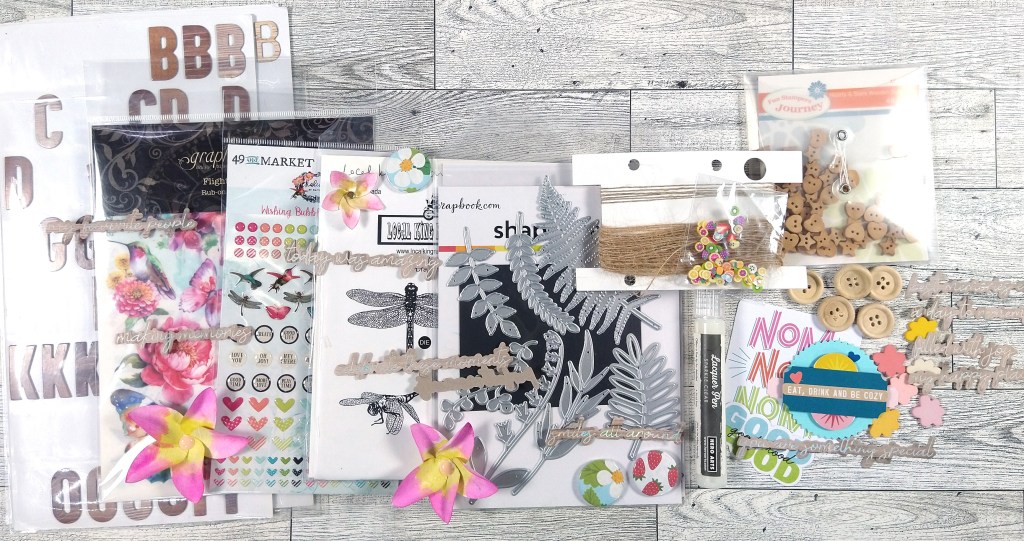
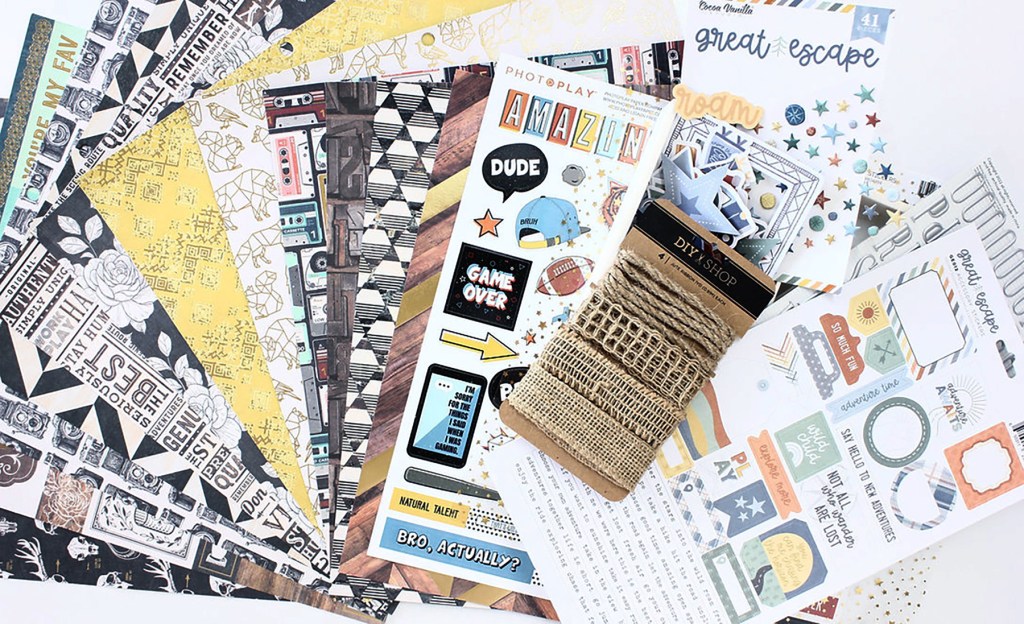
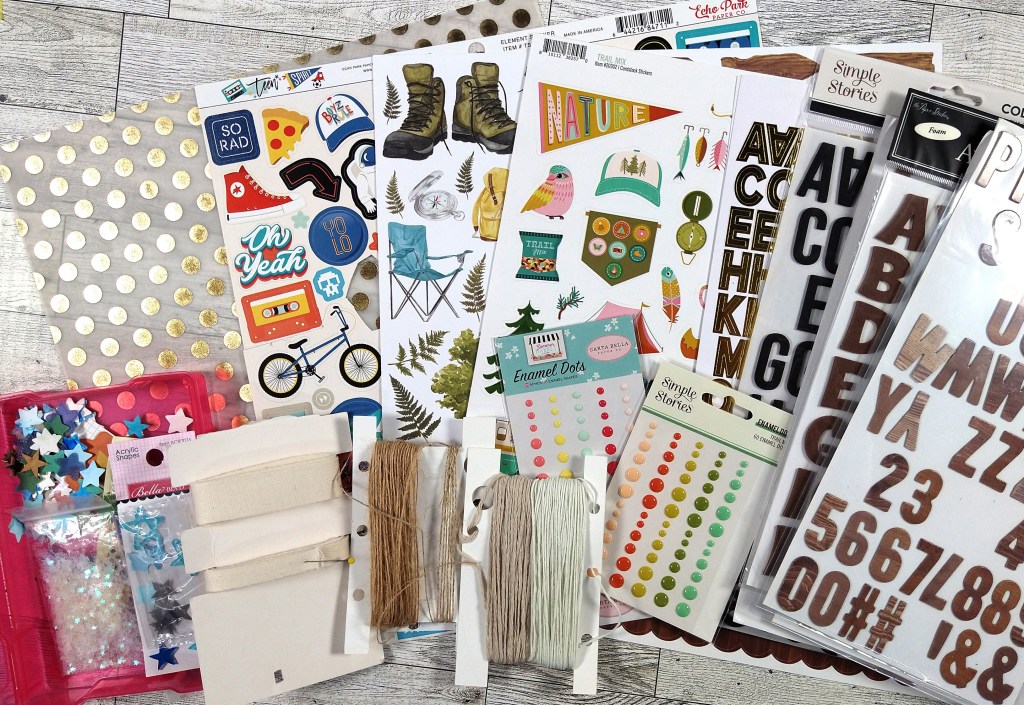
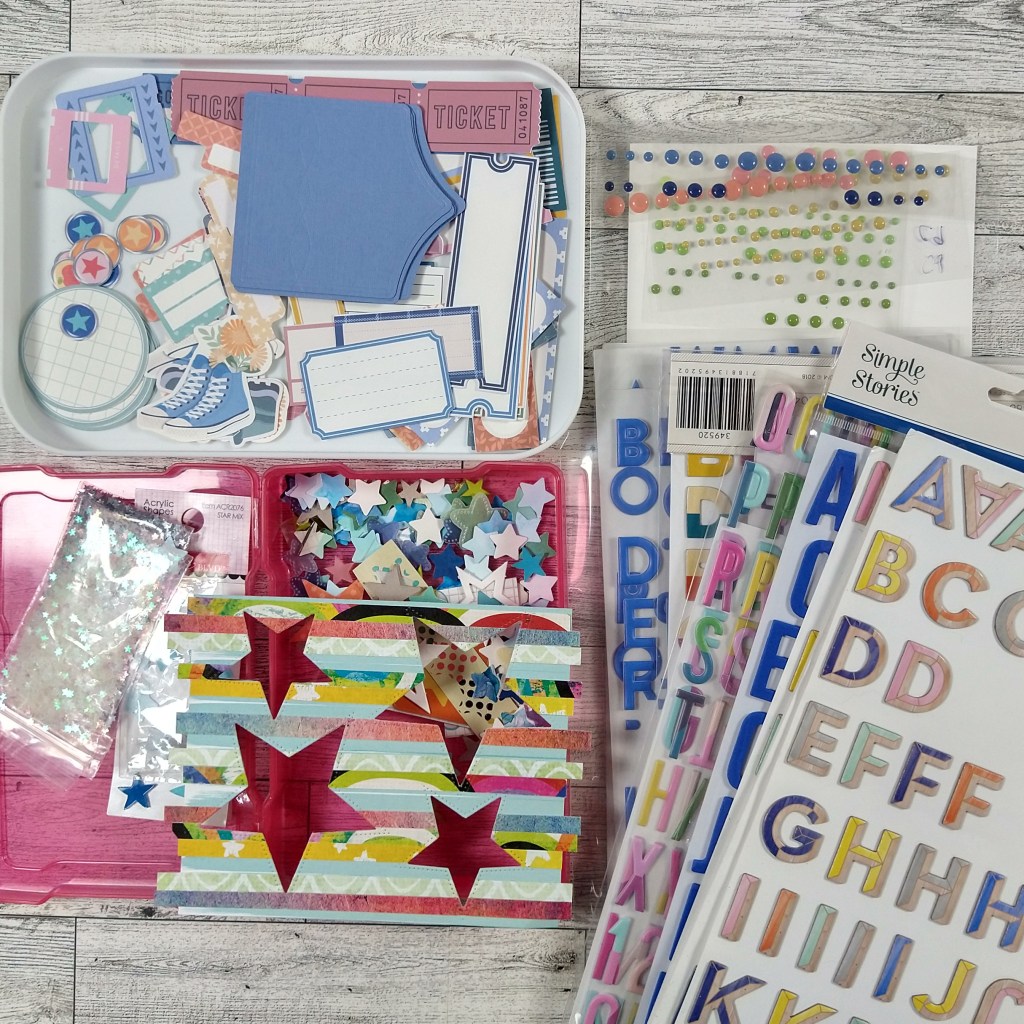
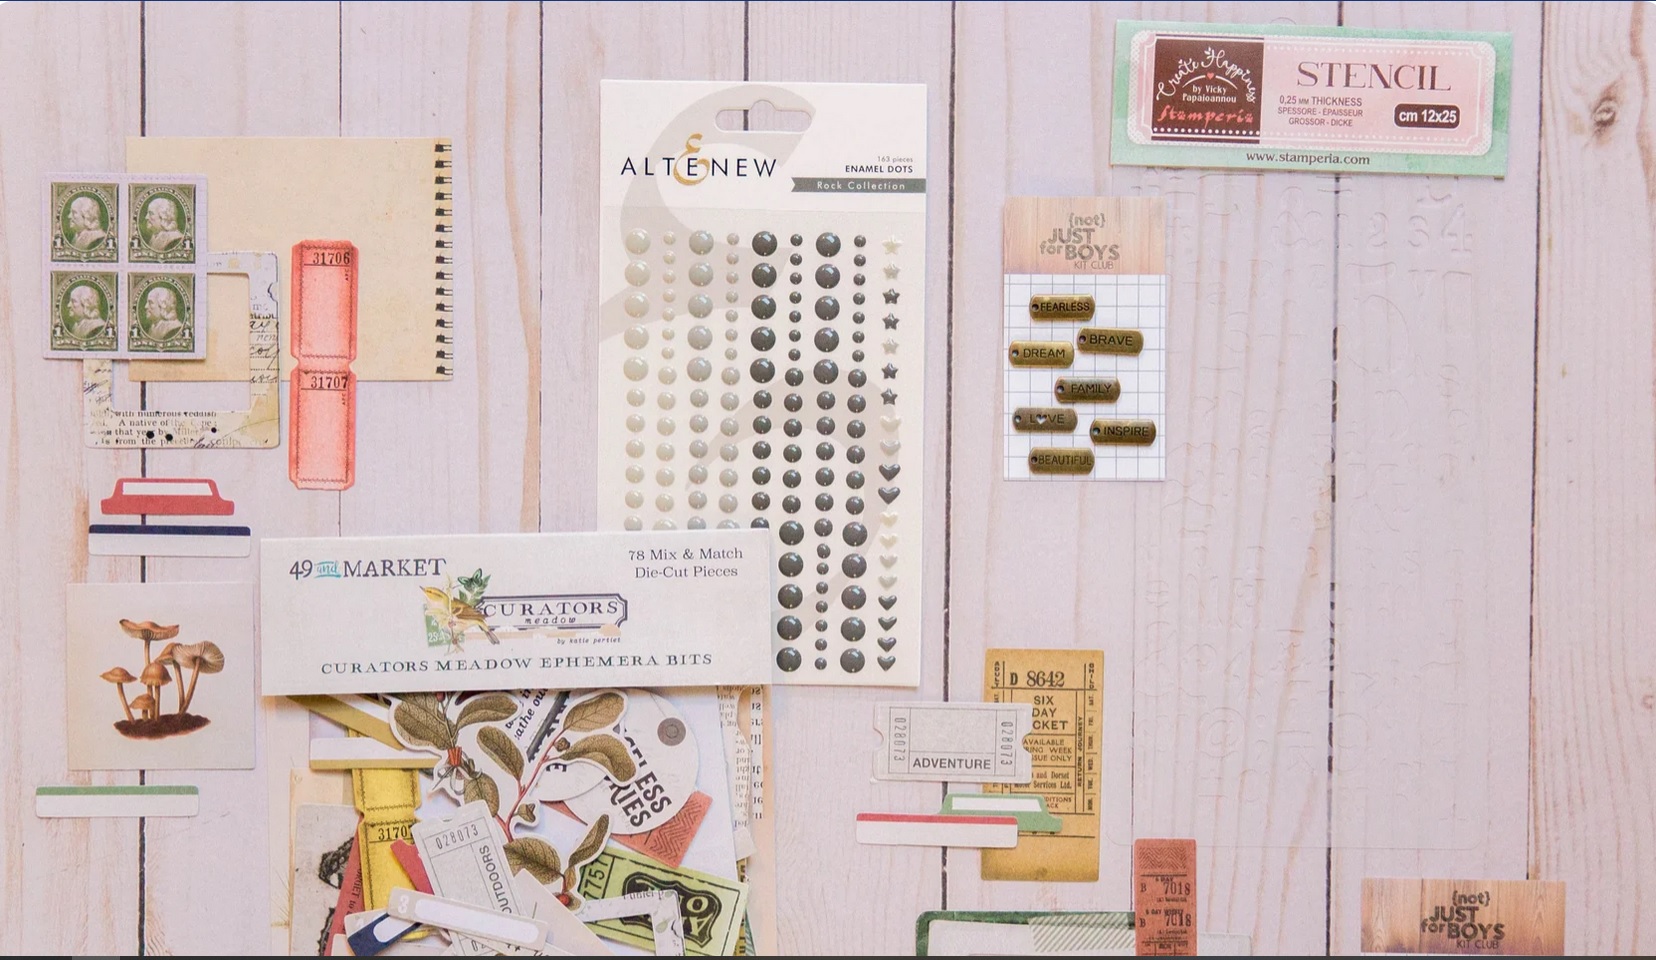
And here is a look at the embellishments. Again I focused largely on the Flower Market supply. Luckily the embellishment packs are jammed full so I don’t have to worry about using them all up in one go.
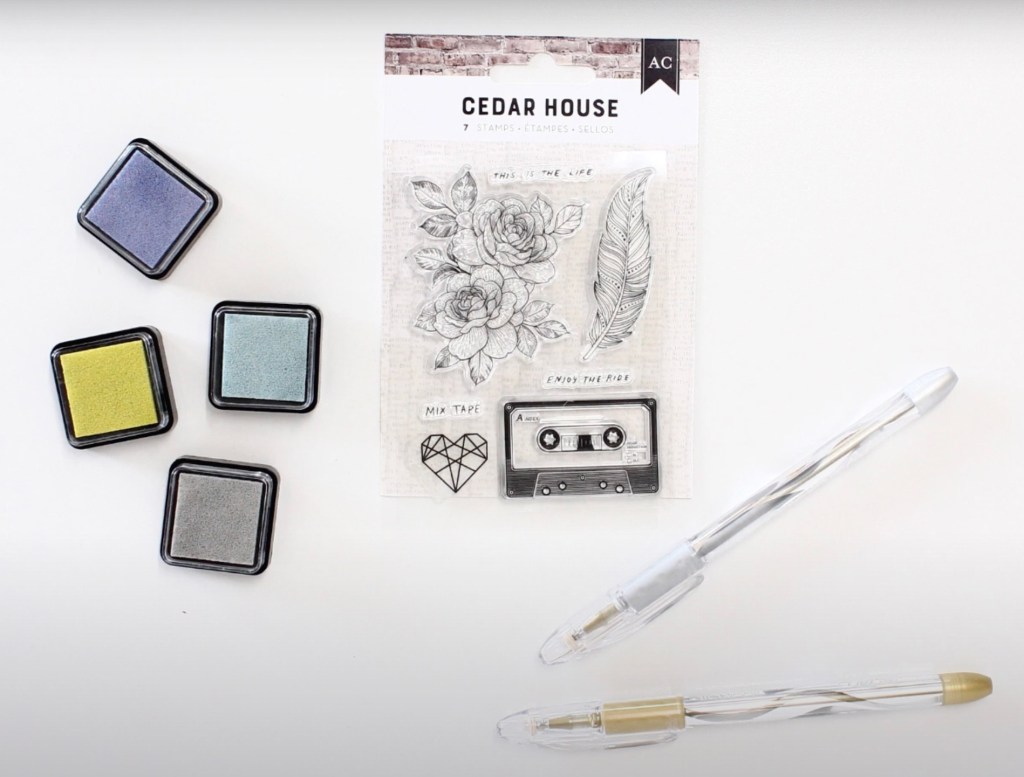
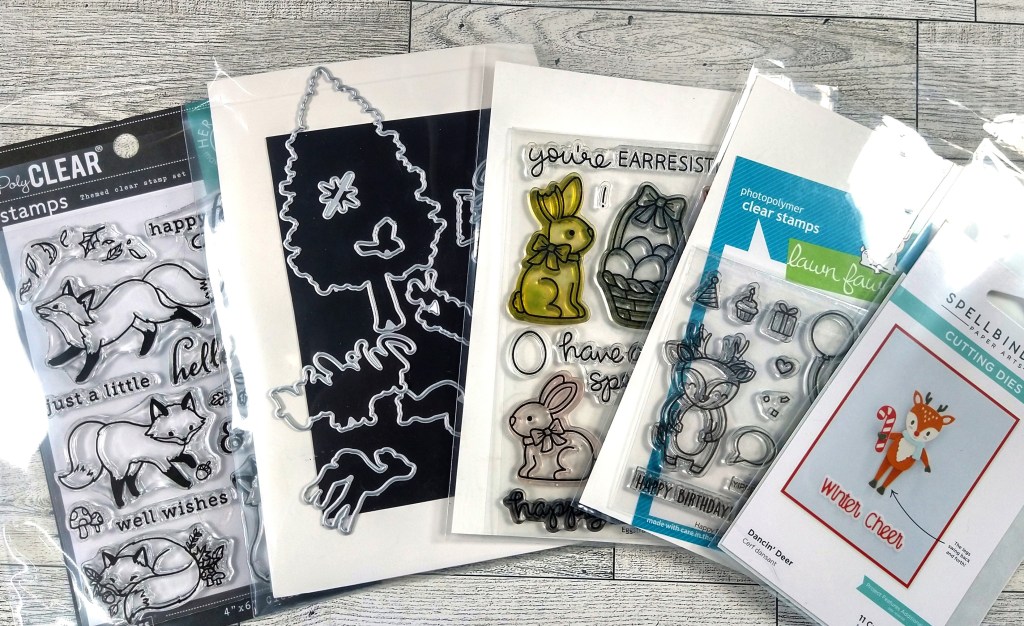
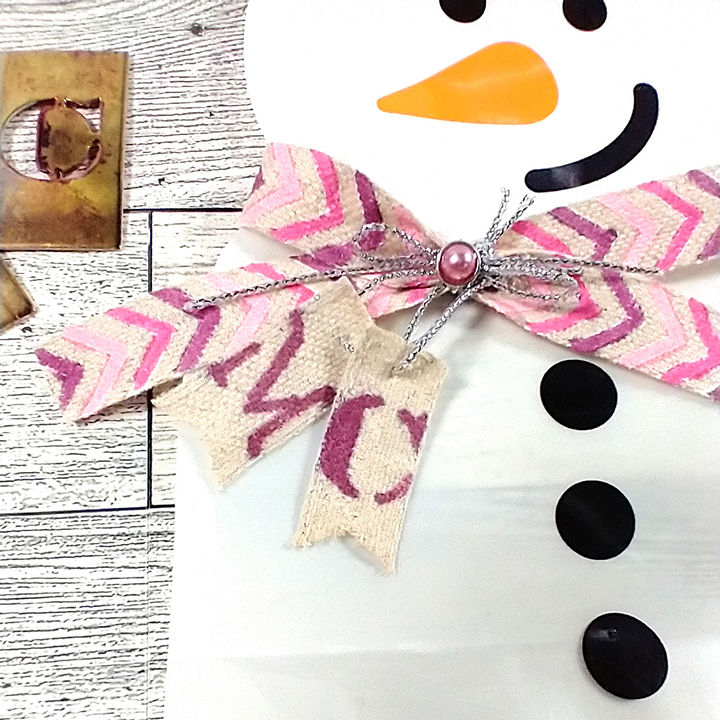
One thing I really focused on when building this kit was the postage/mail theme. Notice I have postage stamps like in the inspo. Now, I also have a mail inspired photopolymer stamp set and a mail inspired hot foil plate. I don’t know how I will use a mail theme on my layouts, but I’m loving the idea so I’ll figure it out. 😂
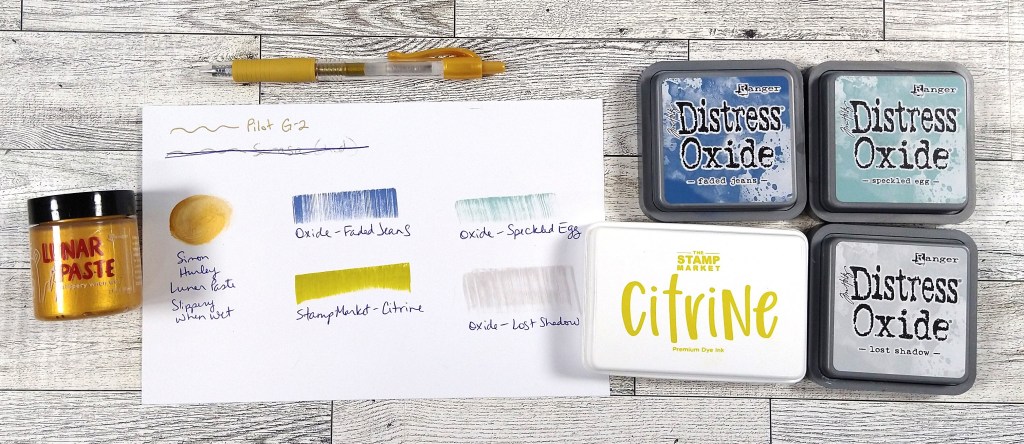
Don’t forget that each month I also create my own elements to add into my kit. Of course these are inspired by the original kit, but often have a twist of their own. So don’t miss what I will make in just a couple of days. I have way too many ideas again this month!
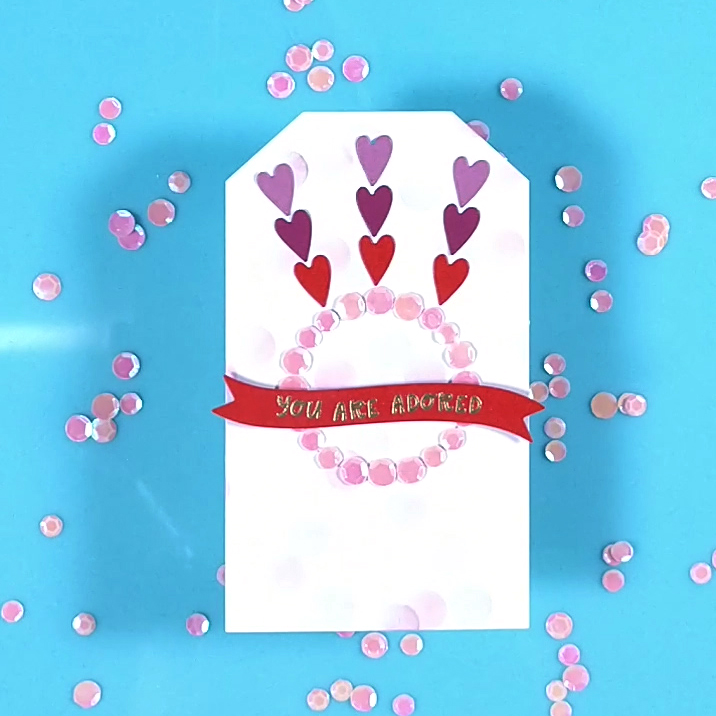
There is a tradition over at CKC of titling our kits just like companies do. So I’m calling mine…
Postal Adoration
If you want more details on my kit building thought process, check out my kit build video.
I hope you can follow along with the other designers and see how they interpreted their own kits.
Here’s the full hop link list
- Counterfeit Kit Challenge –https://counterfeitkitchallenge.blogspot.com/
- Guest Designer – MK Gunn https://www.youtube.com/@SomeAssemblageRequiredMKGunn
- Brandi – https://www.instagram.com/scrappy.boymama/
- Christine – https://www.youtube.com/@ScrappingHarden
- Cindy – https://cindyscreations-cinmfoster.blogspot.com/
- Jody – https://www.instagram.com/floppyearedfarm
- Julene – https://julenebydesign.blogspot.com/
- Laurie – https://www.instagram.com/scrapbookingbits/
- Misty – https://craftysoup.com/
- Ryann – https://www.instagram.com/scrapbookjoey/
- Tara – https://kryptonite72-rambles.blogspot.com/
- Tina – https://tinasscrapcorner.blogspot.com/
Have fun kit building and don’t forget to show off your stuff over on the CKC Facebook group, or tag us on Instagram @counterfeitkitchallenge or use #counterfeitkitchallenge.
I’ll be back on the 4th, for our Product Forgeries. Until then, have an artful day!