I love kit building and that is why I am on the design team for the Counterfeit Kit Challenge project. We take an inspiration kit each month and proceed to replicate it, or as we say, counterfeit it. This is a free, friendly group that helps inspire you to use up supplies you already own. We are not about needing to buy the latest and greatest thing (though we won’t stop you if you enjoy new crafty goodies😉 ).
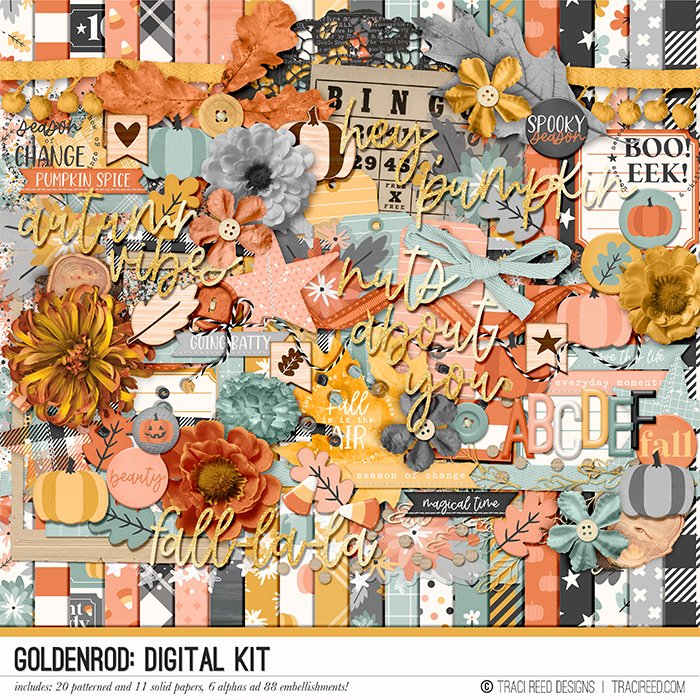
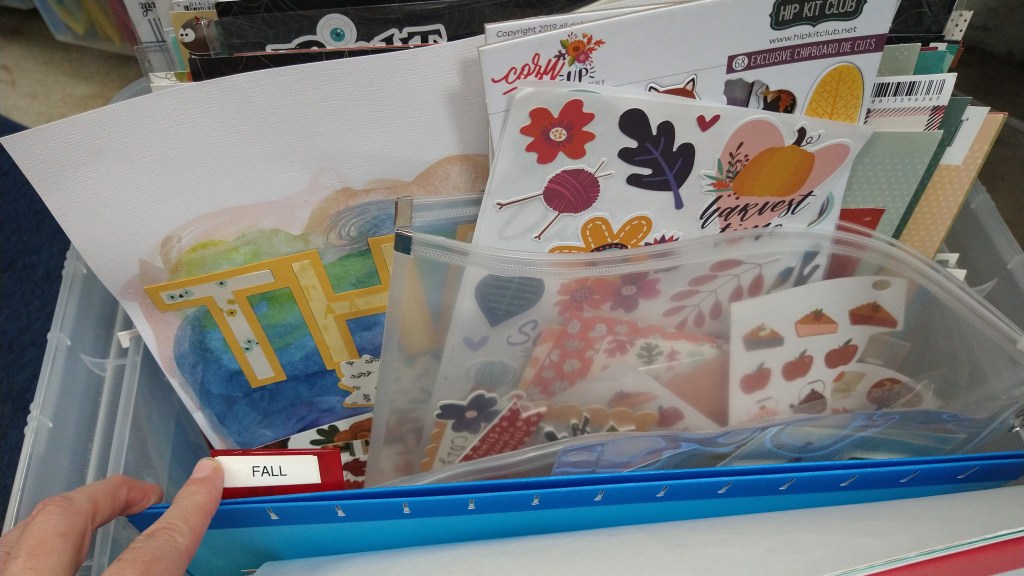
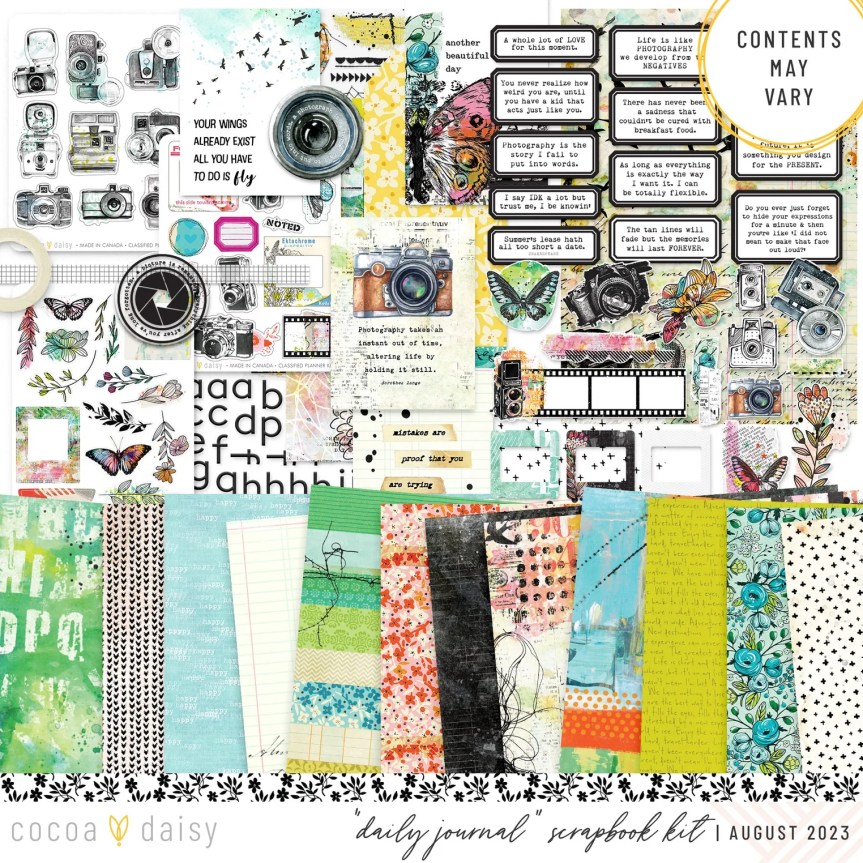
Happy New Year everyone. January is always a big shift for me as I move from largely die cutting and card making back into scrapbooking. I often feel a bit rusty switching gears again. I’ll shake off that feeling and get right back to it. So… Welcome to a new month of kit building. Christine is our hostess this time. She chose the September 2024 kit from Hip Kit Club to inspire us. Before we dive into the details of this kit, let’s give a warm welcome to our guest designer this month. Jennifer Cain. You can find her on Instagram and on YouTube.
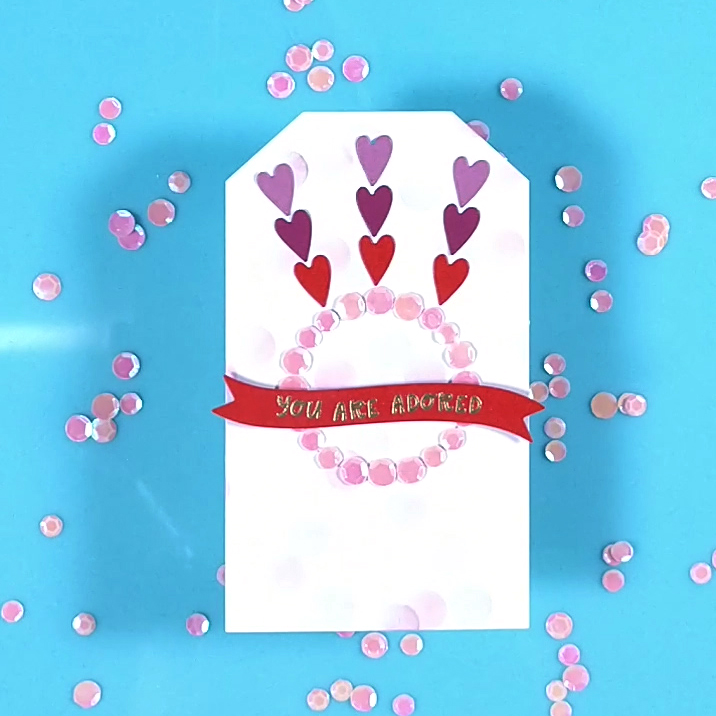
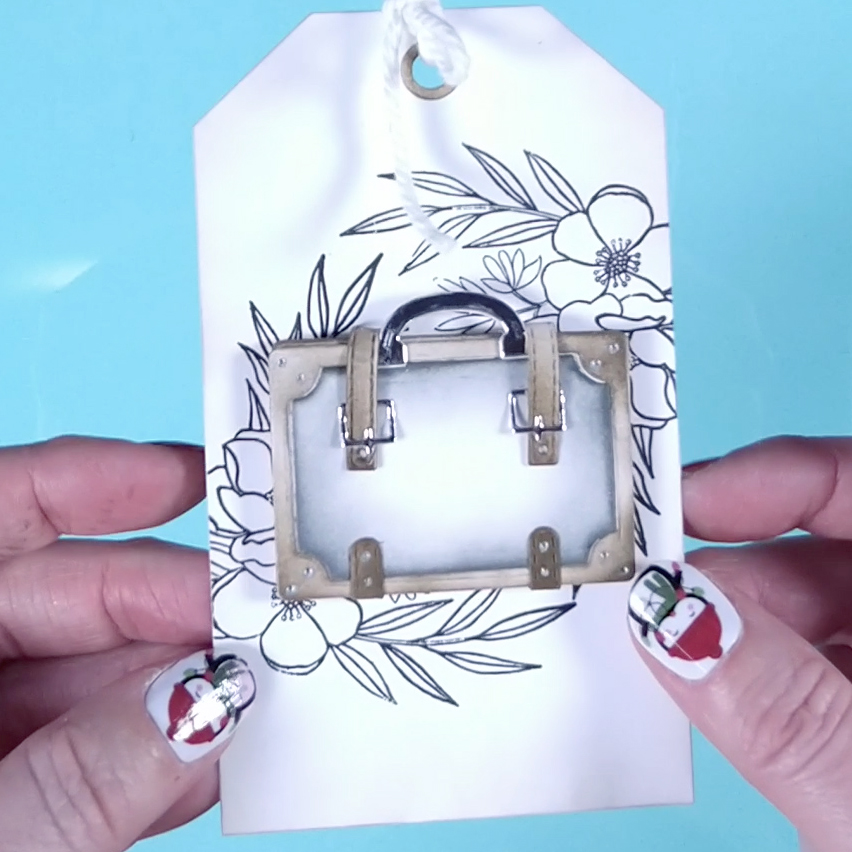
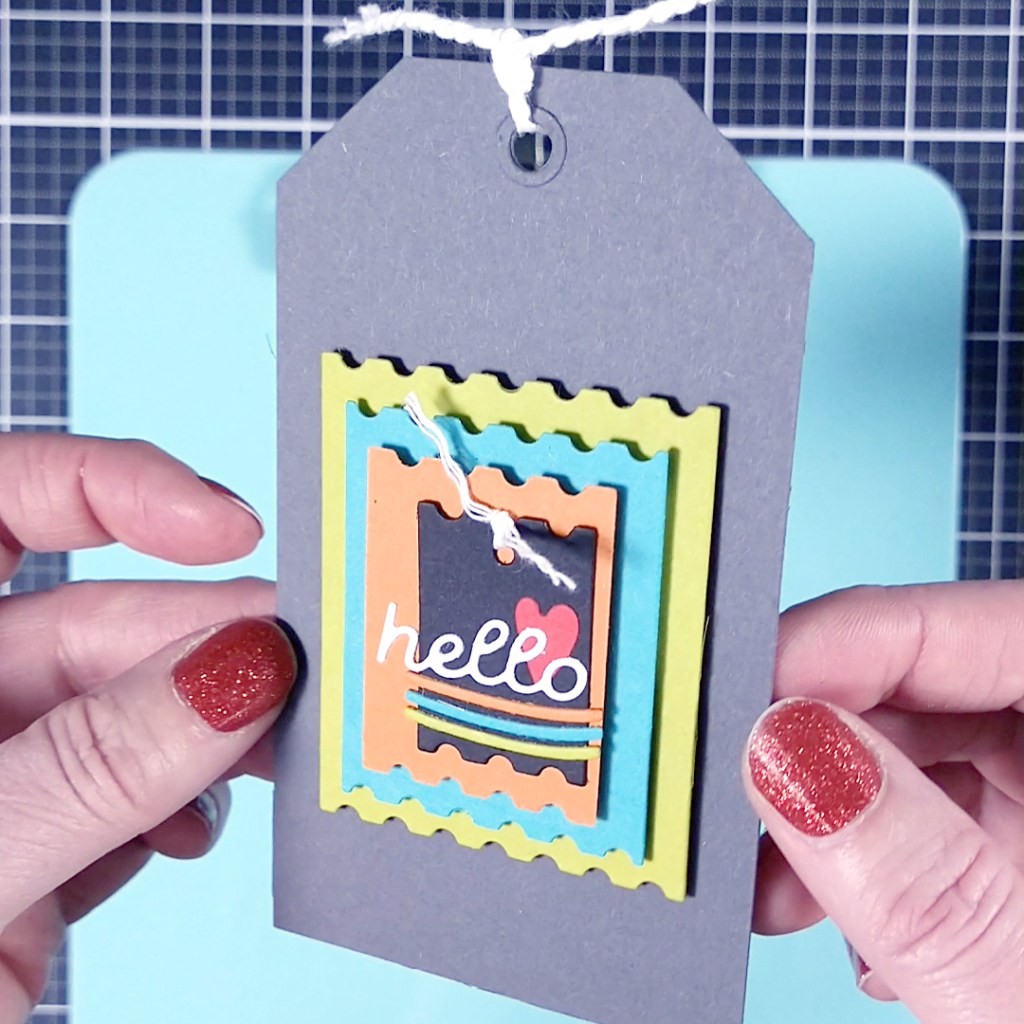
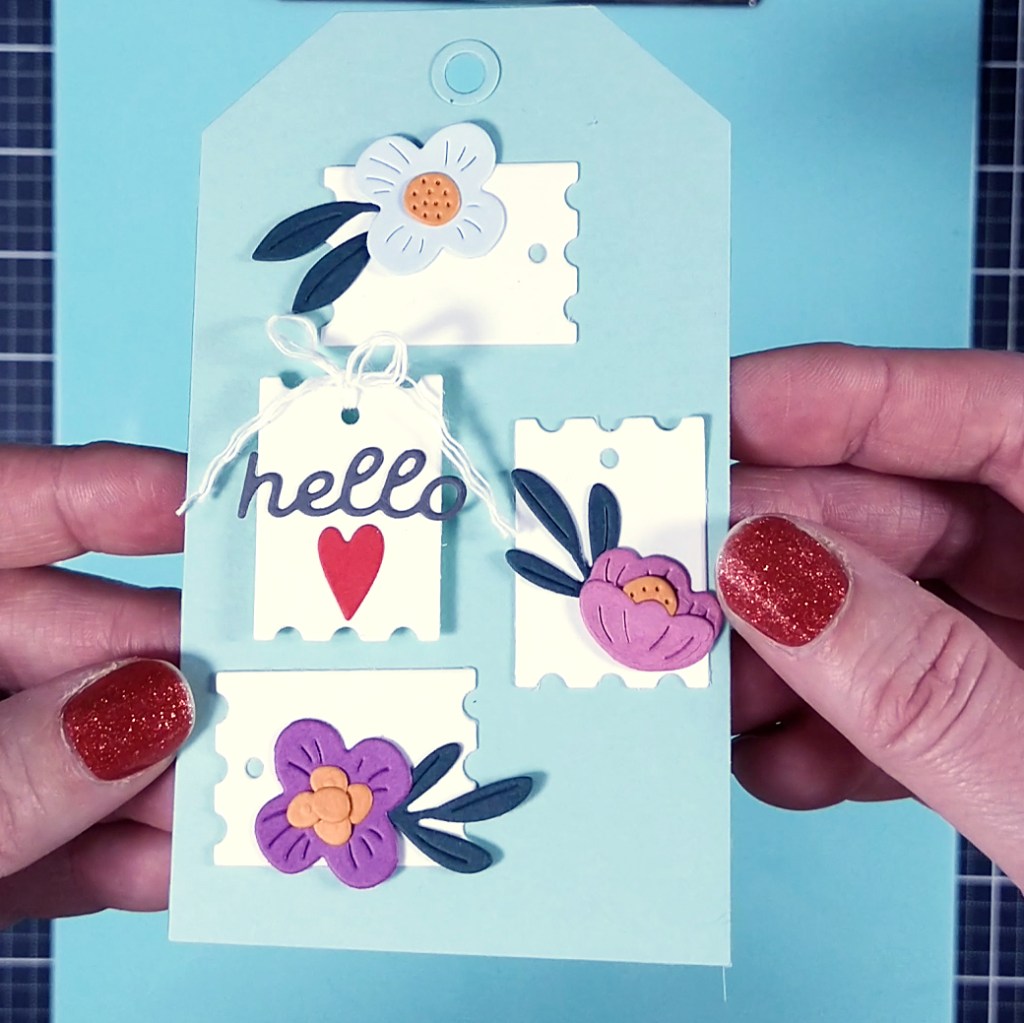
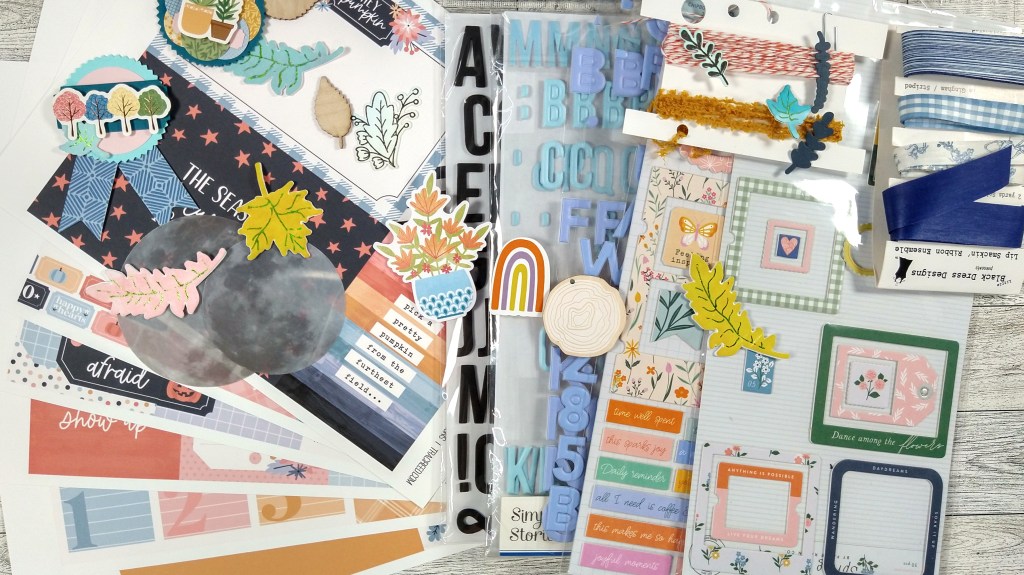
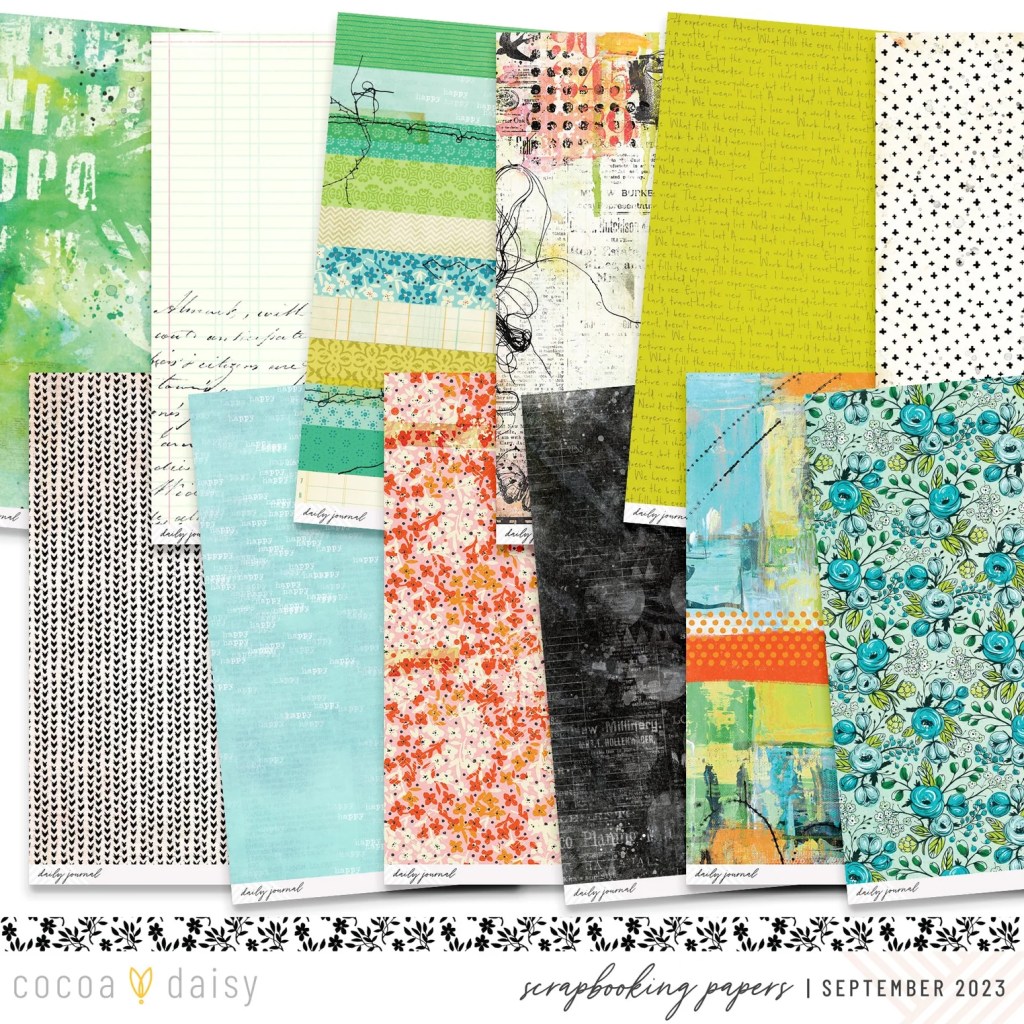
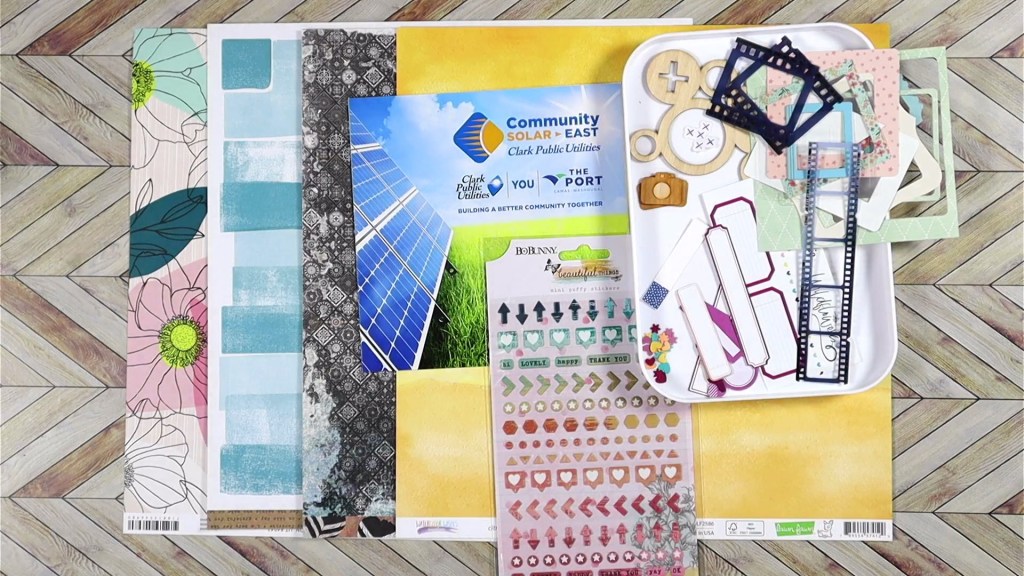
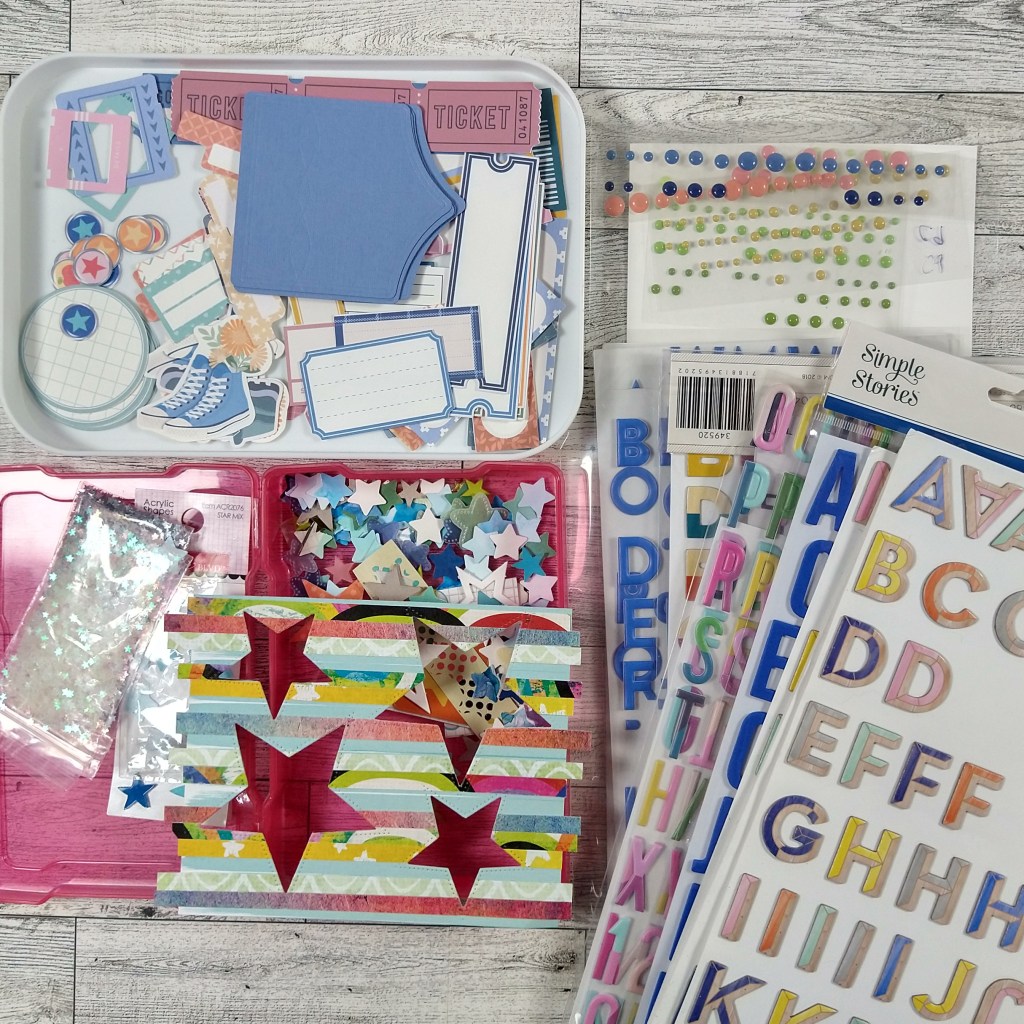
So let’s move on with our kit. Here are a few looks at what we have in store this time around.
It is a bit hard to get a closer look at all these goodies so you’ll have to trust me when I say I saw something sepcific that caught my attention, LOL.
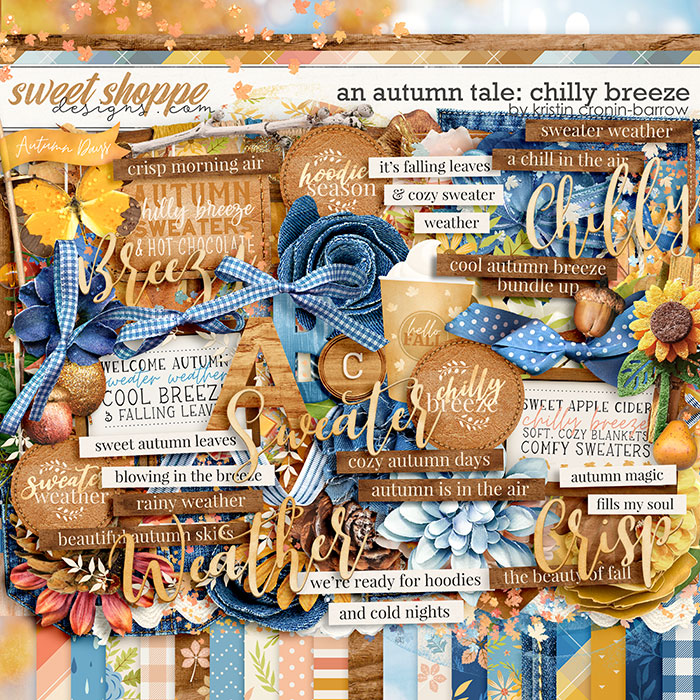
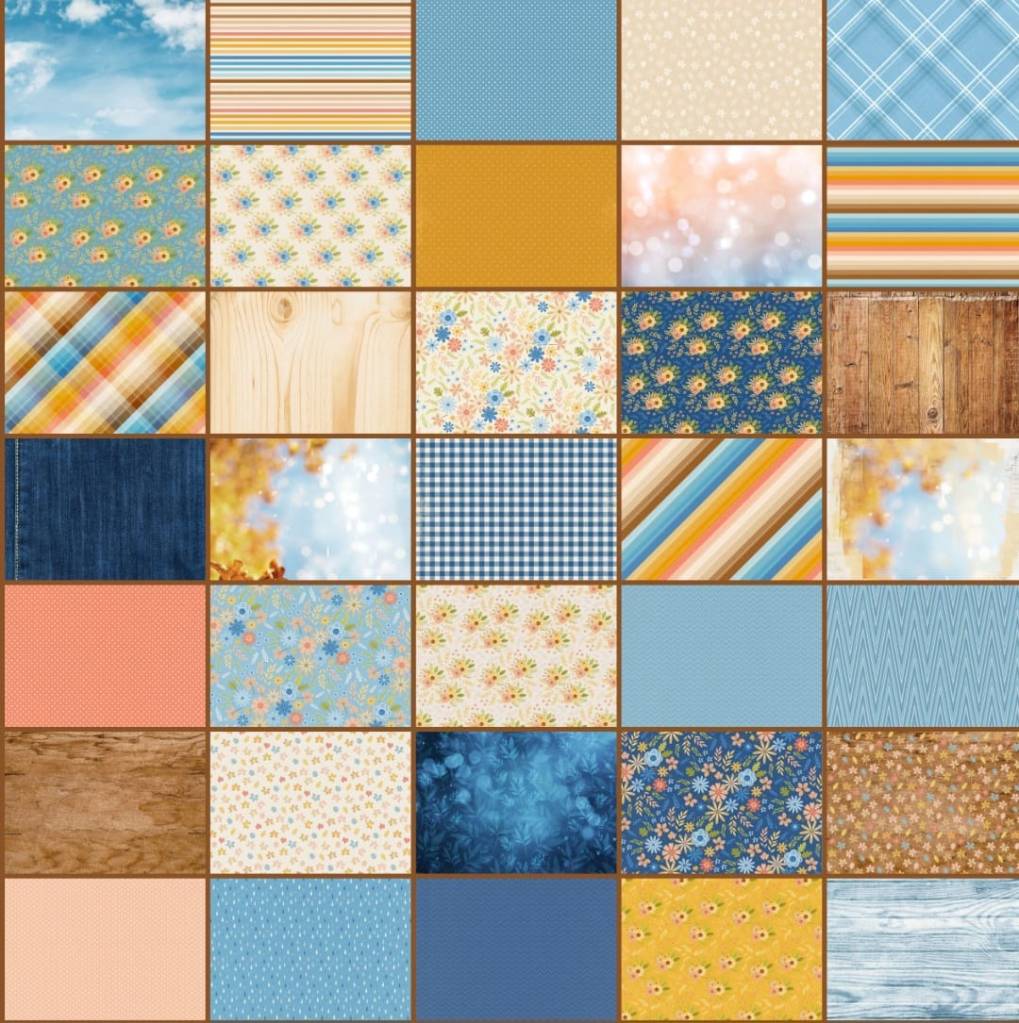
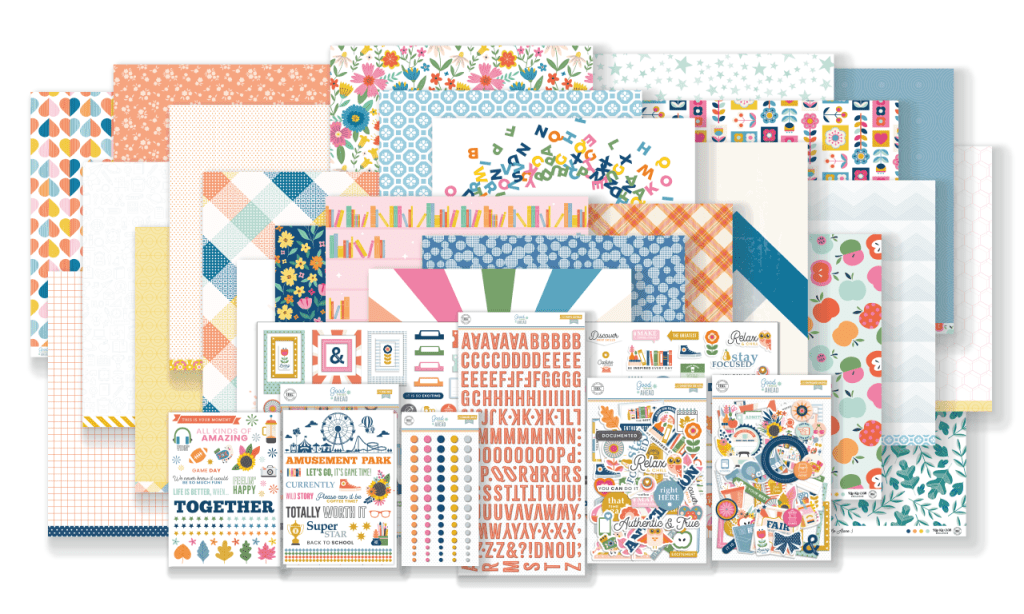
For the papers, I only used items that sparked some interest for me. There was no specific reasons I included some papers and not others. The funniest thing about building out my papers was that I completely forgot I had this split-heart print in my stash. It was such a fun match to the inspo! Some other paper choices were more on the interpretive side, but that is how I roll.

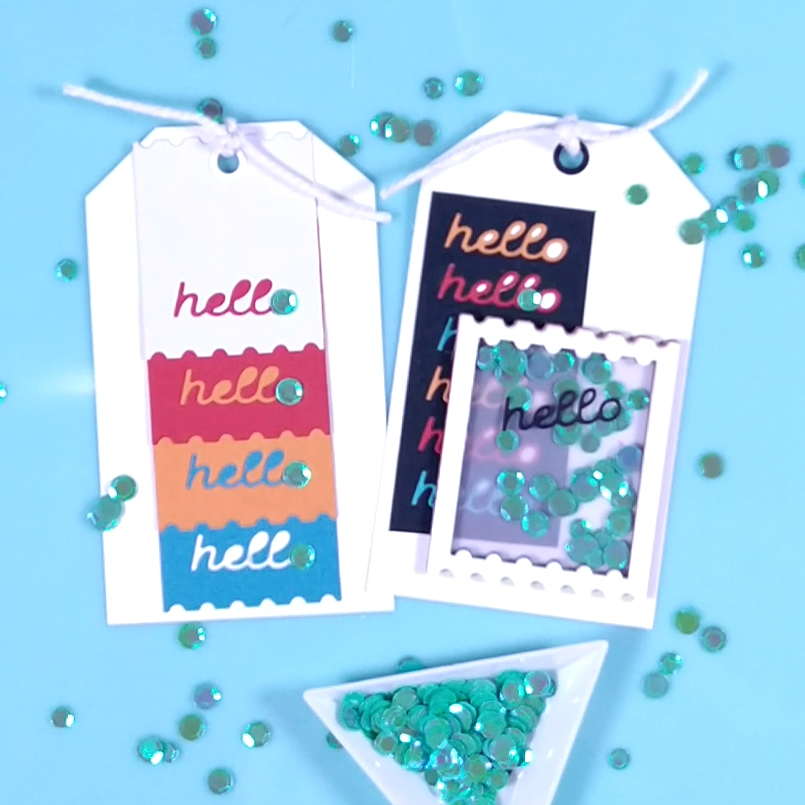
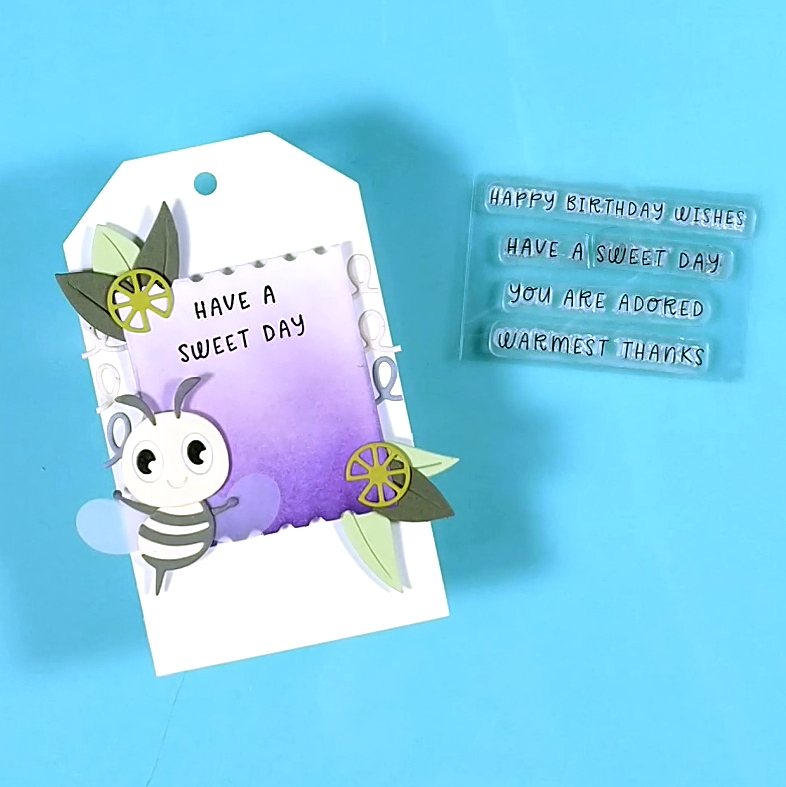
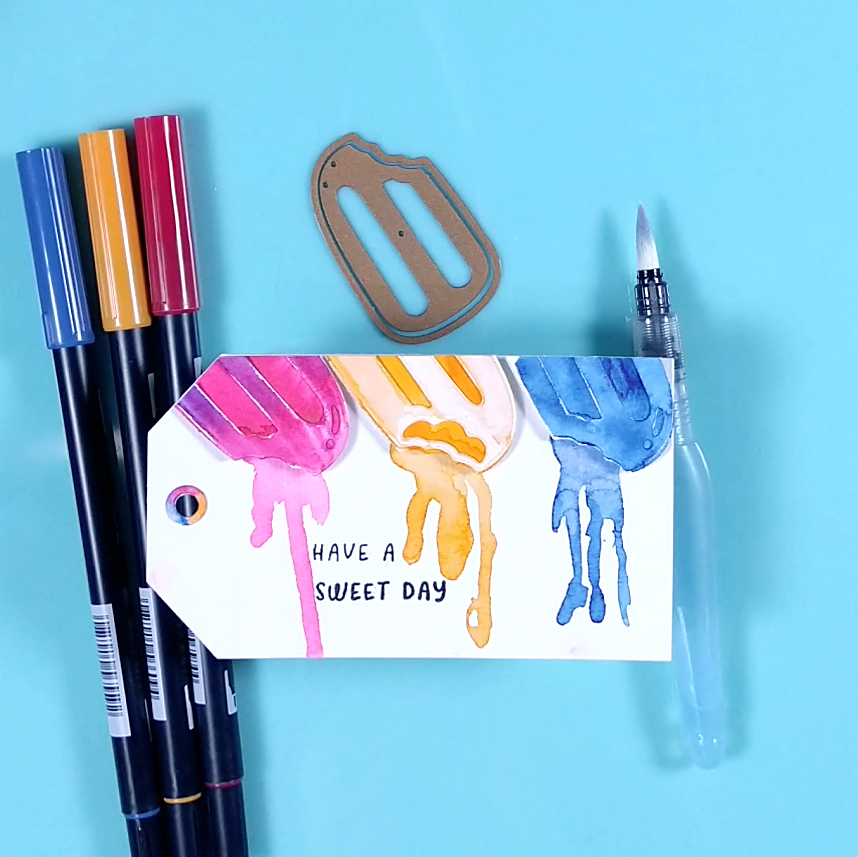
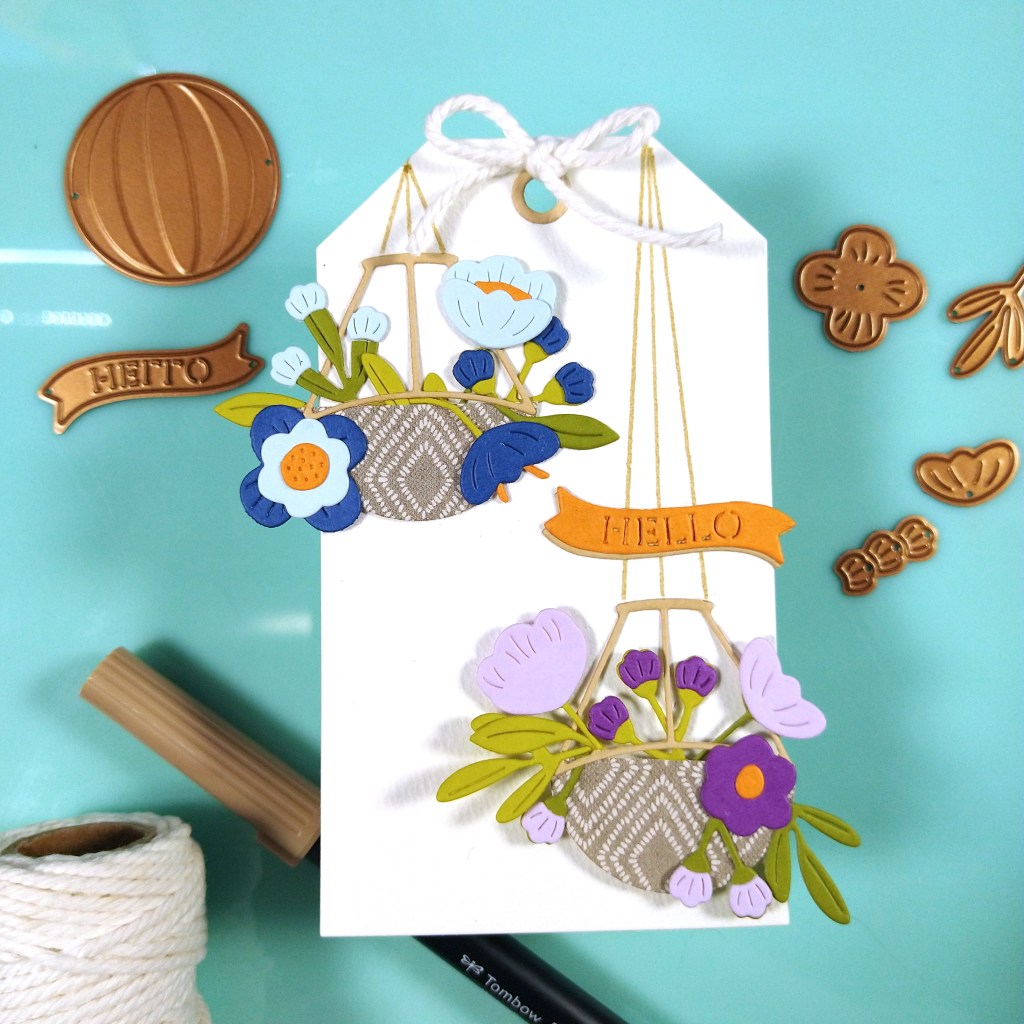
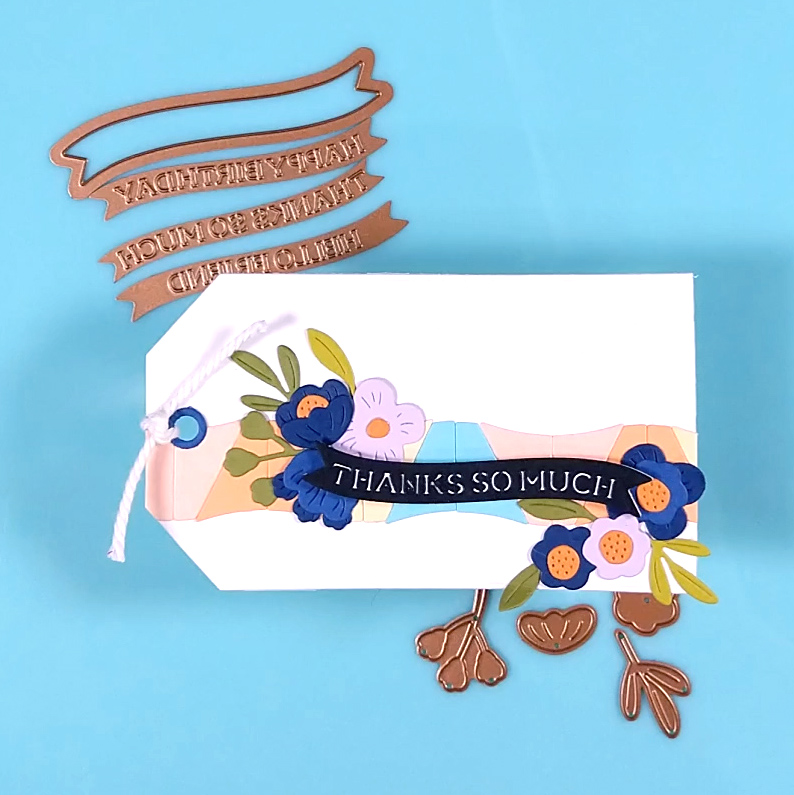
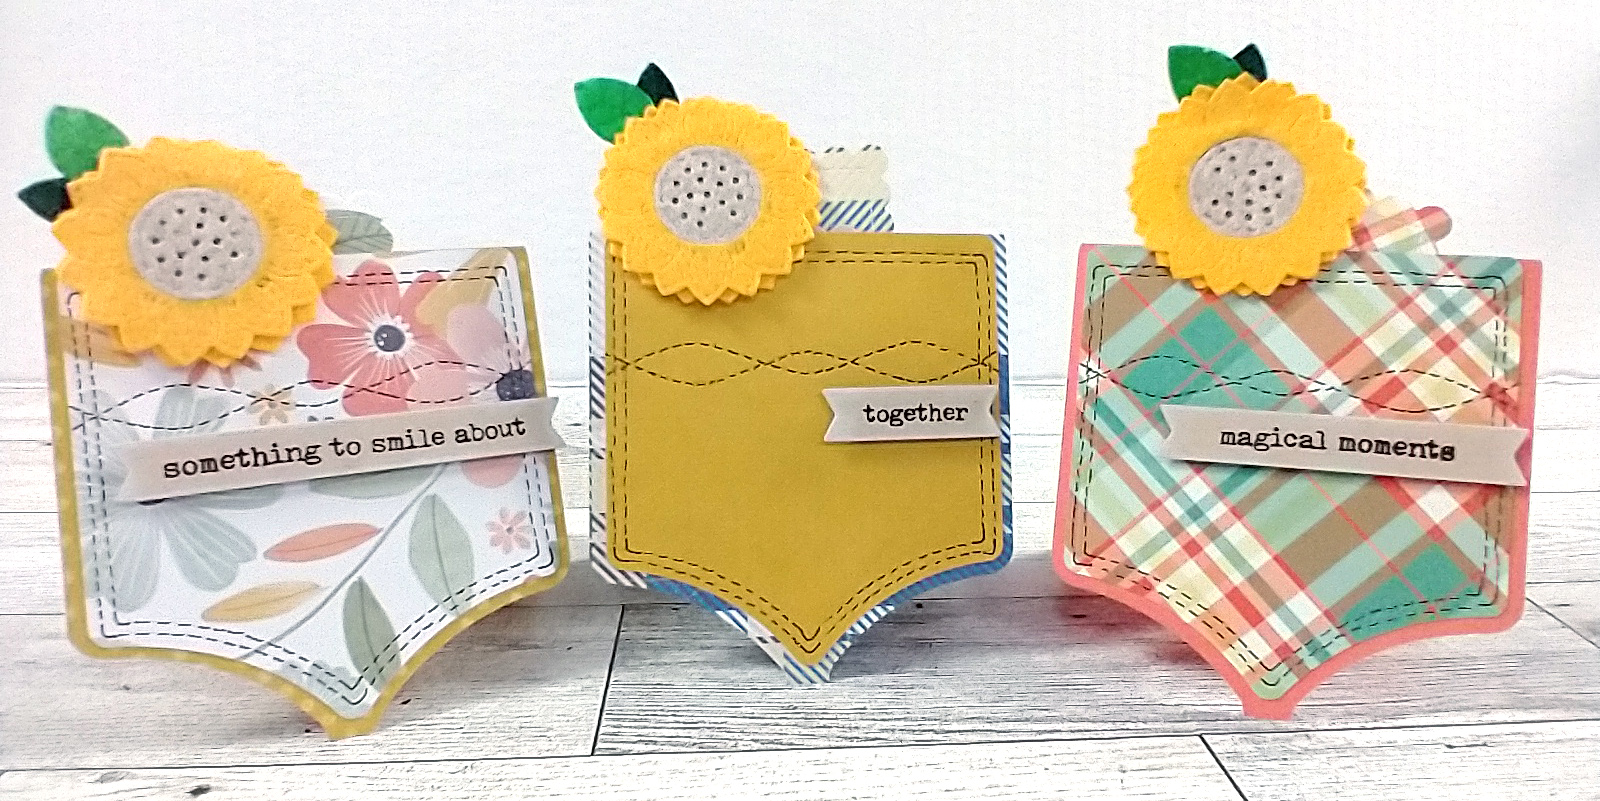
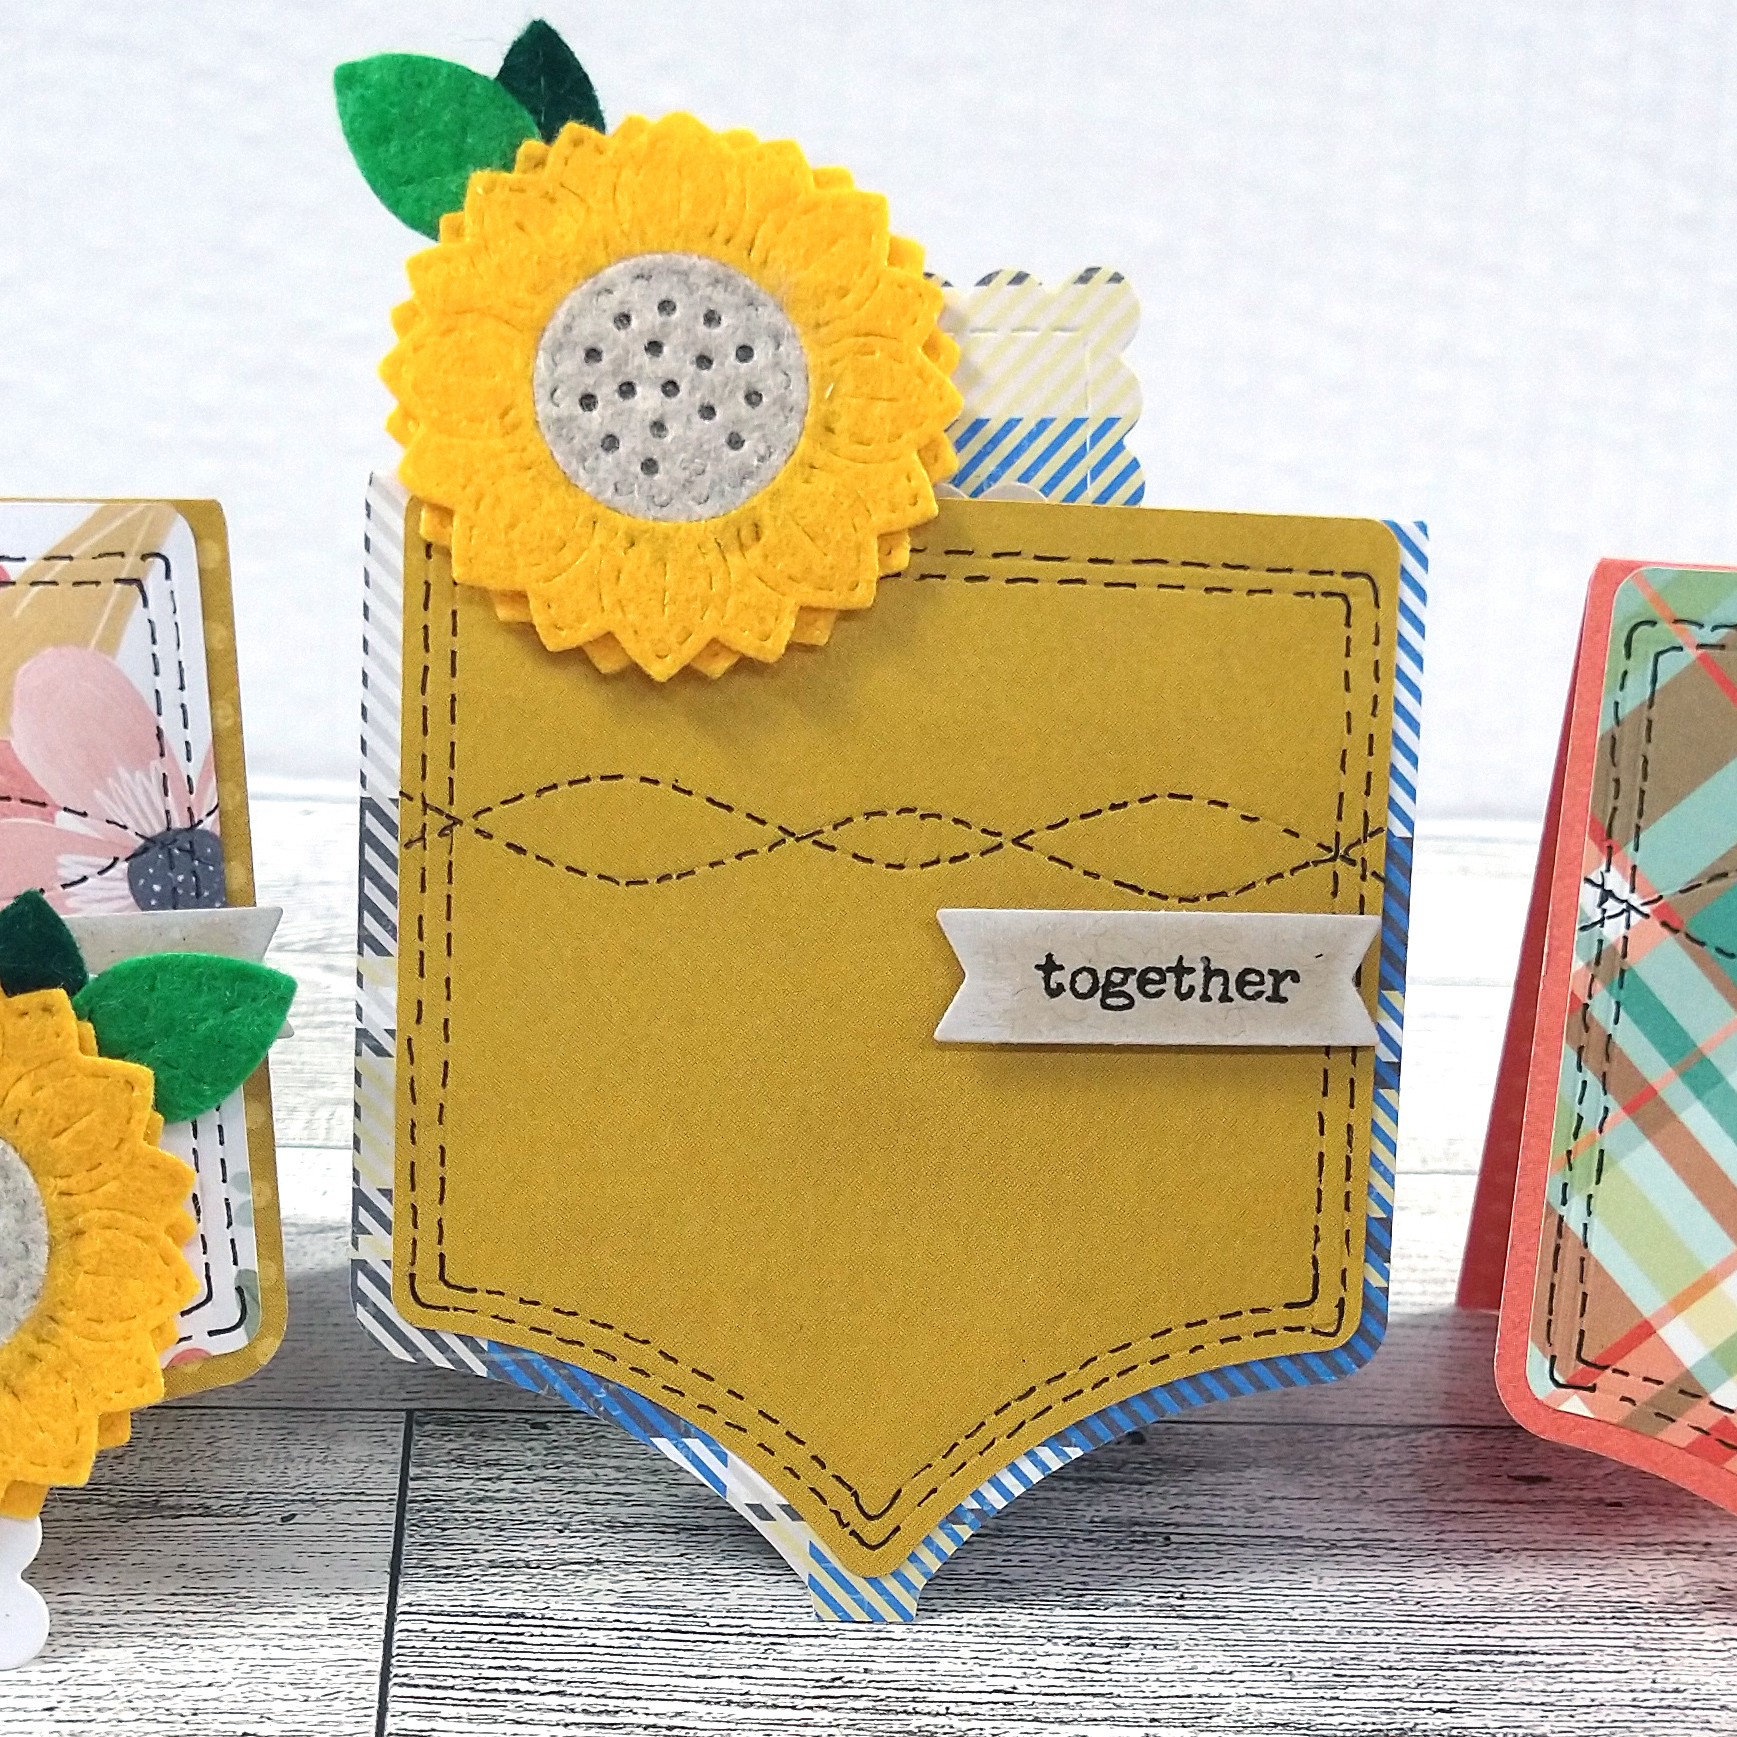
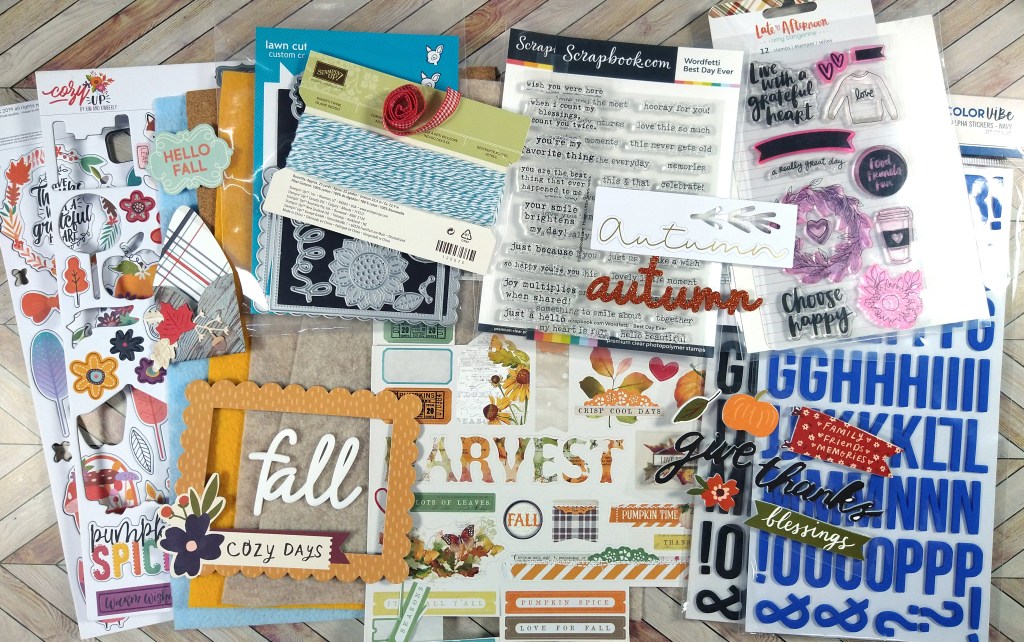
For the embellishments I was super inspired by small little images in the kit pack. That lead me to pulling a lot of die sets and stamps sets to mimic those images. From roller coasters, to owls, to shoes, I packed in a bunch of little imagery. It’ll be a month of making embellies for each layout! Yet, I still do have my FOF (aka Forgeries on the Fourth) project coming, so perhaps I can get some work in ahead of time to pre-make some elelements.


Hope you will come back on the fourth to see what I made ahead and what I left to do in real time!
Before we go, there is a tradition over at CKC of titling our kits just like companies do. So I’m calling mine…
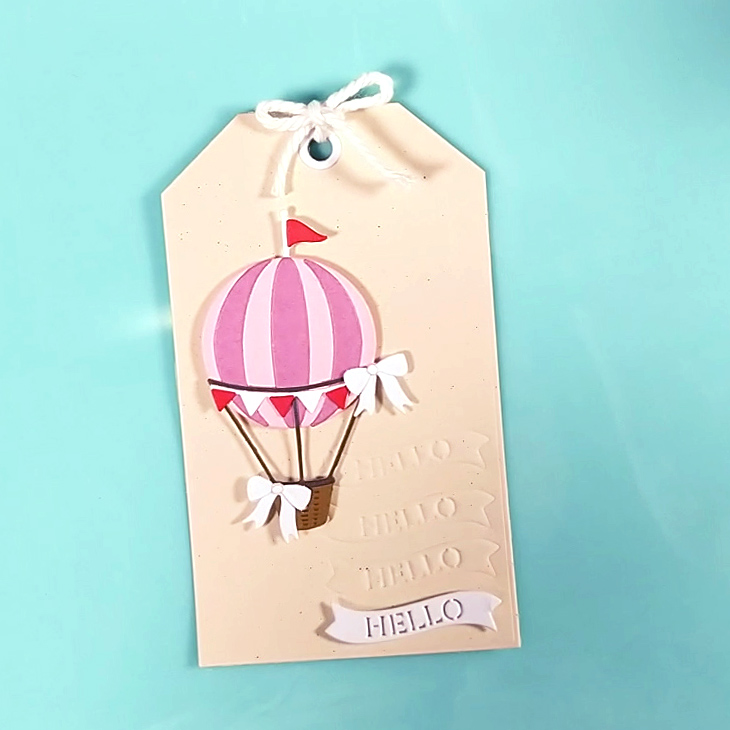
Sky High
… in honor of the stars and rollercoasters and hot air ballon images.
If you want more details on my kit building thought process, check out my kit build video. (This will go live 6am PST. To keep our team coordinated, our blog posts go live at midnight EST.)
I hope you can follow along with the other designers and see how they interpreted their own kits.
Here’s the full hop link list
- Counterfeit Kit Challenge – http://counterfeitkitchallenge.blogspot.com/
- Guest Designer – Jennifer Cain- https://www.youtube.com/@jenniferscrappincain6137
- Brandi – https://www.instagram.com/scrappy.boymama/
- Christine – https://www.youtube.com/@ScrappingHarden/featured
- Cindy – http://cindyscreations-cinmfoster.blogspot.com/
- Julene – http://julenebydesign.blogspot.com/
- Misty – {{{ You are here.
- Ryann – https://www.instagram.com/scrapbookjoey/
- Tara – https://kryptonite72-rambles.blogspot.com/
- Tina – http://tinasscrapcorner.blogspot.com/
- JoJo – https://www.instagram.com/scrappyconfessions
Have fun kit building and don’t forget to show off your stuff over on the CKC Facebook group, or tag us on Instagram @counterfeitkitchallenge or use #counterfeitkitchallenge.
I’ll be back on the 4th, for our Product Forgeries. Until then, have an artful day!