I used to begin every layout I made with a sketch. Often times it was my own sketch quickly drawn out on an index card. Pre-made sketches has always had a role in my crafting as well. These days I usually just go with the flow when I sit down to create. I still love me a good sketch though and that is what I am here to share today.
The original sketch and an alternative sketch choice.
You can check out all the details in the process video or keep reading for some quick notes on this project.
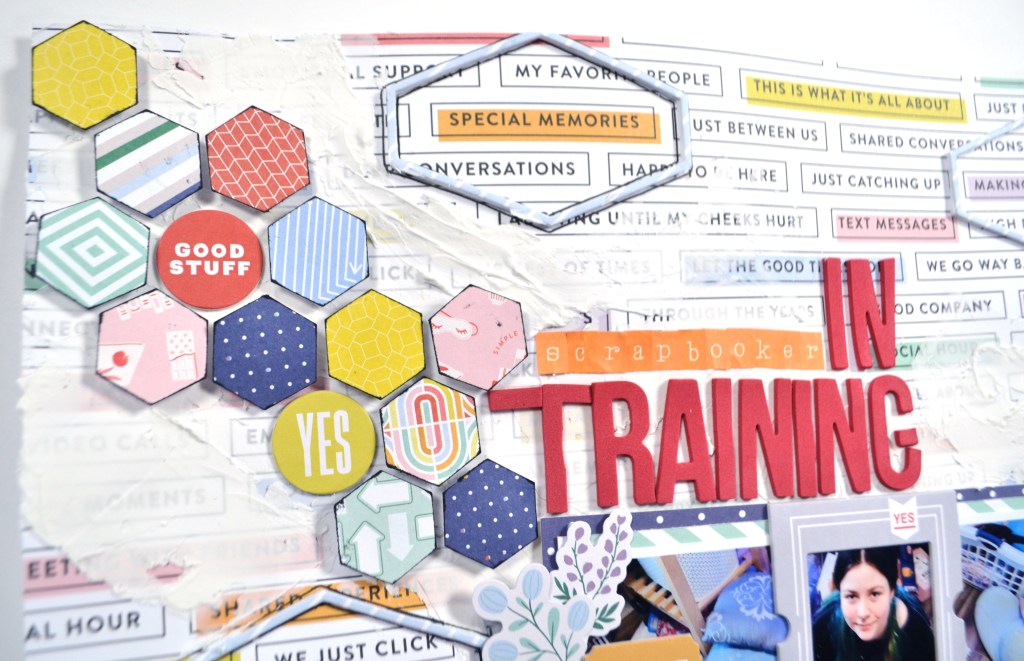
The original sketch featured a cascade of hexagons from left to right on the page. (You can see the sketch in more detail in the video.) I certainly captured that idea. I also added in more hexagon elements to highlight areas on my busy background paper.
I’ll leave you with a couple more closeups. I’ll be back soon with more crafty goodness. Until then, have an artful day.
As a design team member over at the Counterfeit Kit Challenge group I play along with as many of our monthly inspiration challenges as I can. The Forgery on the Fourth project is definitely one I enjoy! That is where we see a scrap product we like and set out to recreate it with supplies we already own. So let’s go ahead and dive in to what I have for you this month.
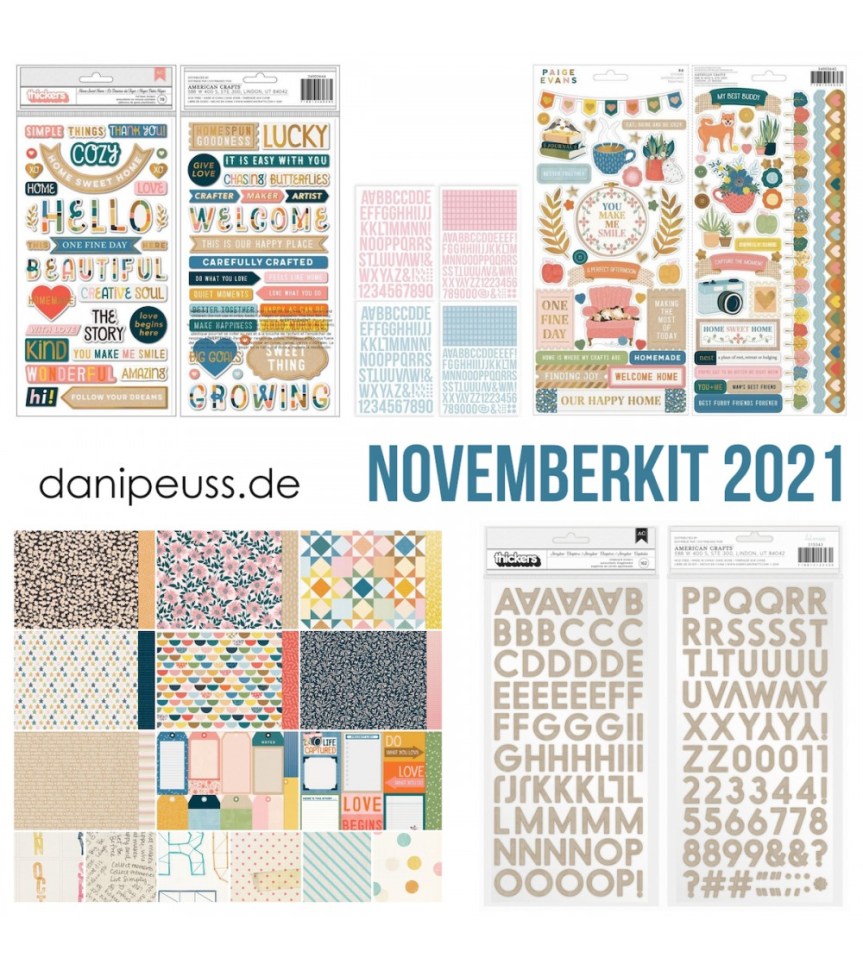
We are being inspired by this kit from from a German kit company, Danipeuss.de . Their November 2021 kit featuring Paige Evans brings us lots to be inspired by.
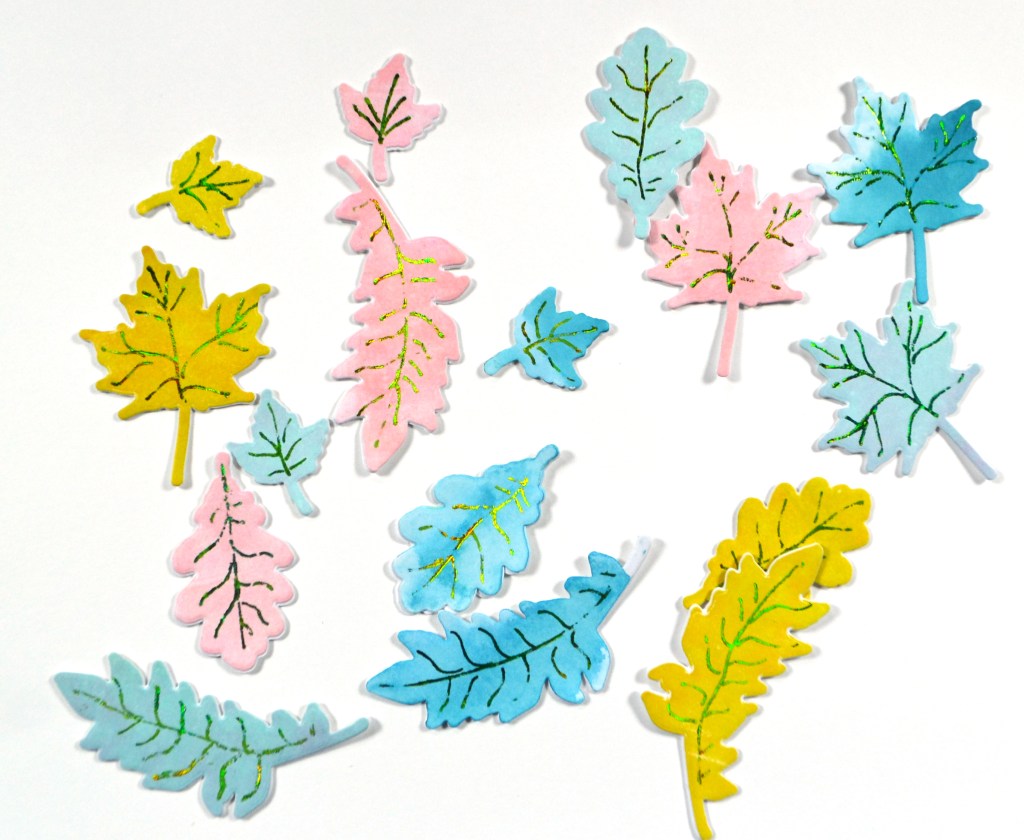
An additional embellishment pack in the Paige Evan’s line include chipboard pieces with these leaf motifs.
I wanted to recreate something similar in my own color palette.
All the details for this process are included in this video.
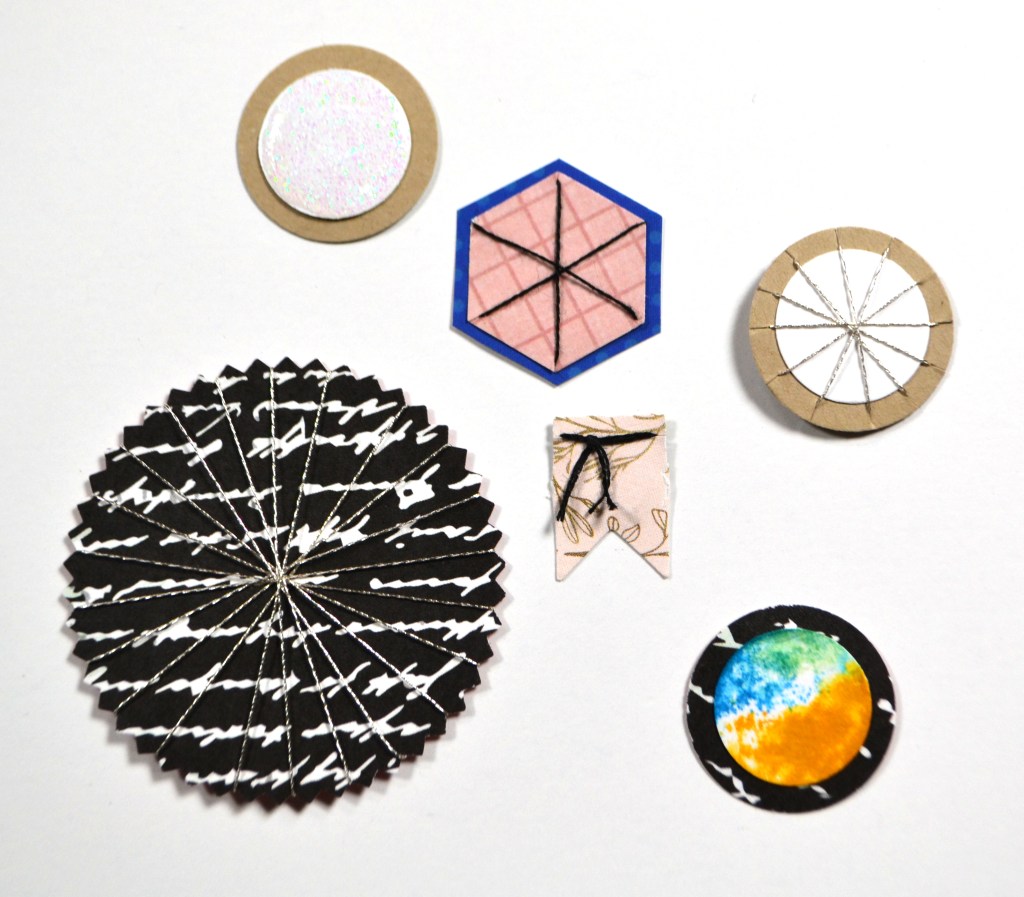
In addition to those leaves, I also made a sheet of patterned paper inspired by this kit sneak.
I’m not quite sure what I’m going to do with it yet, but I liked the string art style. Here is how my version turned out.
When I was done those projects, I kept going with creating more embellishments; this time I made layered stickers.
For more details and tips (at the end!) to consider when creating layered embellishments check out this video. The gist is that you should use at least three variations of sizes, shapes, and contrasting colors. I also like to create a mix of symmetrical and asymmetrical shapes.
Okay, that is the crafting I’ve been doing lately. I’ll be back next time with a layout process for you, using a completely different set of supplies 😉
For more creative ideas, the CKC blog has more forgery examples to check out. I hope this gave you some ideas on how you can recreate your favorite products with supplies you already have on hand. Don’t forget to show off your stuff over on the CKC Facebook group, or tag us on Instagram @counterfeitkitchallenge or use #counterfeitkitchallenge.
I love kit building and I am on the design team for the Counterfeit Kit Challenge project. We take an inspiration kit each month and proceed to replicate it, or as we say, counterfeit it. This is a free, friendly group that helps inspire you to use up supplies you already own. We are not about needing to buy the latest and greatest thing (though we won’t stop you if you enjoy new crafty goodies😉 ).
You can see my process video or keep reading for the blog version of the info.
This month we are working from a German kit company, Danipeuss.de . Their November 2021 kit featuring Paige Evans brings us lots to be inspired by.
The color palette was too autumnal for me, so I focused my choices on patterns in the kit and used colors that were more to my mood. You can see that direction in my paper choices here.
From there I pulled embellishments. I added in more stars, which was the first thing I was drawn to when building this kit. I also had several pieces from the inspiration kit itself. I know I won’t use all those pieces due to the color palette, but I can pick and choose what works for me.
There is a tradition over at CKC of titling our kits just like companies do. So I’m calling mine Star Struck.
I hope you can follow along with the other designers to see how they built their kits.
Have fun kit building and don’t forget to show off your stuff over on the CKC Facebook group, or tag us on Instagram @counterfeitkitchallenge or use #counterfeitkitchallenge.
One last thing before you go… I was also inspired by several things in this kit to create on my own. So join me next time when I show you some product “forgeries”! Until then, have an artful day.
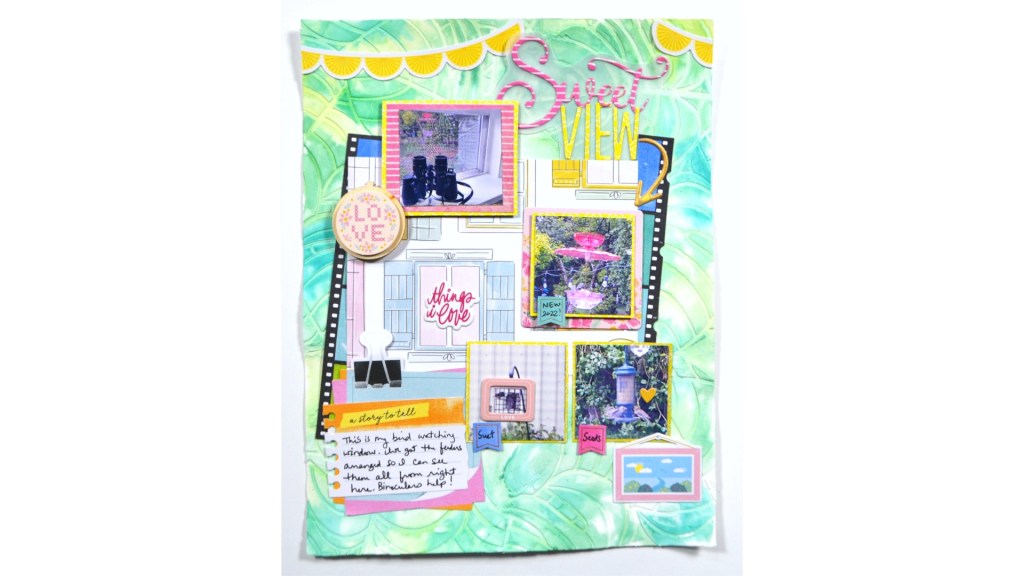
I love participating in LOAD, the LayOut A Day challenge. Alice, who runs the ScrapHappy membership group which hosts LOAD, always invites the ScrapHappy community members to participate as guest designers for the month long challenge. That way inspiration comes from a very wide range of scrappers who share all manner of layouts and styles. In May I brought my favorite style — watercolor— to the guest design spot for day 22.
You can check out all the details in the process video or keep reading for some quick notes on this project.
LOAD offers prompts each day. While daily participants don’t have to follow the prompts, guest designers do. That is the joy of being the guest designer! My prompts were about springtime and to use hexagons. So I chose my favorite photos from the recent spring shots and created a stacked die cut title with rainbow watercolor.
The hexagon prompt completely reminded me of bees who are waking up and getting to work in spring time, so I used bees as part of my design. I also used hexagons to represent flower buds that burst open with color. As you can see I literally had the watercolor burst out of the hexagon shape. I emphasized that bursting sensation further with stitching.
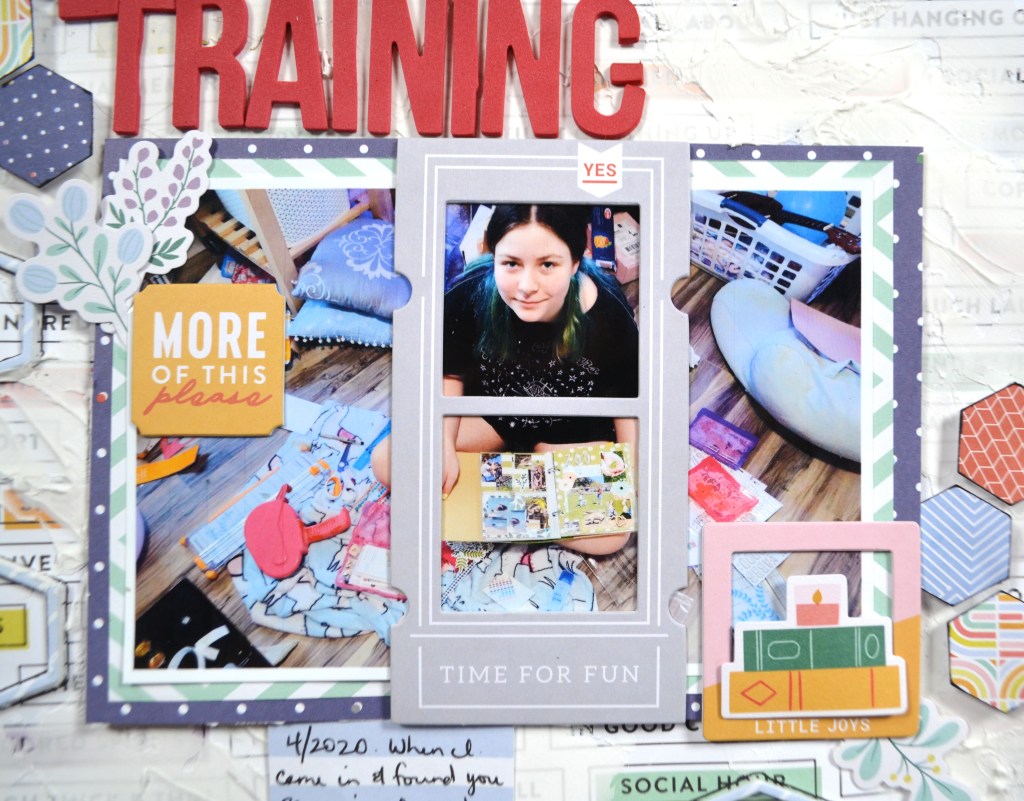
I also added more layers with different sized hexagon watercoloring/stenciling, shadow stamping (bee images!) and some die cut bee embellishments. This was a really fun layout! I hope you think so too.
I’ll leave you with a couple more closeups. I’ll be back soon with more crafty goodness. Until then, have an artful day.
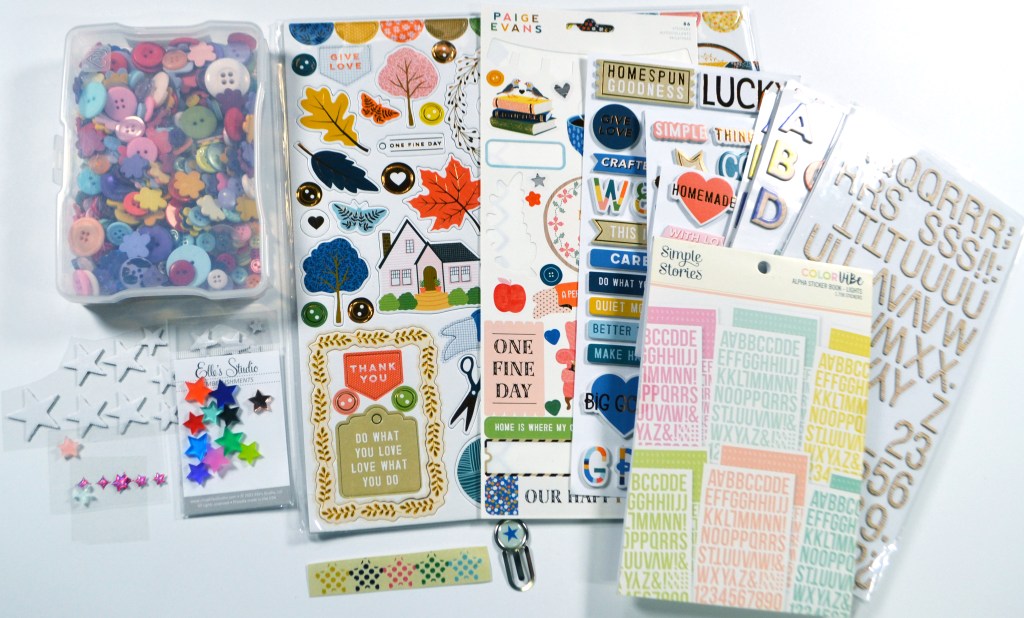
Getting my SCT Sampler kit in the mail each month is a bright spot. This small affordable package is just enough newness + surprise to keep me satisfied. This month the package contained products from Vicki Boutin and Pinkfresh Studio. Take a look…
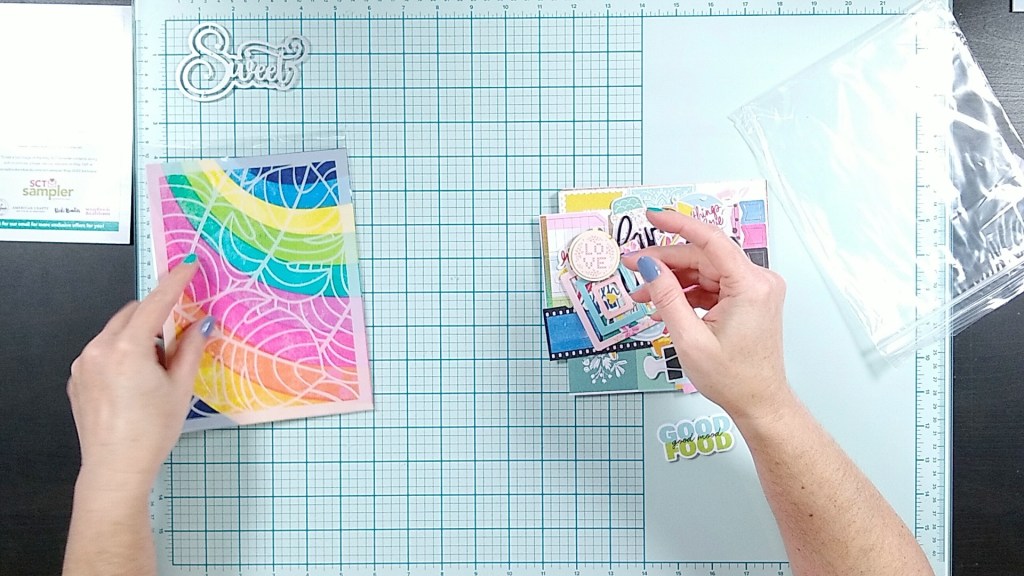
I wouldn’t want to leave you wondering just what to do with these supplies. So I almost always make a project as soon as my box arrives. That way I am sure to use it instead of just showing it off. This time around I made a mixed media layout featuring the included stencil.
Of course if you want more information you can watch my YouTube video to get a better look at the kit products AND this project.
That’s it for this time. I hope you have an artful day!
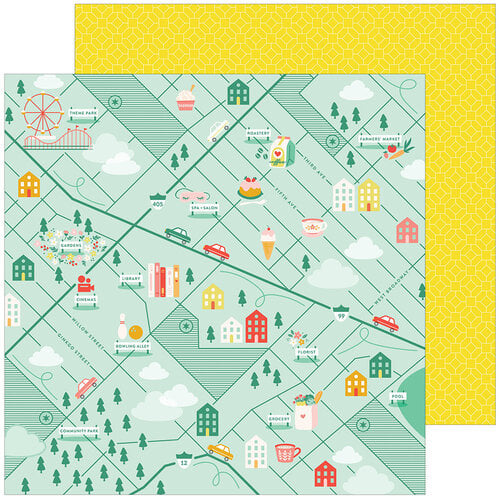
I was inspired by 1) the sheet of paper from Pinkfresh studio pictured below and 2) a prompt from the LOAD challenge to tell a story about community. Those two prompts came together to create a very fun interactive layout!
PinkFresh Studio, Life Right Now Collection, “Weekend”
All the little locations on that map paper reminded me of favorite spots in my own town that I wanted to document. I knew I wanted to add lots of little photos to each of those spots. But I didn’t want to cover up all of the fun map paper. What to do?? Create 15 flaps on the page to open up to reveal the photo beneath!
All the details are easiest to see in this video. But I do have some still shots to follow that I try to explain the process.
Page with flaps closedPage with flaps open
I used a square punch to create a template to trace on my layout. I cut only around three sides of each square to create all the flaps. Once I cut those flaps through my pattern paper I did have to back it with another sheet of paper. That way I would have somewhere to glue my photos and not just lots of holes through my paper! In the process I sandwiched a binding strip in between those papers. This strip has holes punched in it to fit into a ringed album, and it is thick/sturdy enough to stand up to plenty of touching. Since this layout is so very interactive, it can’t slide into a page protector! You can get a better look at the binding strip here.
On the back of the layout I created a pocket with vellum to tuck in about 3 pages of journaling! Yes, I can get wordy, but this IS a layout about an entire town over 20 years of experience!
I hope this project inspired you in some way to tell more stories in your life. If it did spark an idea, leave me a comment and let me know. I’d love to hear your thoughts!
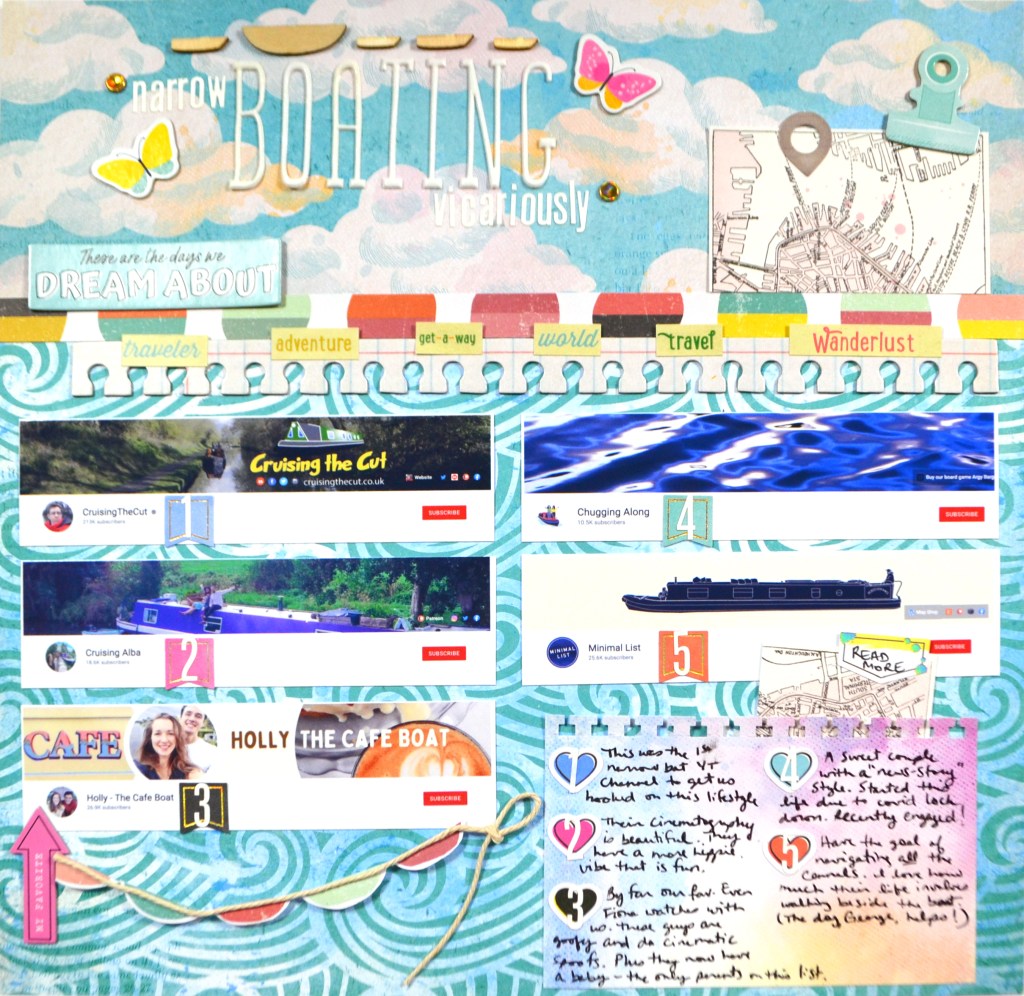
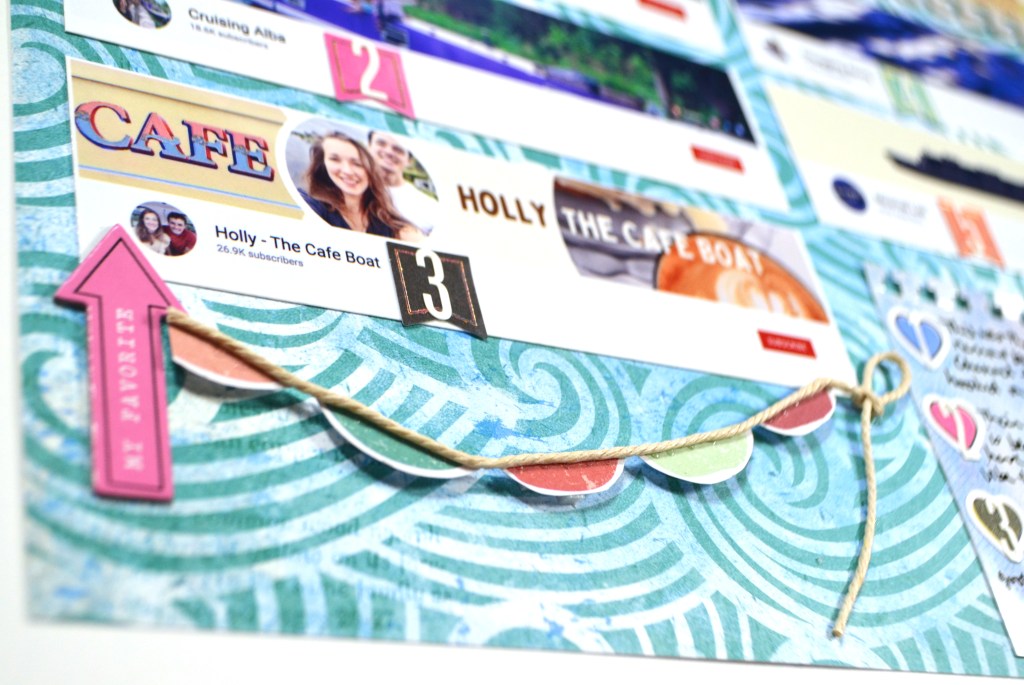
I’ve got a layout to share today as part of the Layout A Day challenge. If you don’t know what LOAD is the quick version is we scrapbook every day for a month. There are some other bits and bobs about it but that is the basics.
While we have prompts for LOAD I was inspired by the inspiration for the prompt and not the prompt itself, that being an aquaduct located in Wales. This aquaduct connects parts of the UK’s canal system. Canal were used historically to moved goods about the region until trains were invented and became dominant. Today canals are recreational and are still traveled by similar boats, called narrow boats. Let me tell you more in the video as I craft and chat!
I’ve pulled out some brand new Vicki Boutin Sweet Rush papers and chipboard as well as just a tiny touch of Heidi Swapp’s Sun Chaser paper to create my layout today. There are also a few other unknown travel themed embellishments on there. I grabbed my photos from YouTube channels that are all about narrow boat life. They were printed to ~1.5″ by 5.5″, which is an odd photo size. But creating a grid layout on the watery background paper all adds up to a nice project. I hope you think so too.
While I have the basics of the layout in place, I do intend to add more journaling on the card tucked into the existing journaling pocket. I’ll likely add an accordion folded journaling note since I feel like I have a lot to say. I’ve done this technique before in this video if you want to really see what I mean.
That is it for now. I’ll be back to share what I create over this upcoming (i)NSD weekend. I hope you have some fun crafting to do this weekend as well!
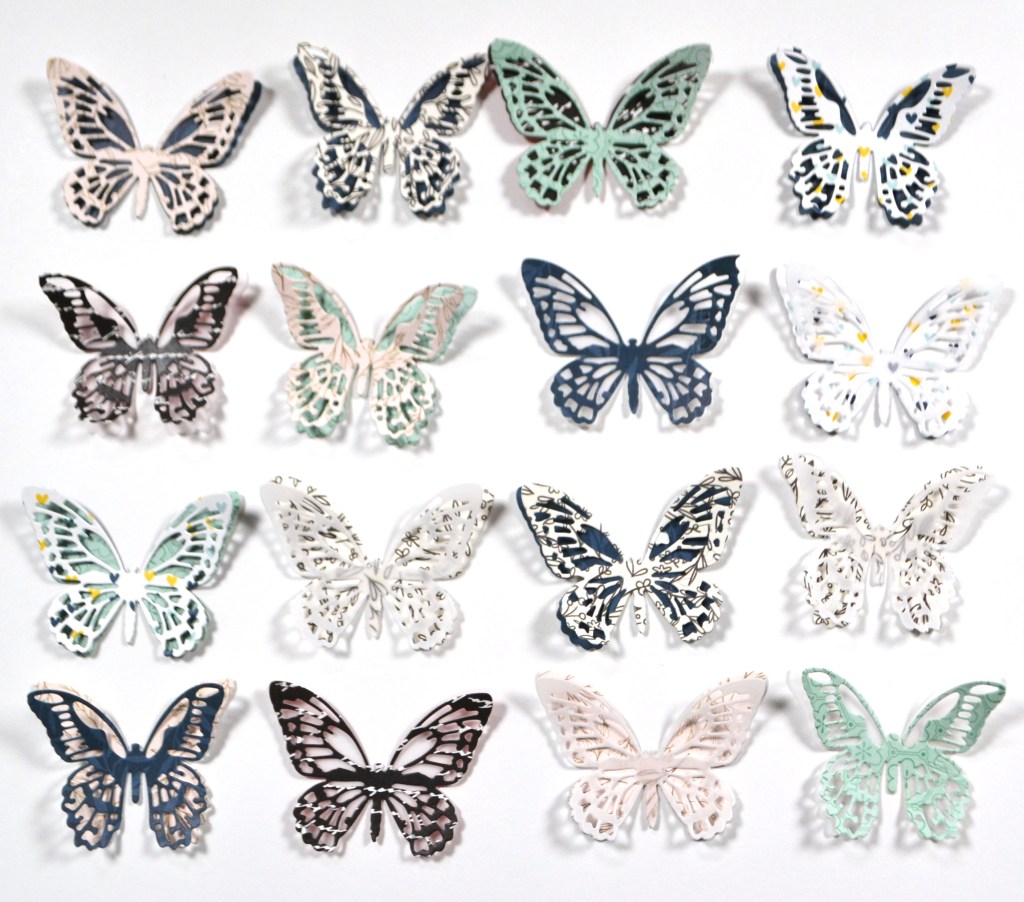
As a design team member over at the Counterfeit Kit Challenge group I play along with as many of our monthly inspiration challenges as I can. The FOF — Forgery on the 4th — project is definitely one I enjoy! So let’s go ahead and dive in to what I have for you this month.
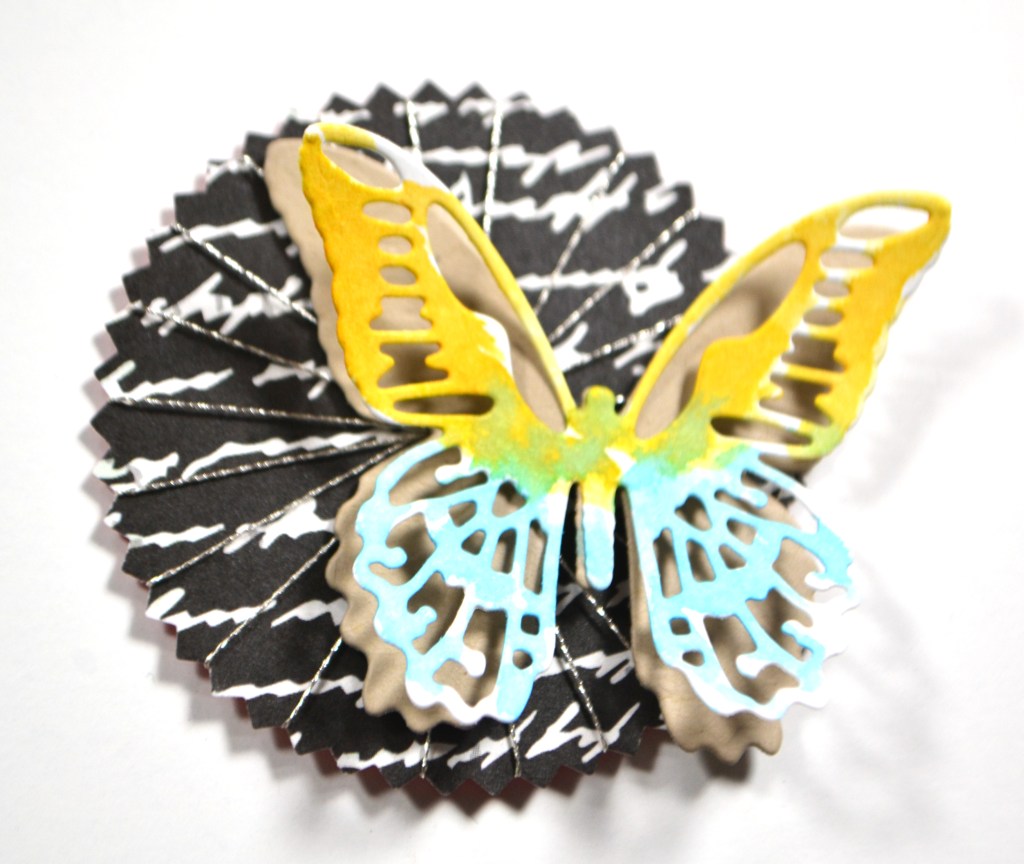
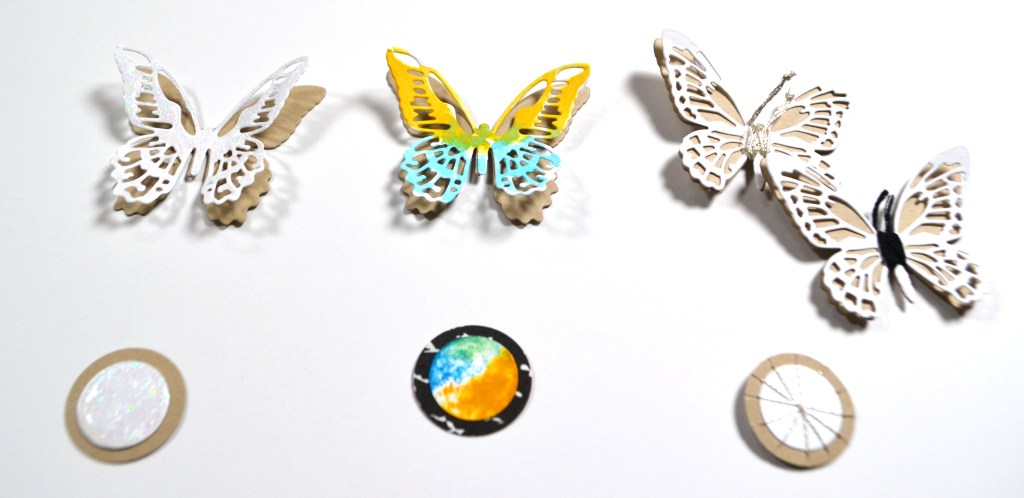
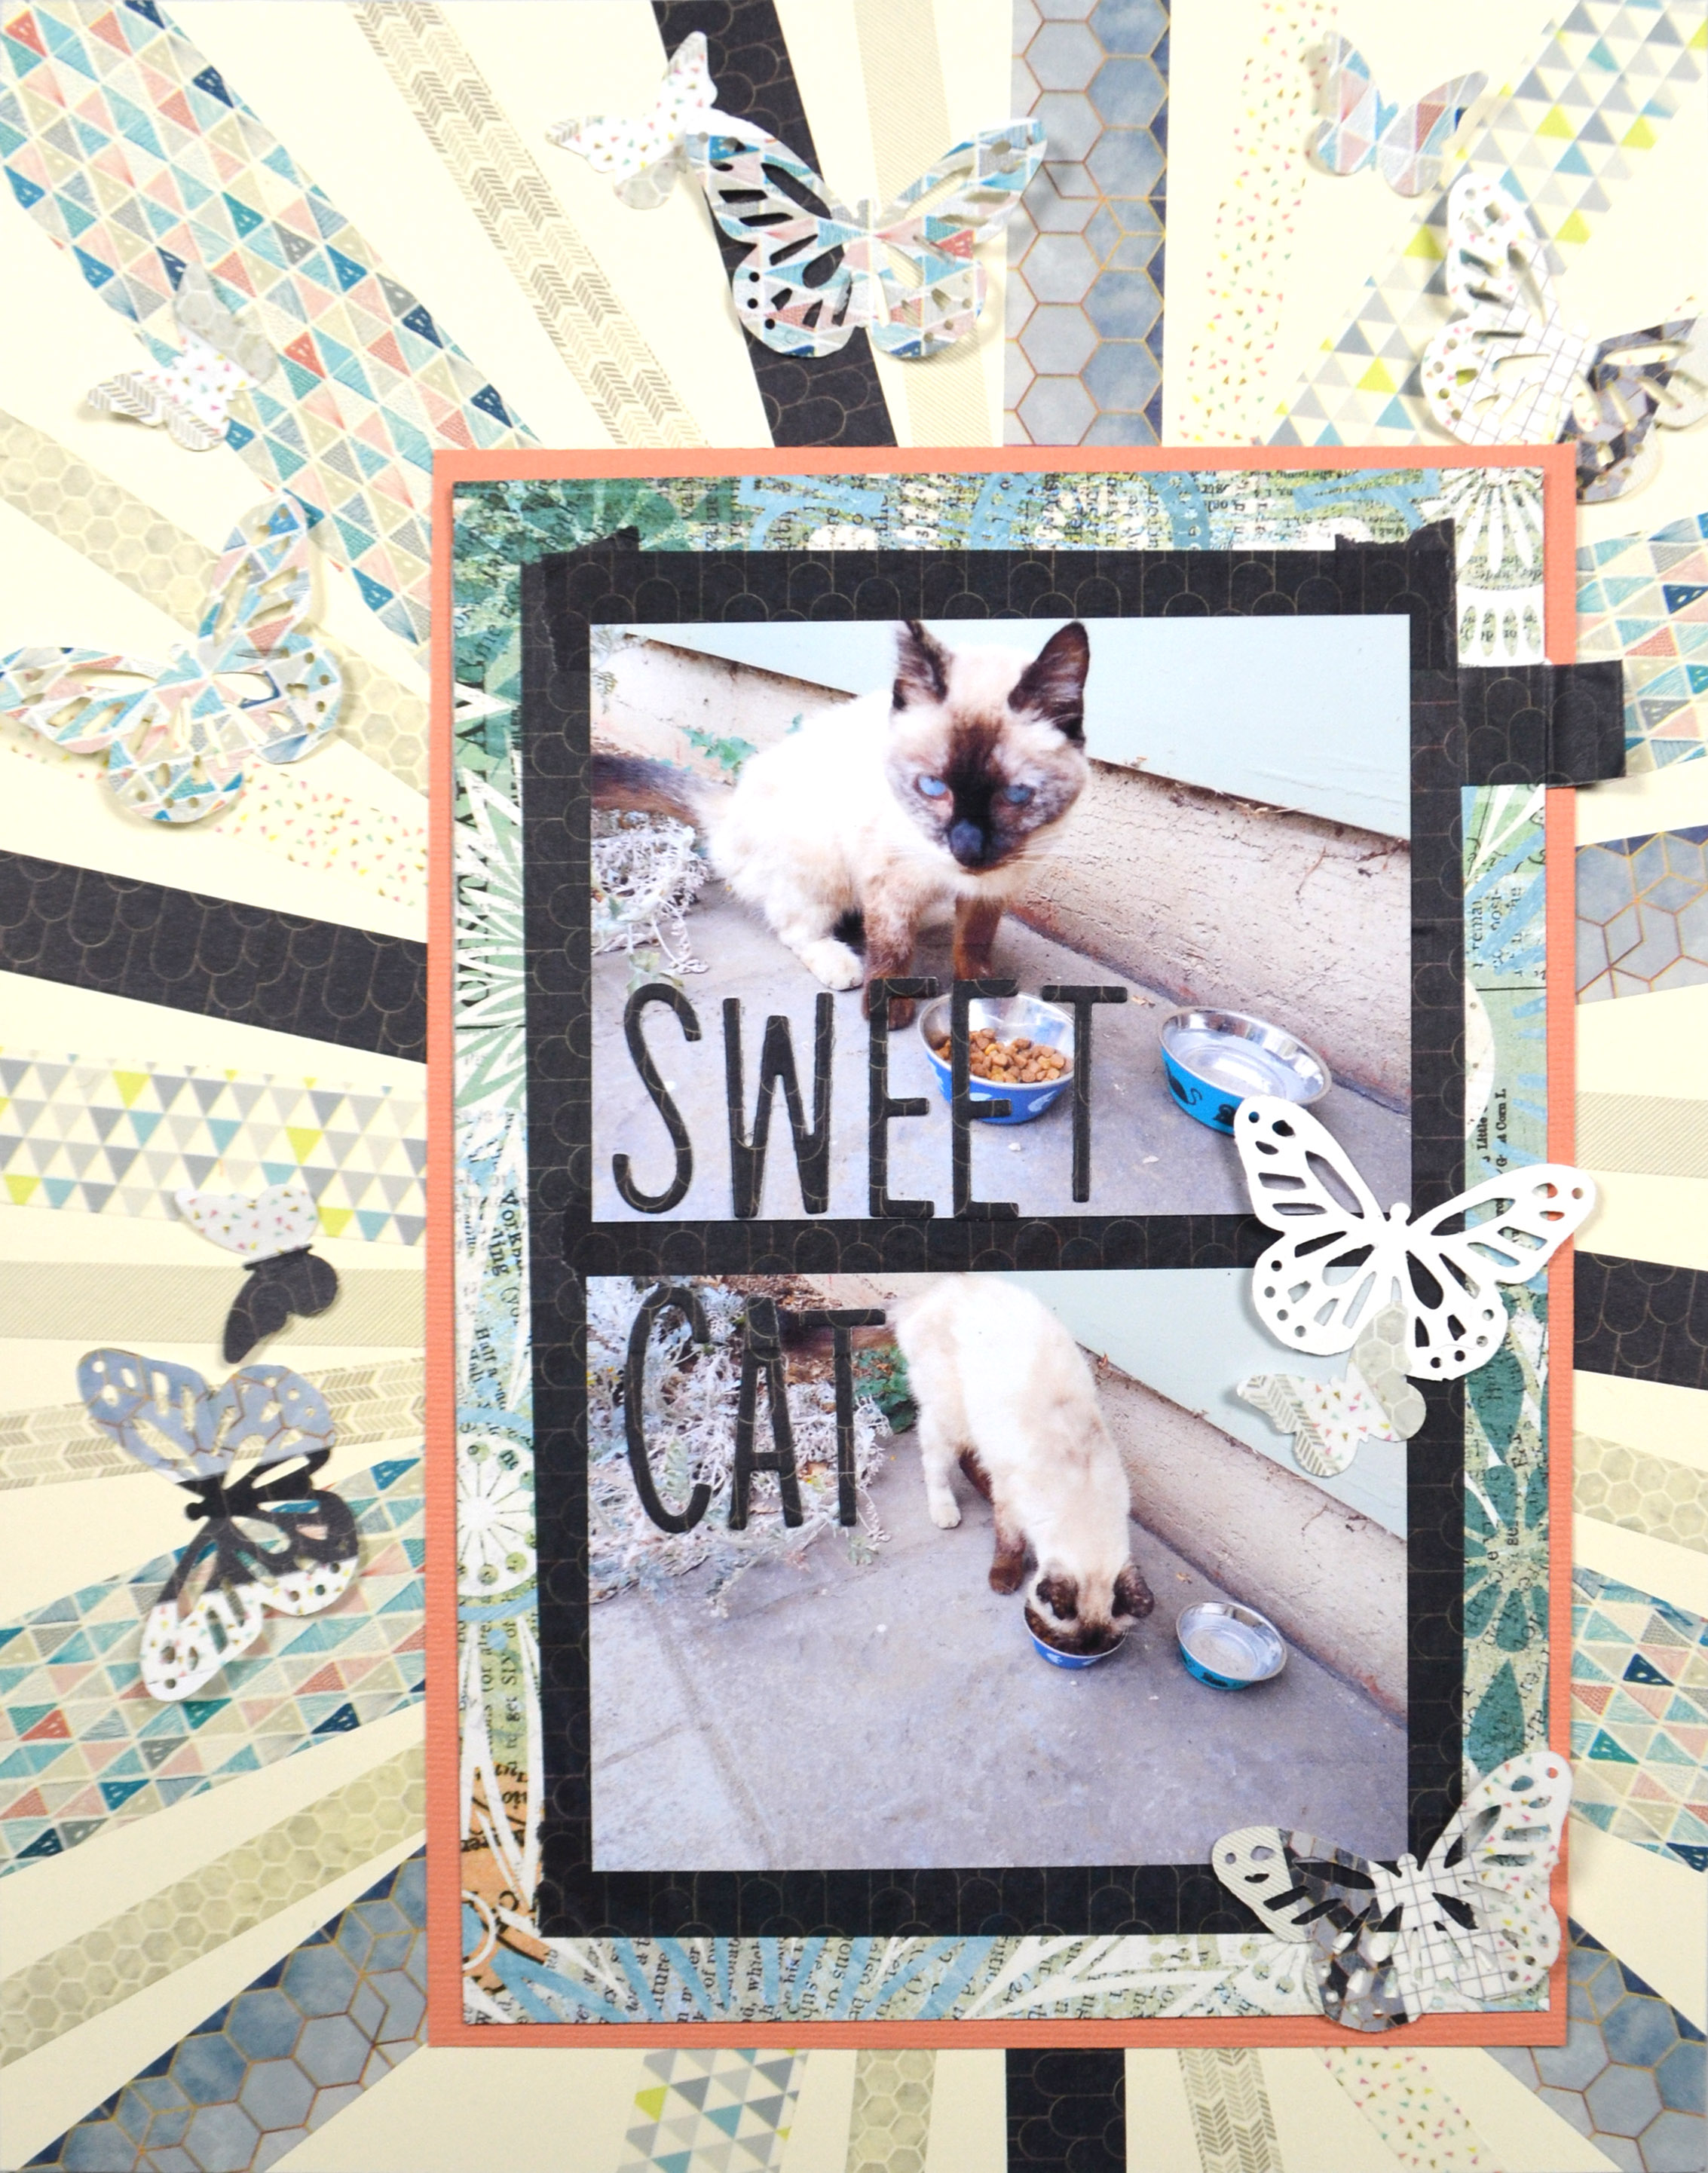
Diving deeper into the embellishment pack, I was drawn to the butterflies, especially the white on craft and the text print ones.
I pulled out my butterfly die set and got to work. As you’ll see from the below photos I went a bit wild with creating… not only butterflies but other shapes as well. See the whole process on YouTube, or keep reading for the short version.
Of course the CKC blog has more forgery examples to check out. I hope this gave you some ideas on how you can create forgeries of your favorite products with supplies you already have on hand. Don’t forget to show off your stuff over on the CKC Facebook group, or tag us on Instagram @counterfeitkitchallenge or use #counterfeitkitchallenge.
I love kit building and I am on the design team for the Counterfeit Kit Challenge project. We take an inspiration kit each month and proceed to replicate it, or as we say, counterfeit it. This is a free, friendly group that helps inspire you to use up supplies you already own. We are not about needing to buy the latest and greatest thing (though we won’t stop you if you enjoy new crafty goodies😉 ).
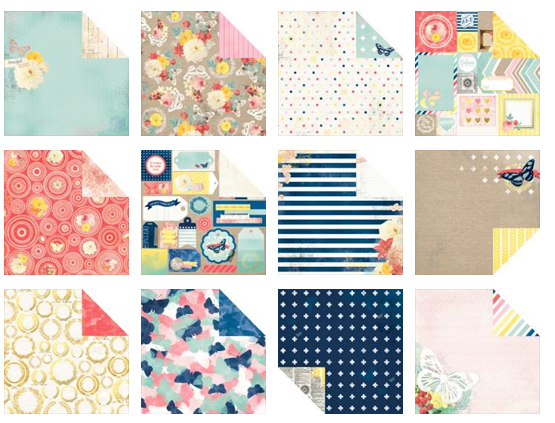
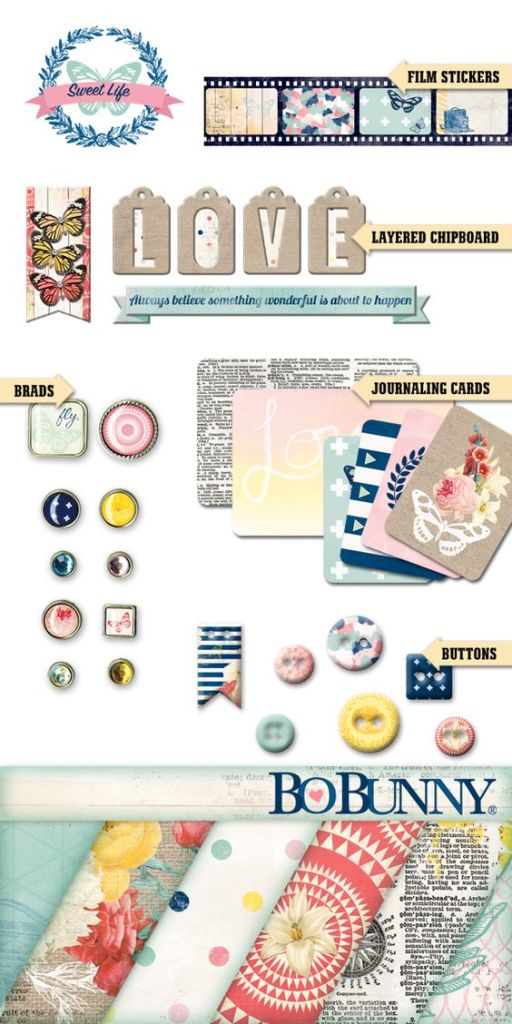
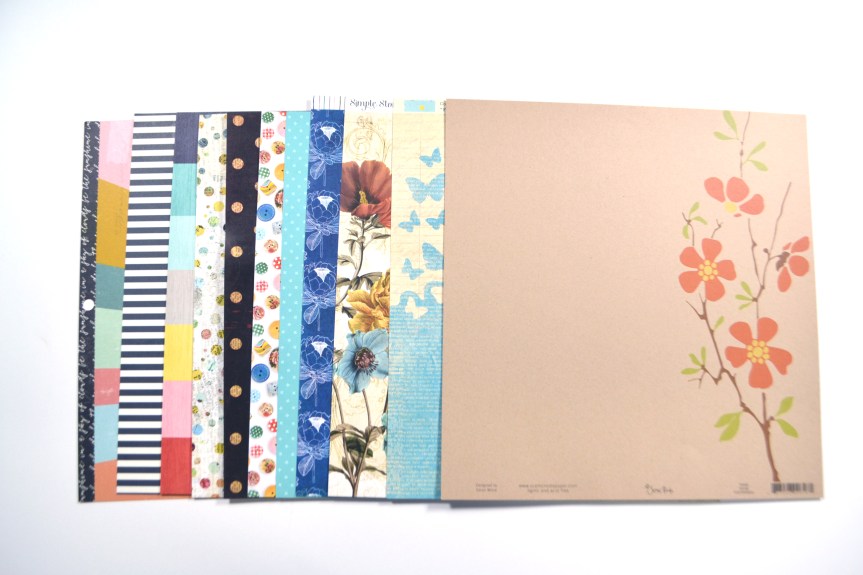
This month’s inspiration was chosen by team member Kate and the kit comes from Scrapbook Doodle from back in 2015. The kit focuses on Bo Bunny’s Sweet Life collection. Along with our host Kate, we have guest designer Dawn playing along with this kit. So be sure to give them big thanks for taking care of us with their inspiration.
Since this kit was really the Bo Bunny Collection I did have a peek at their full line to see what other ideas I could come up with. Particularly I wanted to look at the B sides of the pattern papers and closer looks at some embellishments.
I knew from all this I wanted to incorporate striped pattern papers, buttons, and film strips. So lets look at the papers first. I was excited to incorporate old Basic Grey and Scenic Route papers along side brand new Simple Stories and Heidi Swapp. That is the joy of building your own kit!
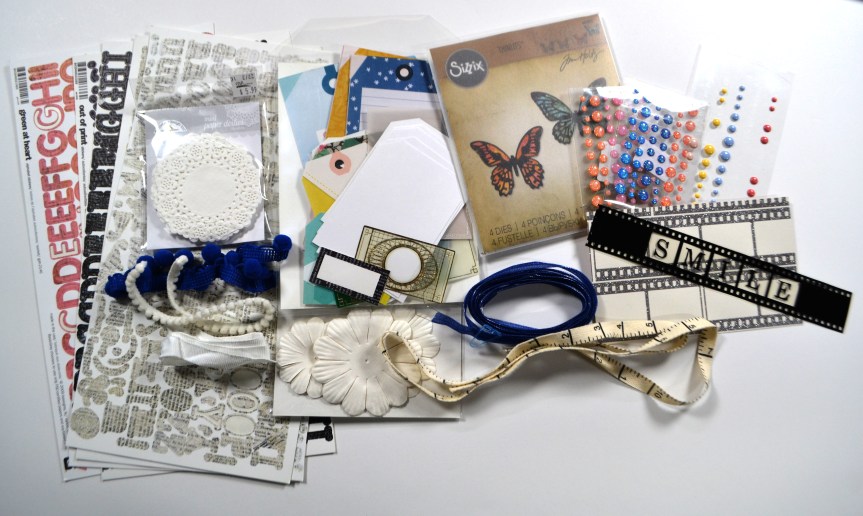
For embellishing I pulled plenty of things straight from the inspiration: butterlies (or at least a way to create them!), enamel dots, flowers, tags and ribbons. Then I added in doilies, film strips and buttons (oops, the photo doesn’t include the buttons; trust me, I have them.)
There is a tradition over at CKC of titling our kits just like companies do. So I’m calling mine Life Past and Present for the mix of supplies I have incorporated. And hey, maybe I can even do some then & now layouts!
You can hear the thoughts that went into each choice in my video.
I hope you can follow along with the other designers and see how they interpreted their kits.
Have fun kit building and don’t forget to show off your stuff over on the CKC Facebook group, or tag us on Instagram @counterfeitkitchallenge or use #counterfeitkitchallenge.
So I’m new to this size and I want to share my adventure using it with you. First off, why use this size of layout? For me this came down to several reasons, in no particular order.
Scrapping myself more often means I have fewer photos and need less “real estate” on my layouts.
This size product is so easy to find and doesn’t hold a specialty item price tag (think binders and page protectors available at any office supply store.)
They can still fit in 12×12 albums if I don’t stick solely with this size or if I find it isn’t really working for me.
I’m exploring more hybrid by printing my own pattern papers and I don’t have a wide format printer (that pesky budget thing again)
This size album sits nicely on a shelf along side my 12×12 albums. I’ve explored other smaller sizes (6×6, 6×8) and the type-A side of me hated those albums squatting awkwardly on a shelf next to a jumbo 12×12 album.
Using that much less paper and plastic is that much more environmentally friendly. I know my hobby is a resource hog and is by no means environmentally friendly. But the whole reduce part of the r”educe, reuse, recycle” mantra is one I can focus on now. I’m already good at the “recycle” part, and the “reuse” part will have to be tackled another day.
There are some drawbacks to this size, but I’ll hold those thoughts for another post as I’m sure the list will grow over time! For now, here are a few of this size that I have done so far. Stay tuned for May 22 when I can reveal a new one that I made as a guest designer.
The one of the left is the most recent and I have a process video up for it. I’ll admit that this one could have used more real estate space but since I was using hybrid and printing my own, this is what I ended up with. In person it looks less crowded, but online I can see it is a very busy page! But that is me anyway, so I’ll go with it. The funny thing… they ALL have hidden journaling. So again, that real estate thing is rearing up. Hmm. Things to think about.
I’m curious to know how you feel about scrapbook sizes? What do you use now? Have you had any thoughts on other sizes? Let me know.