SCT Sampler Kit

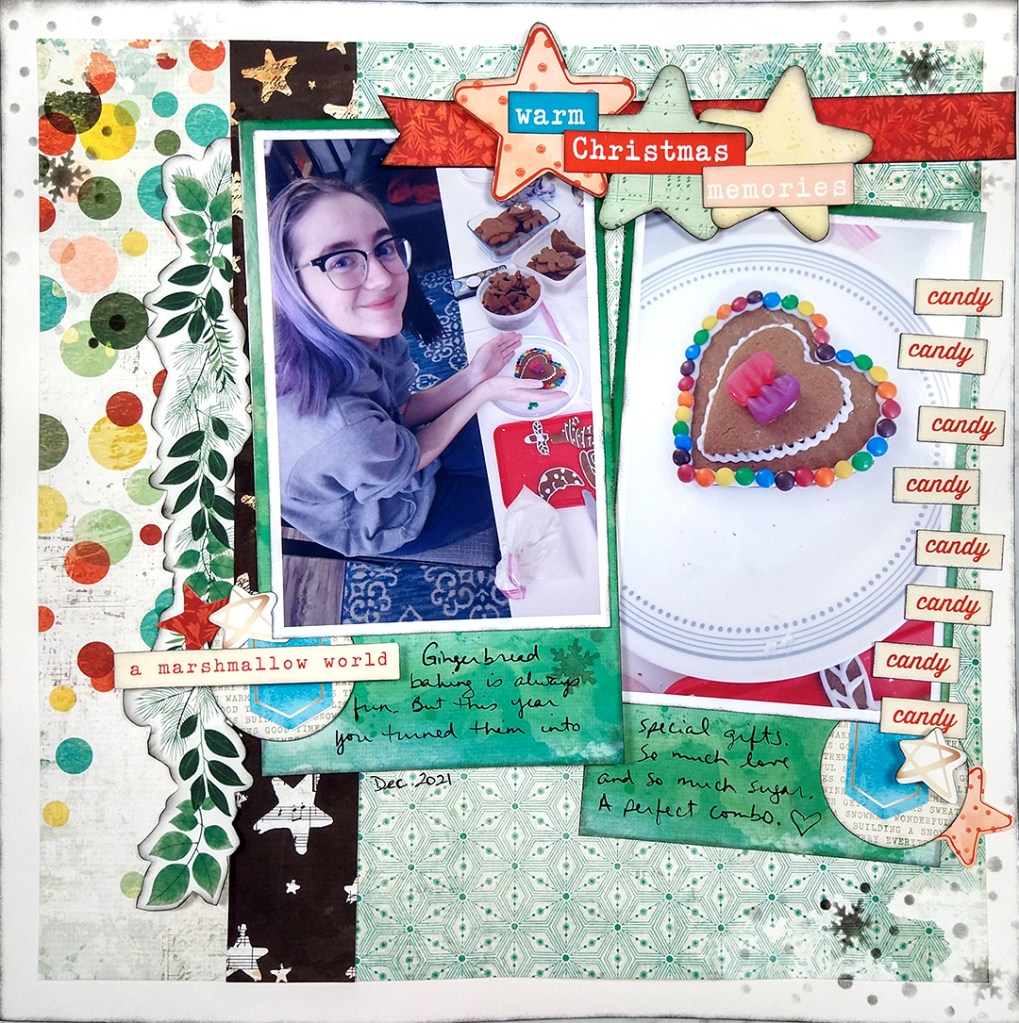
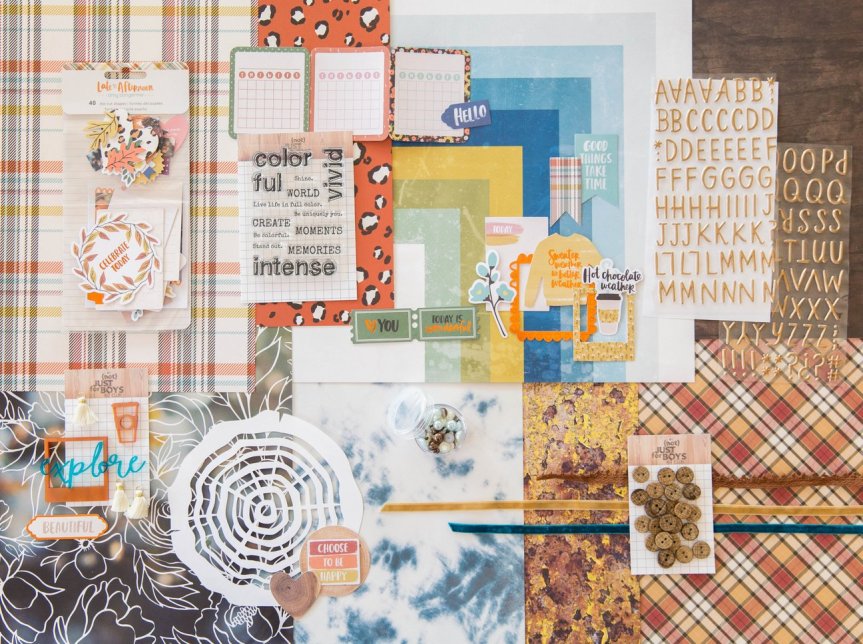
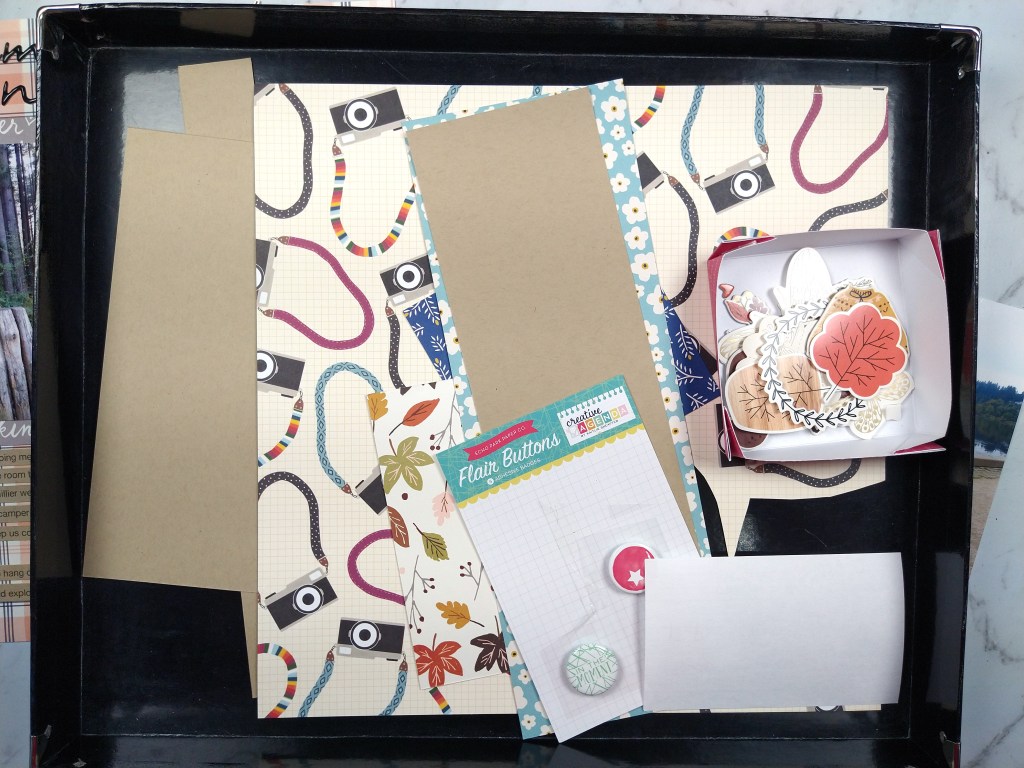
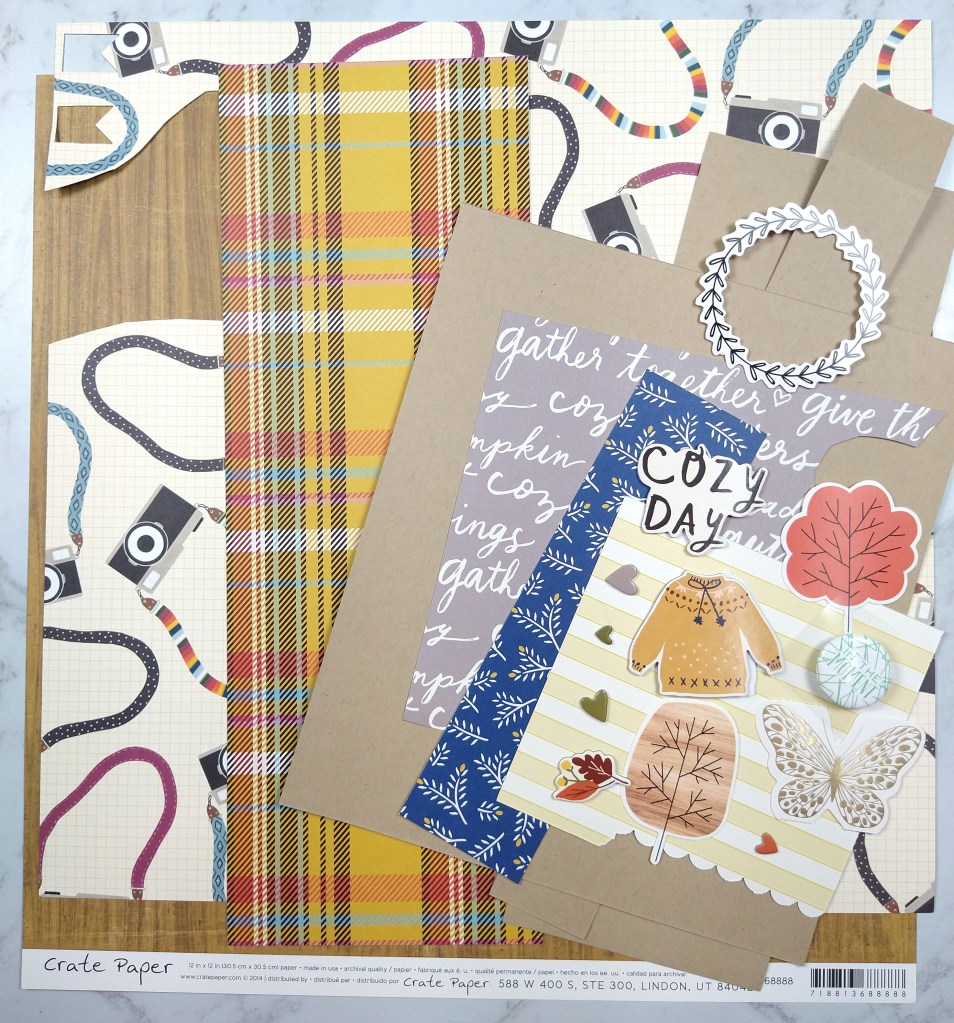
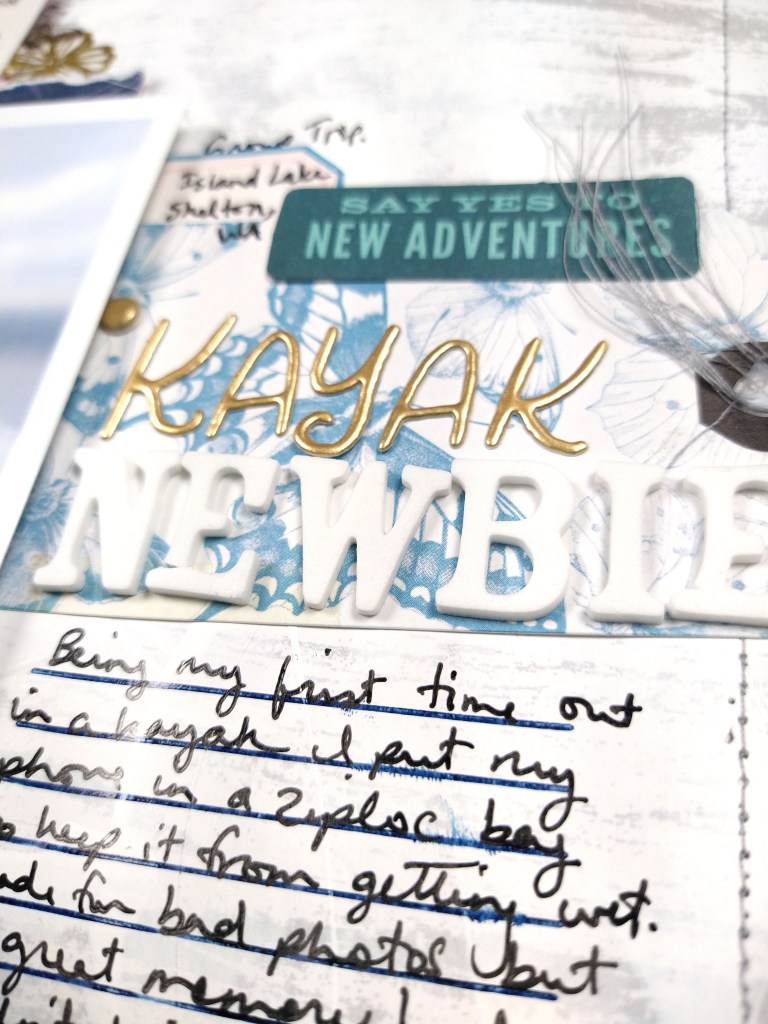
Oh how I love getting crafty surprises in the mail. I’ve subscribed to many scrapbooking kit companies over the years. In the end I usually cancel due to too many leftover supplies and too much ongoing expense. But the SCT kits are different! Since they are a sampler of current scrappy products, you don’t get too much to be used in a month. And the sample size of these kits also makes them affordable. Plus, there is always some reusable item that makes the value top notch—think stamps, storage pockets and this month… dies! Oh my heart did swoon when I opened my pack and found some generous love themed dies in the pack this month. Check it out on the right middle side of the photo.

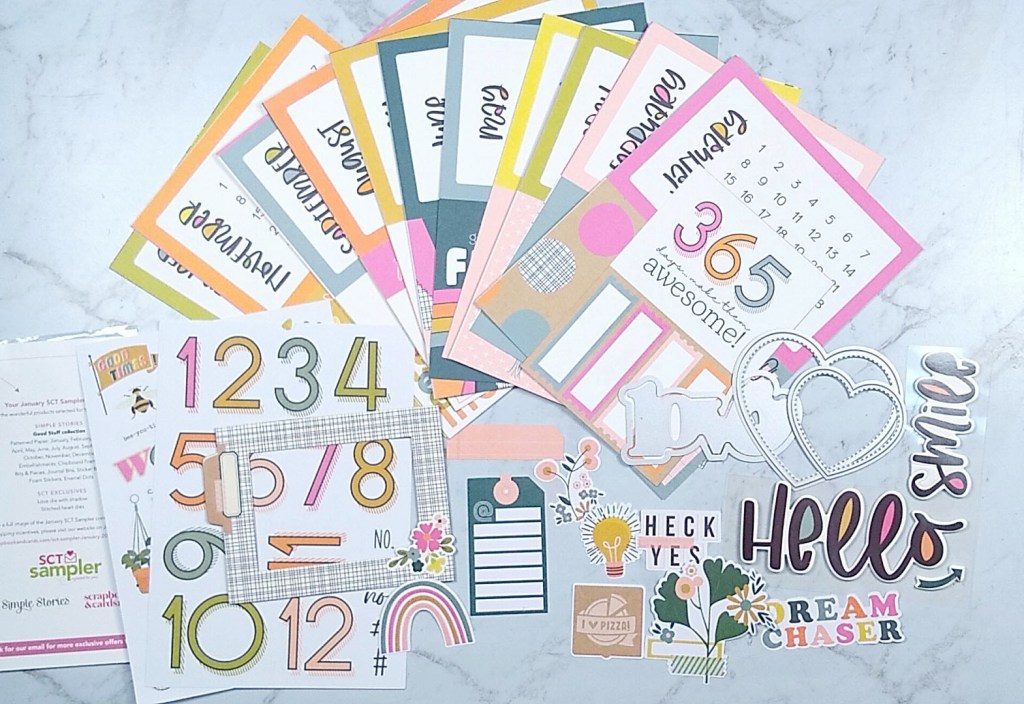
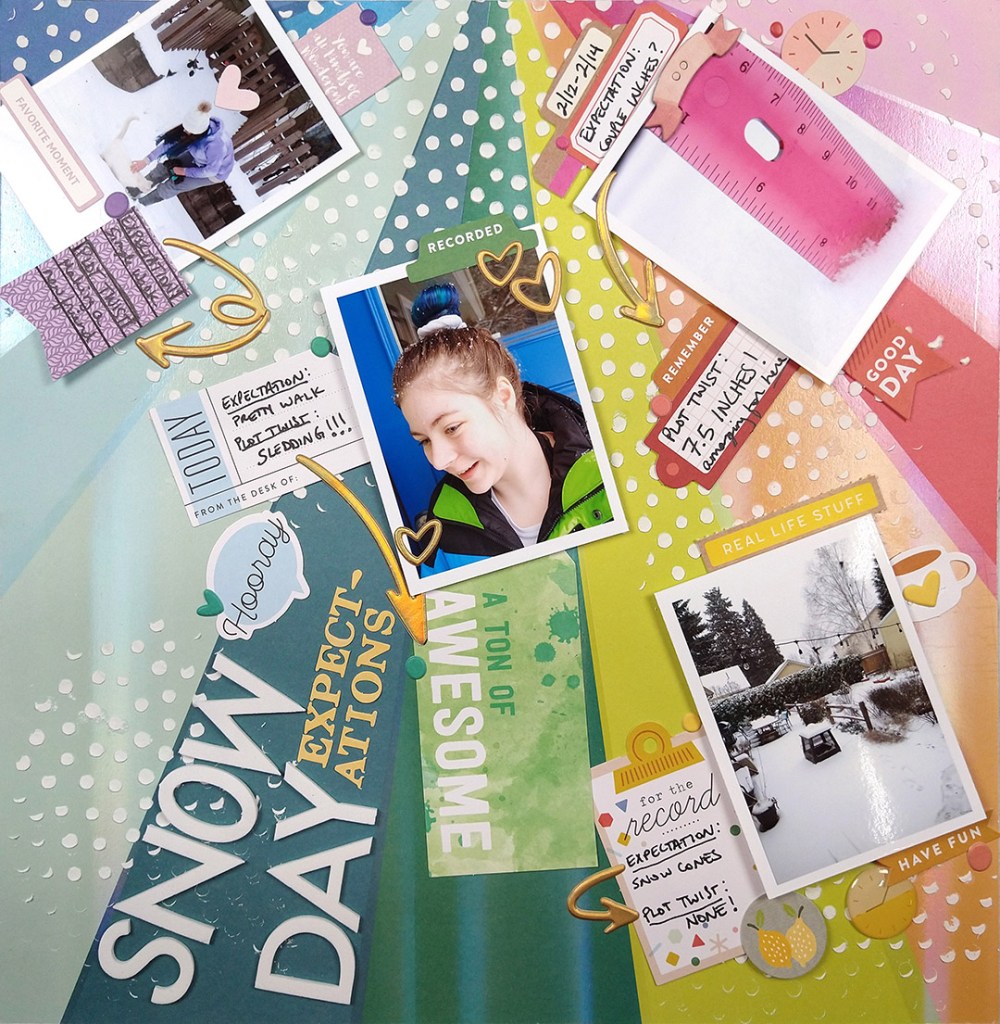
Oh man I was so inspired by the supplies in this kit. It helps that Simple Stories is my jam for sure. I put the products to use right away. Oh, but I’m not showing you that project today! You’ll have to wait until next week for that. Rude. I know. 😉

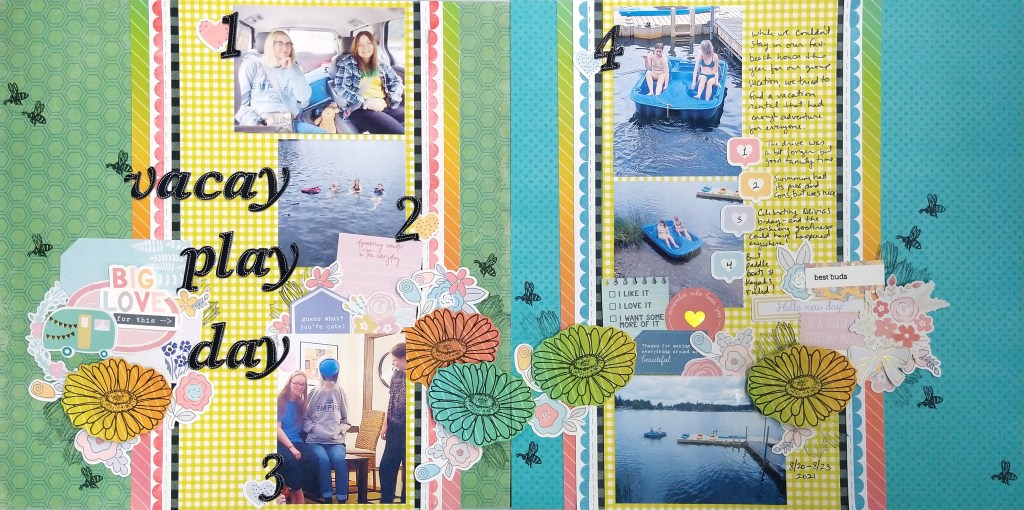
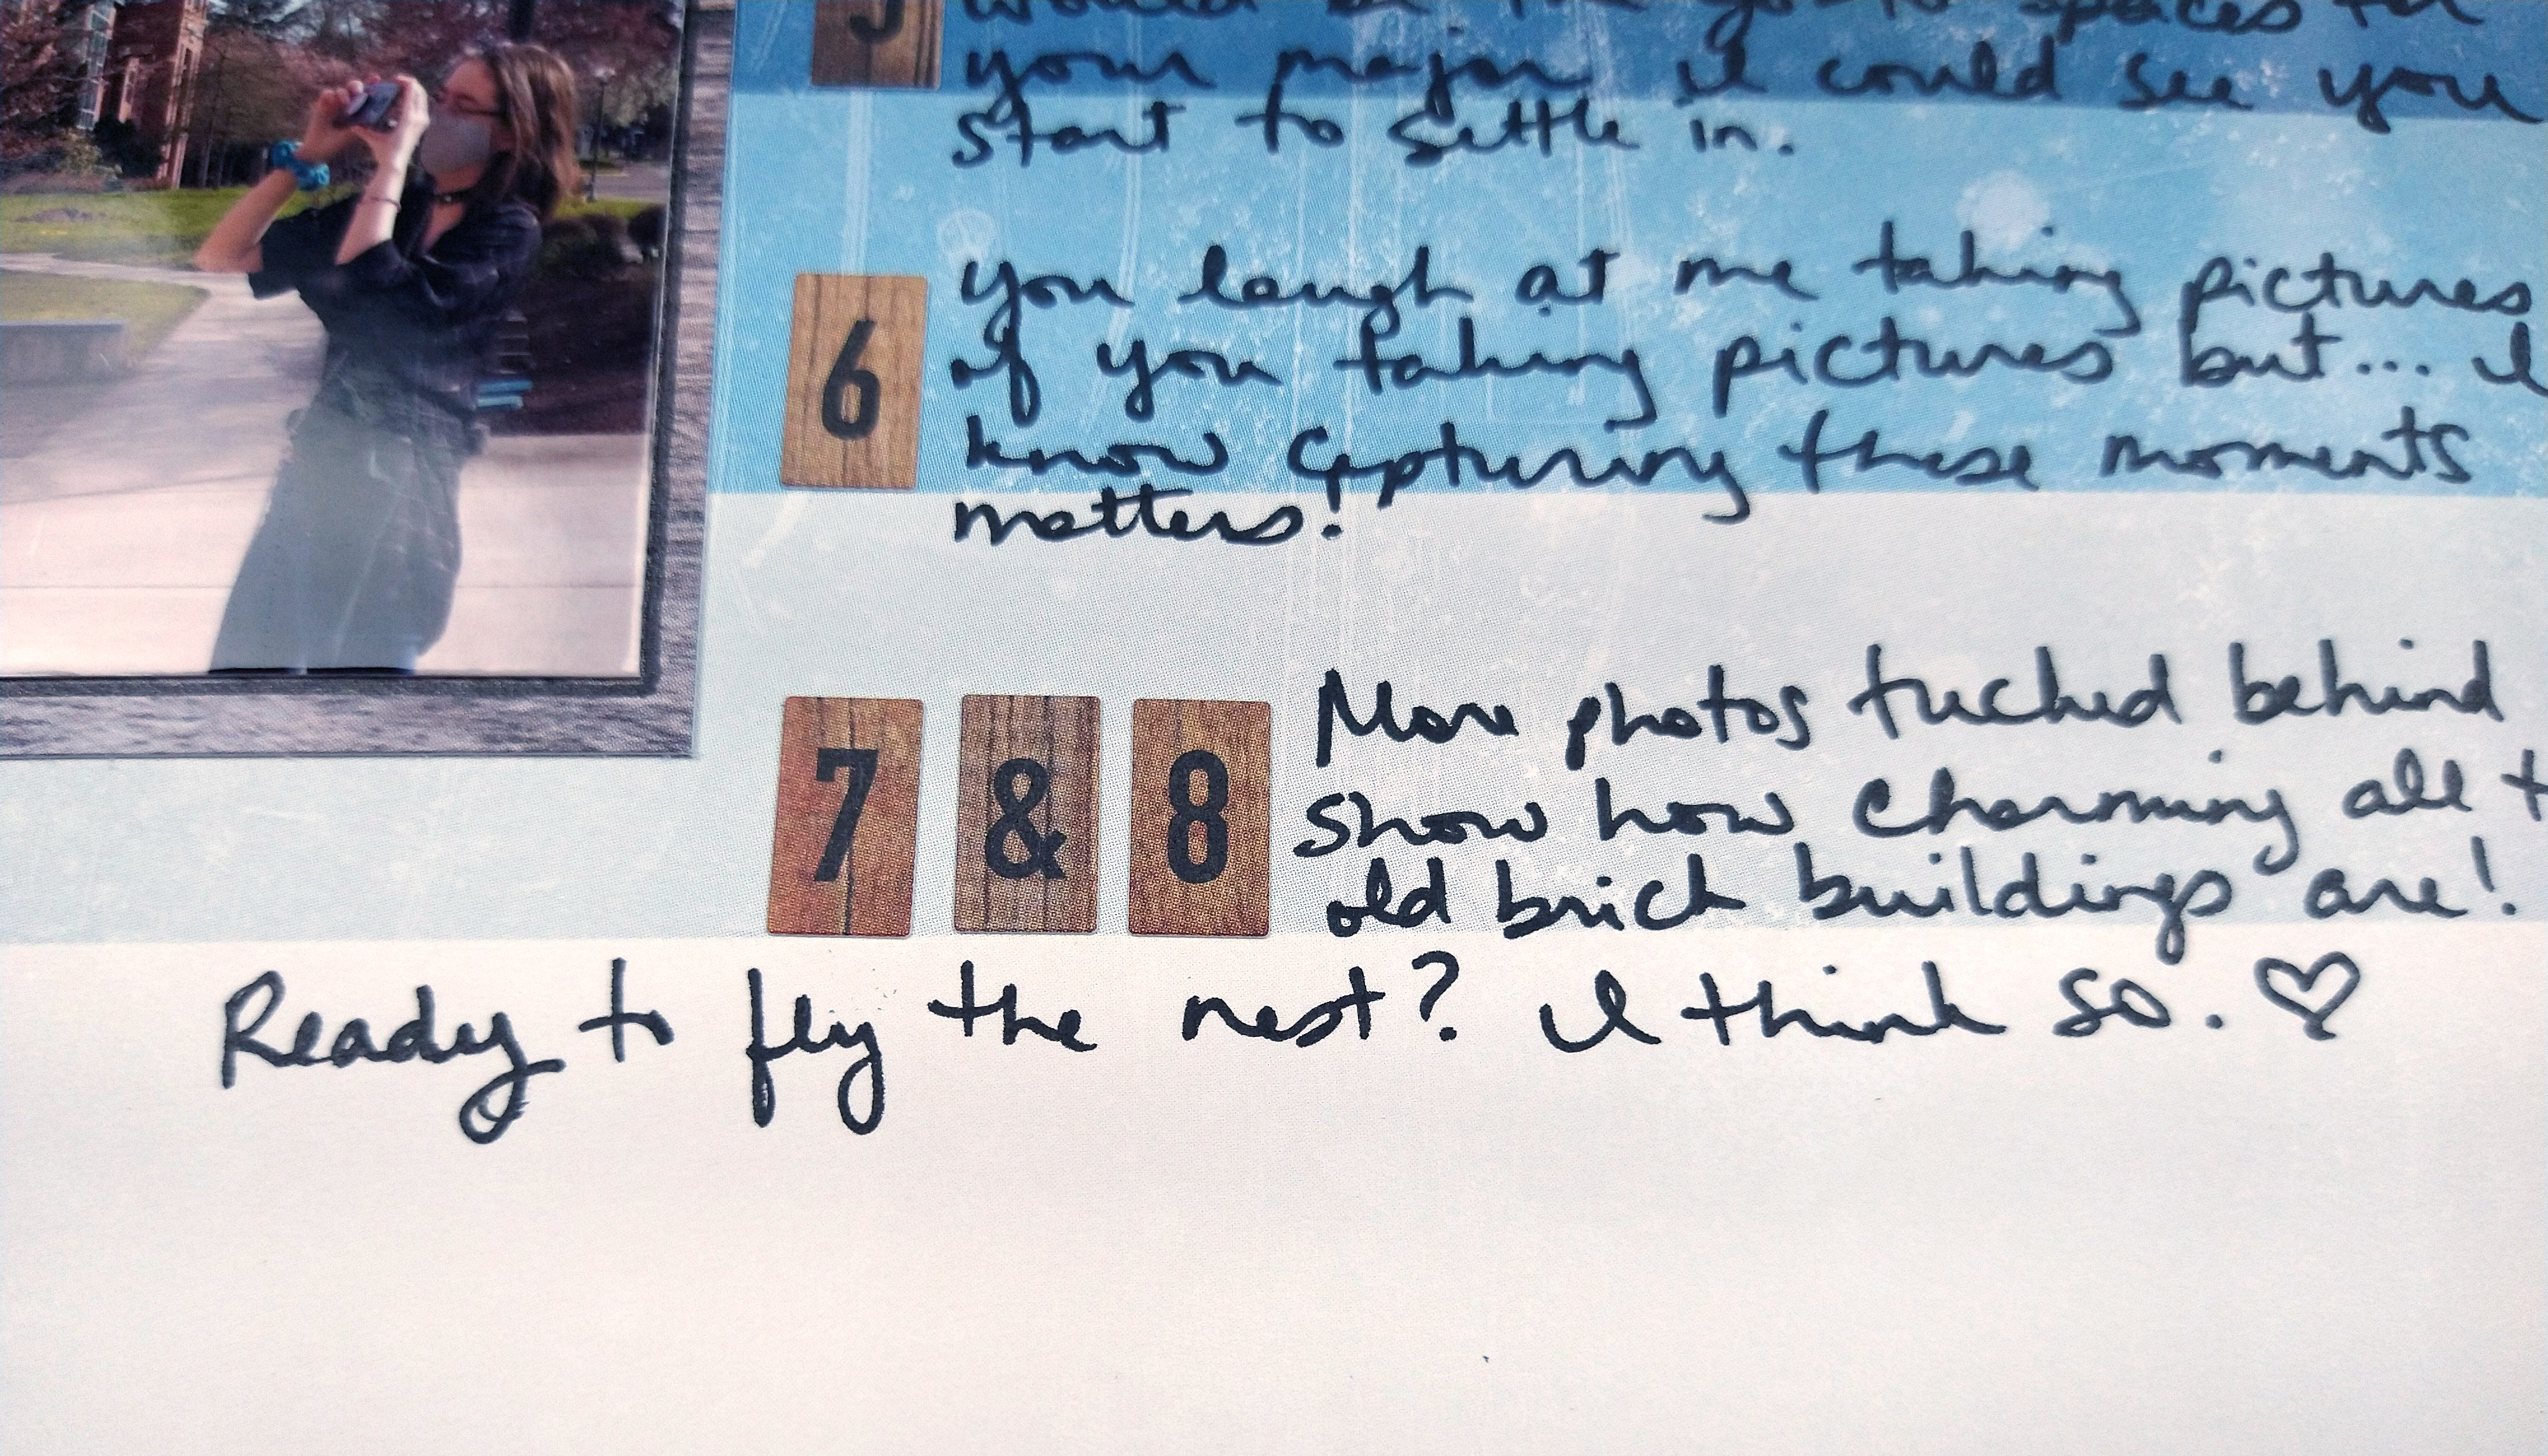
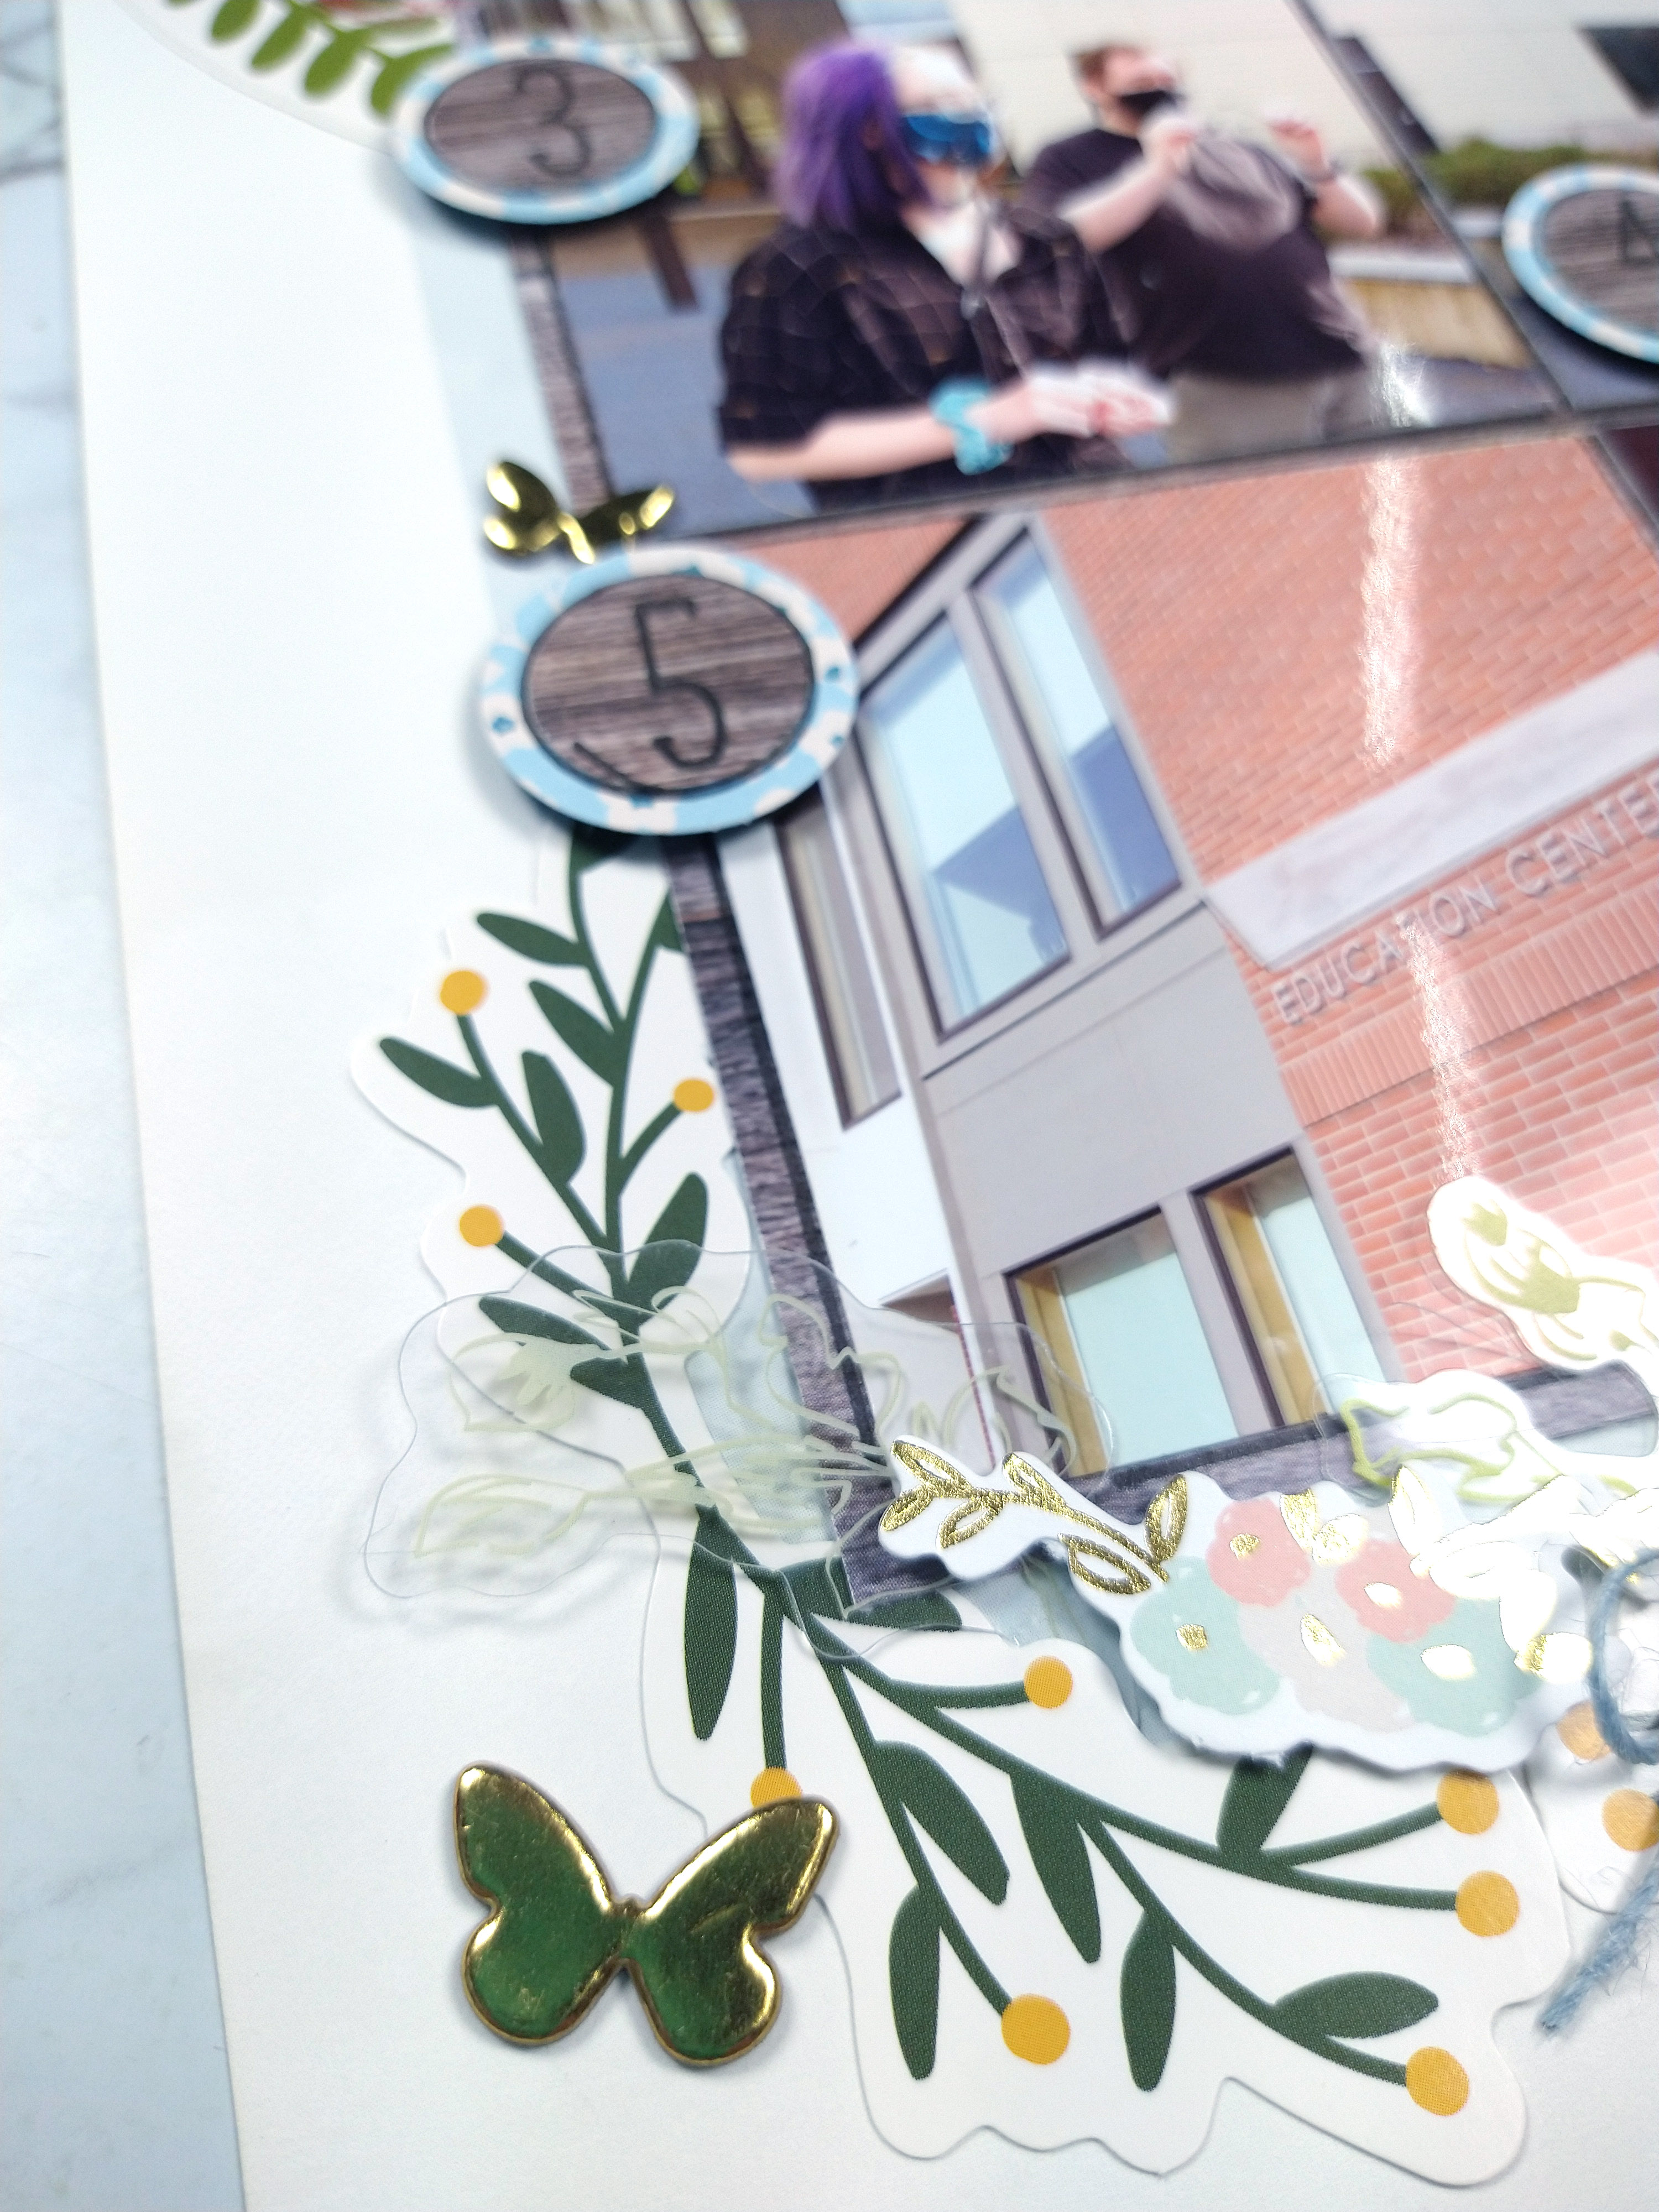
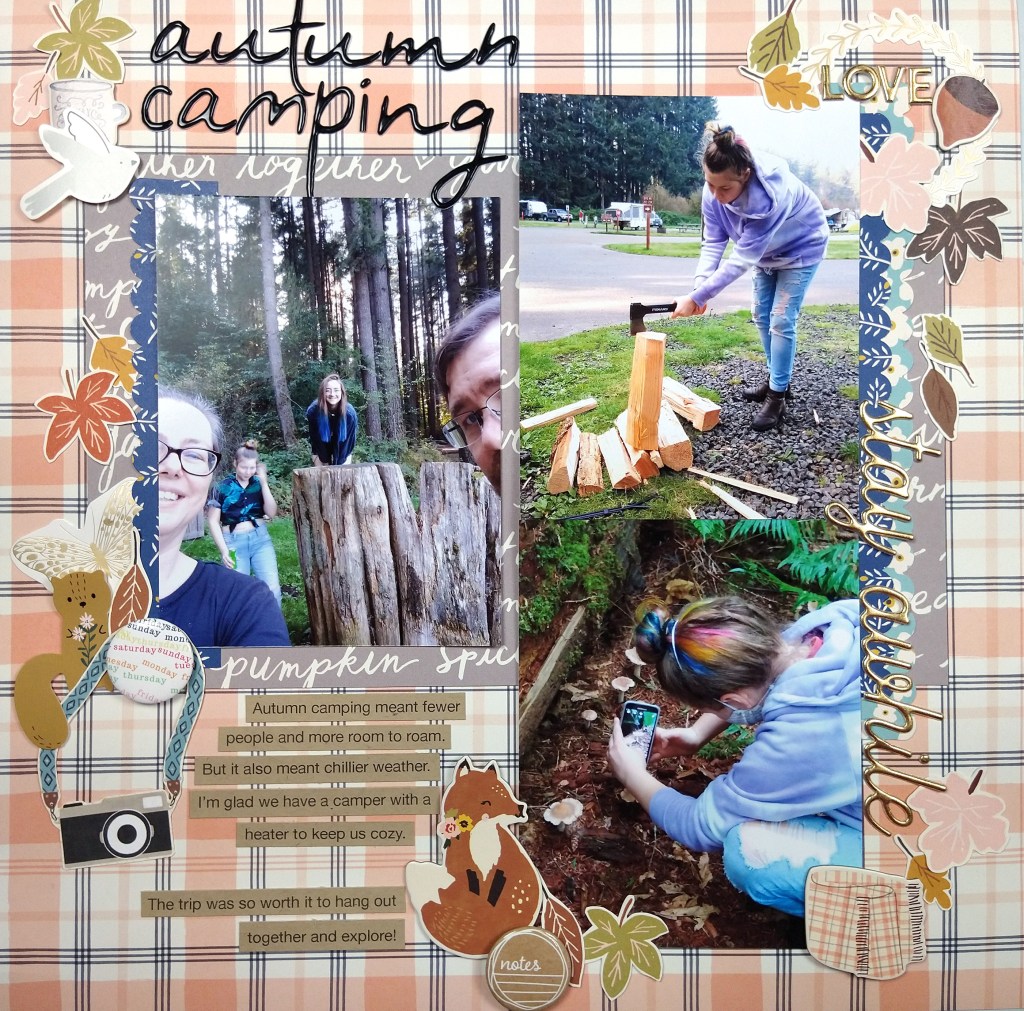
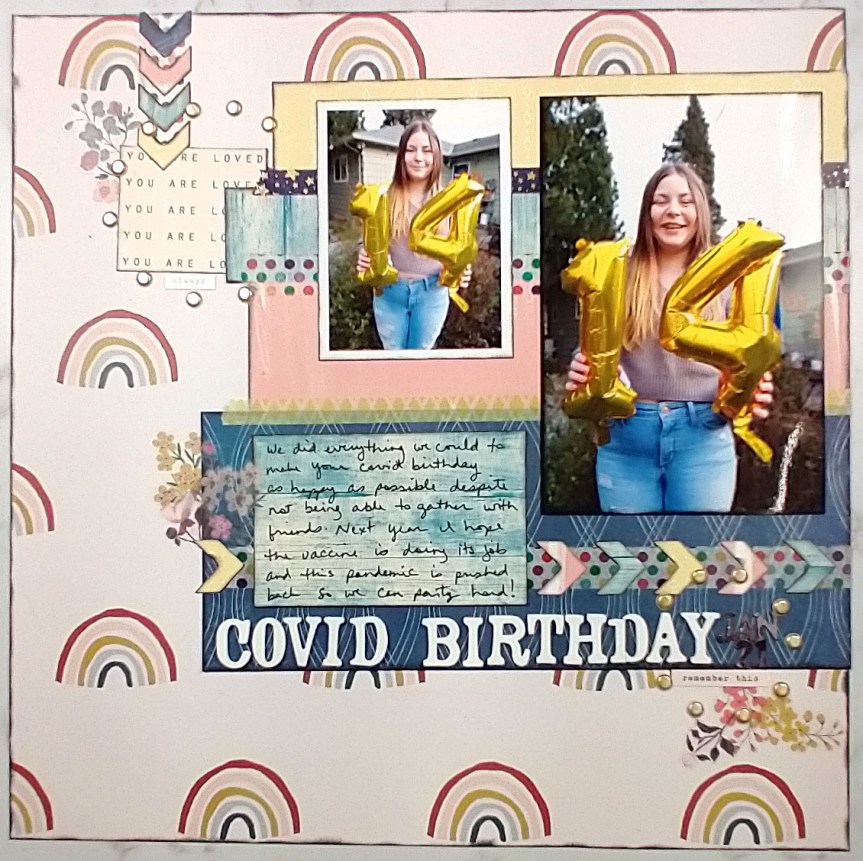
Don’t worry, I have another project for you that I was almost as excited about. (Scrapbook layouts are not like children, I DO get to have favorites.)

I like this layout enough to let it be my produced sketch for the month. If you missed my previous post revealing my freebies for this month, be sure to check that out. Or you can download the sketches over on my Sketch Freebies page.

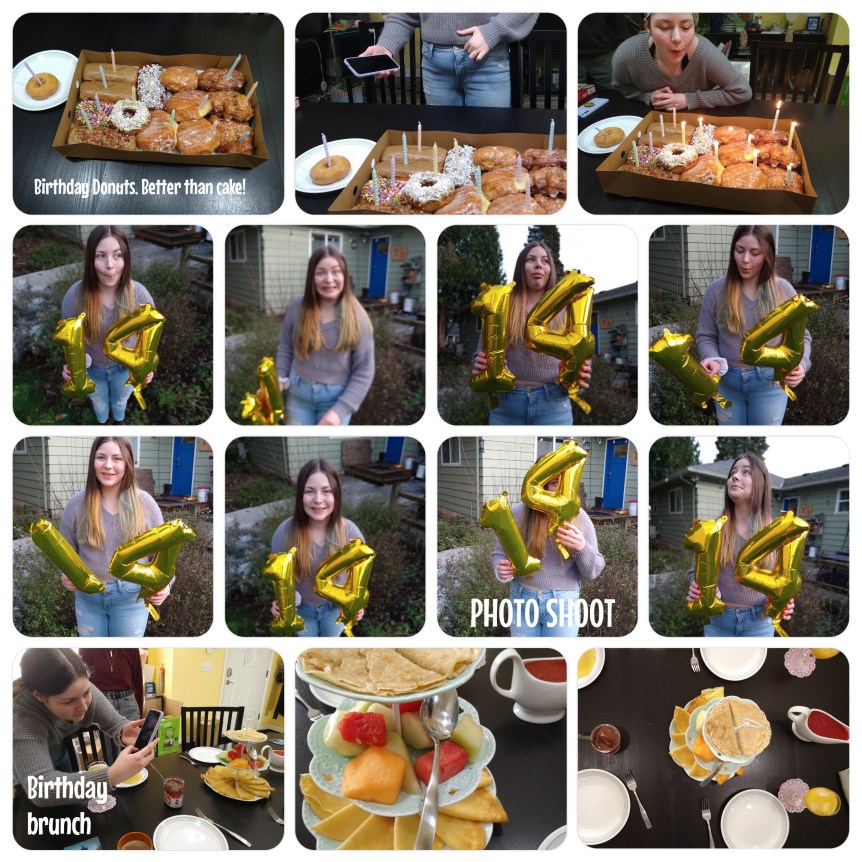
Of course I have a video showing off all the fun.

CKC Challenge #2, January 2022

I’m here with my take on CKC’s second challenge for the month, and that is to use a sketch from Master Forger Cindy’s Pinterest board. You can check out the full process video here or read on for the short version 🙂

First up, I chose this sketch…

from CREATE: Issue 7, July 2014

I chose to rotate the sketch sideways and then created a double page layout. I didn’t really change the layout much between the two pages. I did use the two small photos and the tag pocket in the sketch as embellishment clusters and stretched those across both pages to help tie things together. These sort of stretched into the banner cluster as well to become one long horizontal embellishment zone.

So what do you think about sketches? Do you like to stick close to them, or do you like to adjust as you see fit?

What is hybrid scrapbooking?

For 2022 I’m starting on a once a month adventure of incorporating more hybrid scrapbooking into my memory keeping. So what exactly is hybrid scrapbooking? It is the process of using digital scrapbooking supplies to turn them into physical items and then using them to complete a physical layout. If you do a photo collage in an app and then print and use that photo collage as in on a layout, technically you are hybrid scrapbooking. Even using a cut file on your electronic die cutting machine could be considered hybrid as well. My intentions are to use the collection of digital scrapbook kits that I have purchased over the years. I have a backlog of these files because I thought I would turn into a mainly digital scrapbooker at some point. However, the need to use physical items matters so much to my experience of creating art that I can’t go fully digi. However, I can get some of the benefits of digi and use them in my physical layouts.

I’ll start you off with the layout process video I created this month.

In the video I mention the benefits of hybrid as I create. Here I can just easily list them.

  1. You don’t have to have lots of space to store a ton of supplies! You just need a stack of paper and a printer to turn the digi items into physical items. (An electronic die cutter is super helpful, but I’ll cover that in a bit.)
  2. You can use only the pieces of an embellishment pack that you actually like. No leftover unwanted bits.
  3. You can resize items to a smaller size if you like (going larger usually doesn’t work well due to the pixel nature of digital graphics.)
  4. You can duplicate and create as many of the same element that you love.
  5. If you mess up an item, you can always print a new one!

While there are real good things about using digital elements, there are some cons as well.

  1. If you are a 12×12 scrapper, an investment in a 12×12 printer OR the flexibility to design 12×12 layouts using 8.5×11 papers is critical.
  2. It takes more time to select and then print your products as opposed to just pulling out some items and getting to work.
  3. If you want to create embellishments, an electronic die cutter is going to be a life saver. Otherwise you are going to become the fussy cutting champ of all time. A machine is yet another money, time and tech know-how investment.

I’m hear to help with that last point! I have a tutorial for you on one way to use your Cricut machine to take some digital scrapbook die cuts and create physical die cuts.

And here is a look at the final result.

What do you think? Can you tell that I printed most of these products myself?

Let me know what you think about hybrid scrapping!

CKC November challenge one!

It is the first layout challenge of the month over at CKC. This time we are talking all about friendships. My video is up for this layout process.

This layout features bands of zones across the page. Each zone holds a photo and a page elements such at title, journaling and embellishments.

This design came about because the background paper featured words that said “hello friend” and I jumped on the opportunity to make that a part of the design. So each zone actually points to those words on the background.

Don’t forget that other CKC Master Forgers are sharing their takes on this challenge over on the blog. Go check out their work also and then share what you make inspired by this challenge.

Layout Process with a twist!

Today I put my CKC kit to use for a LOAD layout. What is LOAD you ask? Well, that is the LayOut A Day challenge hosted over at ScrapHappy. We get fun prompts to play along with if we choose as we create our layouts each day. Today I managed to get the prompts in (mostly) by telling a story with a plot twist and including a twist of lemon.

For the entire process you can watch the video.

Freebie Friday, Oct ’21

Now that it is October, I’m finally feeling a bit of that fall vibe. So, I turned to the iconic pumpkin for the cut file this month. Using plaid for the sketch emanates a feeling of warmth and comfort. So that was my thinking for the designs this month.

Download the cut file directly as well as the pdf or photoshop version of the sketch. And if you want to see my other freebies, head to the Freebies section of my site.

I put them to use in a project as well. Check out the video…

As you may see from the video graphic, I combined the cut file and the sketch to come up with this layout.

Happy Fall/Autumn to my northern hemisphere readers (and happy spring to you southern hemisphere friends).

CKC challenge #1, Sep ’21

It is the first challenge of the month over at the Counterfeit Kit Challenge! This time our kit hostess set us a challenge inspired by the tractors used in many fall festivals. No you don’t need to include a tractor; you can be inspired by the idea of transportation! I took it in a very metaphorical level and talked about my daughter being ready to fly off to college (no she isn’t flying, she’ll be driving since campus is about 2 hours a way!)

Mini Kit + Pocket Page Ideas

Hello everyone. I’m here with the Counterfeit Kit Club’s Mini Kit and project for the month of September 2020. You can quickly see my whole process in the video below or keep reading for the text and photo version.

Our inspiration kit (Vivid by {Not} Just for Boys kit club) shown below had a strong fall theme vibe.

When I was pondering this project I was in the process of cleaning my scrap space. While doing that I came across this bin that contained the extra photos, paper scraps and previous fall themed layout I had created a couple of month back.

Admittedly this gave me a huge head start on creating a page kit for this month’s mini. If you think I cheated, I promise all you would need to do to get to this same point is choose a base pattern paper or cardstock, plus 3-4 pattern paper scraps in various sizes. Then grab 6-10 embellishment pieces in various sizes to support your theme and you are done. Simple as that. Really.

Here I chose a base woodgrain paper, 5 pattern paper scraps, 1 cardstock and literally 12 individual embellishment pieces. The woodgrain, plaid and use of blue comes from our inspiration piece. The other imagery I chose to support my page theme (cameras + together/cozy)

Once I had a narrow palette of supplies to work with, my layout came together quickly. I think about this style of layout as a “pocket page” layout without the actual pockets. (You could also just call it a grid layout). I love the idea of pocket pages for ease but I feel too constrained by the pocket numbers and orientations. So I started my layout with the base page + photos. I trimmed my photos, and in fact all the pocket elements, down by 1/4″ in both height and width to give that gap that pockets have.

The open areas around the photos now become other “pockets.” The top right was very large and could have been broken down into several pockets, but I left it large for more visual impact to those cameras since this layout is about selfies. The journal pocket on the bottom left is 6×4″ (or rather 5.75×3.75″ once trimmed down.) The gray strip started at 2×4″ before trimming and the lower plaid is 2×8″ before trimming.

Sprucing up each pocket with limited embellishments helps the whole page feel cohesive. I also repeat elements, such as circles, blue, and plaid, in a visual triangle to pull everything together. Approaching a layout this way is super straightforward. It gives you the ease of pocket pages without the constraints. And with this design you could include way more photos than I did! Just so much flexibility here.

I hope you were inspired by how easy it can be to put together a quick page kit as well as a quick layout!

Mixed Media Hop, 8/21

I’m back with the August ’21 Mixed Media Frenzy YouTube hop. The final Friday of each month the group invites all members to participate in a community hop. If you want to join in the fun, visit their Facebook group for inspiration and interaction. We were scrap lifting the image below, created by the very talented Missy Whidden. If you haven’t seen her videos I highly recommend them. She has so much patience for layering details onto her projects!

I had fun playing with plenty of ink (as paint!), stamps, and die cuts for my own interpretation. You’ll notice the photo is very fuzzy. That isn’t you, or my graphic, it is actually how the picture was taken! I was on my first kayak trip and my phone/camera was in a ziplock to keep it dry. I was too nervous about dropping it in the water to take it out of the ziplock. But do I let a bad photo stop me from scrapbooking? Never!

Check out the entire process over on my YouTube episode. And remember this is a hop! The video description box will lead you to each creator playing along. Check them all out and leave them all some love.

CKC Challenge #2

I was not on official design team duty over at CKC for this challenge, but I love to play along anyway when time allows. So for this sketch challenge I knew I had to play. I love sketches almost as much as I love kits! Put my CKC kit together with a good sketch and I’m a happy camper.

This old sketch we are working with comes from the much missed Basic Grey company. At the point in time when Basic Grey was hot I was more of a double page scrapper. But crafty styles shift and I’ve moved into being more of a single page scrapper. So that is where I started in this challenge.

I pulled out photos of my daughter and her 14th birthday and a cheery rainbow print since they felt so right together. And then I realized I had a Project Life layout that I had done on my phone with all the fun pictures we took during her photo session. So I pulled arrows off the right page of the sketch and included them near my title on the left page layout. That way it leads the story into this accompanying layout. I ended up with a two-pager after all!