As a design team member over at the Counterfeit Kit Challenge group I play along with as many of our monthly inspiration challenges as I can. The Forgery on the Fourth project is definitely one I enjoy! That is where we see a scrap product we like and set out to recreate it with supplies we already own. So let’s go ahead and dive in to what I have for you this month.
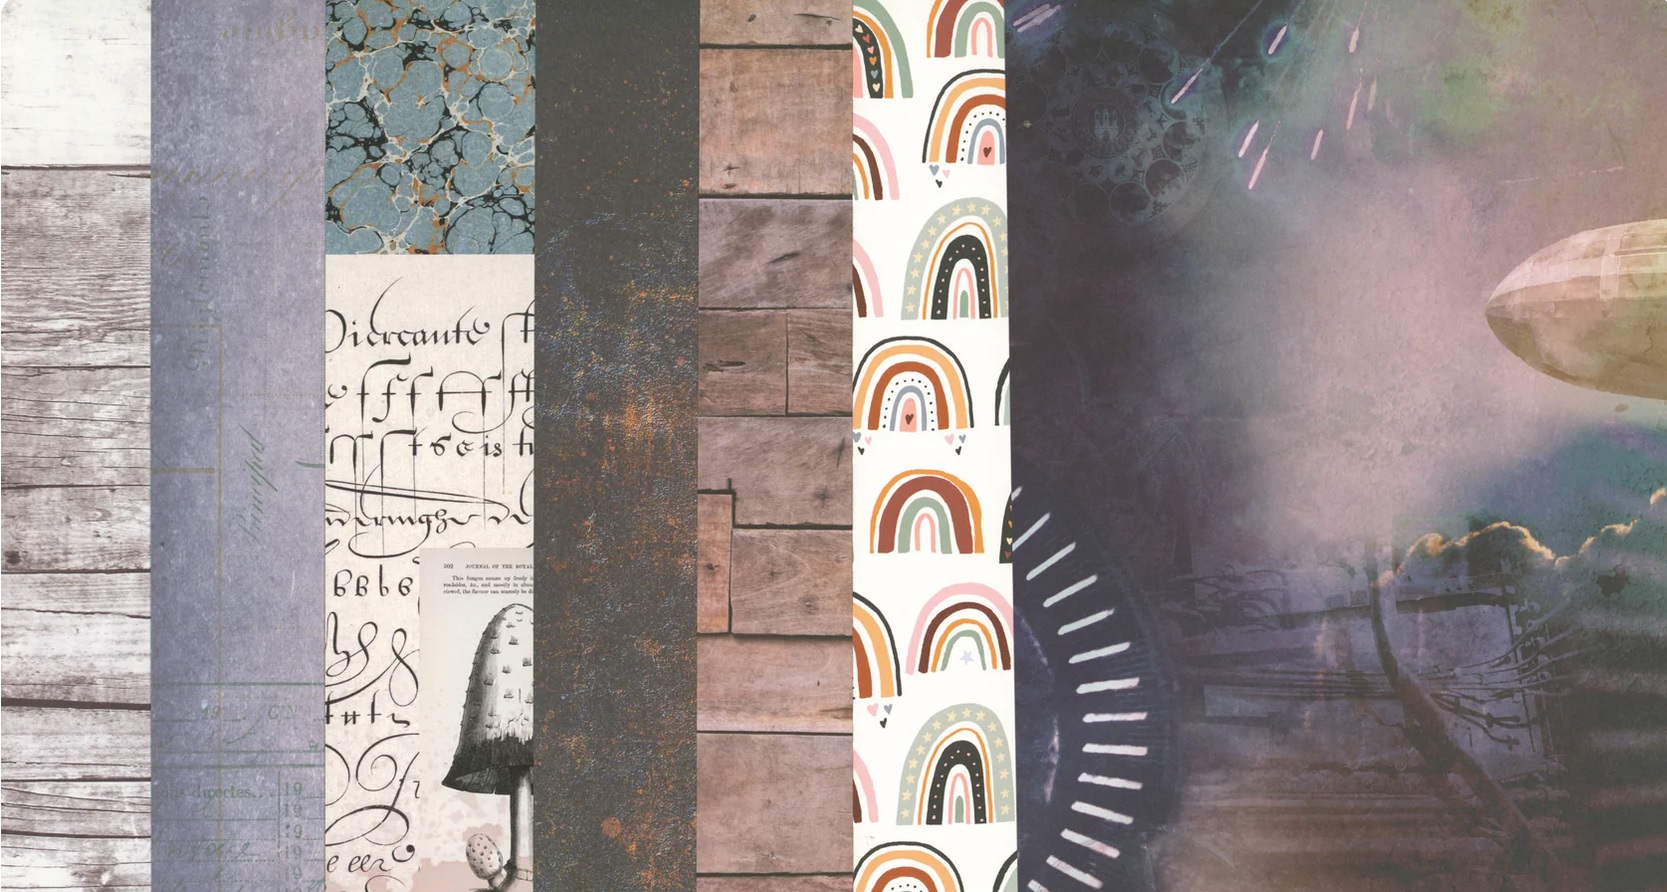
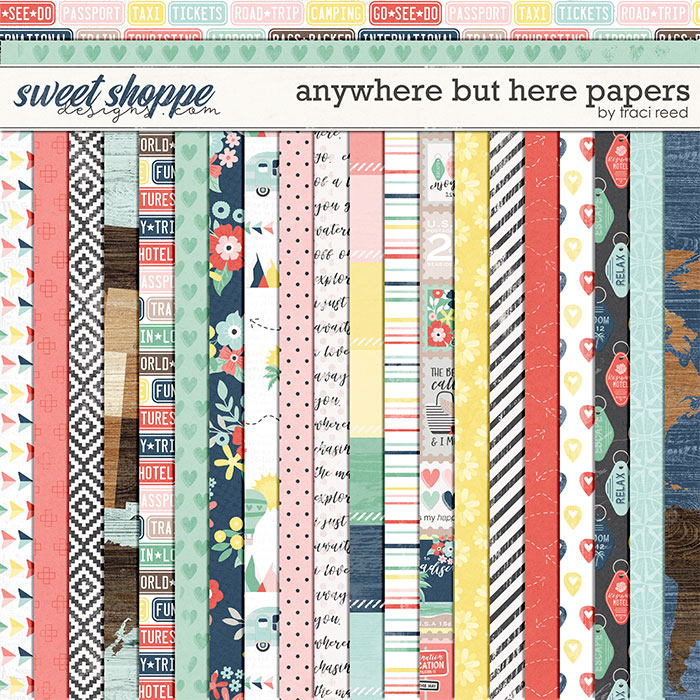
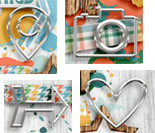
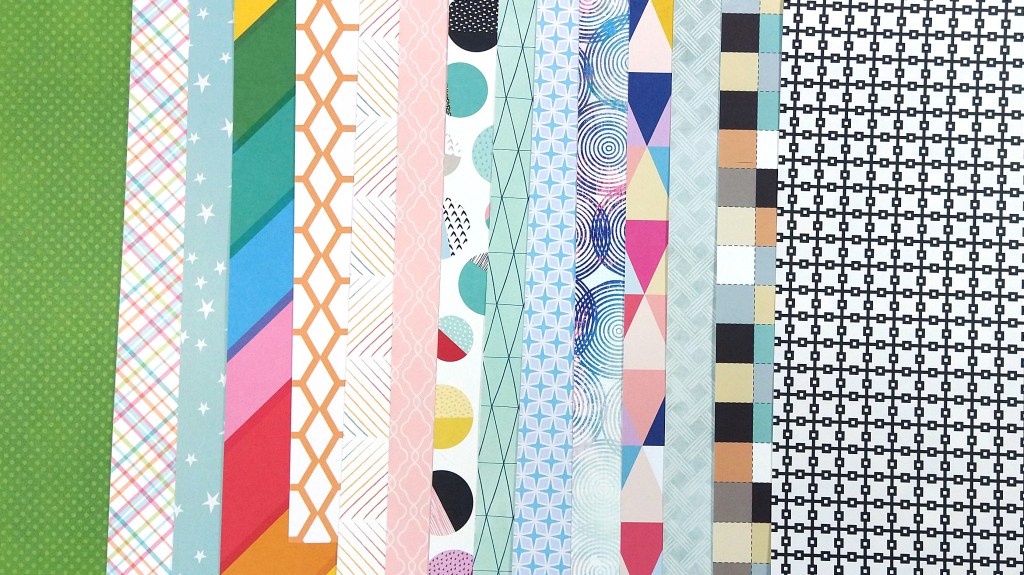
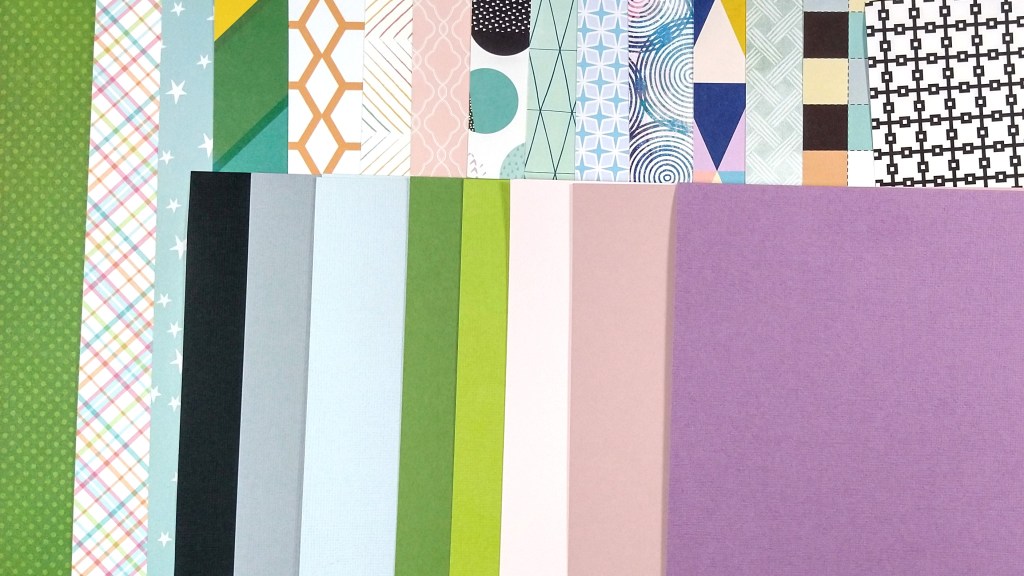
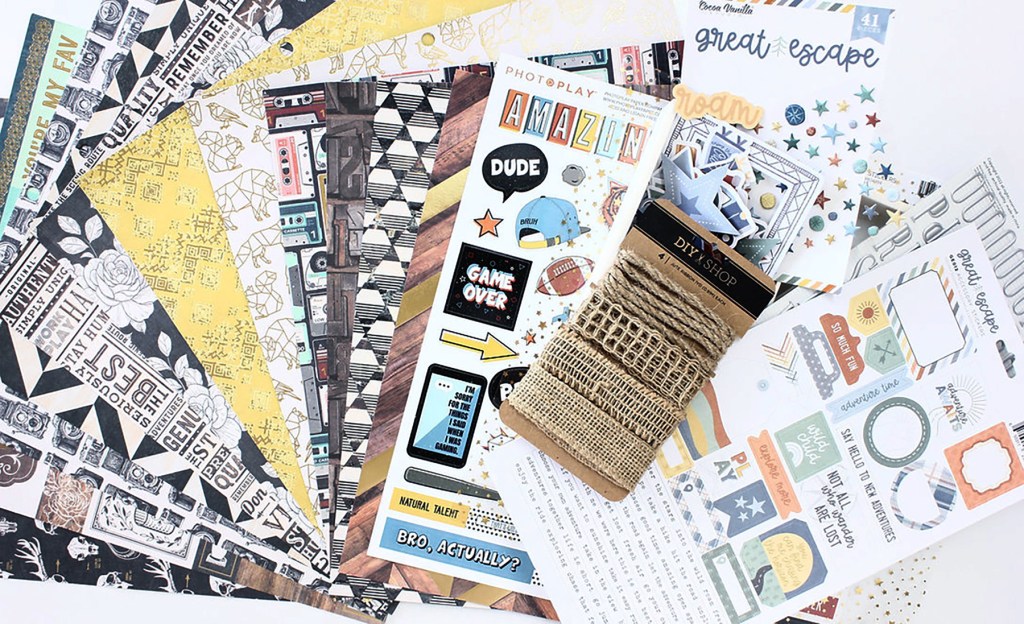
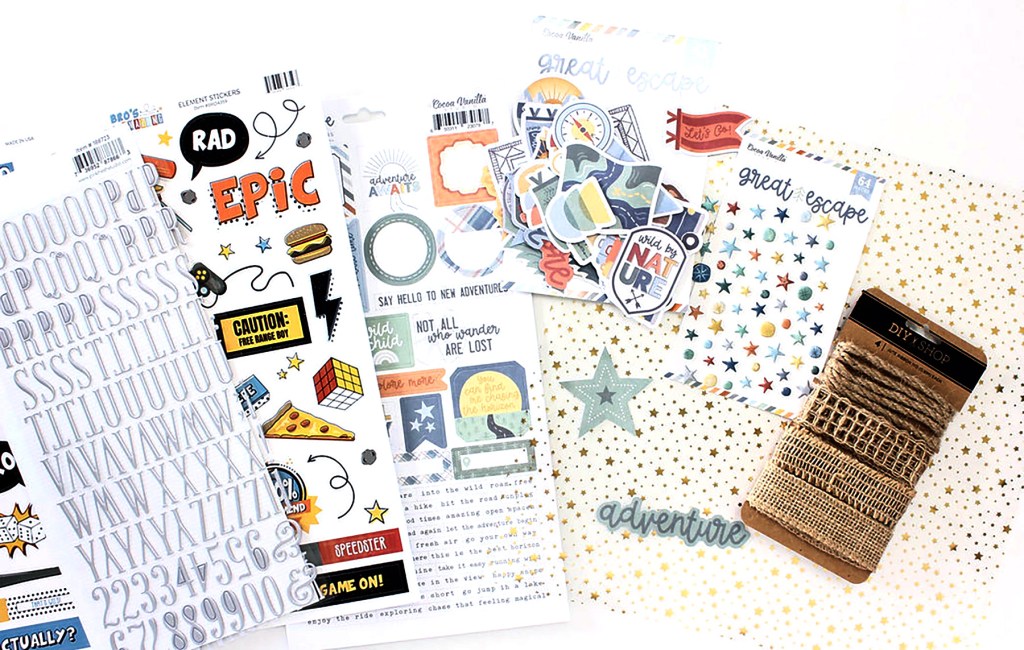
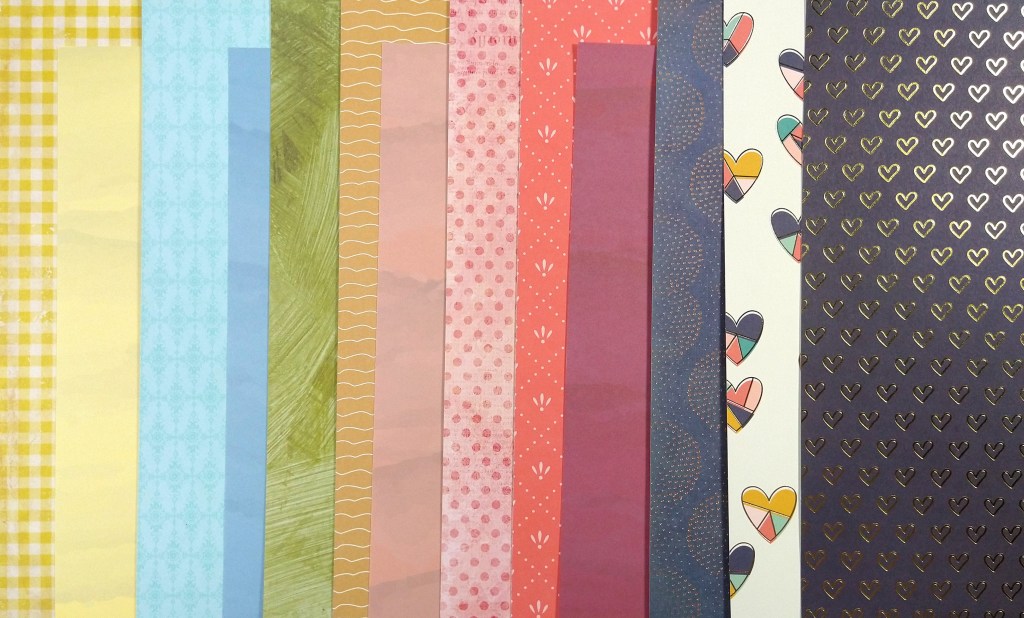
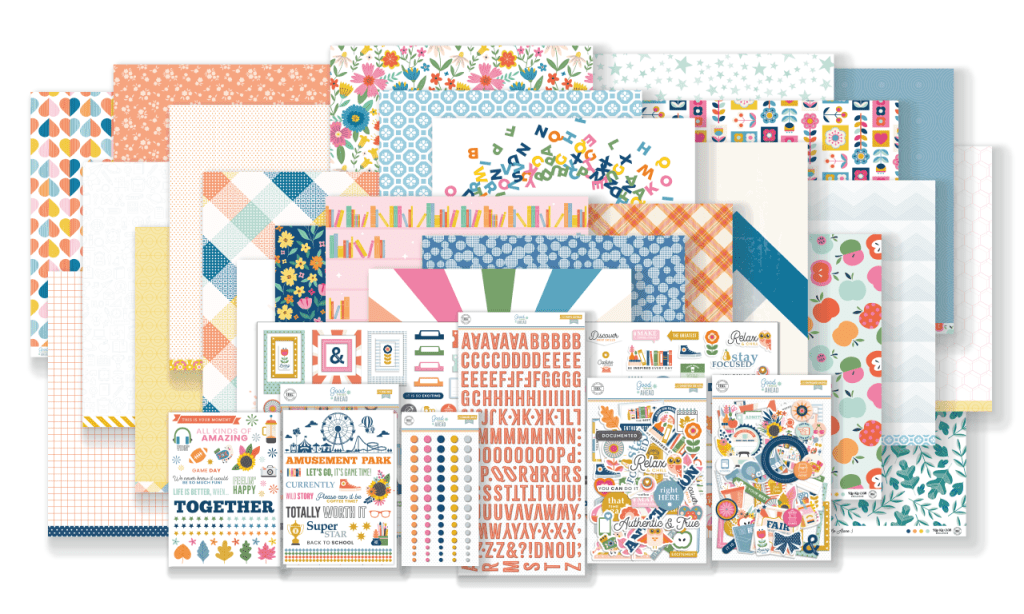
Since we always start our forgery projects with inspiration, here is the image we are working with this month. It is the Balboa kit from 2014. This kit no longer exists, which a perfect reason to pull inspiration from it and make our own version!

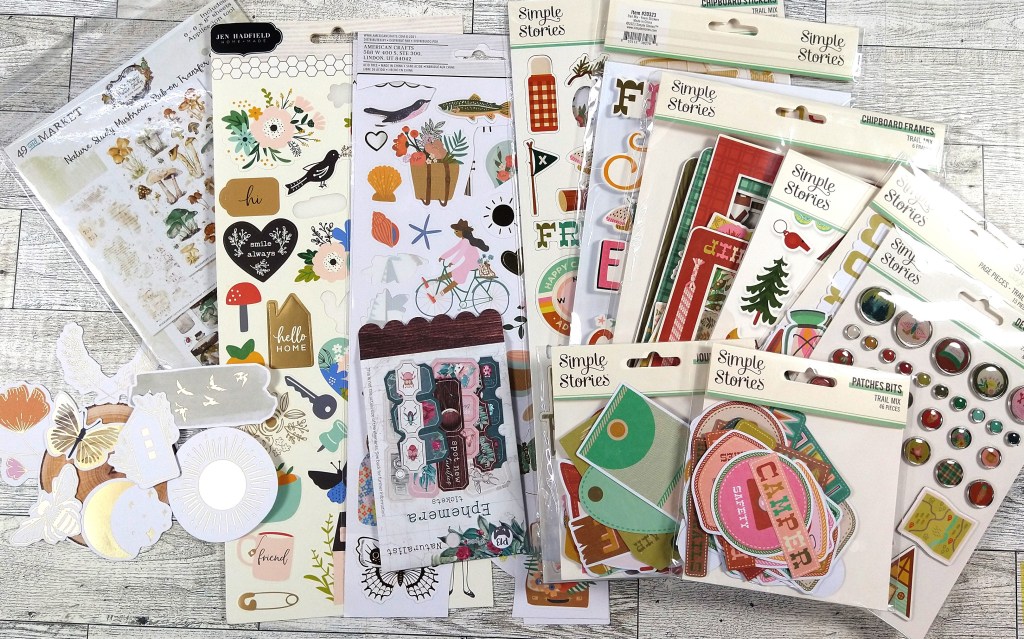
There were many ideas I could pull from this. I ended up focusing on three things.
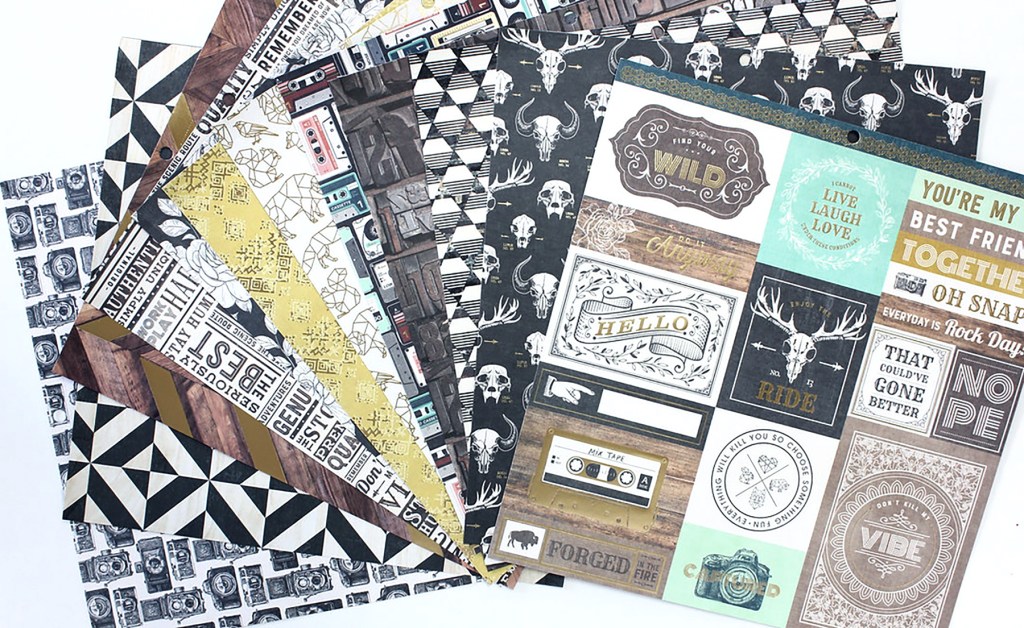
- The Chalkboard pattern papers. I thought I had some in my stash, but didn’t find it when pulling my kit. So… I’ll just make it!
- The fancy pins. In fact, I think my mock version is even better than the real thing. Stay tuned for why!
- That “Hello” word. A nice thick chipboard word covered in colorful spatters? Yes please!
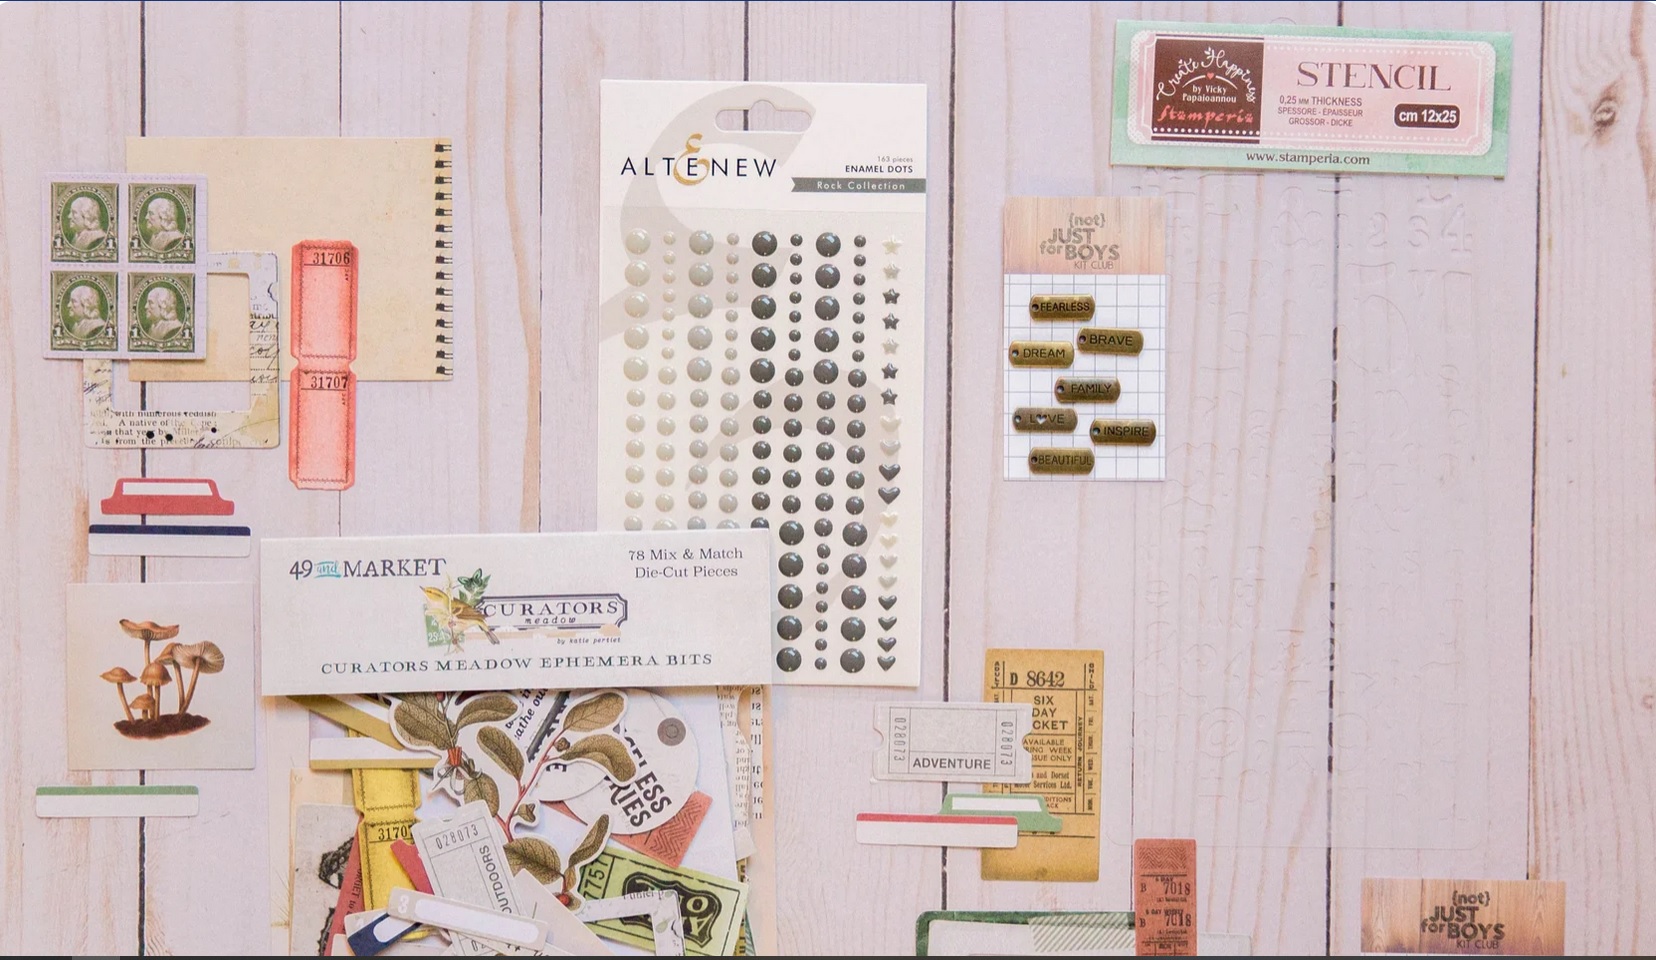
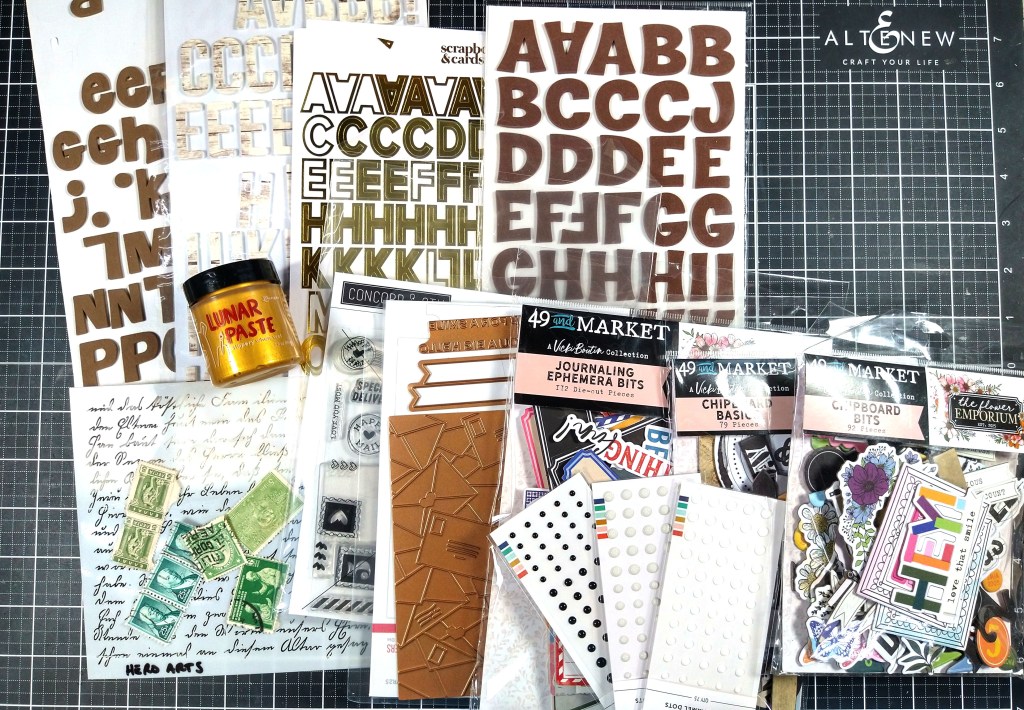
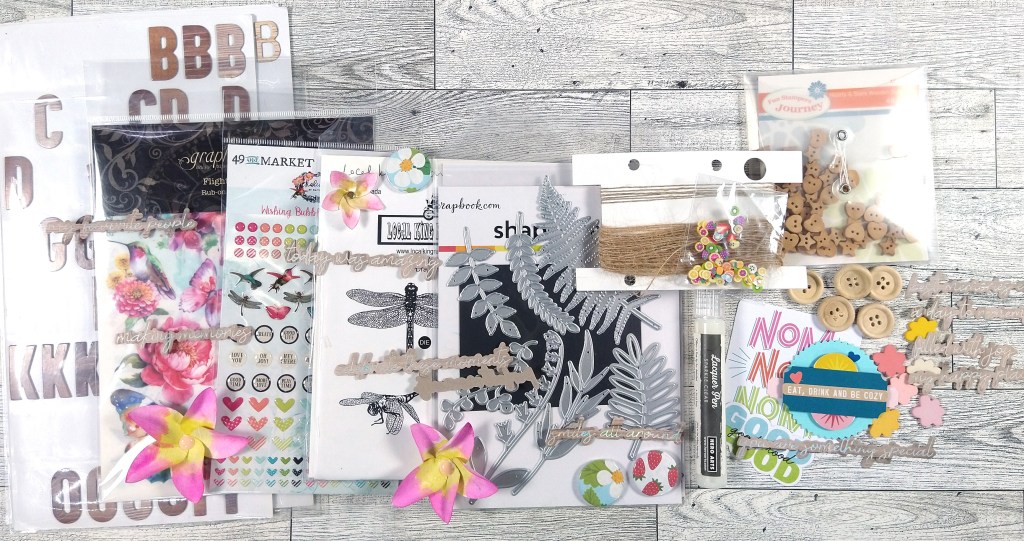
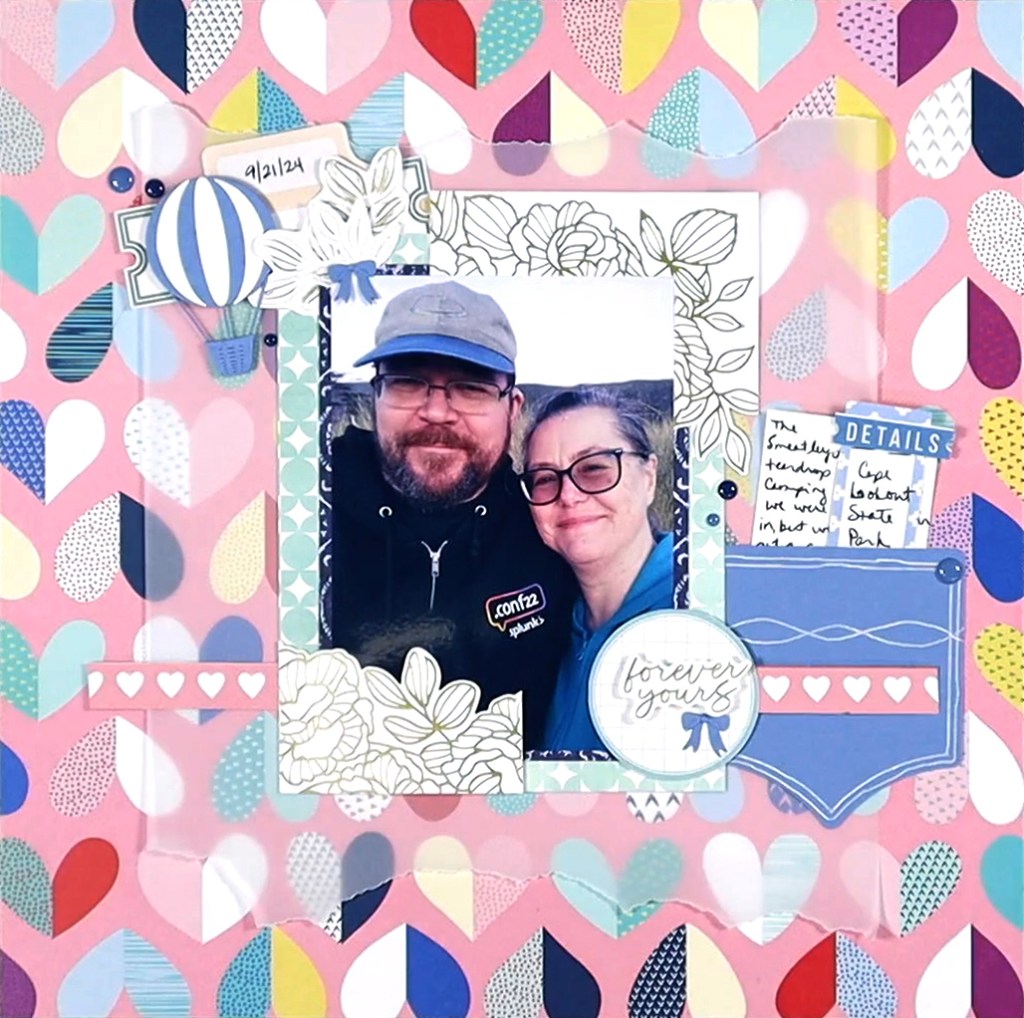
Here is a quick look at the finished items. But let’s go over them briefly one at a time.


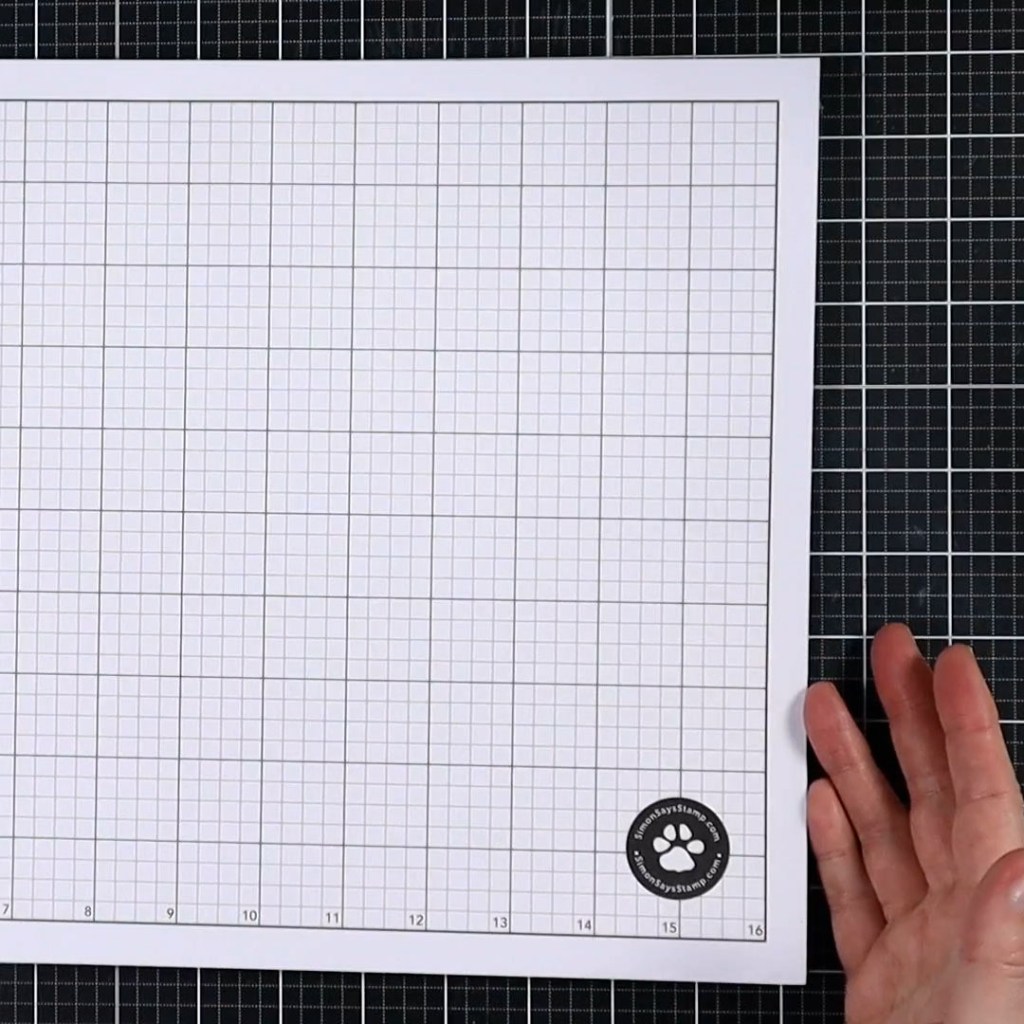
Chalkboard Paper
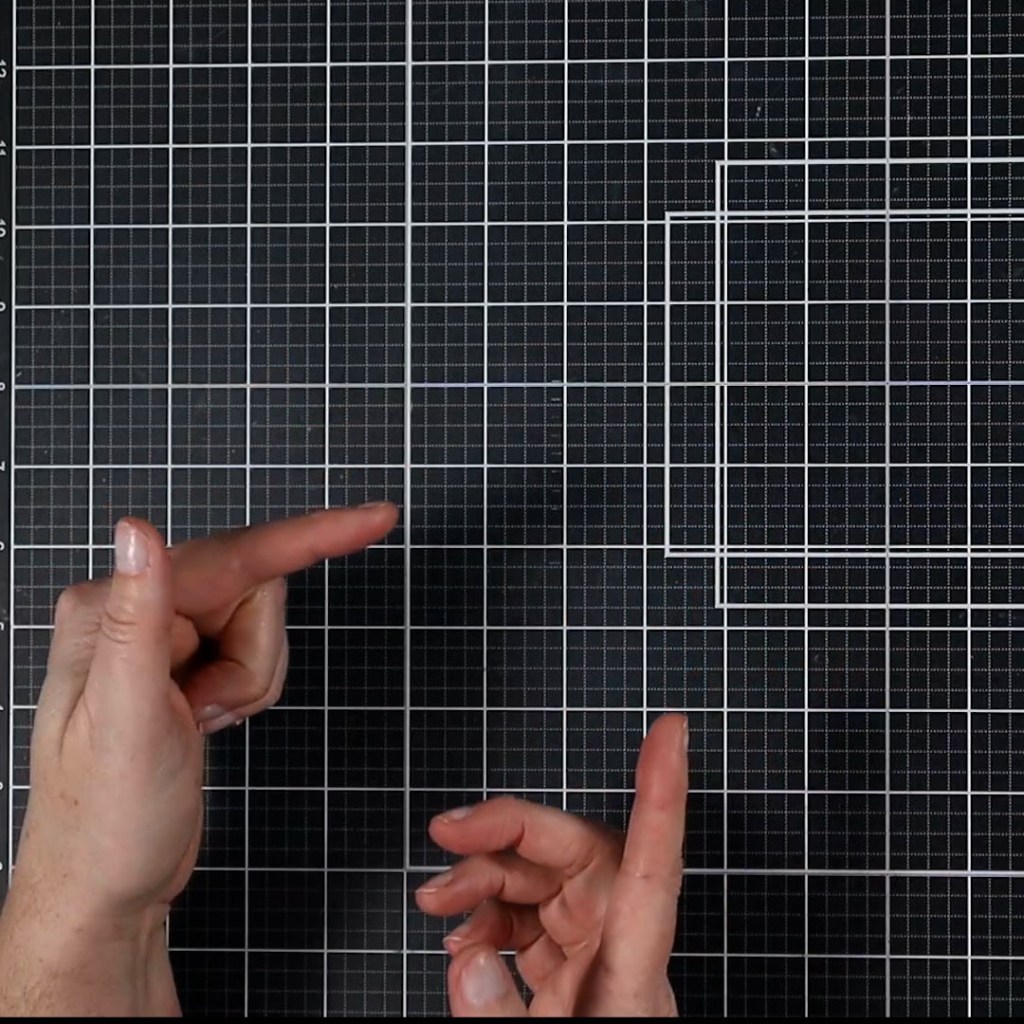
This process is really easier to see in action. I’ve got the video tutorial linked below for you.
I punched out a nearly 2 inch circle and cut it in half. Then I cut that half in half. That left me with a quarter of a circle. I used that to trace the curved edges. With a white gel pen I was able to trace a cruve in each corner of a black piece of cardstock. Remember to use the smooth side if you have textured cardstock. Then with a ruler I could connect each of those curves with stright line. Repeat that process to create a second border. Then realize there are smudges of white gel pen and make more purposeful smudges and marks to make them blend in.

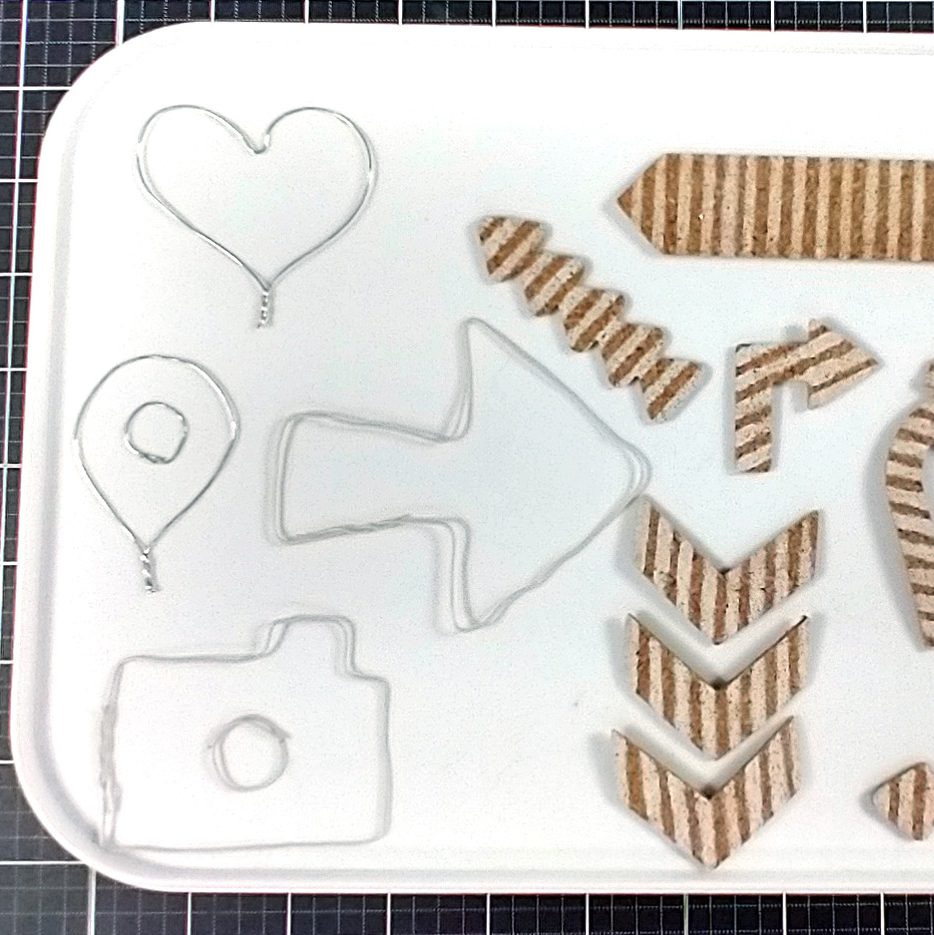
Decorative Sewing Pins
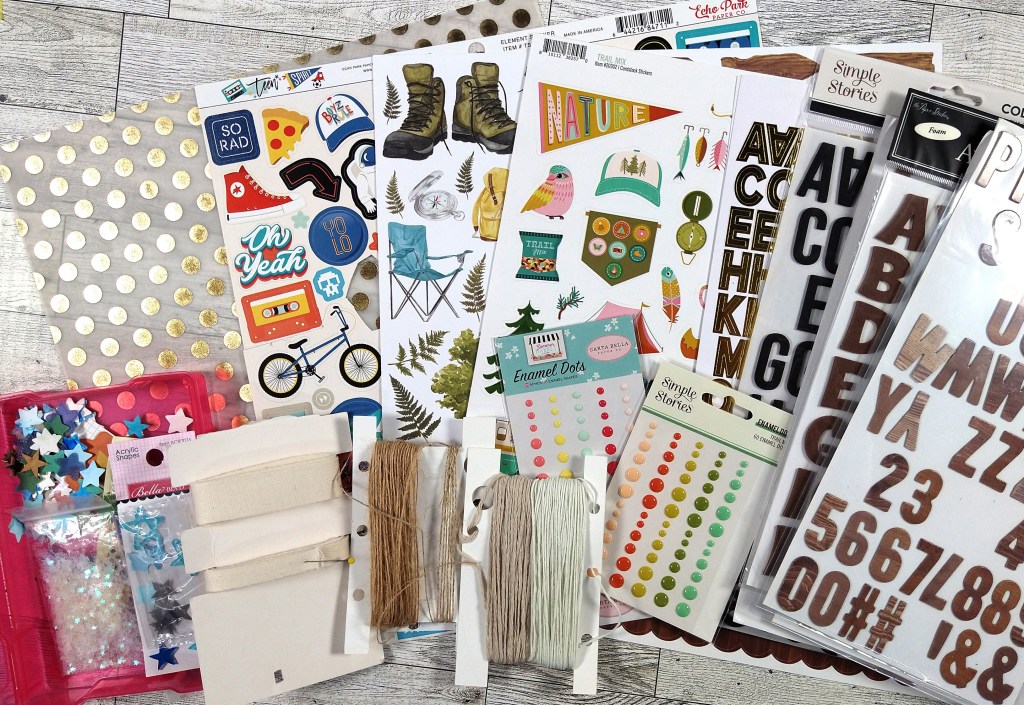
Recreating these pins is awesome. I’ve used real sewing pins for projects in the past. They create two problems: danger of being poked and excess bulk on layouts. My version solved both those problems. You can make these using twist ties! Peel off the paper portion of the tie, but leave about 3/4 of an inch of the paper intact at one end. This is where you can glue on enamel dots. Once the glue is dry, trim away any excess paper using a pair of fine scissors and you have your mock pins! They are a major budget saver as well.
Just a note: the one on the right end was made using Nuvo stone drops instead of enamel dots. While it did work, these weren’t my favorite.

Word Art
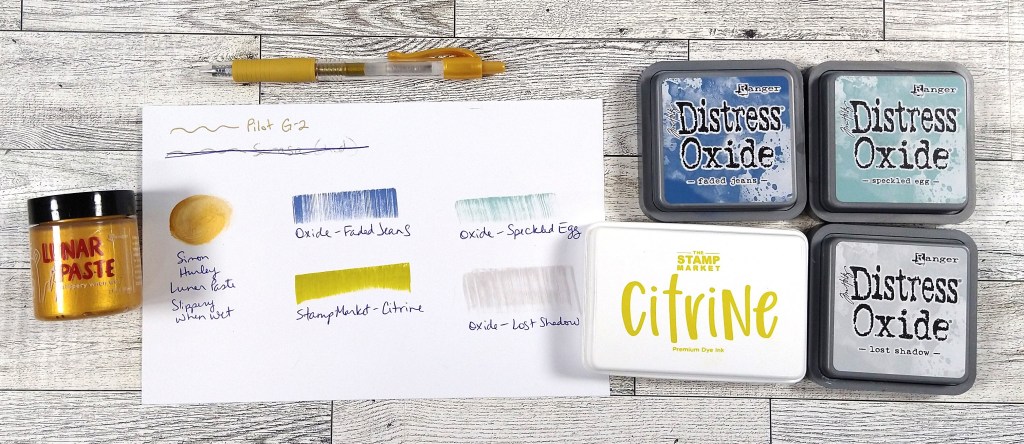
Finally, I made the Hello word. This was easy to do on my Cricut. But you can also use dies. I just don’t have any word dies this size. I cut 4 layers of the word, then stacked and glued them. Once dry I simply splattered them with some watercolor. Done!
You can see all these ideas in action in my makes video below.
For more creative ideas, the CKC blog has more forgery examples to check out. I hope this gave you some ideas on how you can recreate your favorite product ideas with supplies you may already have on hand. Don’t forget to show off your stuff over on the CKC Facebook group, or tag us on Instagram @counterfeitkitchallenge or use #counterfeitkitchallenge.
Until next time, have an artful day.