More stitching

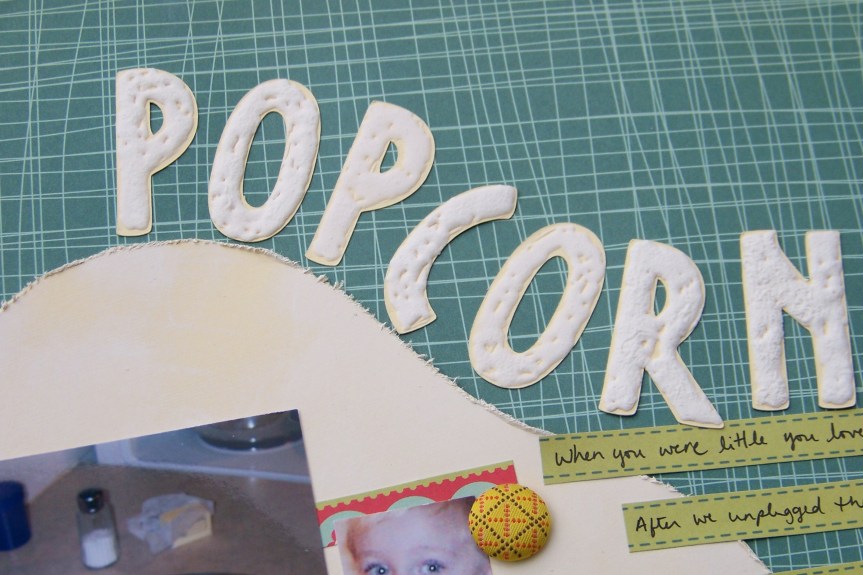
Okay, so yesterday I talked about stitching and alphabets. Today it will be stitching, color and style combos. When I made this layout I had only planned on cutting the large circle background, flipping the circle to use the back of the pattern paper and then stitching around it. I was inspired to try this from similar techniques I saw in magazines. I did my circle and then just kept going.

What ended up happening with this page was trying a bunch of things I don’t usually do. I have got bright colors going on which is not typical. I pulled out some really old stash (alpha stickers) and used those up. I’ve got those rubber sticker accents that I would never have bought had they not come in a kit subscription. And I’ve got those glitter accents (from the same kit). I wouldn’t have bought those accents, let alone paired them with bright colors and rubber accents. But I think it works. Yesterday I gave you the cliche “never say never.” Today I think I’ll use “beauty is in the eye of the beholder.” I think the elegant silver swirls are working with the funky pink rubber letters. Does your eye behold beauty or chaos?

Recipe

CS: Bazzil
PP, rubber stickers, alpha stickers: KI Memories
glitter swirls: Jolees
felt accent: Quick Quotes
die cut: Cricut (to cut circle)
marker: Marvy

Stitching!

So I managed to sit down and create this weekend! It did feel good to get some things done. I haven’t really worked on much in a couple of weeks. I have some things to share with you over the next few days (and some things I won’t be sharing since I plan on submitting them!). What I found myself working on yesterday was LOTS of stitching. I had the sewing machine going for almost every project I made. The funniest thing about that is years ago I swore I’d never sew on a layout. I guess the old saying “never say never” is a good one!

So I have got the happy sewing going on here. But you know what else makes me happy with this page? Those alphabets! I am so in love with the tiny type alphabet from Cosmo Cricket and the smokey gray alphabet from American Crafts. The Cosmo Cricket letters come with a full row of each letter. Yes that means you will have a million z’s left over but it also means you’ll have plenty of e’s and t’s to spell out whole messages. I can’t get enough of them. I think I am going to have to restock soon because I am using them up too fast.

Speaking of using things up to fast, want to know another secret about me? I used to buy product and then not be able to use it because then it would be ALL GONE. So it would just sit in my stash and I would admire it. You know, I think I like admiring it much better when it is ON projects! So I don’t feel bad about using it all up. Besides I know where to buy more 🙂

Recipe:

CS, PP: Stampin’ Up
punches: EK Success
marker: Marvy
alpha: Cosmo Cricket (tiny type), American Crafts

More stitching layouts to come…

Playing with leftovers

I started an elements scrap drawer a while back. In this drawer I put pre-cut/punched items. I can just go to this drawer and grab items when I need a little something for my page. I have found that I really like this system. I am adding more layers to my projects, which is something I like when I see other people’s work. I am also mixing and matching patterns and colors that I would not normally think of putting together. Plus this drawer makes good use of the last scraps of my paper. I will punch flowers, hearts, squares and other shapes from the scraps that are too small to save, yet too big for me to just recycle.

The background paper and the floral stripe running through the middle were new elements. Most the other elements, the marquee die cut, the scallop die cut, the scallop border pieces and the butterflies were all leftovers. Even the jumbo pieced flower was an element that I had gotten in a kit that I just never used. All these things had no use at the time. But here they all are playing nice together.

So, go ahead, start an element scrap drawer (or bag or envelope). You may be surprise by what you can do with these little bits of goodness later!

Final NSD & LOAD Day 3

Okay, so I finished up my challenges for NSD today finally! And I worked on my LOAD layout for the day. Check them all out.

This was a NSD challenge to create a shaped object. It is a card I made for my SIL for Mother’s Day. I really had fun with this one. Making a card in the shape of a letter? It was great. Try it using the recipients initial.

The NSD challenge here was to create something with or for a child. Since my 3yo scraps with me all the time, this was a breeze. I mentioned the word Cricut and she came running. She decided she wanted to make a princess and viola.

Final NSD challenge was to create a monochromatic plus flower project. A Mother’s Day card for my MIL in her favorite color.

And my LOAD project for today…

Recipe:

  • pattern paper, rubons, stickers: Piggy Tales
  • cardstock: Stampin’ Up
  • punch: Fiskars
  • monogram letter: Circut (Opposites Attract)
  • brads: from stash
  • font: Times New Roman

NSD Challenge 6: white space

I have to admit that layouts with lots of white space are a challenge for me. I tend to fill my pages from edge to edge. Yet when I’m looking at other peoples layouts, I really love pages with lots of white space. So, go make a page with just that, lots of white space.

Remember to post your project to your favorite online gallery and leave a comment here with a link to your post. I’d love to see your project!

Remember: white space doesn’t have to be white!

Recipe:

  • pattern paper: Vintage Plum (out of business)
  • rubons: Hambly
  • alpha stickers: Scenic Route
  • ribbon: from stash
  • adhesive: Scotch ATG
  • fibers: Little Black Dress Designs (I believe they are out of business)

Tip: I used my ATG adhesive gun to “draw” a heart around the photo and then applied fibers to the adhesive.

Online class

I’ve known about Big Picture Scrapbooking for a couple of years now. I took some classes last year and really enjoyed them. When I got their newsletter recently I saw a class that I just had to join. And I am making my kids do it with me. The class is called Everyday Adventures and it is based on the book How to be an Explorer of the World by Keri Smith. It is supposed to be exercises in seeing the extraordinary hidden in the ordinary. I’m curious to see where it leads us.

Our pre-class assignment was to make Goggles of Enhanced Perception. So here we are decked out in our goggles.

We created our own journals to record our findings for the 20 exercises throughout the class. The kids decorated small spiral bound notebooks. I made mine from scratch using brown cardstock, white & black markers and watercolor pencils from Stampin’ Up. The chipboard accents are from my stash, covered with white embossing powder and inked with alcohol ink (Tim Holtz).

And here is my Day 1 exploration. The assignment was to sit and make a list of 10 things you hadn’t previously noticed about the place when you first sat down. I sat in my doorway and did the assignment while watching my kids ride bikes. I decided to draw all my decorations instead of using the basic scrapbook supplies I thought I would use. I am not a skillful drawer but I think it turned out very pretty anyway. I may just keep up the hand drawn accents throughout the journal.

My Pink Stamper challenge

Hi All,

I thought I would have a video for you for this post but I haven’t quite figured everything out yet. I am working on video and would love to share those with you when they are ready.

In the meantime I have a project to share. I read the My Pink Stamper blog everyday and love Robyn over there. She is energetic and fun. While our styles are very different, with hers being self-described as “so super cute” and mine shying away from cute, I still get a lot out of her videos. So, I thank her for sharing all the time and effort she puts into things. She had a challenge posted yesterday to make a project using green, pink and black. Since I wanted to send a spring card off to someone, I decided to make a card for my challenge. So here you go…

Card measures 8.5 x 5.5

Supplies:

  • Stamping up: Cardstock (Certainly Celery, Basic Black, Sahara Sand, Very Vanilla); paper piercer, template & mat; stamp (Wonderful Words); ink (basic black)
  • Cricut cartridge: Pagoda (branch cut at 2.5″, flowers at 2.5″ and “spring” mat at 5″
  • Tatter Angels (Glimmer Mist in Cherub Pink)

Tip: to get the flowers colored with glimmer mist, cut them out of Very Vanilla. While they are still on your cricut mat, protect your mat with scratch paper and then spray them with glimmer mist while they are still in place. Allow to dry while you complete the other steps of the project.

Inspiration lingers

I have been reading Creating Keepsakes magazine for years now. I started by reading back issues from the library and when those ran out I broke down and got my own subscription. This magazines, other magazines and blogs are filled with inspiration. Sometimes I find I am spending more time reading than scrapping. But all that time is not wasted. Ideas are being logged by my brain, sometimes without my even knowing it. For example I just created this layout.

Popcorn Layout

I had fun cutting out cardstock in the vague shape of popcorn for the background, inking edges to mimic butter and adding a fun title. Now here is where the lingering inspiration comes in.

I created the title using Liquid Applique by Marvy. This is a glue like substance that you smear over your project, in this case letters I had cut out with my Cricut (Opposites Attract cartridge). Let the applique dry over night and then heat with a heat gun. The product then gets puffy and, well, popcorn like!

Puffy title created with Liquid Applique by Marvy.

I was pretty excited that I had come up with my very own technique! Well, the more I thought about it, the more I became sure that I had seen something almost exactly like this in a Creating Keepsakes issue. So it wasn’t an original idea, but it turned out to be a good idea!

If you ever feel like you are “wasting time” reading about your hobby more than doing your hobby, don’t worry! All that data is going into your brain, swirling around, combining with other ideas and it will eventually come out somewhere in your work. So you have my permission to pick up a magazine and go read.