Join me all month of advent as I open each day of the Spellbinders Crafty Advent Calendar. Some days I will create a project and some days I’ll just show off the goodies. No matter what, I know I will use each and every product at least once this month. So much fun awaits!
If you missed days 1-7, be sure to go back and check them out. For now, let’s dive into day 8. If after seeing all the goodness you’d like to grab one of these calendars, they are on discount right now (as of 12/11/24) over at ACherryOnTop.com**.
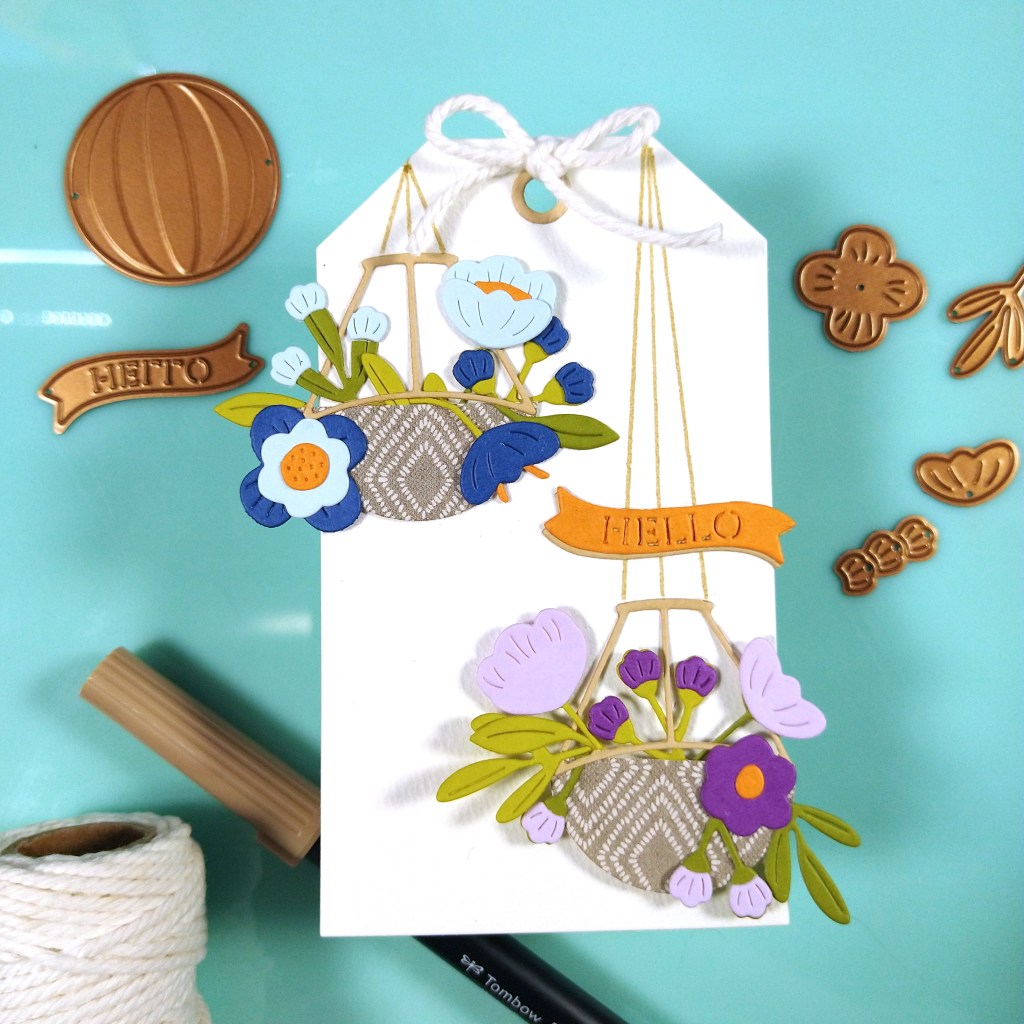
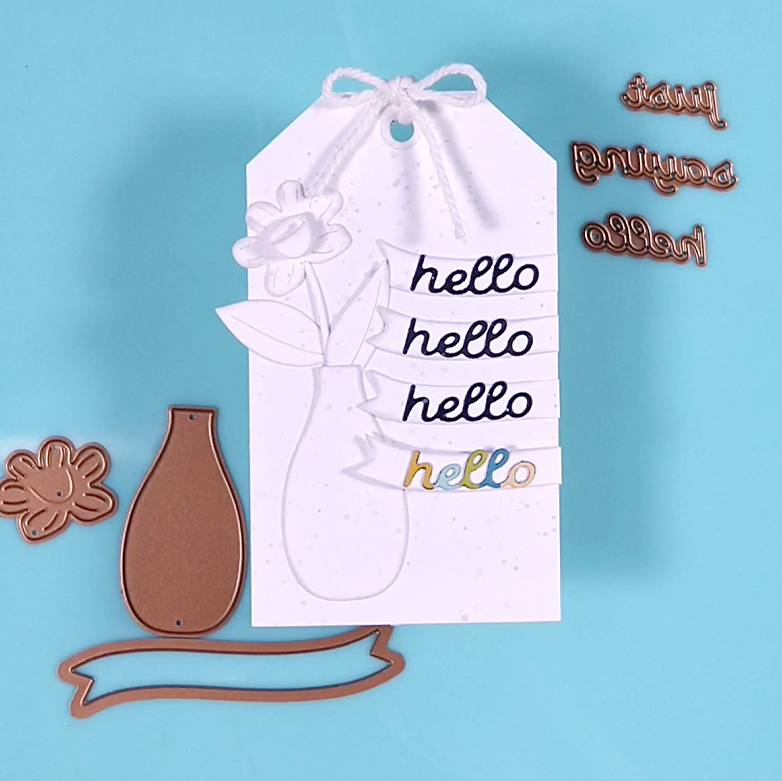
Day 8: Vase & Flowers
While I loved this vase, I knew everyone out there would make a vase with flowers in it. I definitely like to show other ways to use supplies. So today I used the vase as a rainbow background for a cluster of flowers.

Day 9: Sequins
Today we got the sequins I knew would come at some point. Each year Spellbinders has included 2 packs of sequins. I really like this style of sequin as it has no hole and that makes gluing them down so much easier! While most people would make a shaker that doesn’t require glue, I made a disco ball instead.

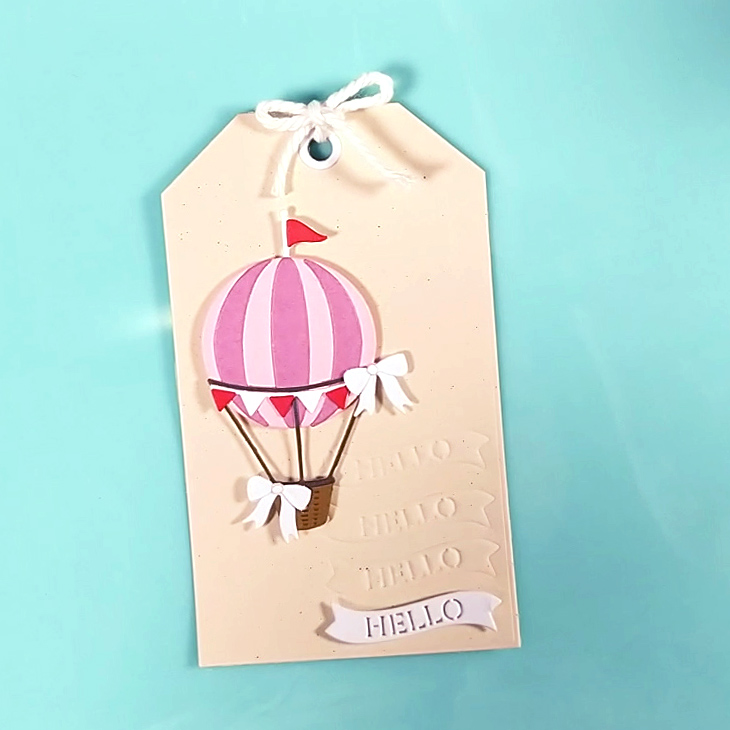
Day 10: Sentiment Die set
Today’s three sentiment dies read “just saying hello” when stacked together. However, you can always split them up into different word groups.
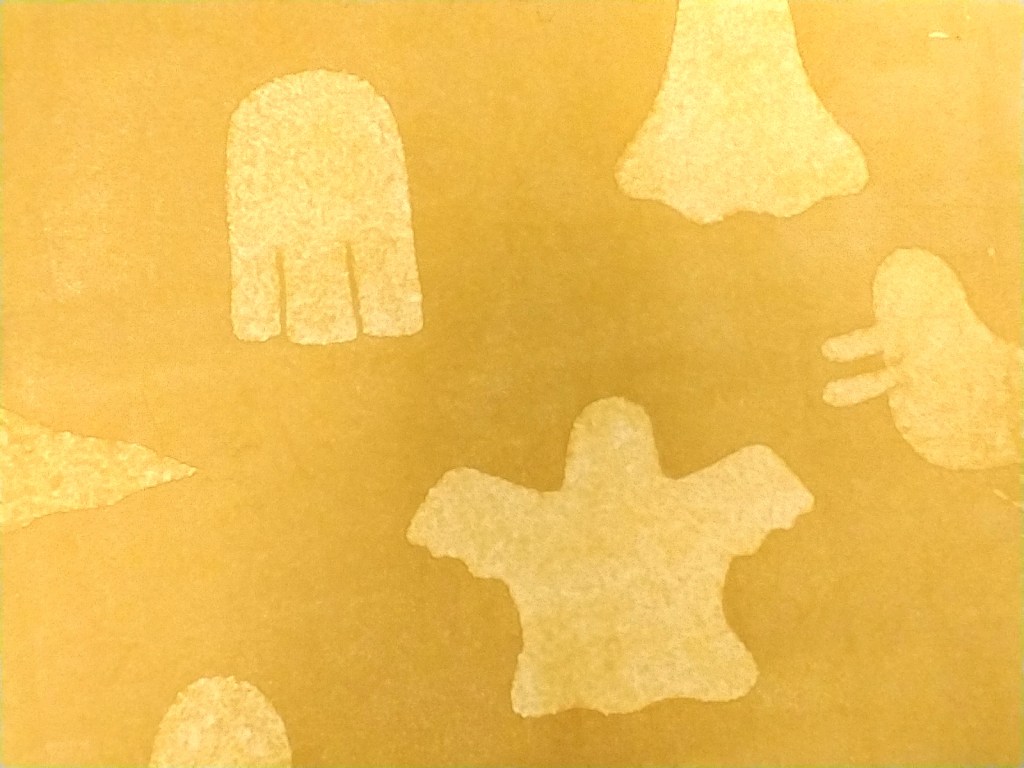
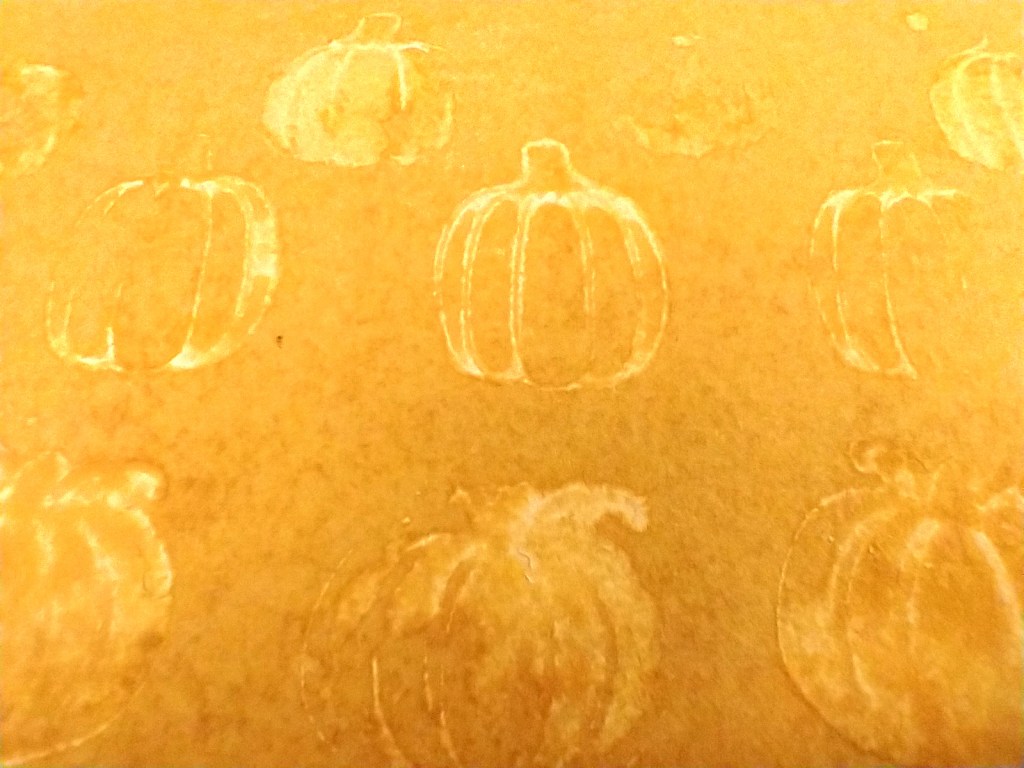
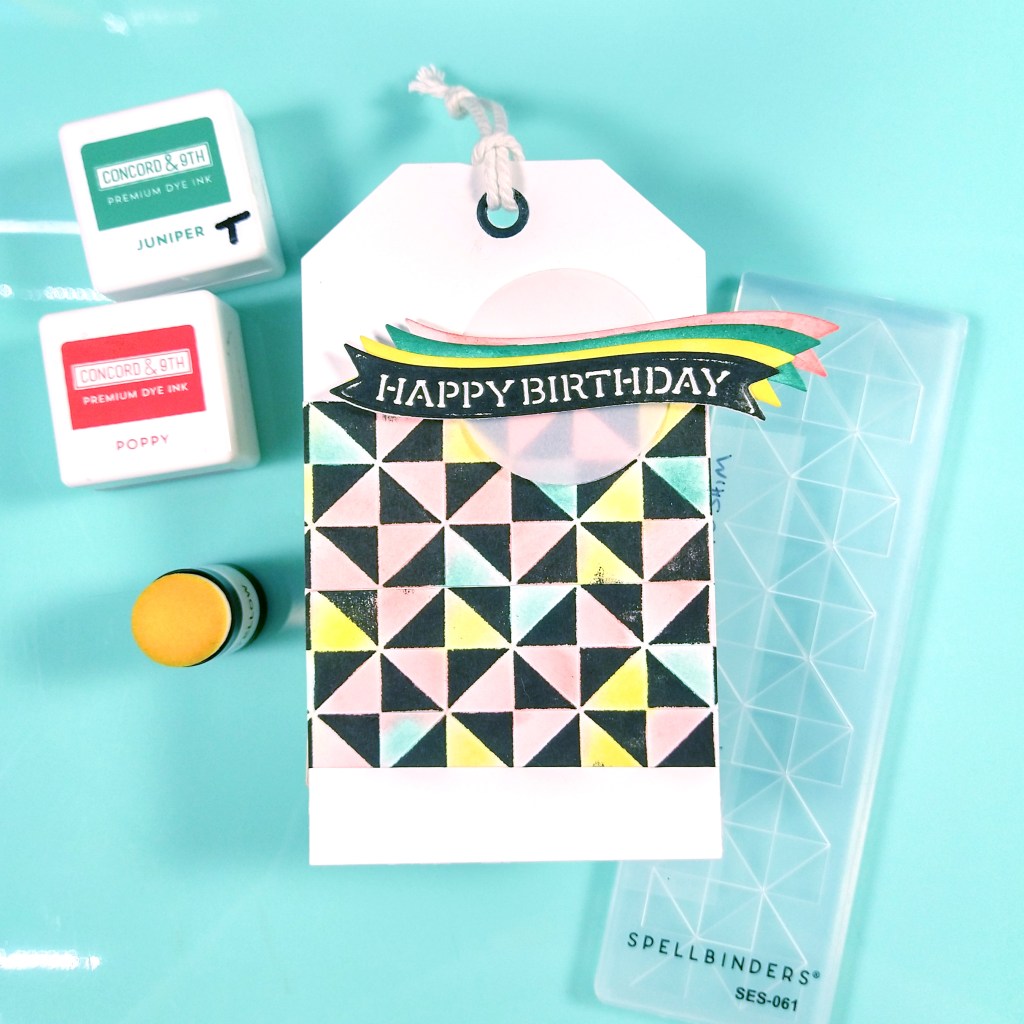
Day 11: Embossing Folder
Yes! We got an embossing folder in our advent box. It is a small one, but a mighty one. I enjoyed using an inking technique for this one that I learned from Jennifer McGuire.
Day 12: Lemonade Glass
Unfortunately my camera’s exposure settings were off and my video & graphics are a bit blown out. I’ve tried to correct it as best as I can. You’ll have to trust me that this tag is more fun in person!


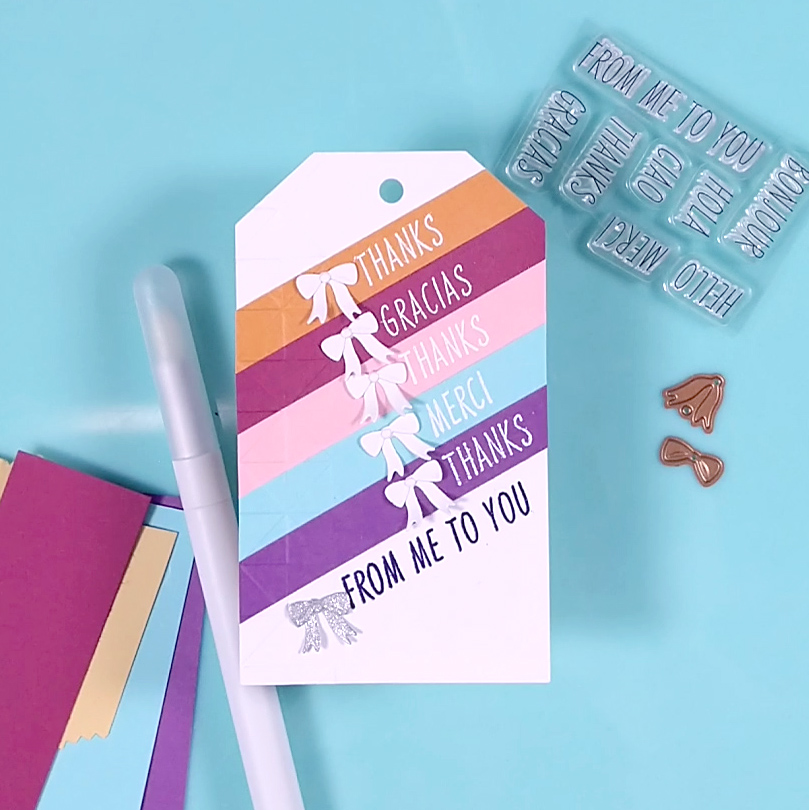
Day 13: Multi-lingual Sentiment Stamp Set
Finding ways to use sentiments so that they stand out as a featured item is a bit tricky for me. I’ve come back to my much used idea: repeat stamping.
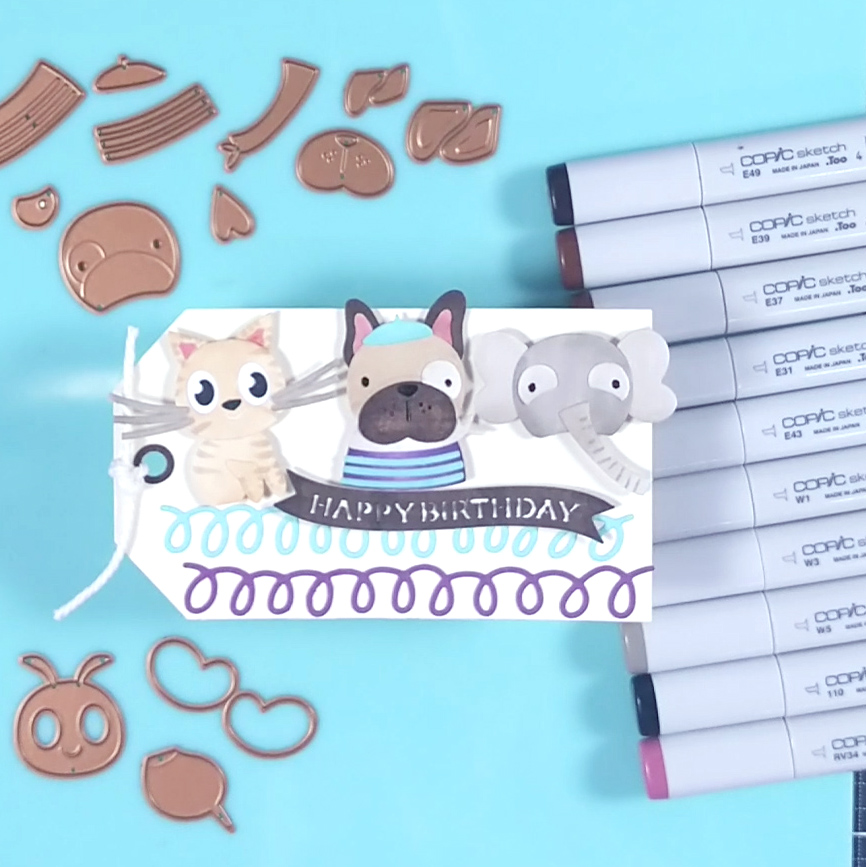
Day 14: French Bulldog
I was inspired on day 9 by Mostly Paper Crafts‘ YouTube channel. She turned the honey bee die we got on day 6 into an entirely different critter. I usually see different ideas in dies, but the bee did not click with me. That is, until I saw her video. Then… when we got today’s little bulldog a flood of ideas hit me. So here they all are, LOL. All these critters were made with a combo of the bee and/or the bulldog pieces.

To see the rest of this series, visit these pages.
Days: 1-7
Days 8-14 (you are here)
Days 15-21
Days 22-24