I love kit building and that is why I am on the design team for the Counterfeit Kit Challenge project. We take an inspiration kit each month and proceed to replicate it, or as we say, counterfeit it. This is a free, friendly group that helps inspire you to use up supplies you already own. We are not about needing to buy the latest and greatest thing (though we won’t stop you if you enjoy new crafty goodies😉 ).
I’d like to start by welcoming Laurie Crouse Winiarski as our guest designer for the month of October. She’ll be sharing her work over on the CKC Facebook group, so be sure to follow along over there.
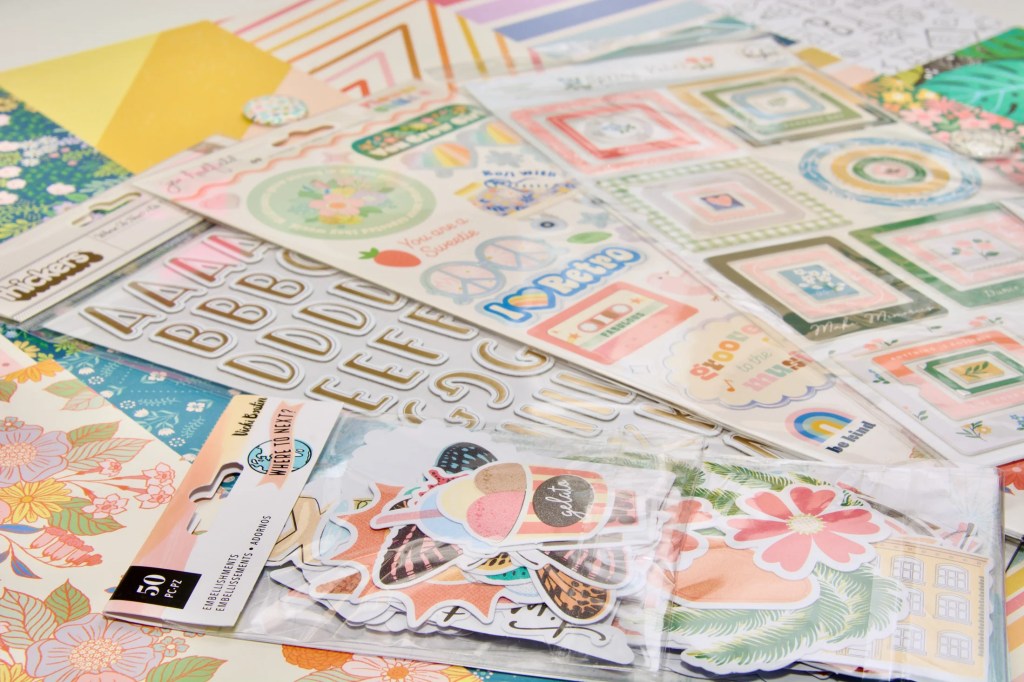
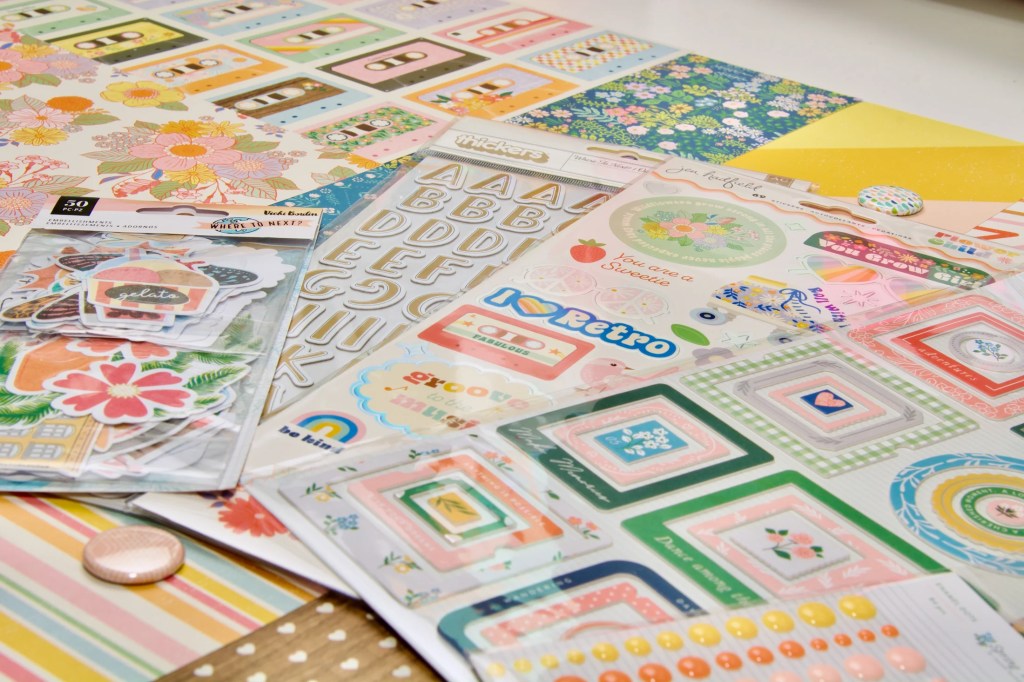
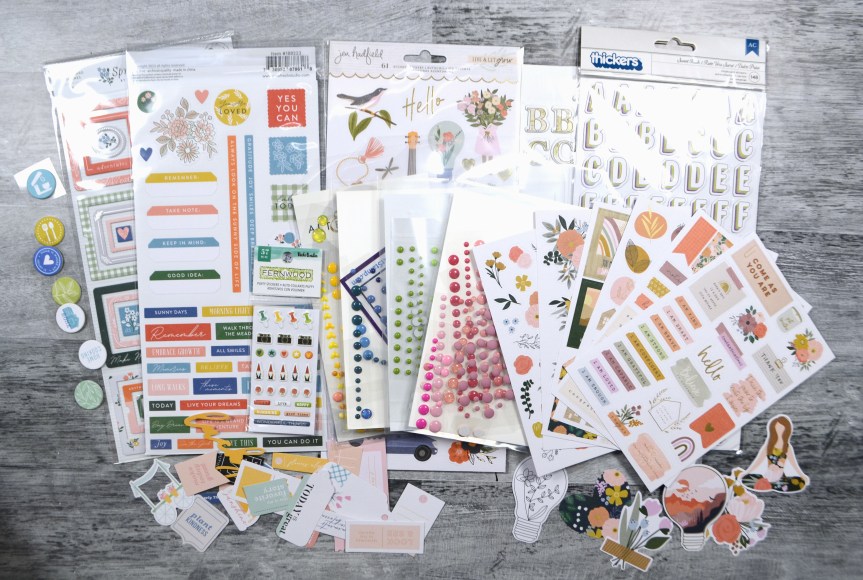
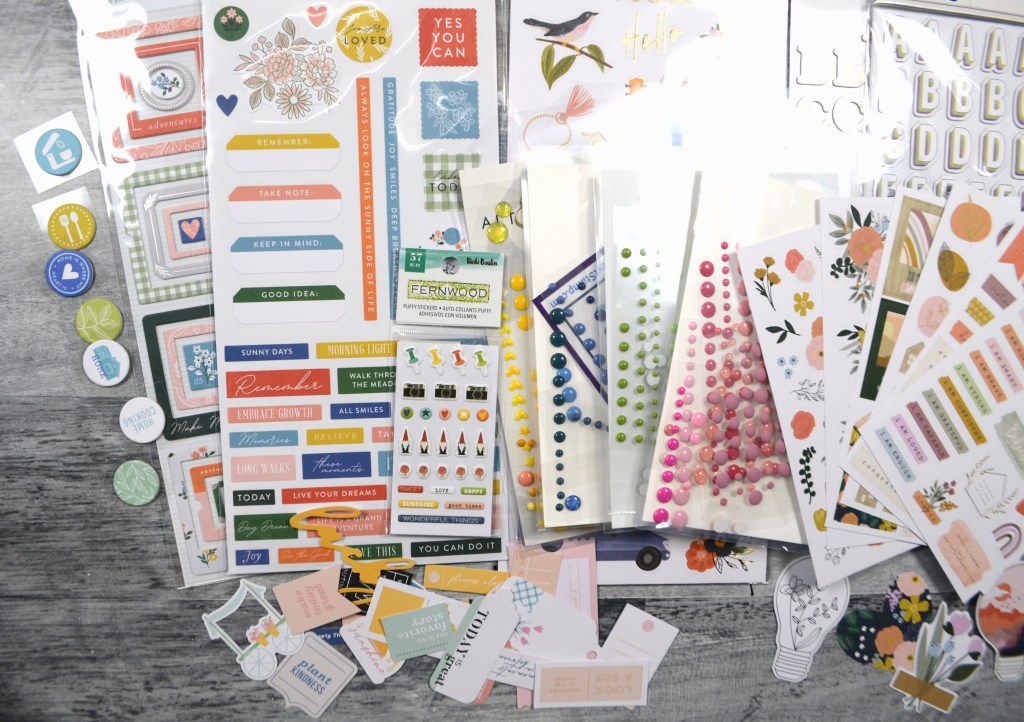
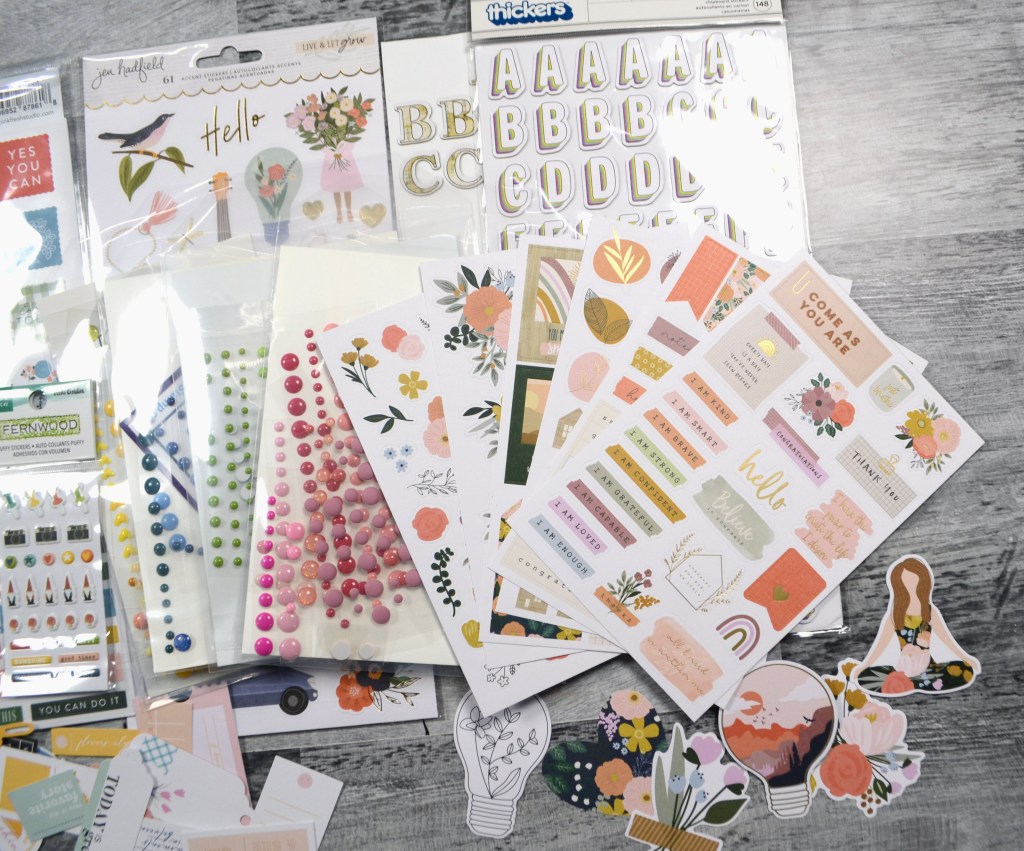
To start our kit this month, here is our inspiration kit. It is the October ’22 Limited Edition kit by My Creative Scrapbook. I don’t know much about their company. I do know that they have these simple compilation images of their previous kits. Finding more details is a bit challenging. However, our CKC team hostess this month, Leslie, was able to get us a breakdown of kit contents. She also linked us up to CityScrapper’s YouTube channel where she unboxes the entirety of this kit, if you want all the details. Below this overview photo is a sample of some of the papers and products, but not the entirely of the collection.
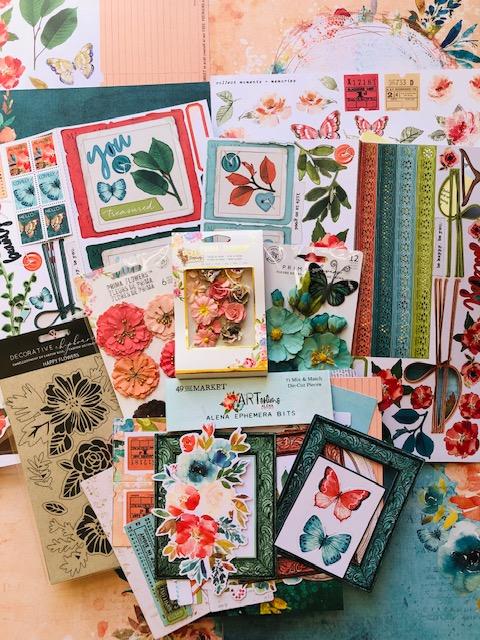
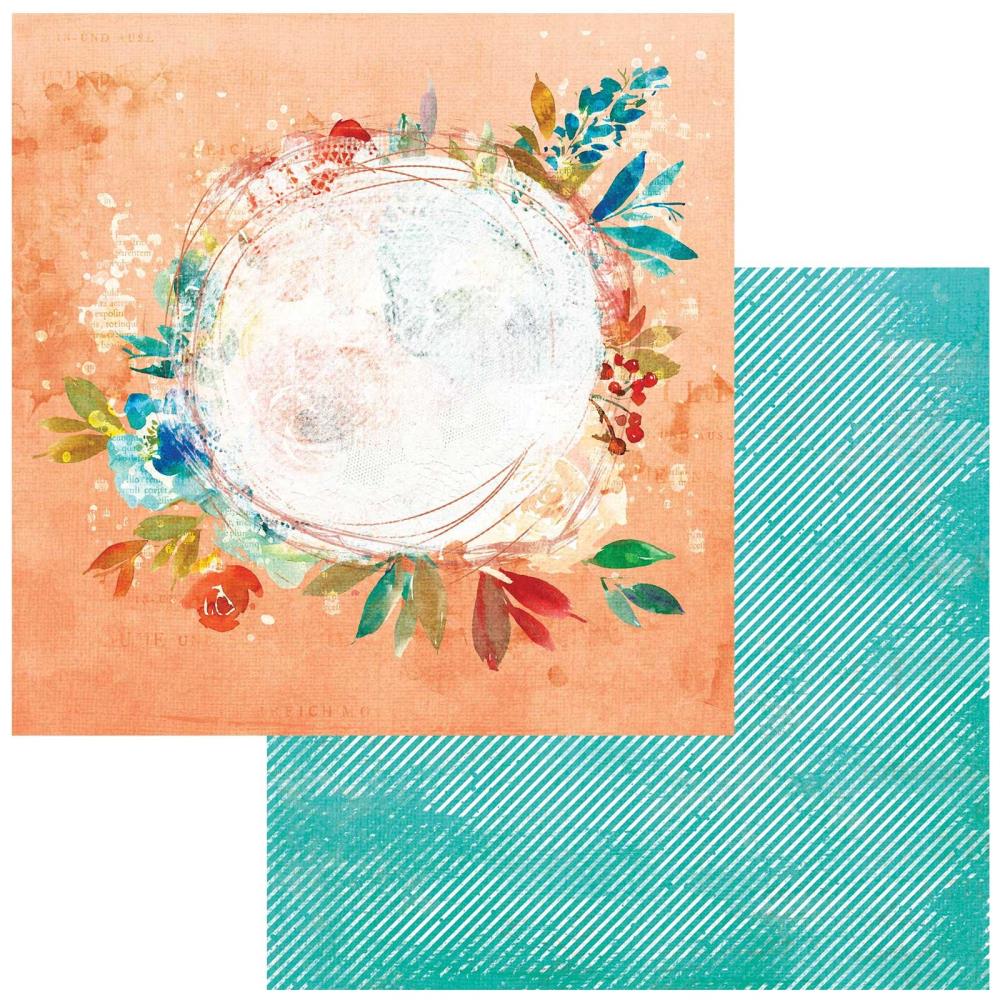
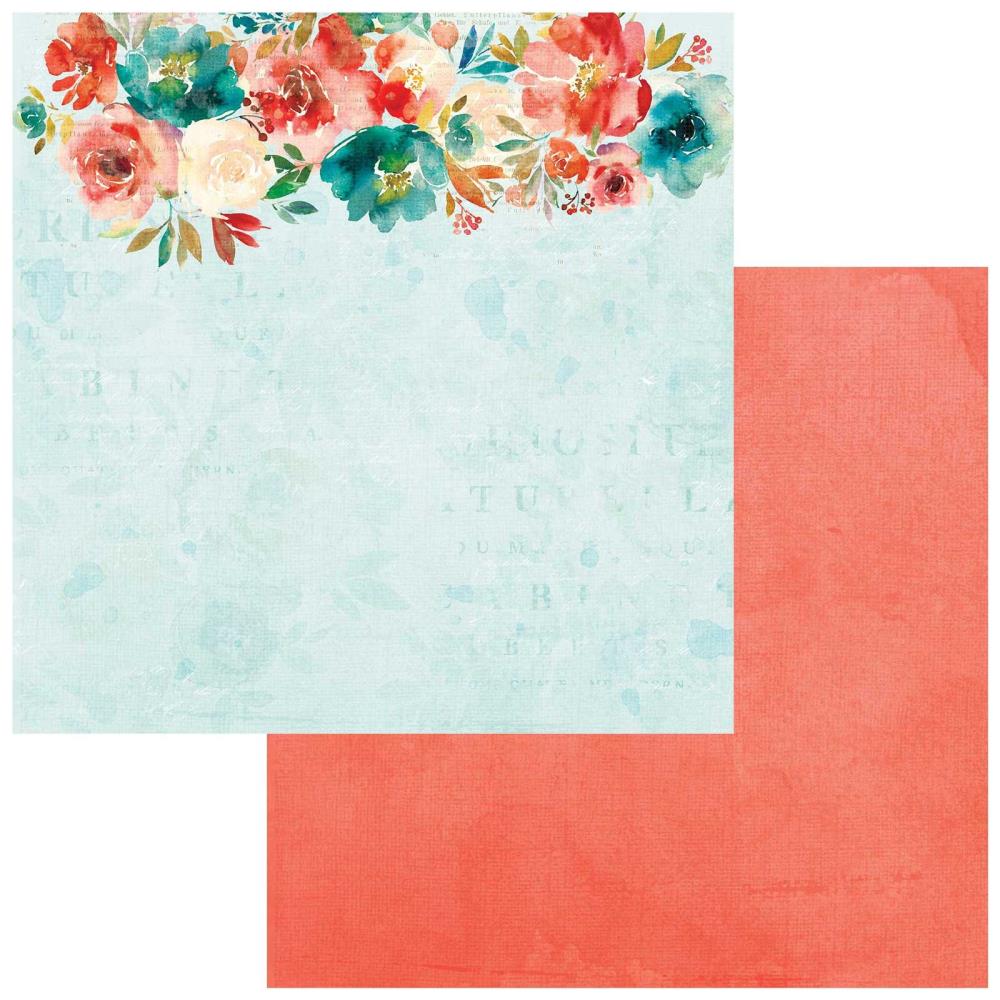
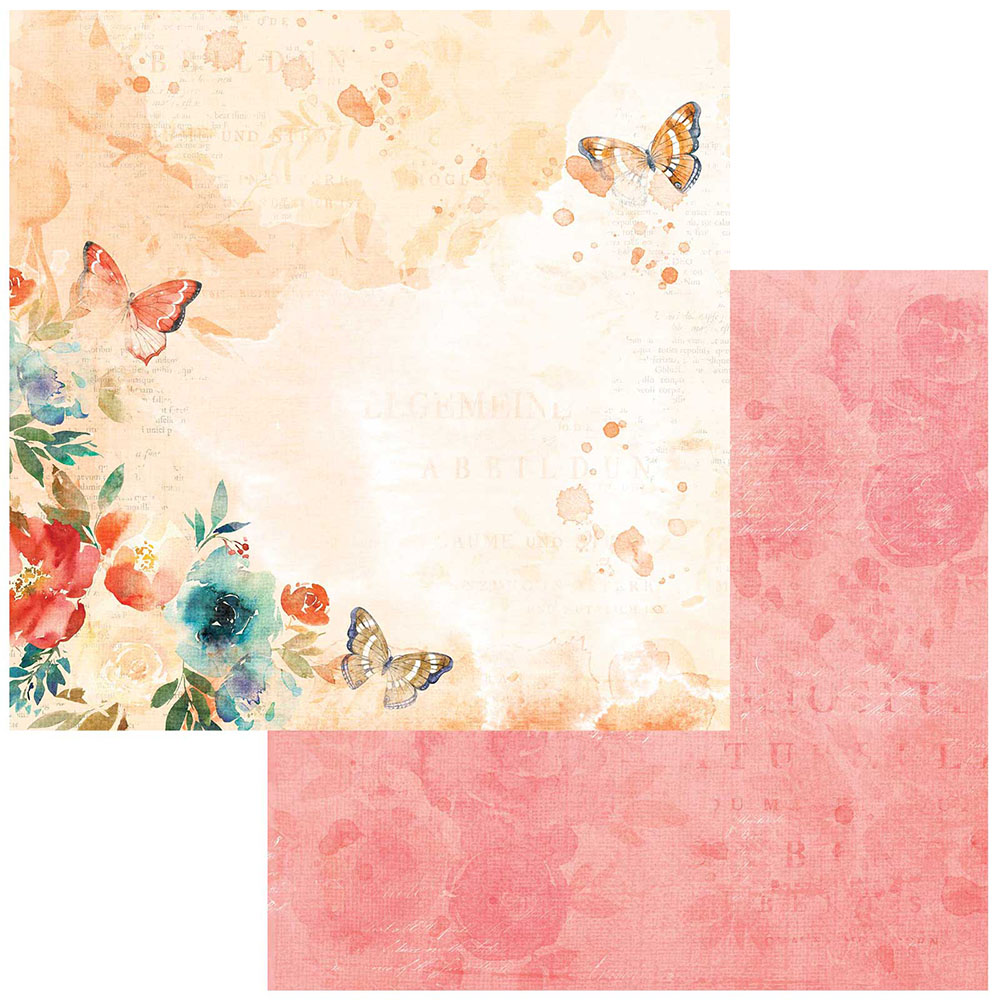

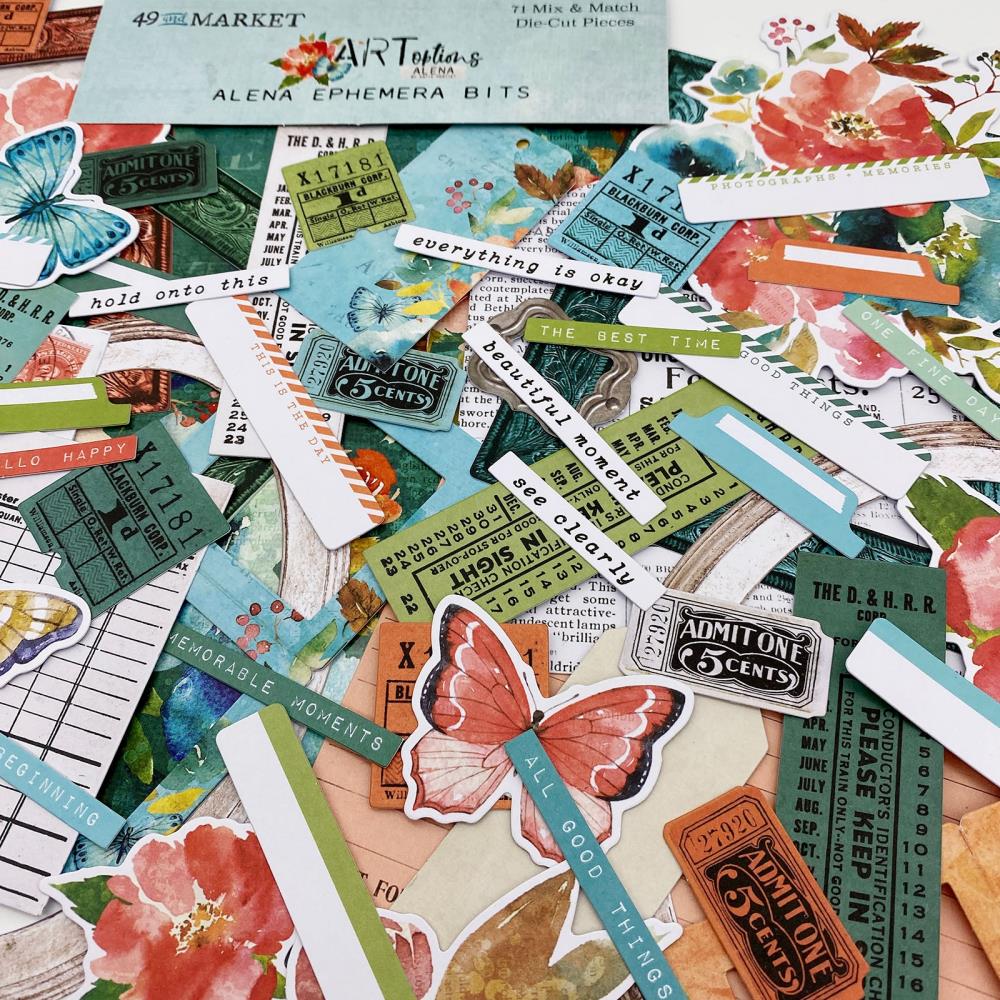

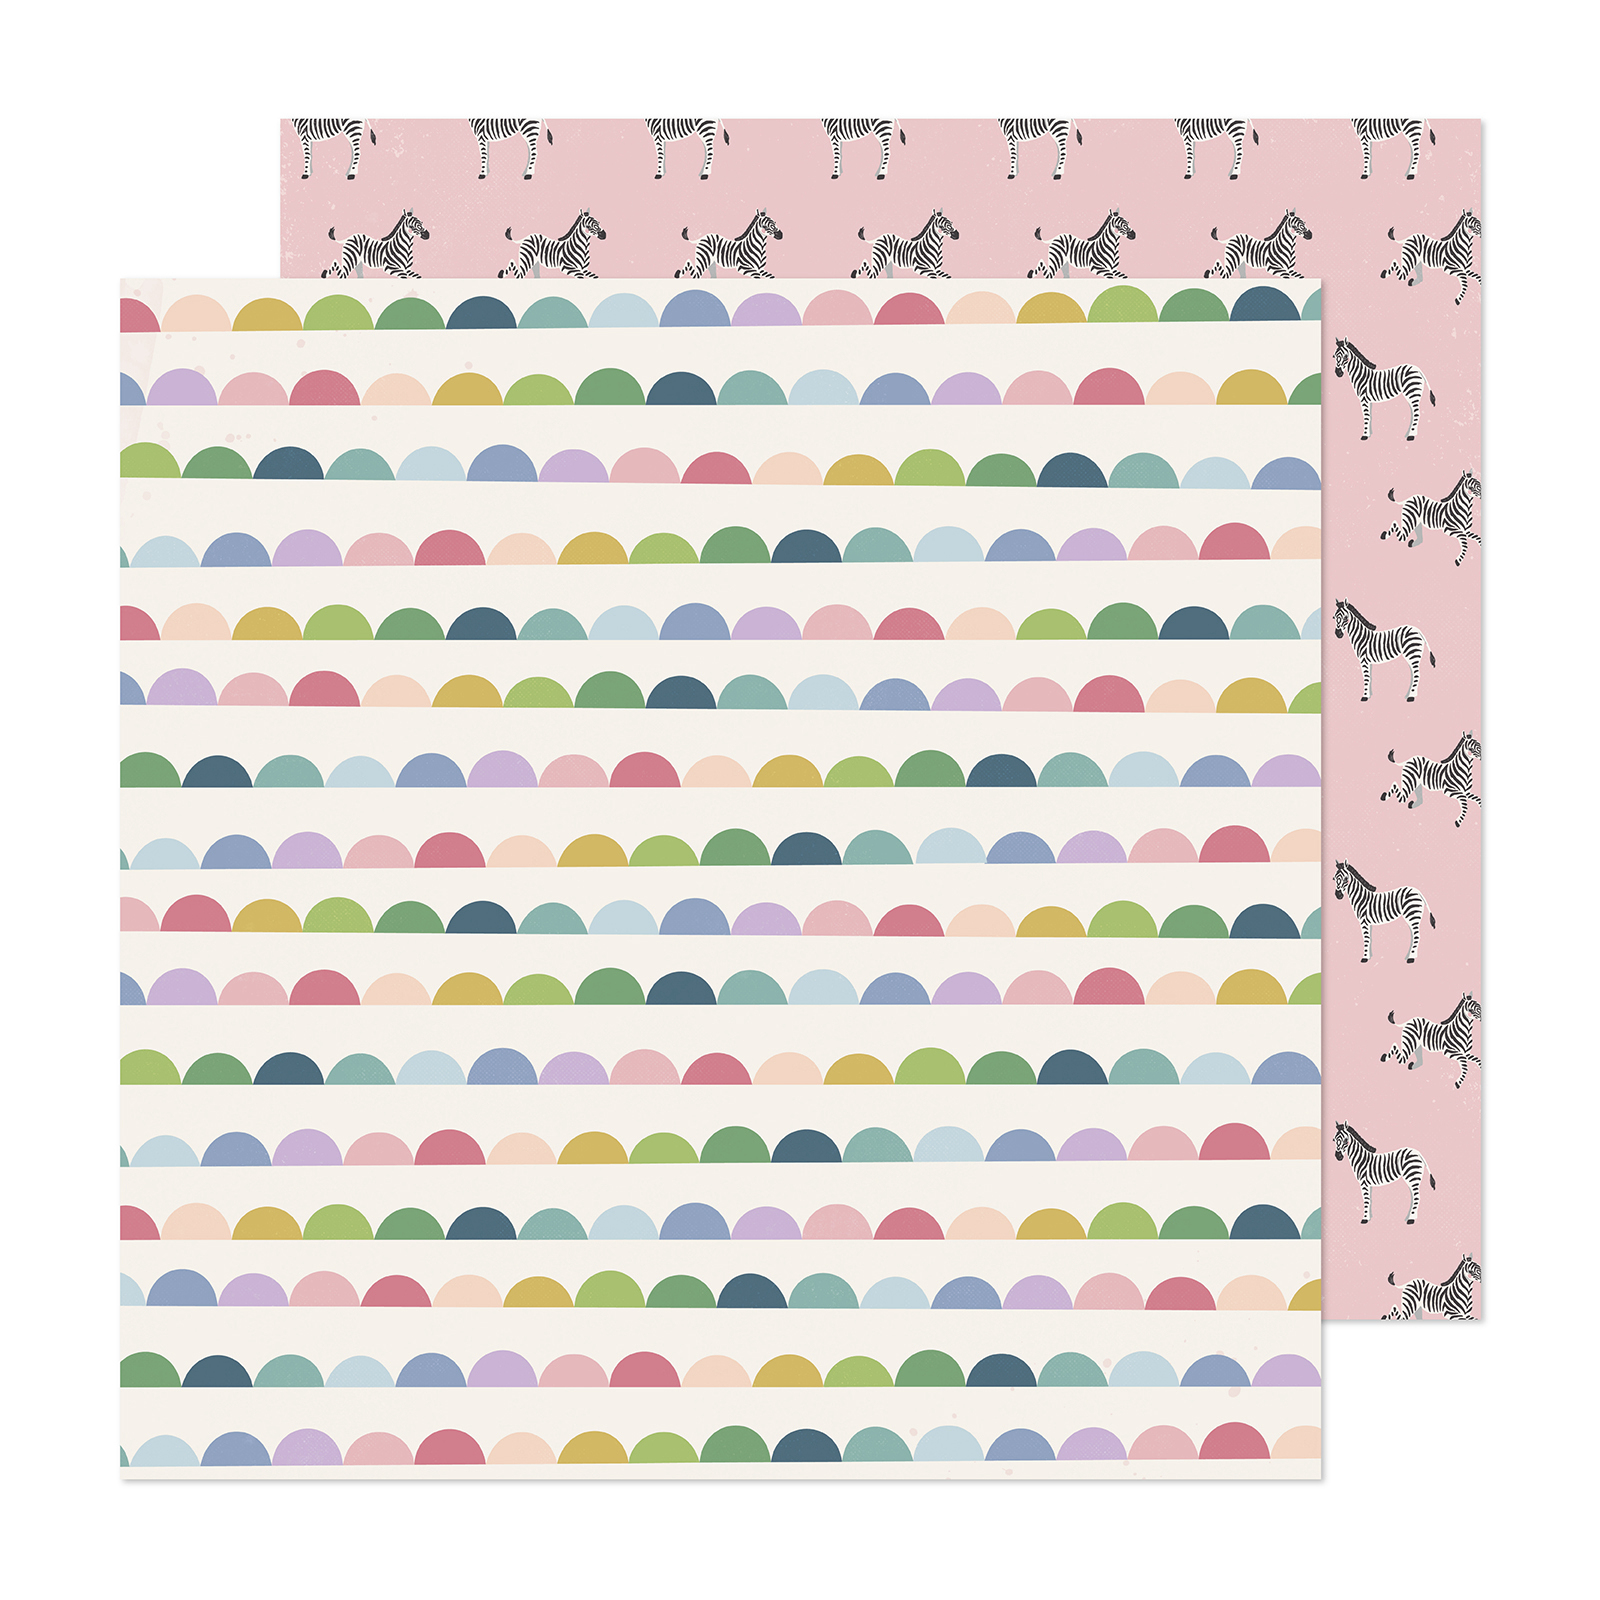
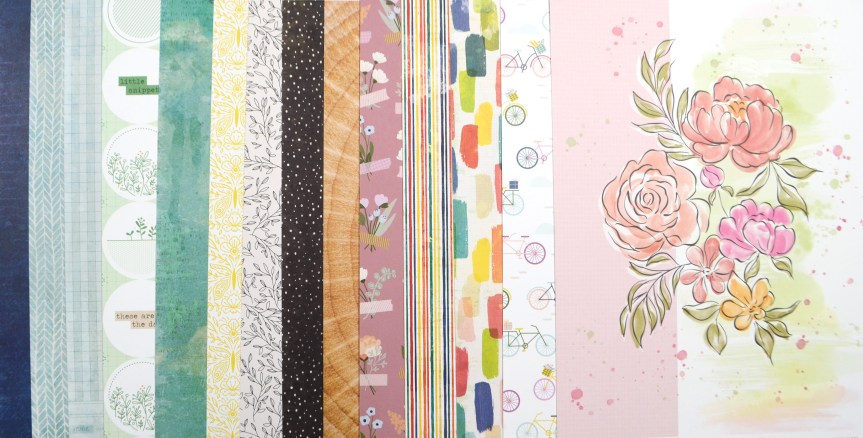
This kit was LOADED up with 49 & Market papers and embellishments. I honestly was feeling a bit overwhelmed by the amount of florals in this collections and I really wasn’t sure where I was going to go with my kit. I thought I would just take inspiration from the mixed media painterly effect. However, the very first item I looked at in my stash was a floral that worked perfectly. Plus, it was a floral in an entire paper pad of florals. So, boom. Paper choice done. What will I do with all the florals? I’m not sure yet, but I know the b-sides will play a big role in my crafting this month.
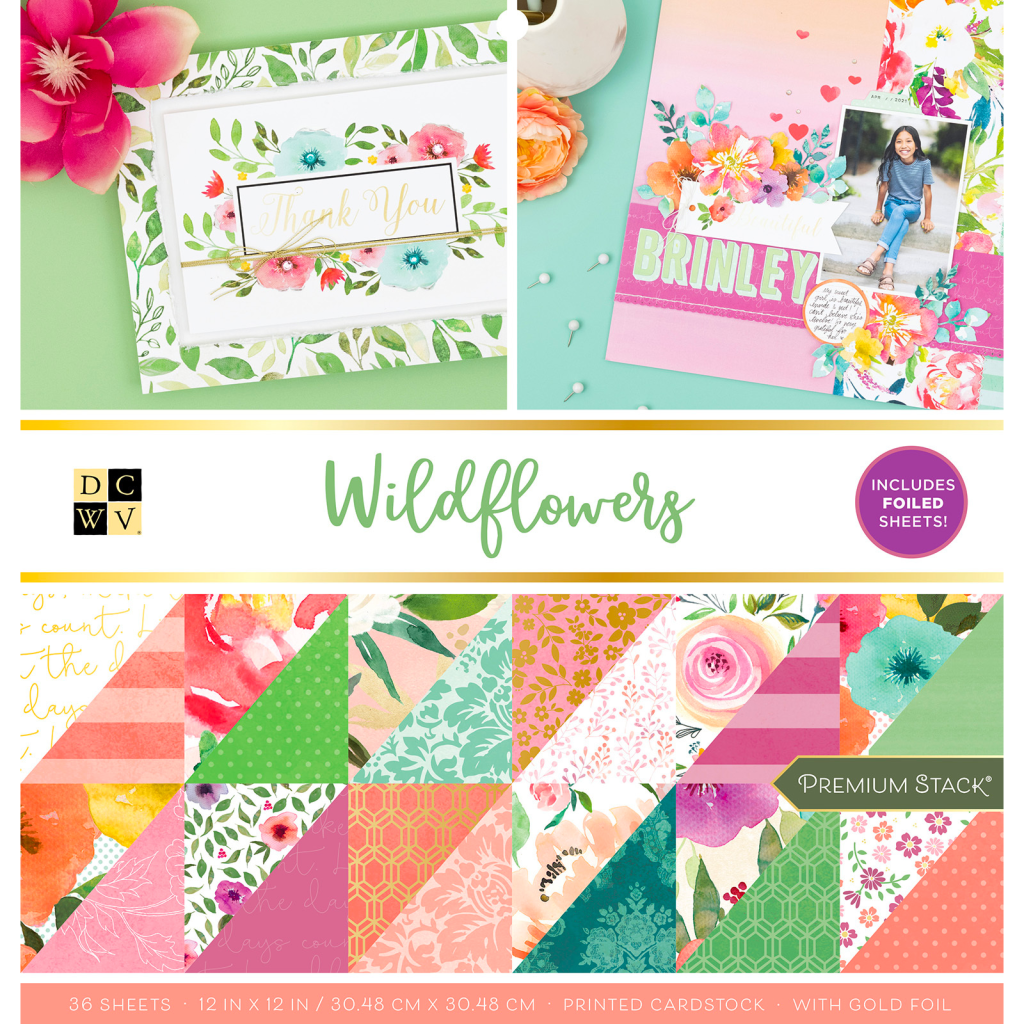
This is the DCWV Wildflowers pad and not only do the watercolor elements work with the 49 & Market inspiration, but the color palette is pretty good too..
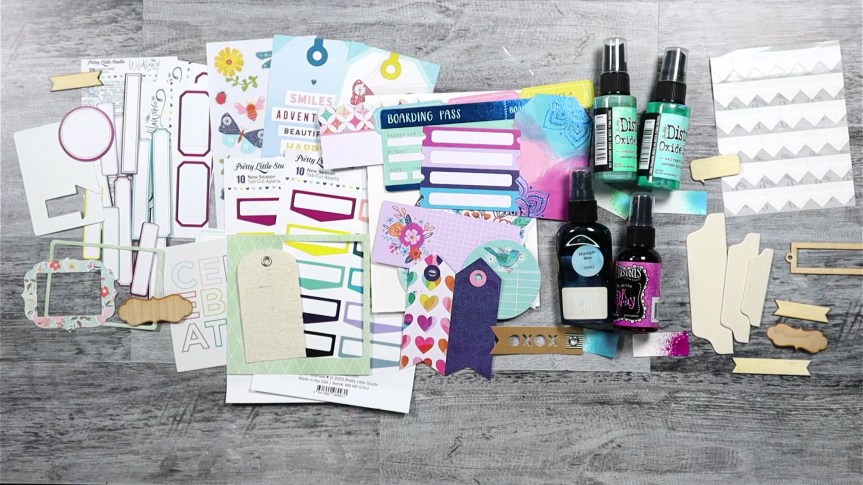
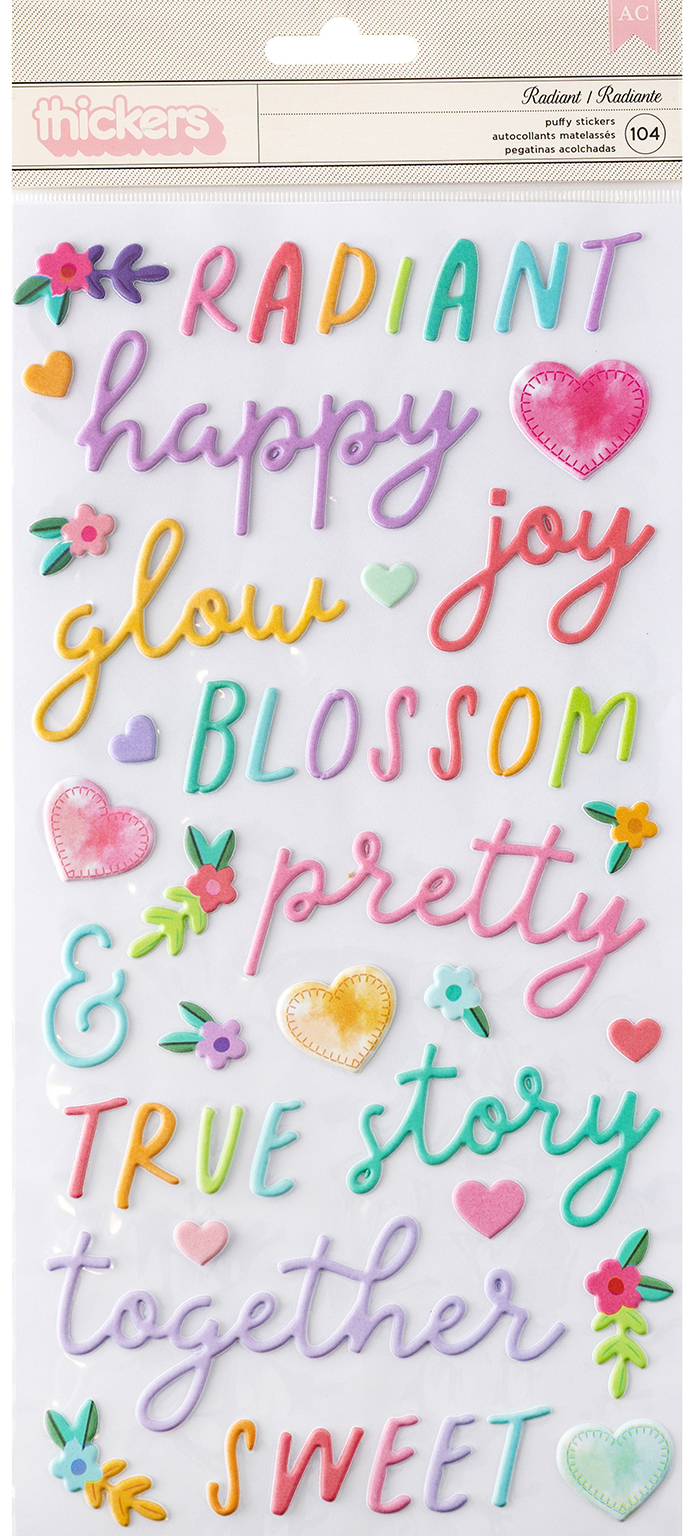
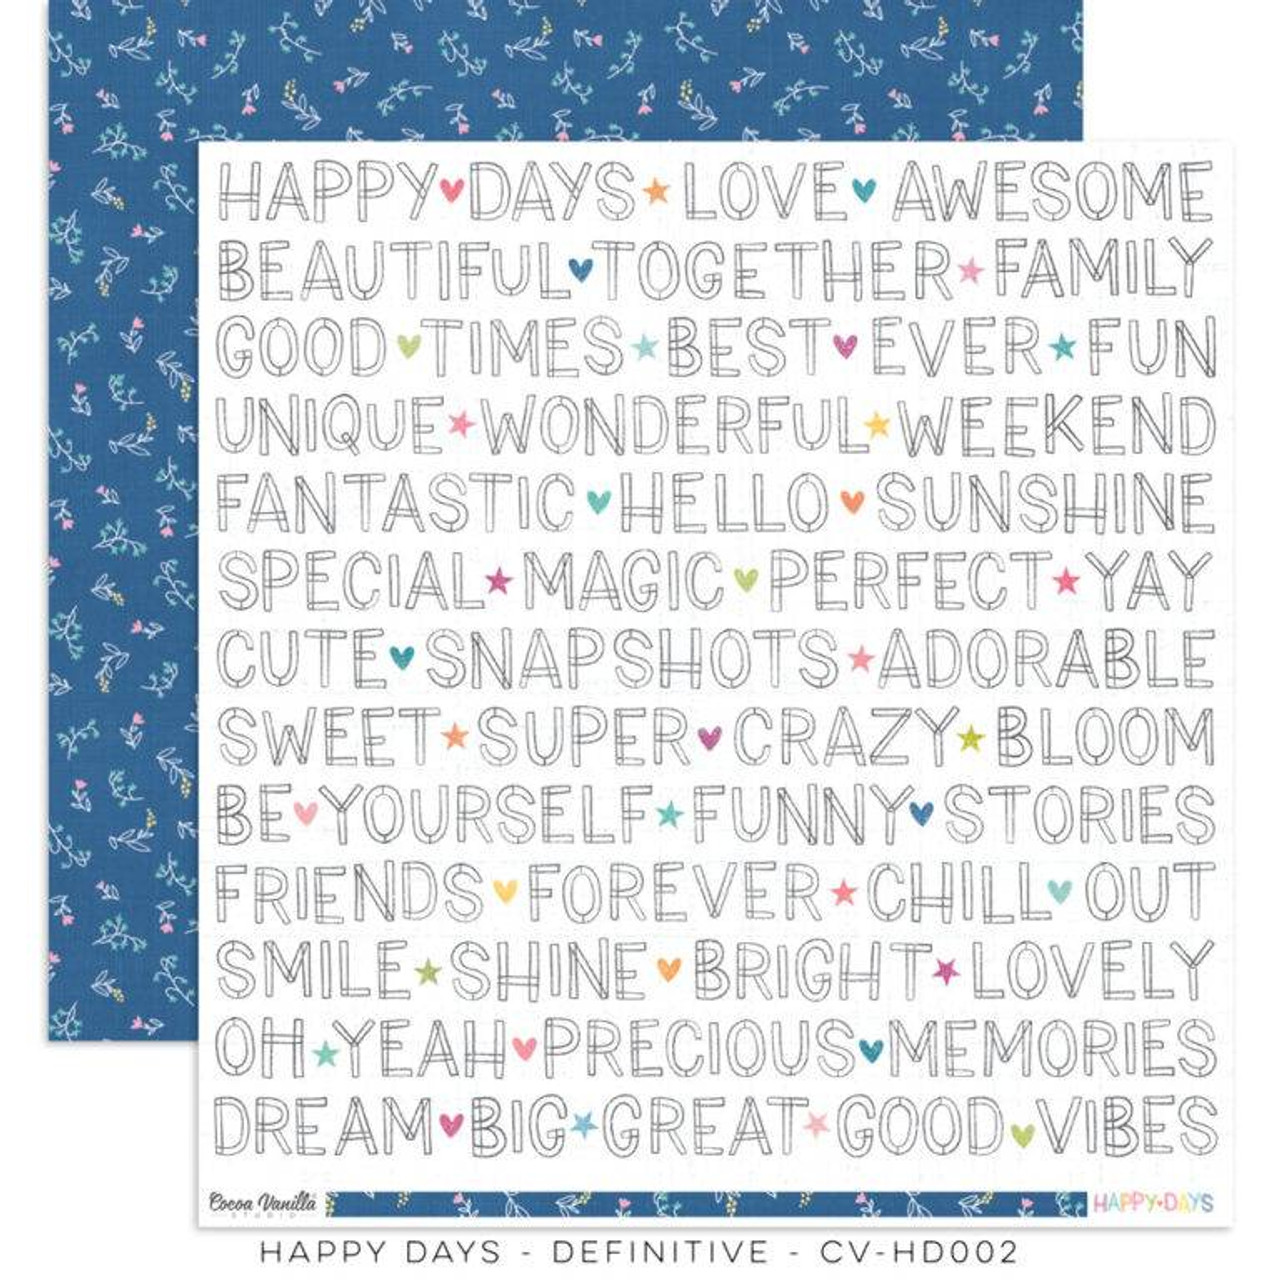
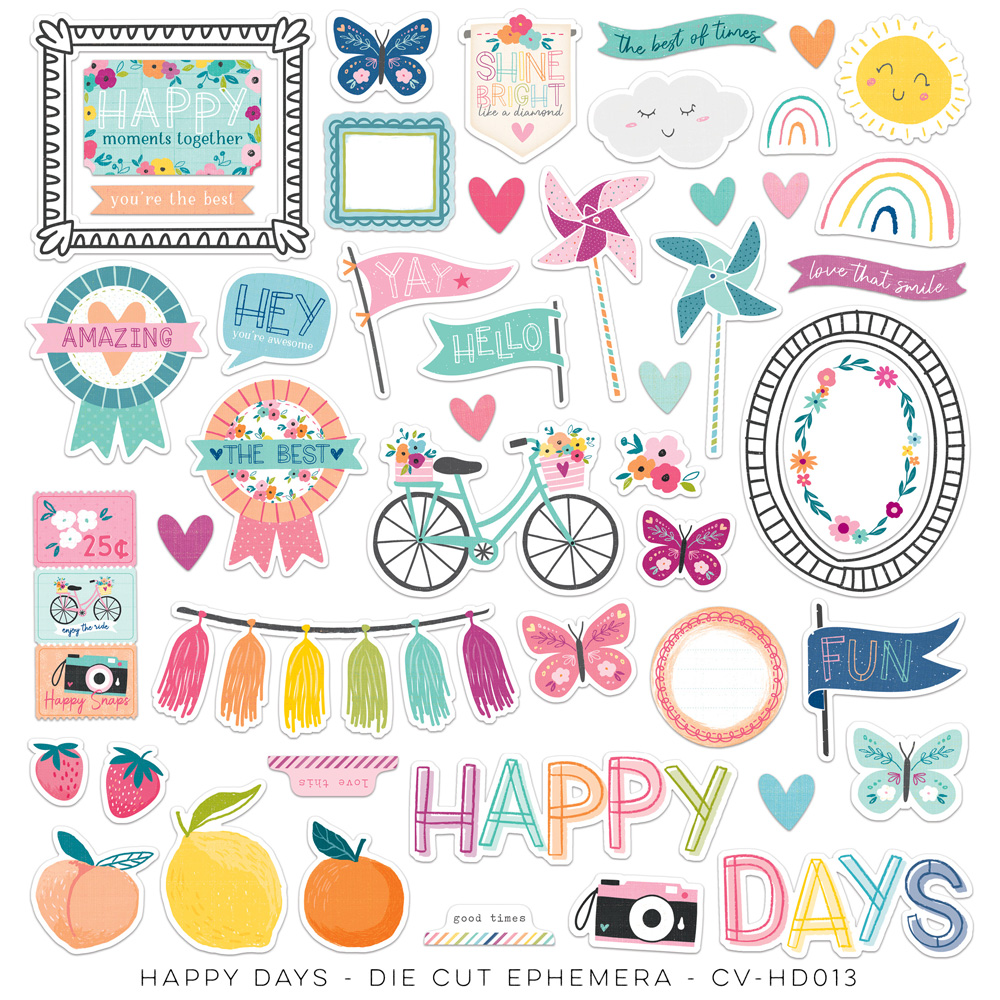
With that choice done, I grabbed just a few embellishments to add in. I wanted to keep things easy. I had a busy September, ending with a recently sick kiddo, and I’m moving into a mad October. So, yeah, easy is required.

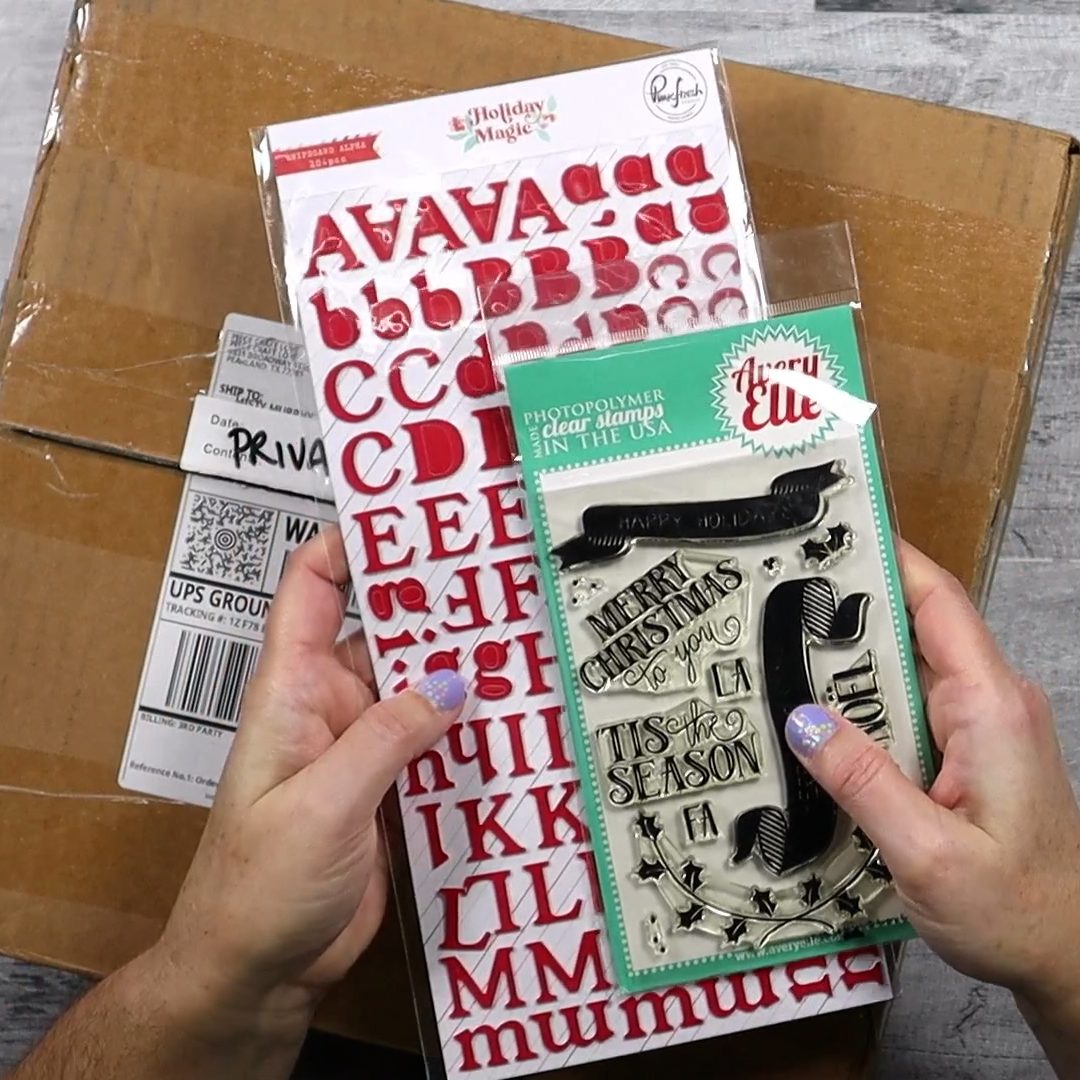
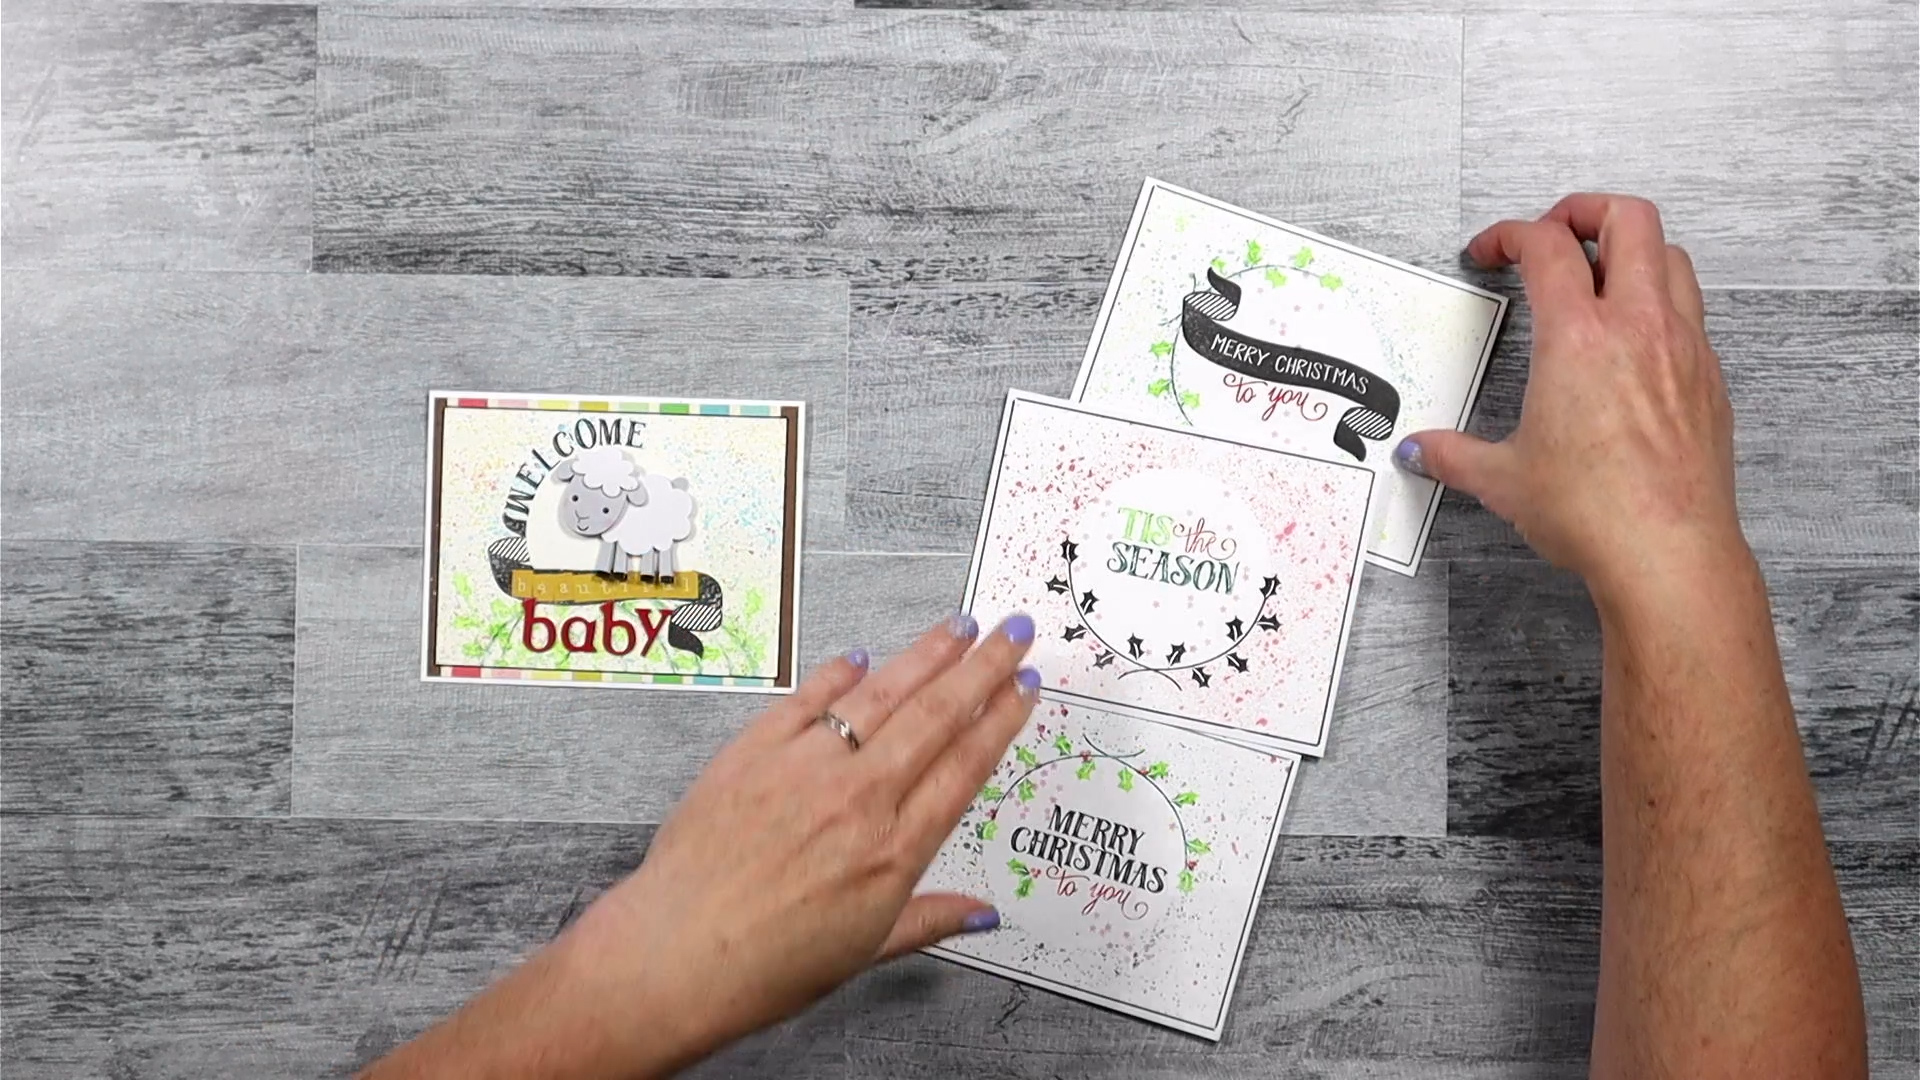
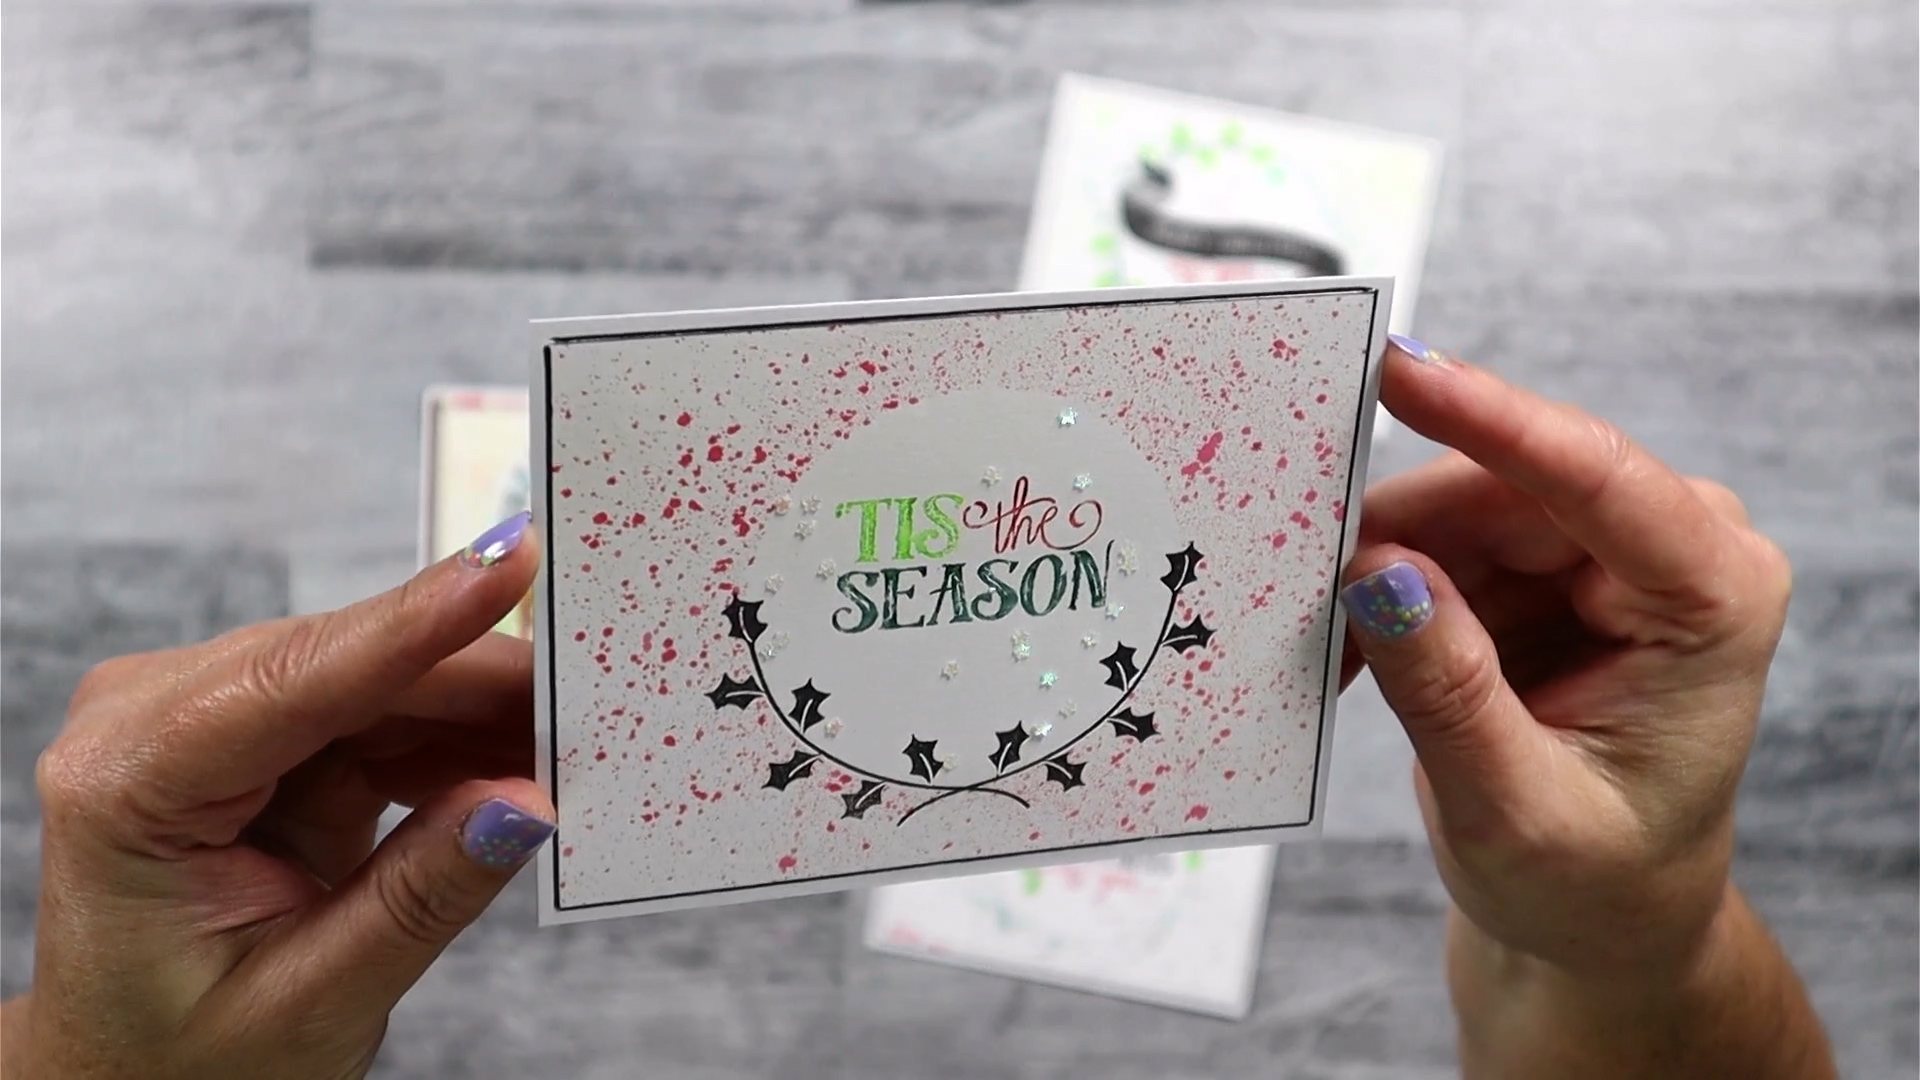
I added in kraft cardstock since there were some raw chipboard embellishments in the original kit (there is a peek of that in the overview picture). Dies will be used to create faux chipboard pieces. The embellishment pack was full of frames, florals, words strips, tabs and more. I narrowed that down to a floral die, a tab punch and some Tim Holtz word strips. I threw in a stamp set that will work well for some easy mixed media techniques, plus three stencils for more mixed media and I’m done. See, kitting does not have to be hard.
There is a tradition over at CKC of titling our kits just like companies do. So I’m calling mine Easy Peonies. (Okay this is my very bad attempt at making the Easy Peasey phrase floral related. Tell me, do you have a better one?? My tired brain isn’t figuring it out!)
If you want more details on my kit building thought process, check out my kit build video. But honestly this blog post really says most of my thinking already. 🤪
I hope you can follow along with the other designers and see how they interpreted their own kits.
Here’s the full hop link list
- Counterfeit Kit Challenge – http://counterfeitkitchallenge.blogspot.com/
- Guest Designer – Laurie Crouse Winiarski posting on the CKC Community Facebook group
- Brandi – https://www.instagram.com/scrappy.boymama/
- Christine – https://www.youtube.com/@ScrappingHarden
- Cindy – https://cindyscreations-cinmfoster.blogspot.com/
- Julene – http://julenebydesign.blogspot.com/
- Leslie – http://lcsmithsaved-outofthemire.blogspot.com
- Misty – YOU ARE HERE
- Tara – https://kryptonite72-rambles.blogspot.com/
- Tina – http://tinasscrapcorner.blogspot.com/
- Brandi – https://www.instagram.com/scrappy.boymama/
Have fun kit building and don’t forget to show off your stuff over on the CKC Facebook group, or tag us on Instagram @counterfeitkitchallenge or use #counterfeitkitchallenge.
Until next time, have an artful day.