
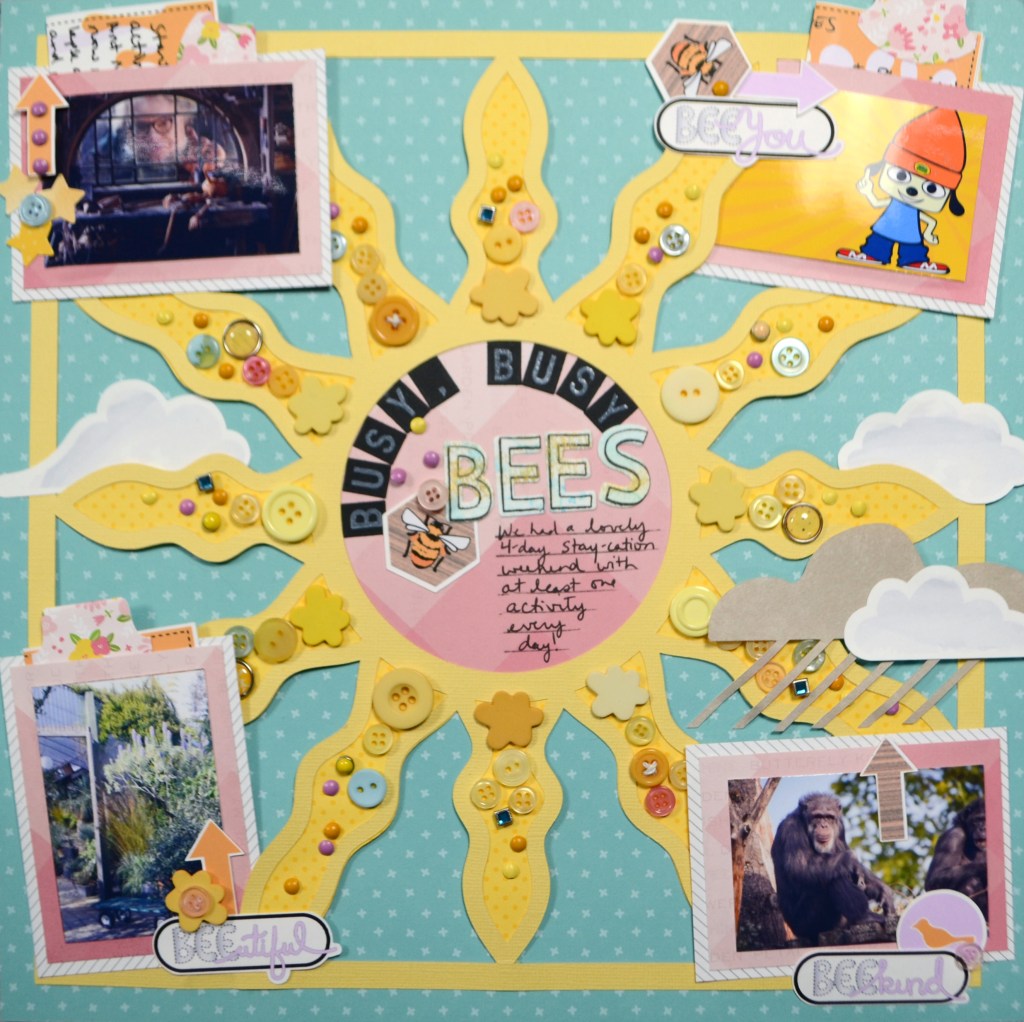
I love learning, creating and sharing. That is why I offer freebies up to you each month. I have both a layout sketch (in printable pdf as well as editable photoshop) and an electronic cut file (in svg) for your electronic die cut machines.
Here is some further exciting news… new for 2023 are PRINTABLES.!! You can print them at home, cut apart the embellishments and use them to create your projects. This month I was inspired by the upcoming Mother’s Day holiday here in the US. You can see all the details in my reveal video, or read on for the short version.
My apologies for posting these freebies from June here now in mid August. The process for this month was riddled with complications from my own lack of skills to accomplish certain things, to software oddities that I just couldn’t problem solve. Yet, with all of the slow downs, here we are with a new set of Freebies. Whew. I am glad to get this out to you finally! I hope you enjoy them.
I have also simplified my upload process by combining each category into a single downloadable folder. You’ll have several file types to choose from, so you’ll need to know which will work for you. If you have any questions on this, please reach out to me in the Contact tab!
Now if you want all the info in one place, please do watch the video. Otherwise, all the images and downloads are listed below.
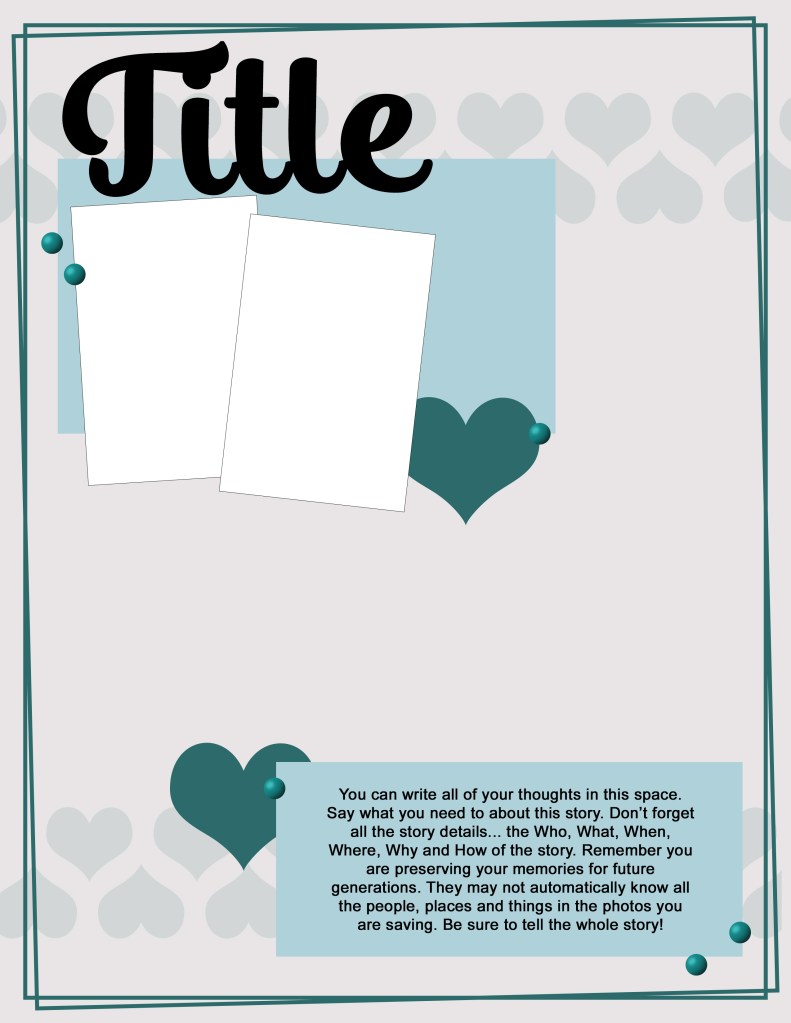
Sketch
Once upon a time I started my freebie creation life by offering sketches. And I continue to offer them to this day, so let’s start here.

JULY 2023
- Download
- files types include:
pdf, psd, jpg - Released July/Aug ’23
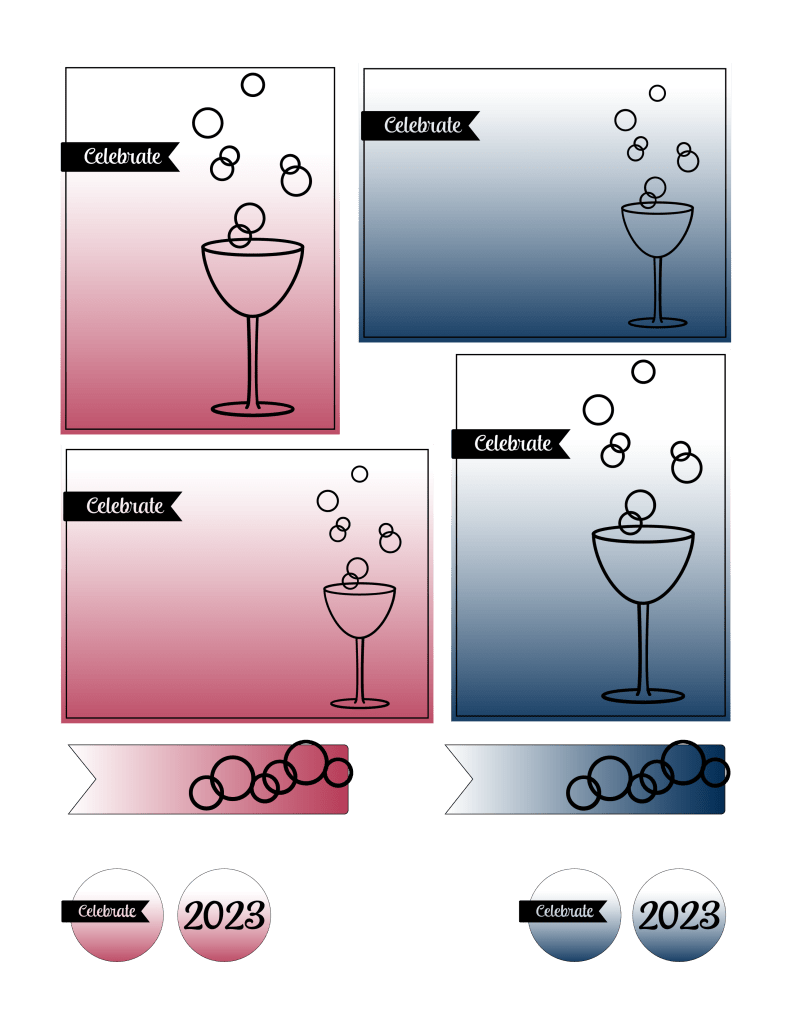
Cut File
If you are a cut file lover, I’ve got you covered! My video covers any details for this file and any tips and tricks I have to share. Be sure to get all the info by watching above.

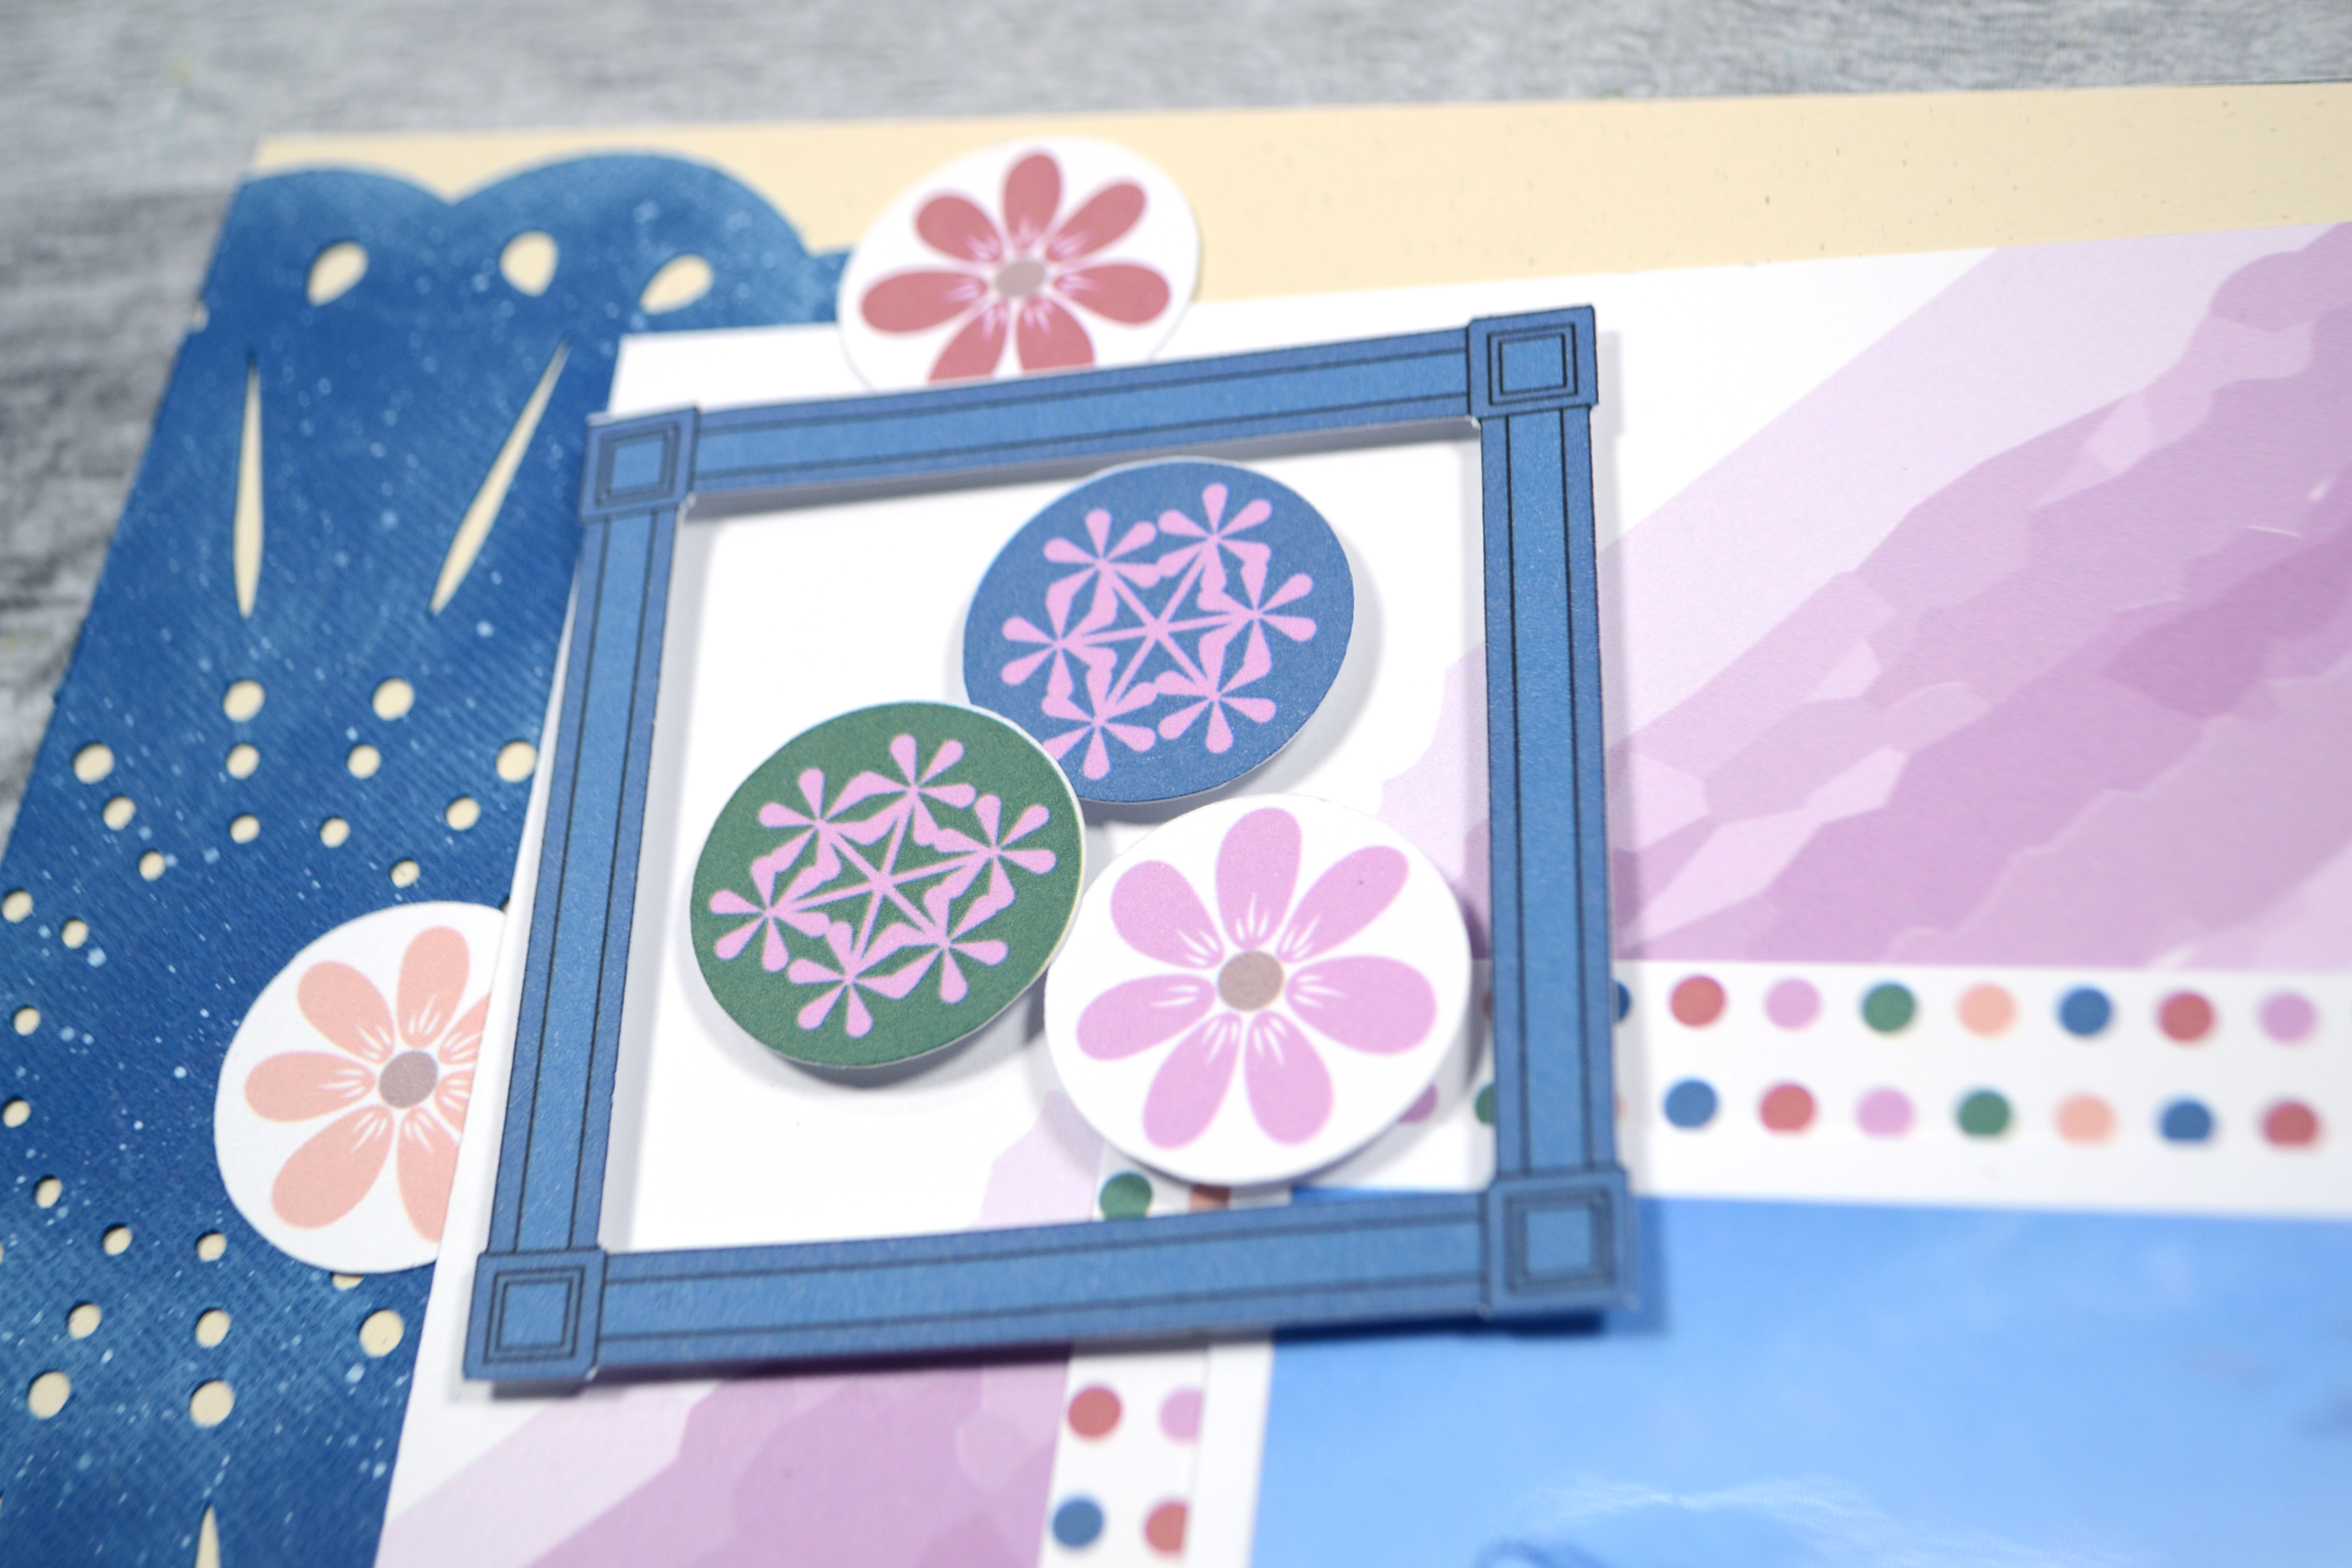
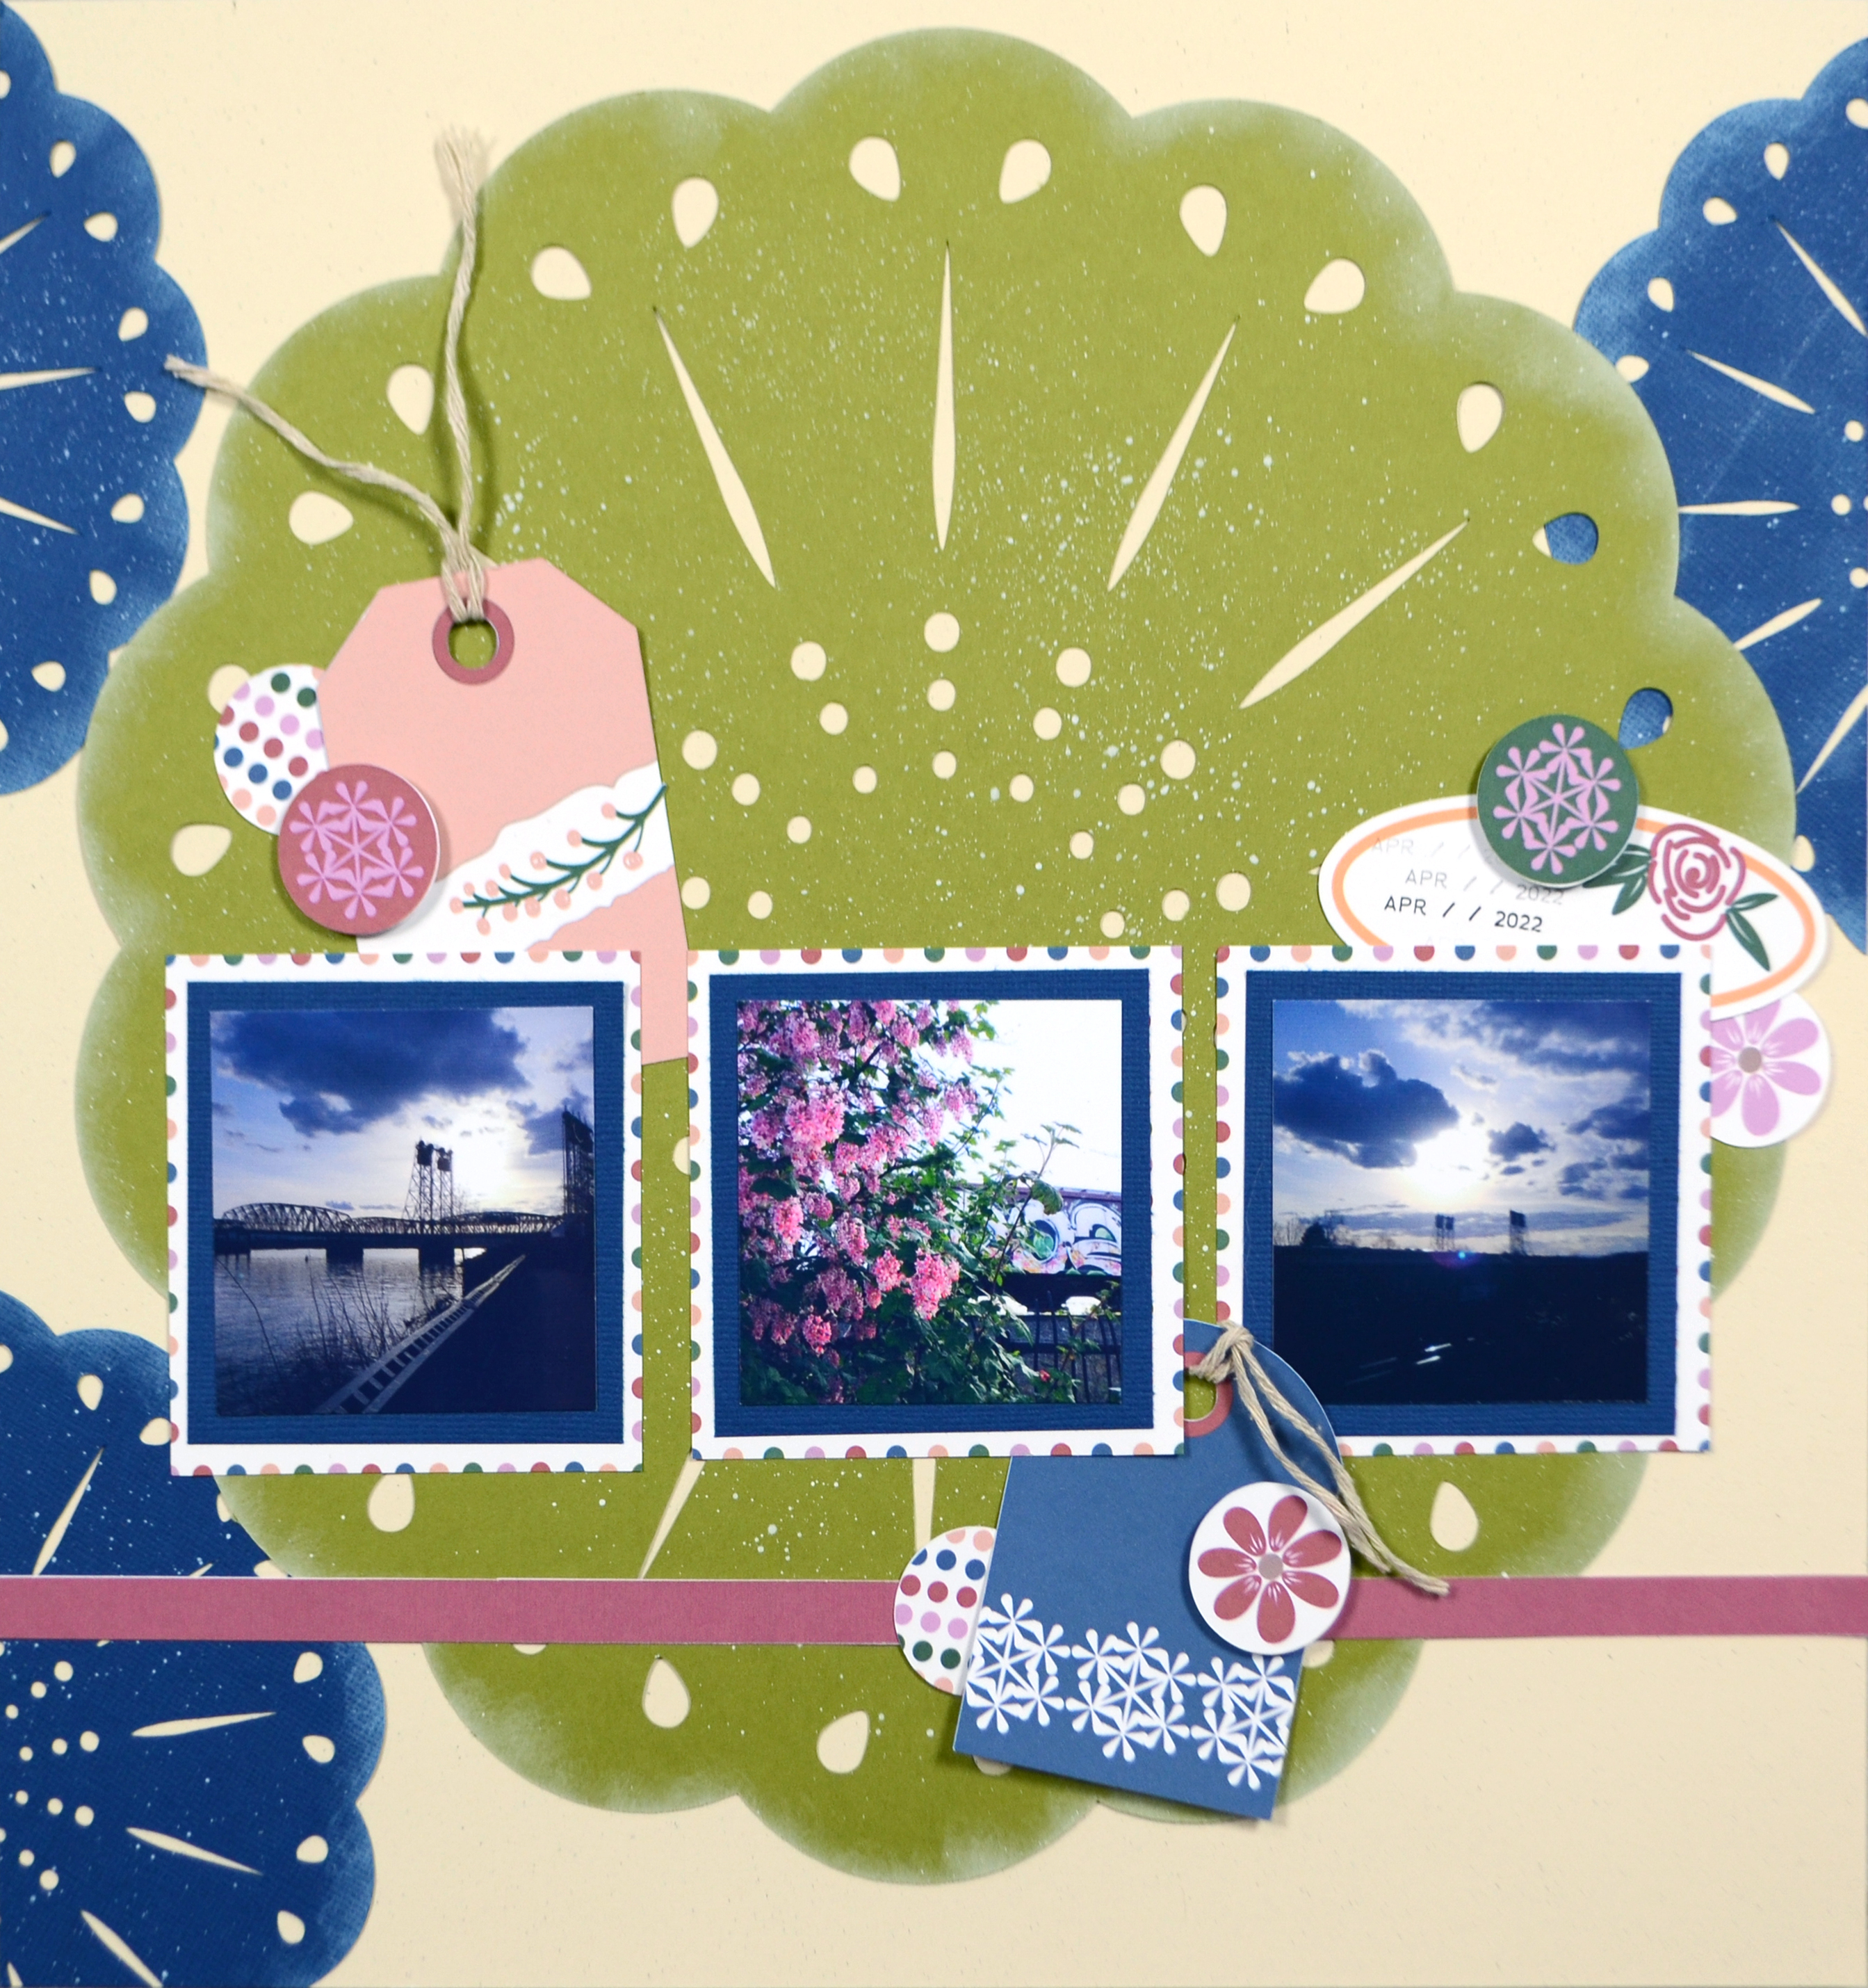
Growing Strong cut file
- Download
- File types include:
svg, png, Silhouette Studio - See release video
- Released July/Aug ’23
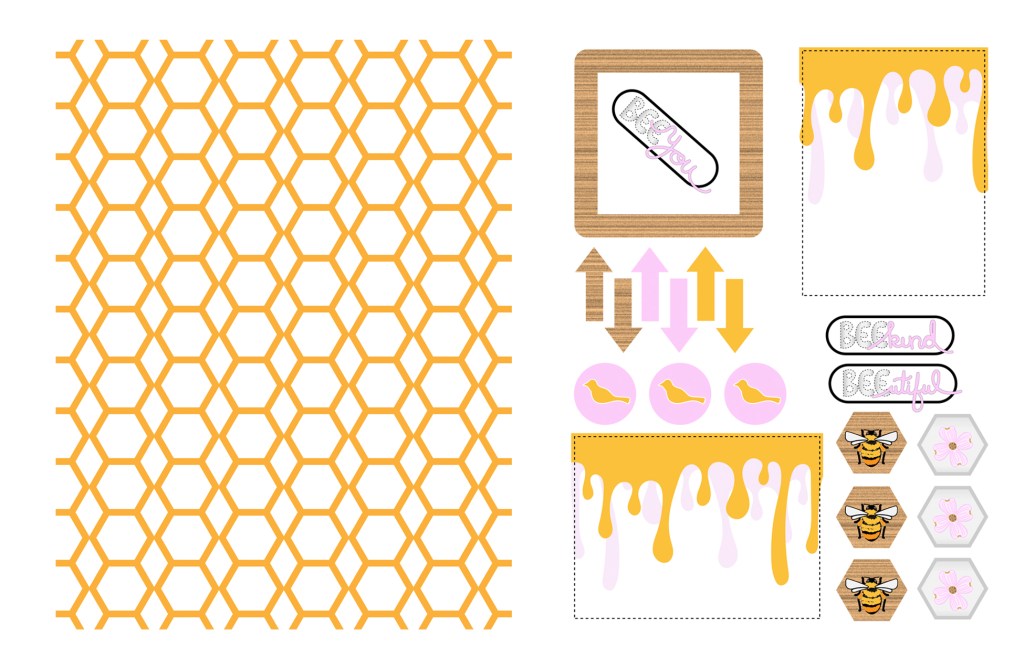
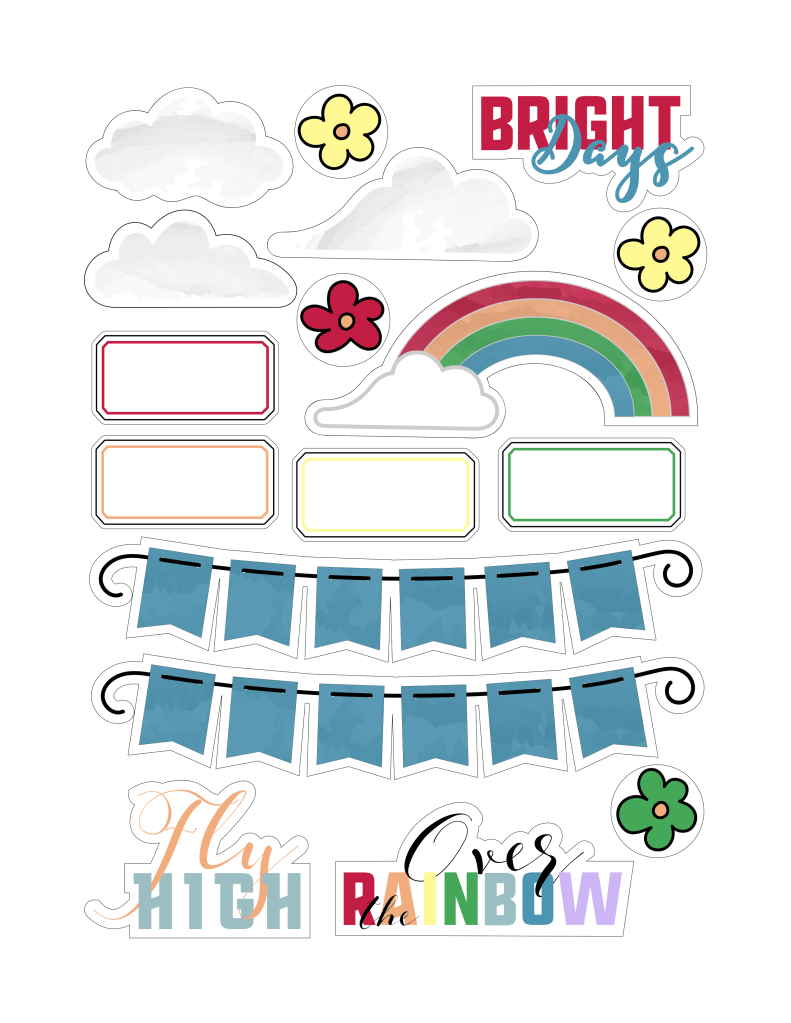
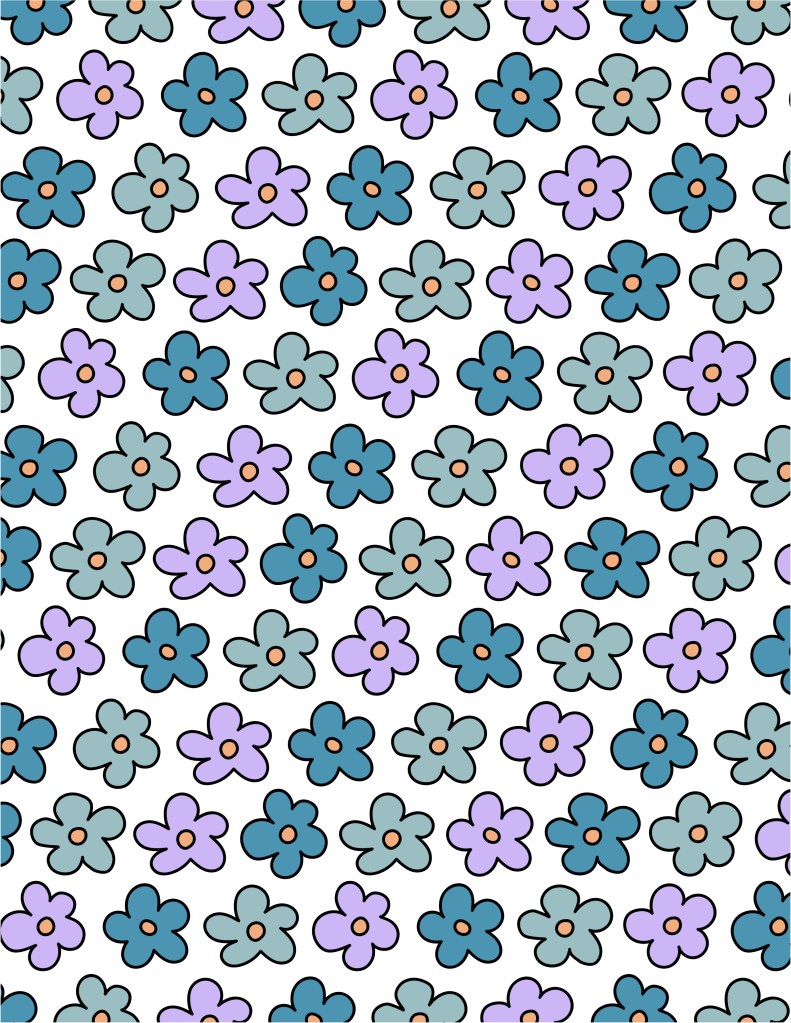
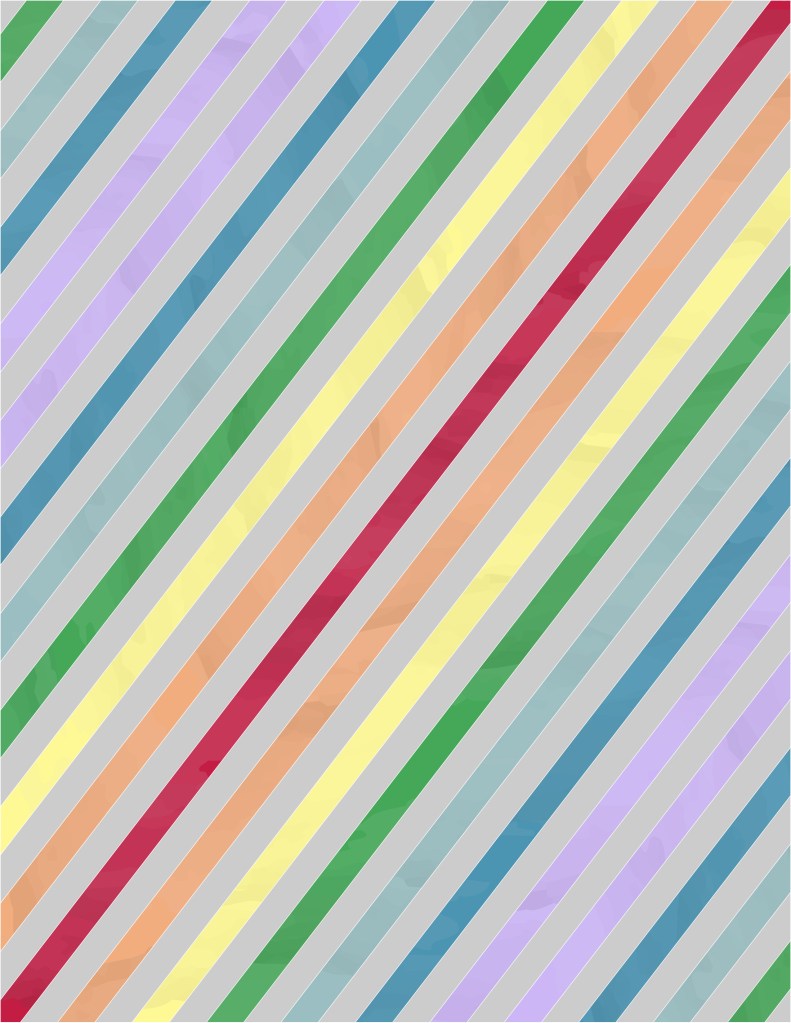
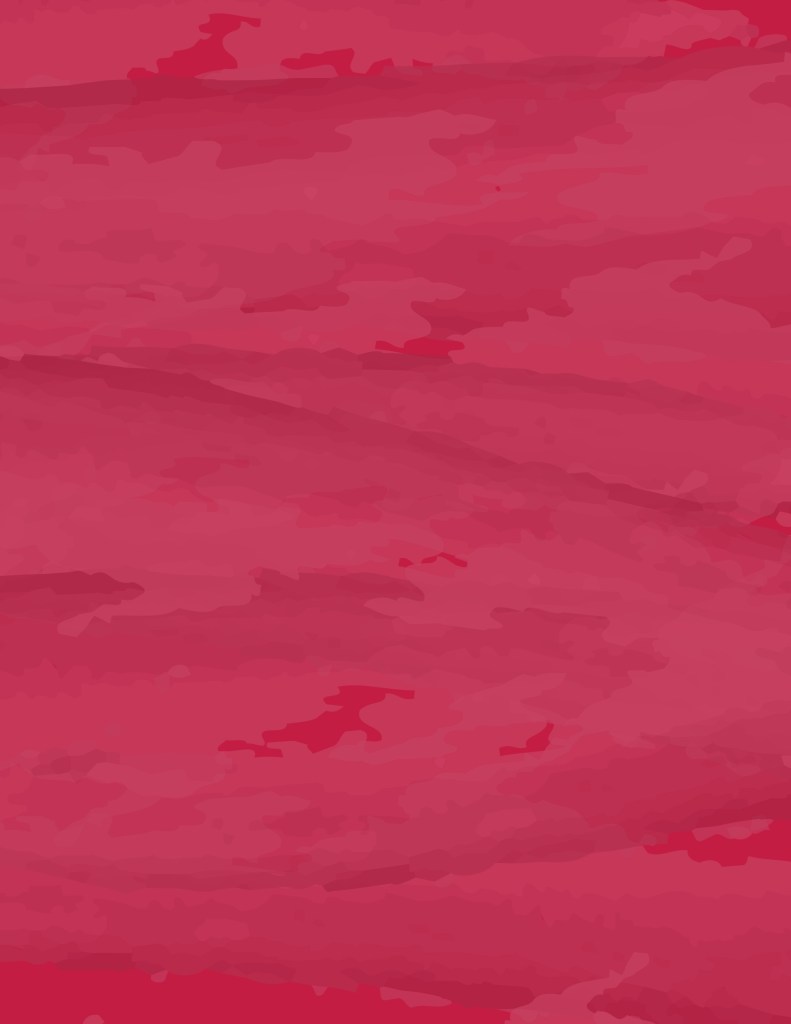
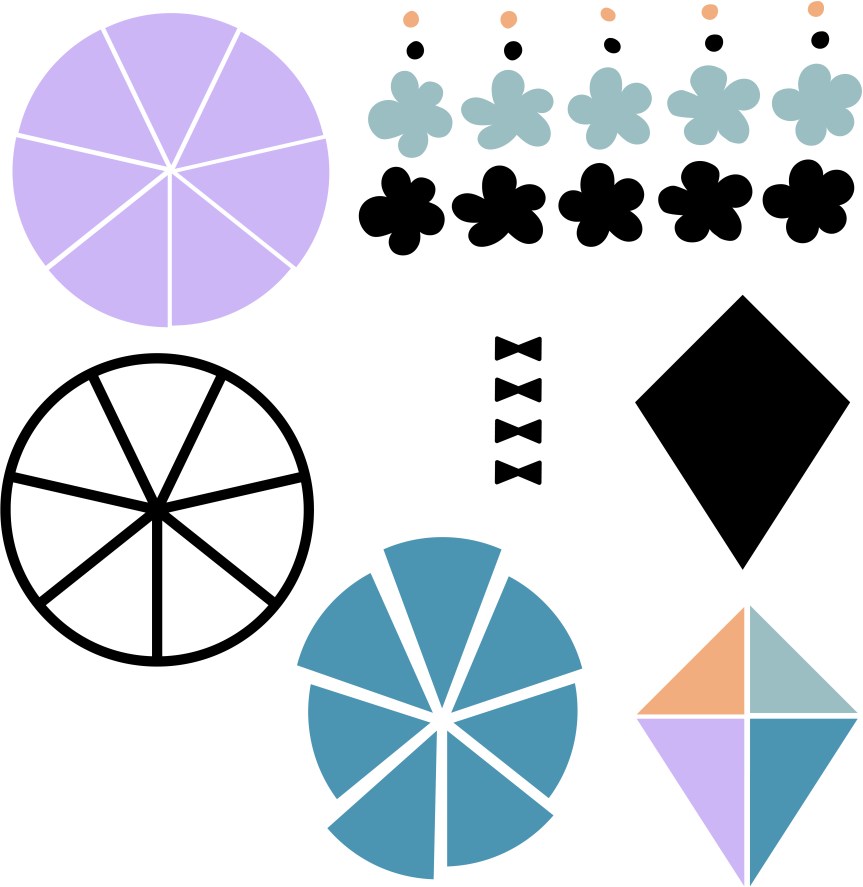
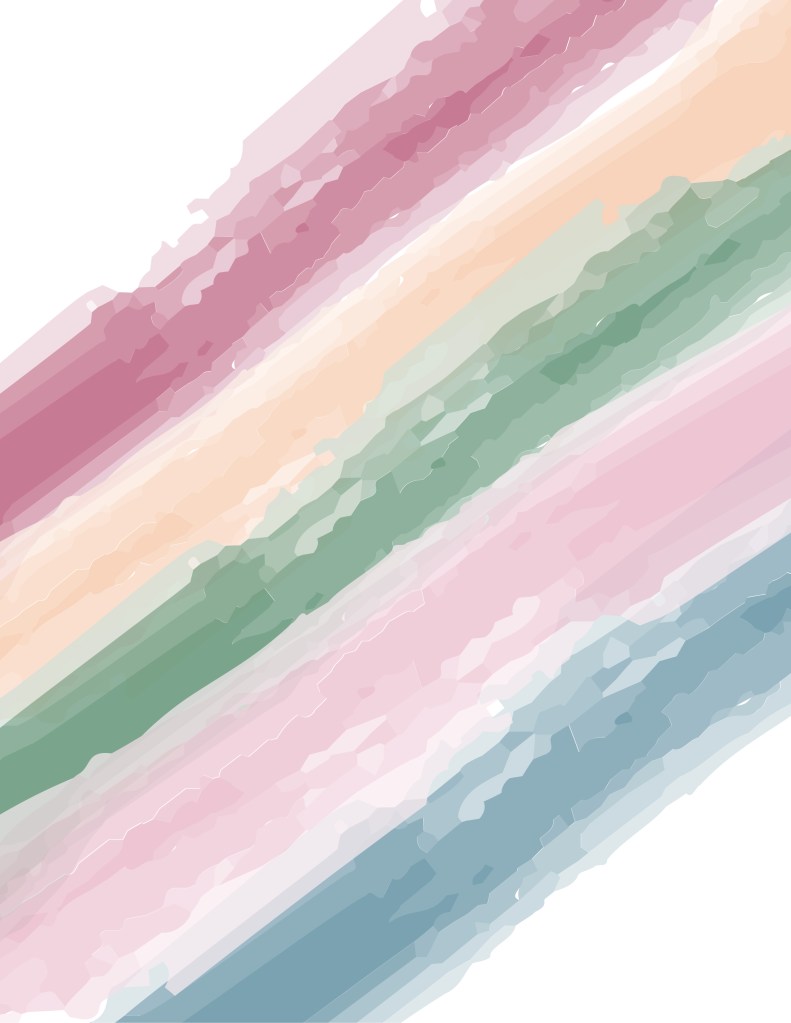
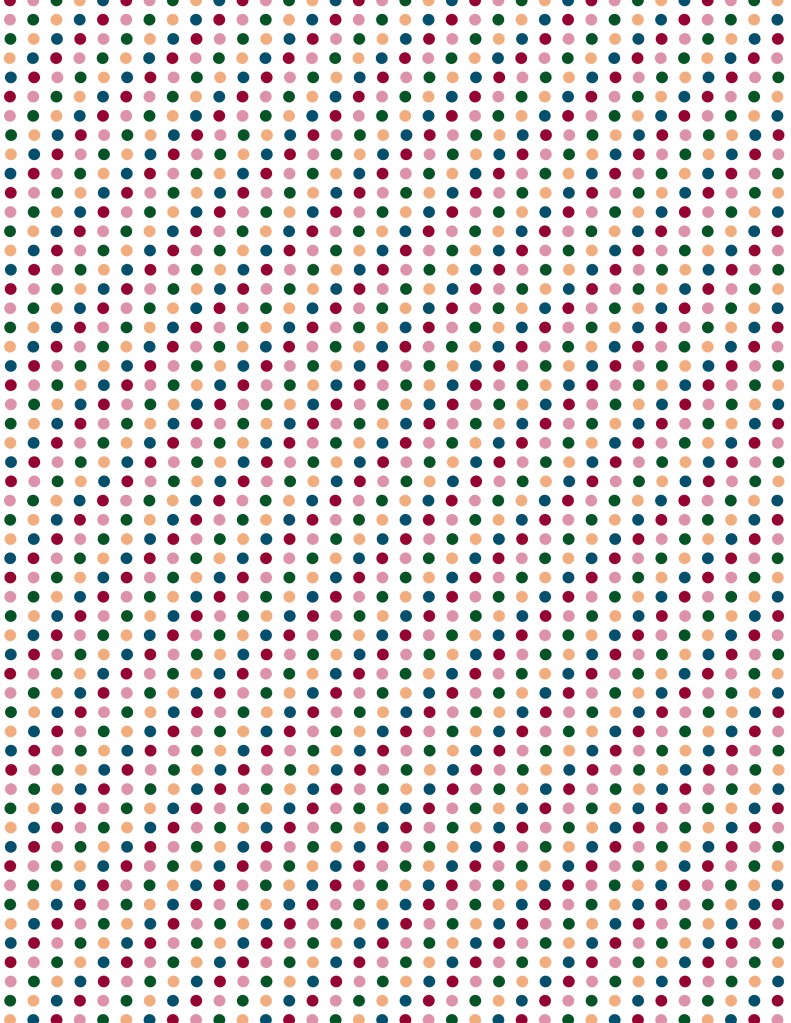
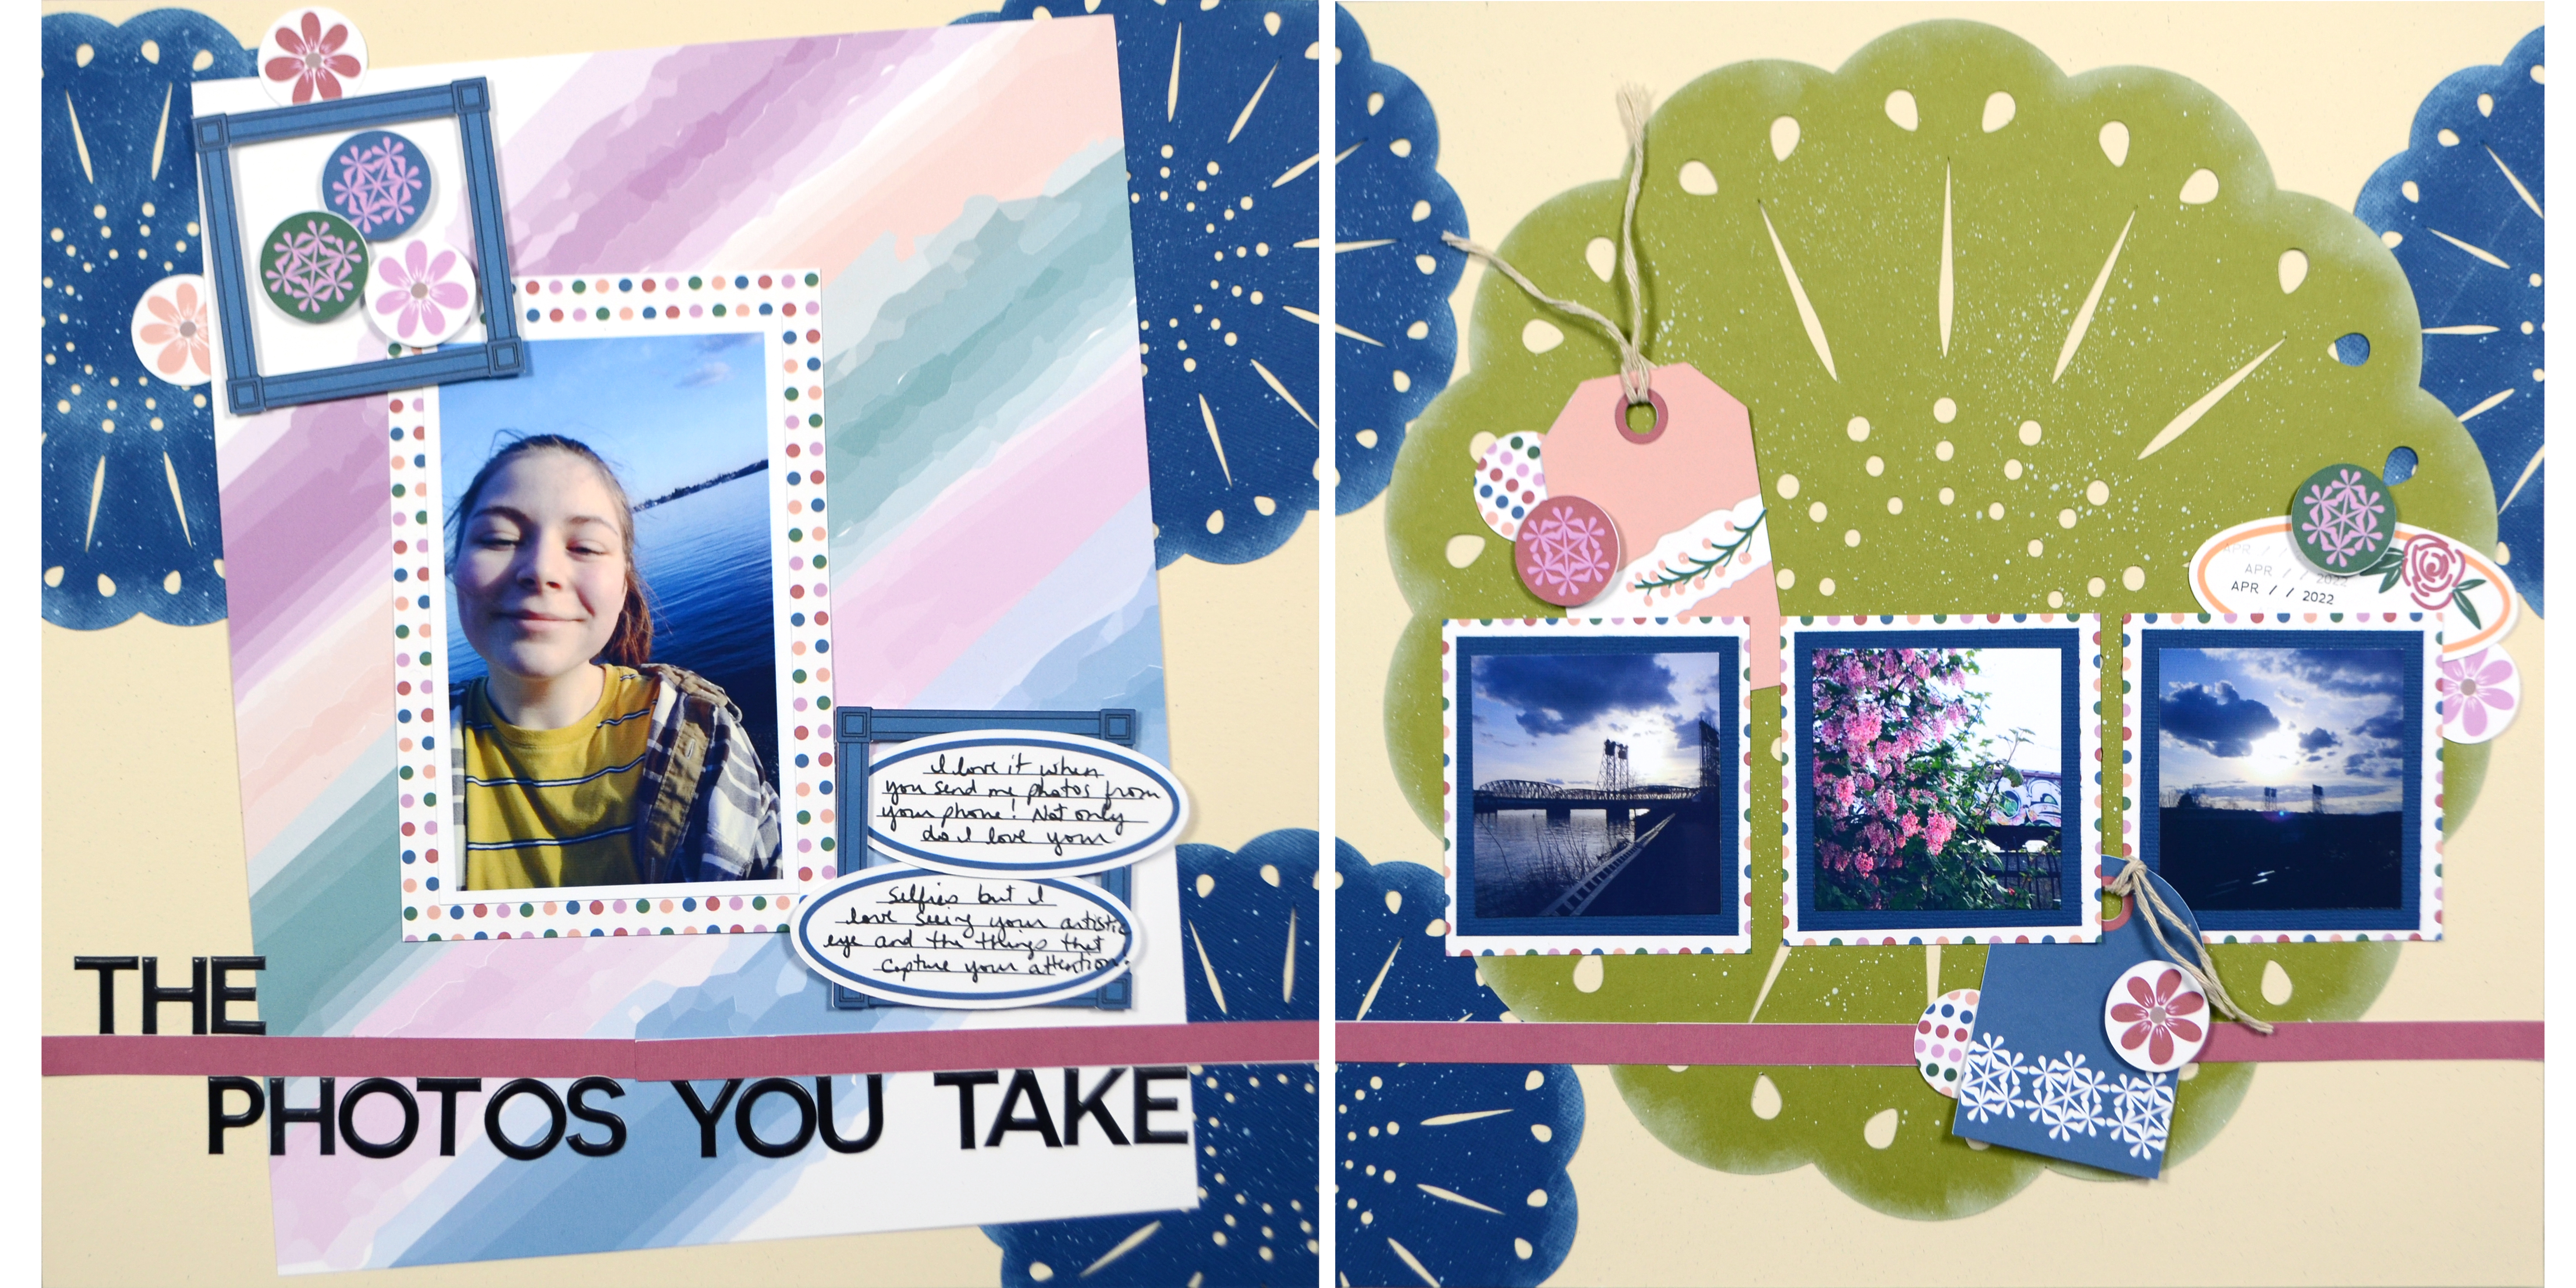
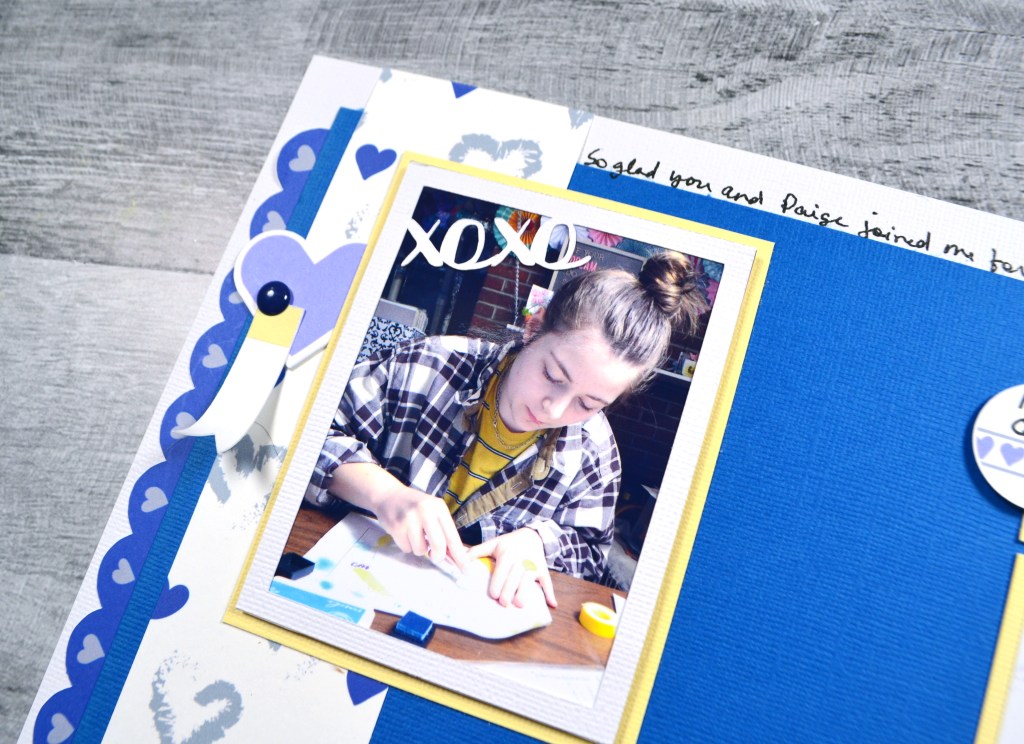
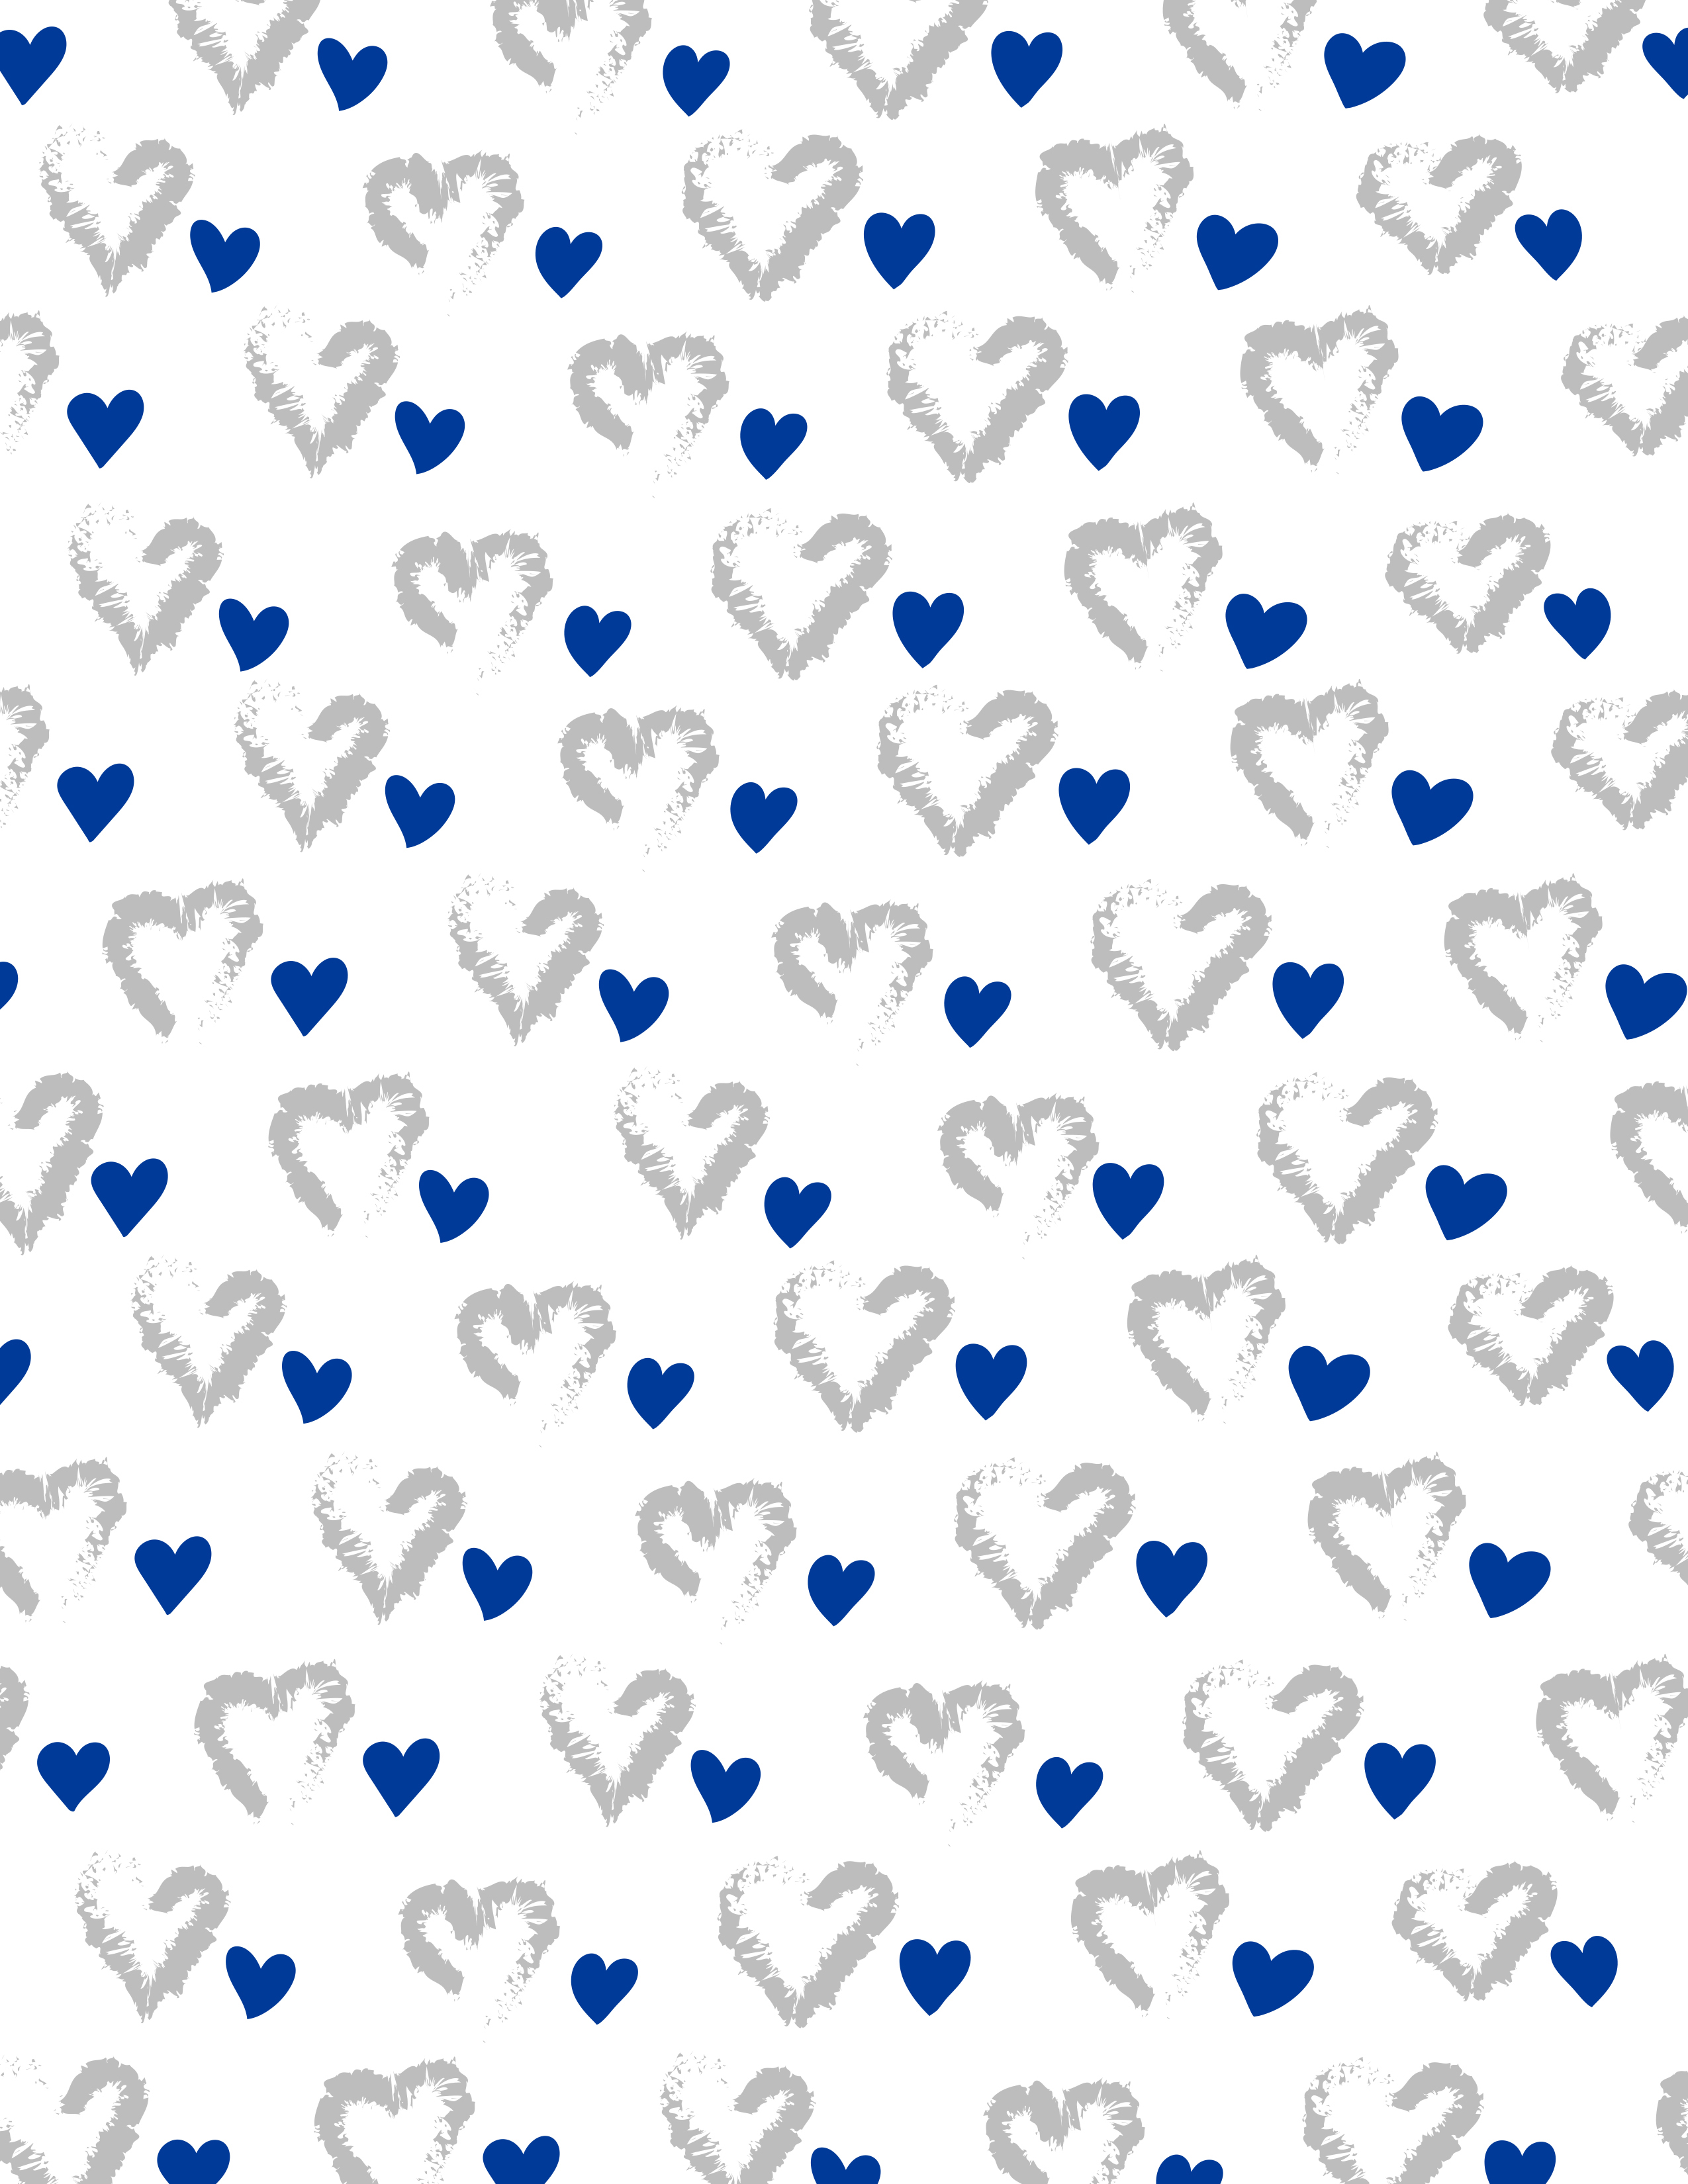
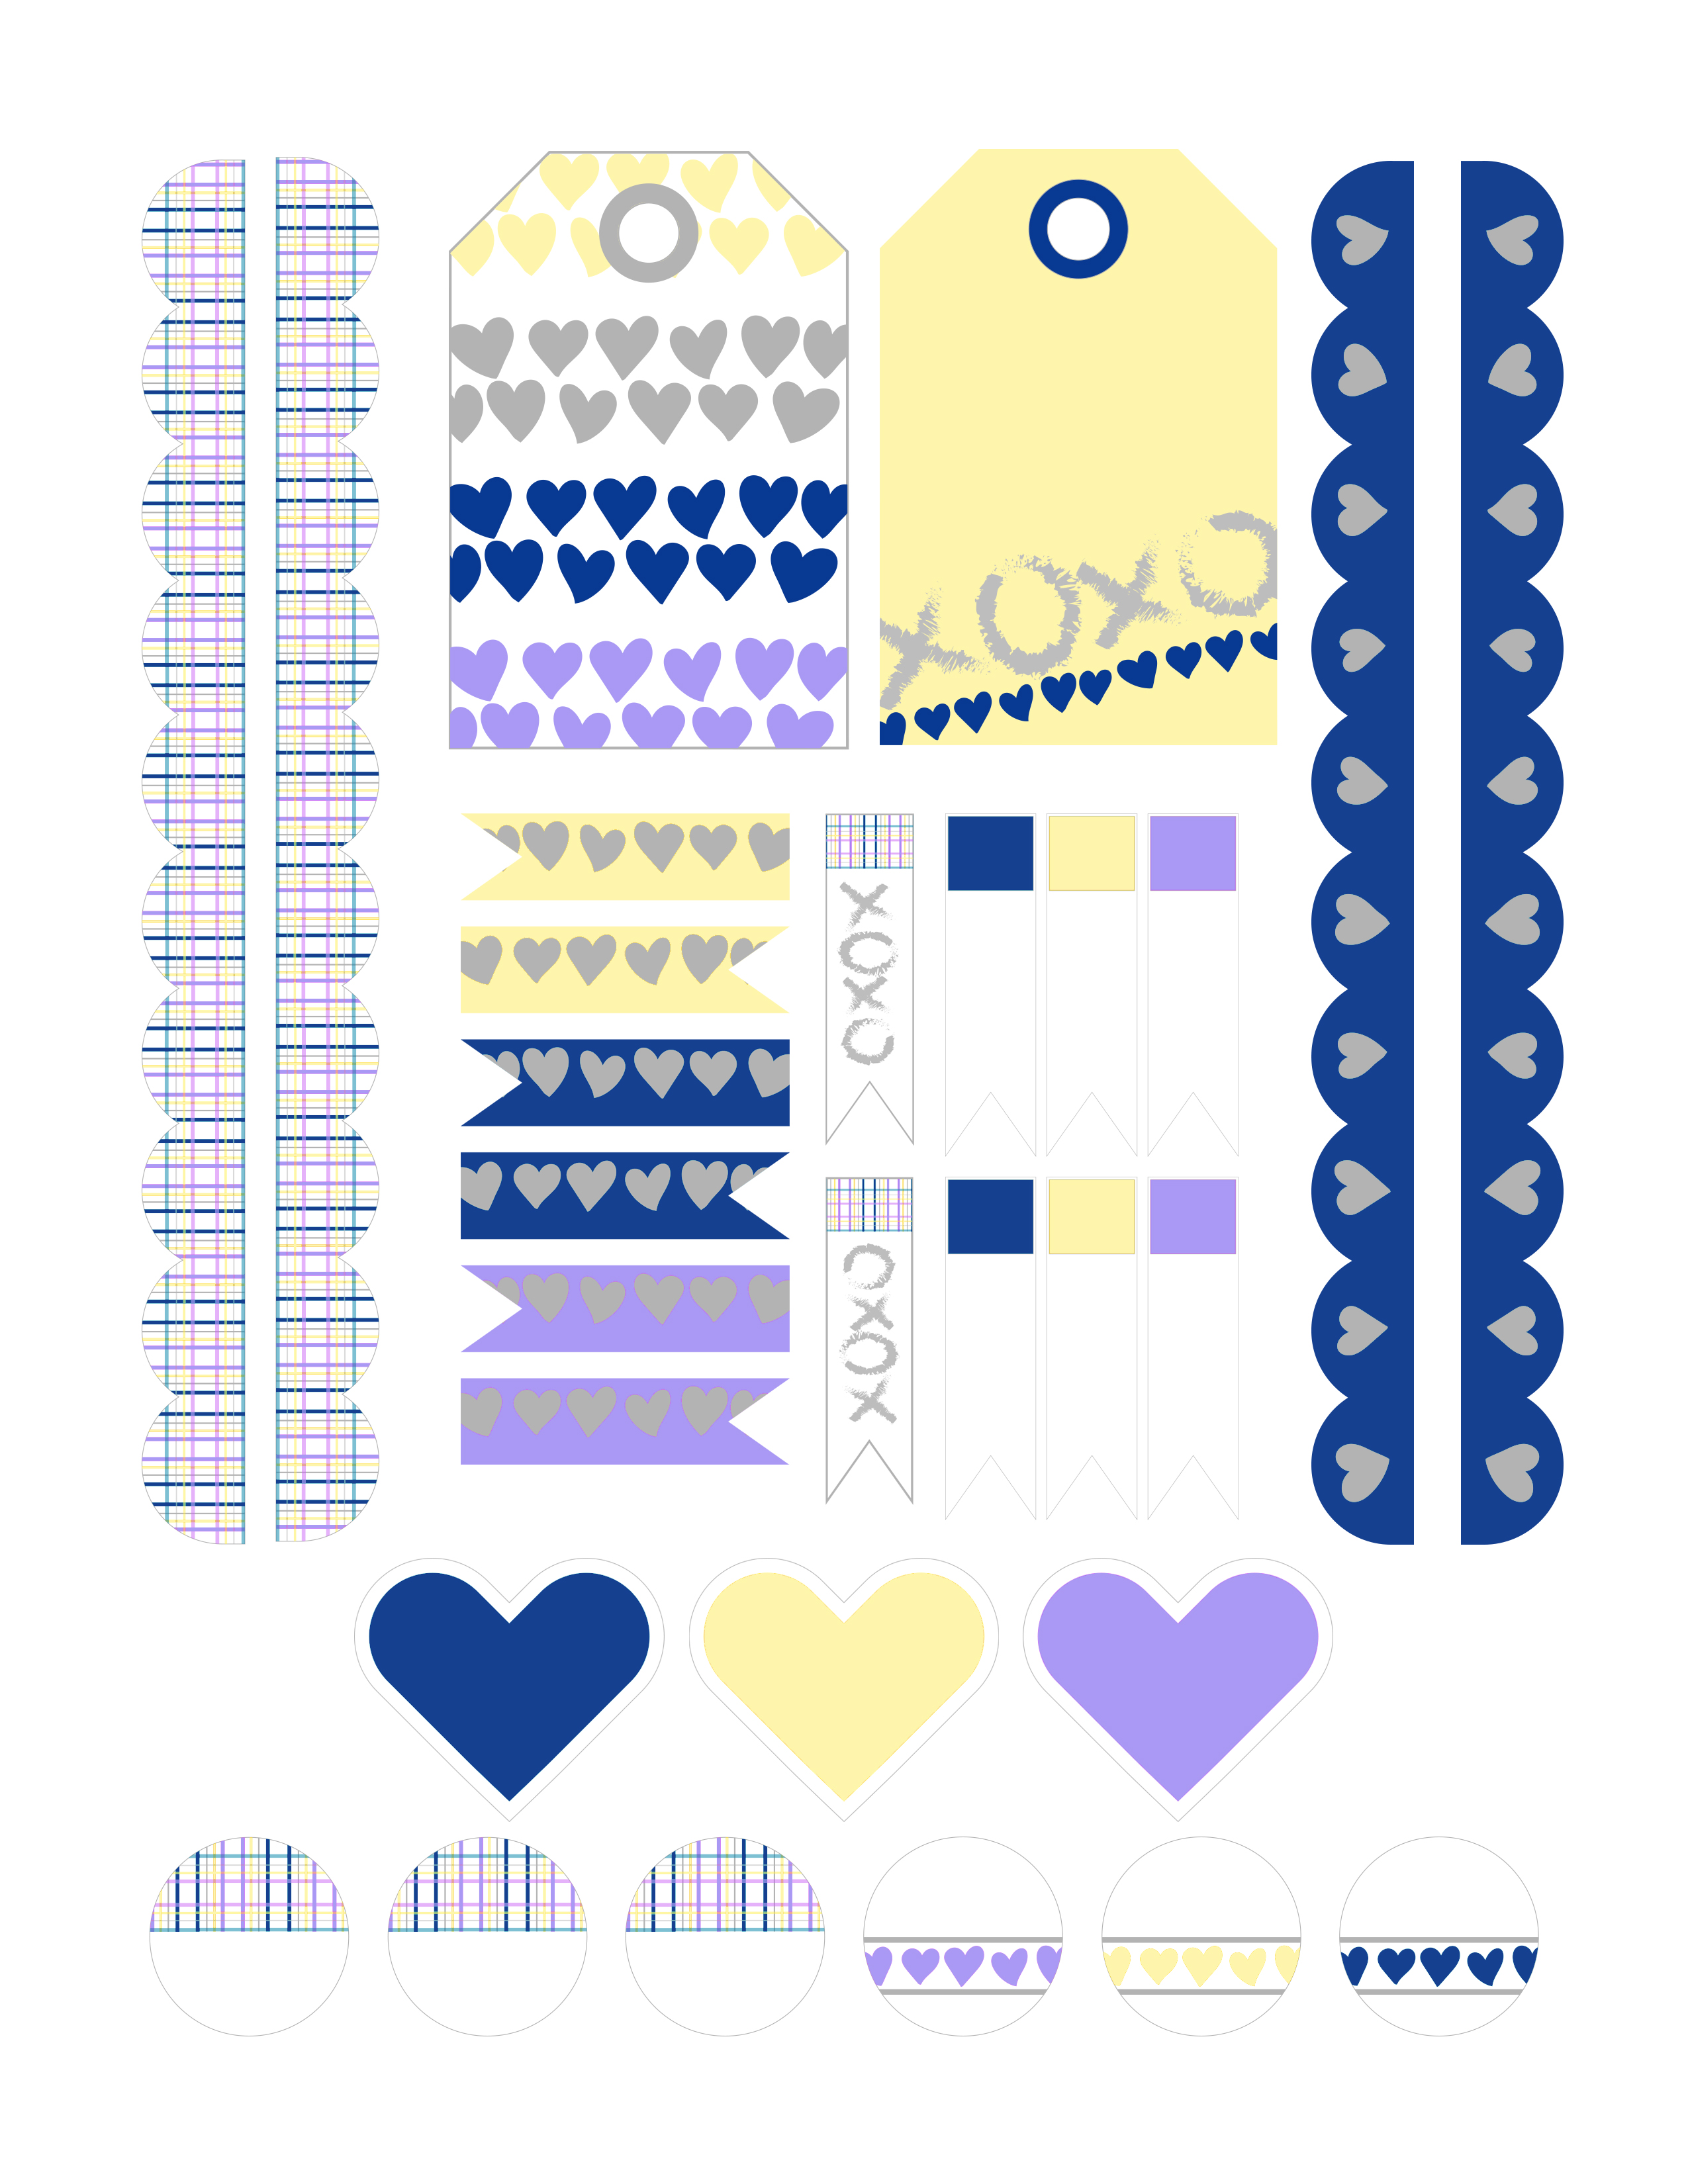
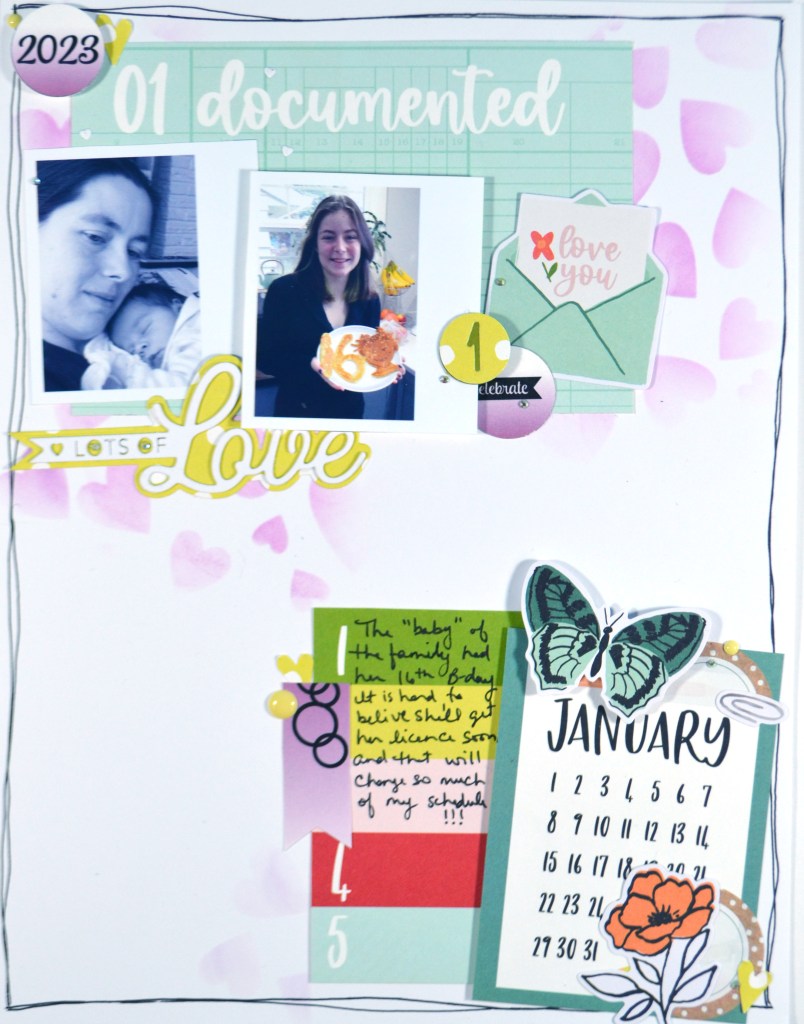
Printables
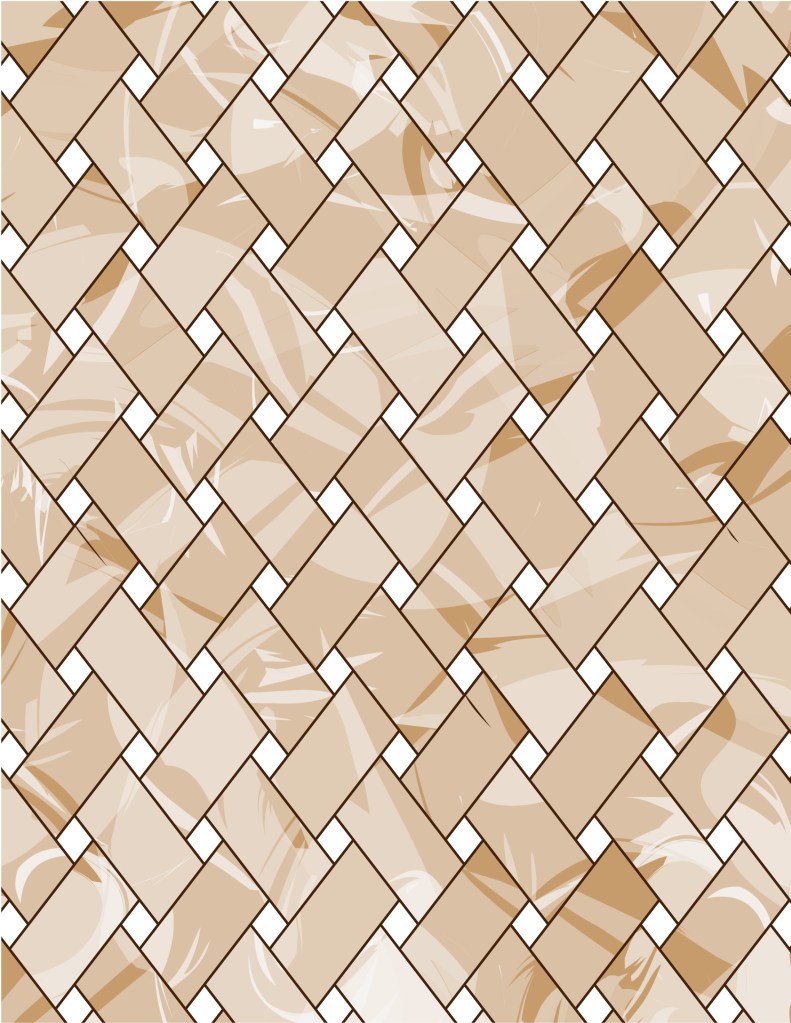
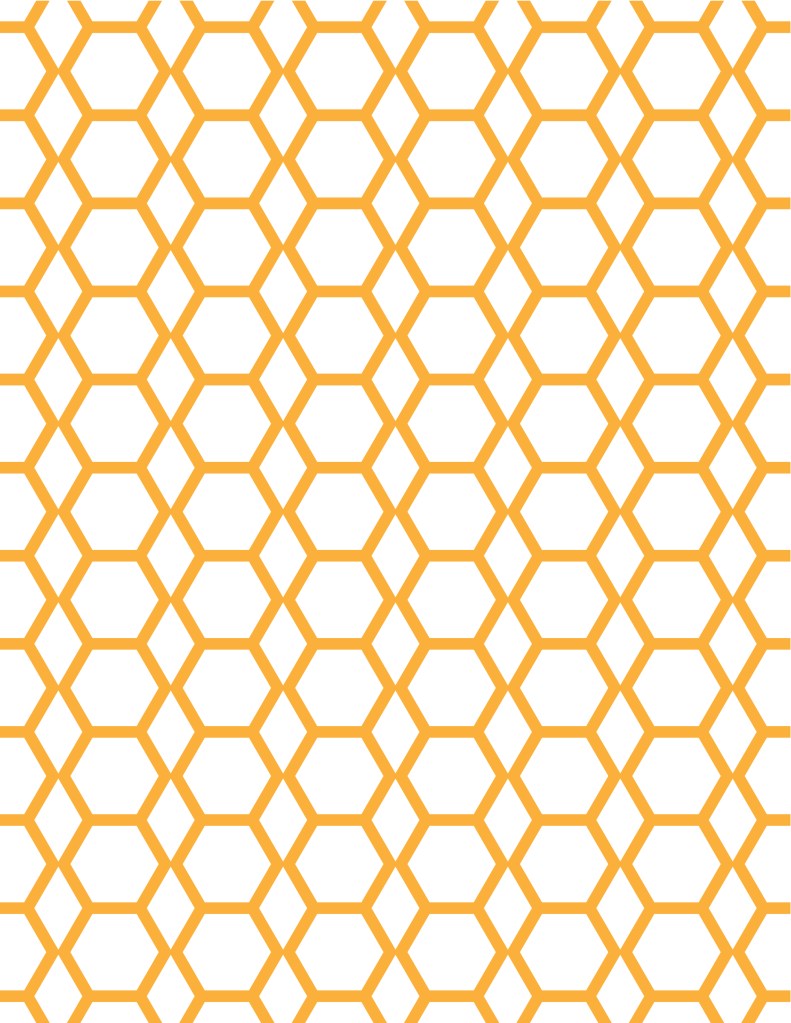
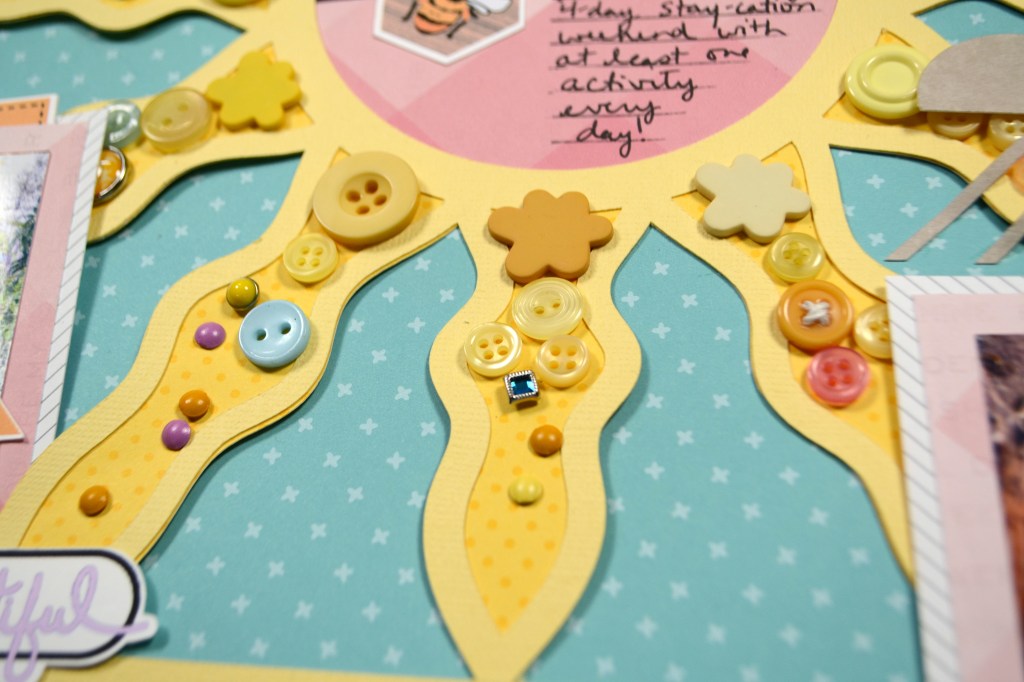
These files come to you in an 8.5×11 inch format for easy at-home printing. Keep in mind that monitor/screen colors and printed colors will NOT be the same! Screen colors often appear more vibrant. Colors even vary from printer to printer!
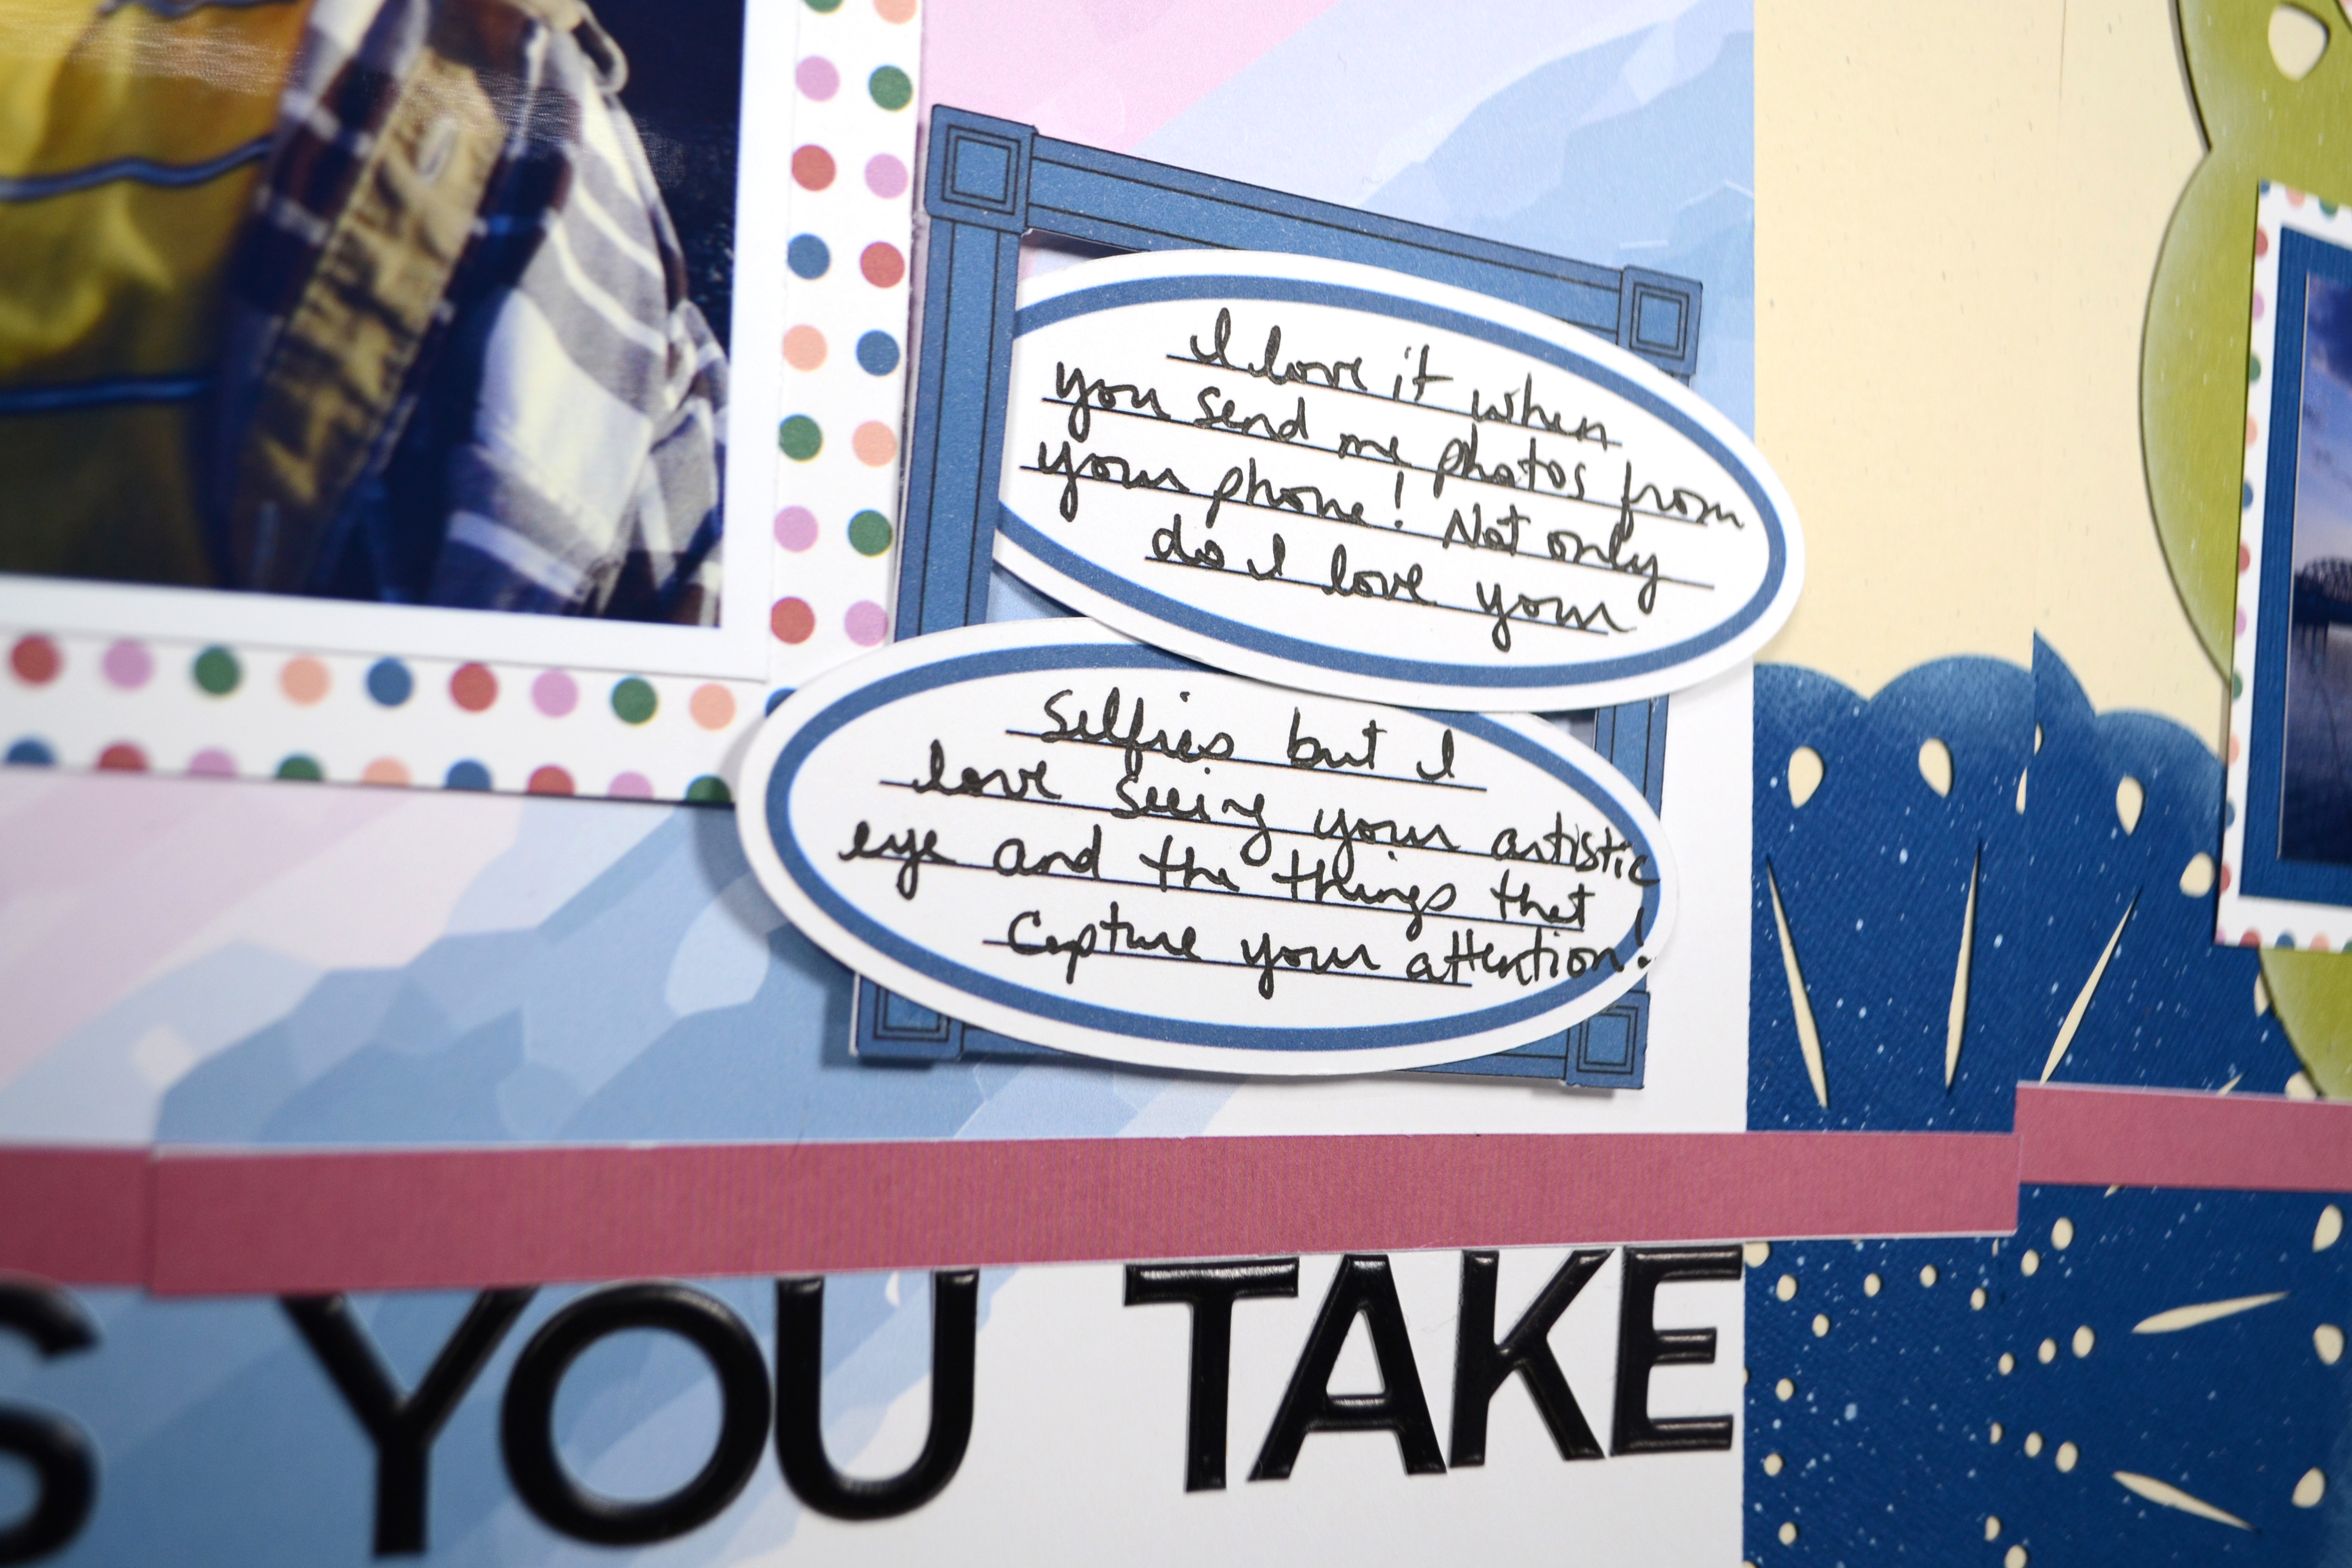
The pattern papers are ready to print and use. Embellishments will either need to be fussy cut, or you can use the print-then-cut version for your electronic die cut machine*. I try to keep the fussy cutting to simple shapes and any circle elements can be punched out with a 1″ circle punch or die. Any cutting tips beyond these will be in the current video reveal!

Growing Strong
- Download
- File types include:
jpg, png, Silhouette Studio - See release video
- Released July/Aug ’23

The download links have been included besides each image. However, you can always head over to my Freebies Page to peruse the catalog of files I have offered in the past. And if you have any ideas I’d love to hear them. I can’t make promises but I can take suggestions!


