I love kit building and that is why I am on the design team for the Counterfeit Kit Challenge project. We take an inspiration kit each month and proceed to replicate it, or as we say, counterfeit it. This is a free, friendly group that helps inspire you to use up supplies you already own. We are not about needing to buy the latest and greatest thing (though we won’t stop you if you enjoy new crafty goodies😉 ).
Man, I have been so busy with a long list of stuff going on. Luckily most of it is good. Unfortunately it means multiple things have fallen through the cracks. Deep breath. Pick up the trail and move forward.
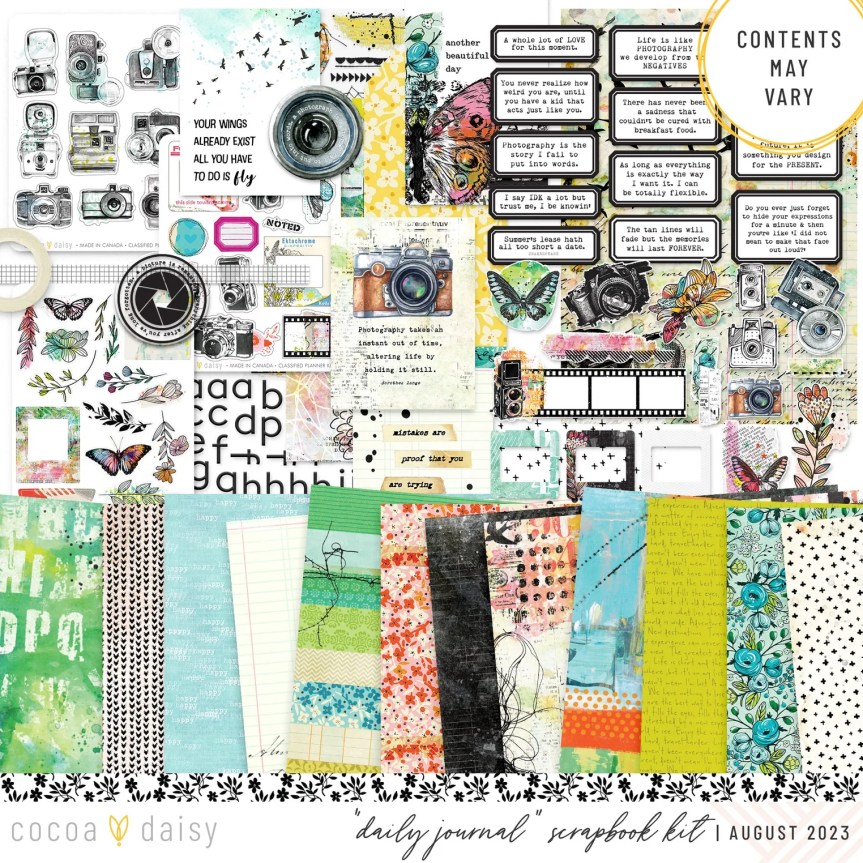
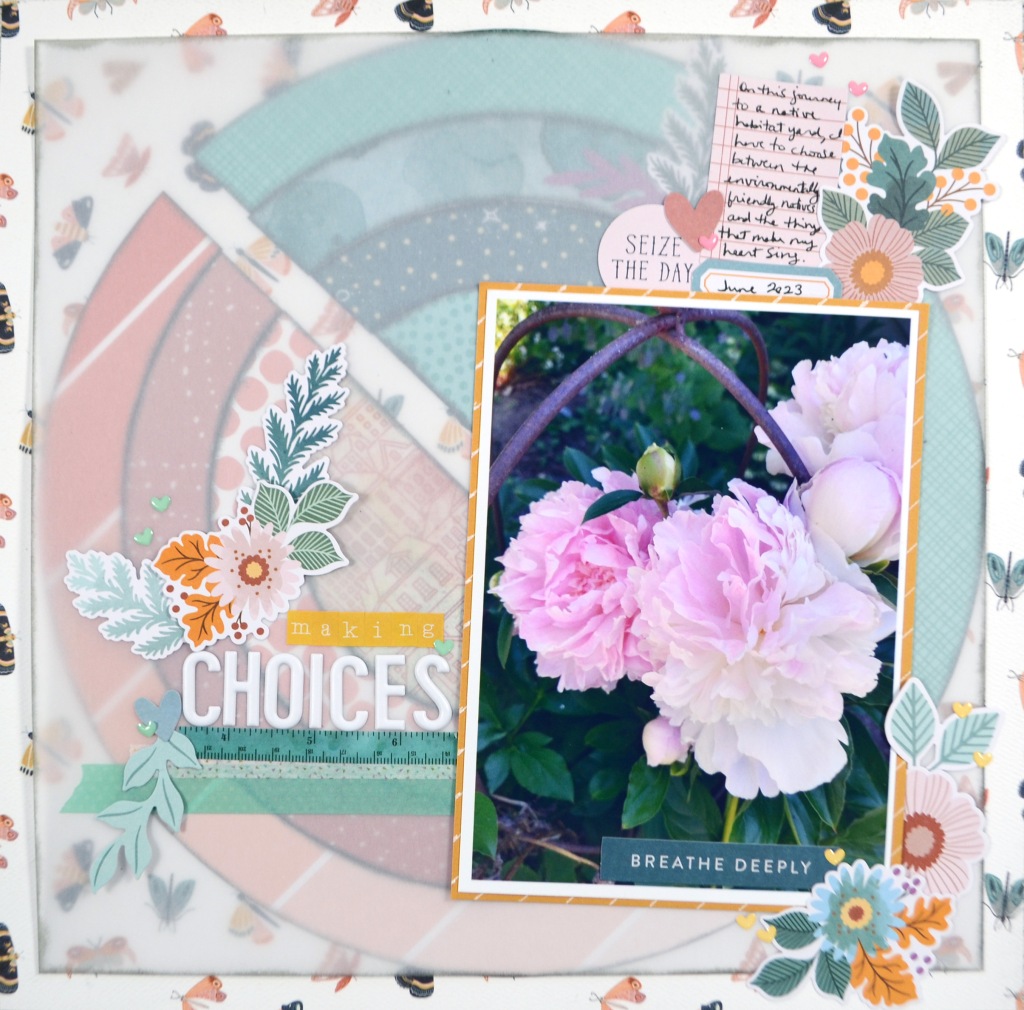
With that I am here with my October kit. The team at CKC breaks up tasks for the group by various jobs. I’m actually on the job of creating a mini kit + project this month. But… that kit & project is going to be a fun home decor idea (sneaky peek there). That means I still need a scrappy kit. So here it goes.
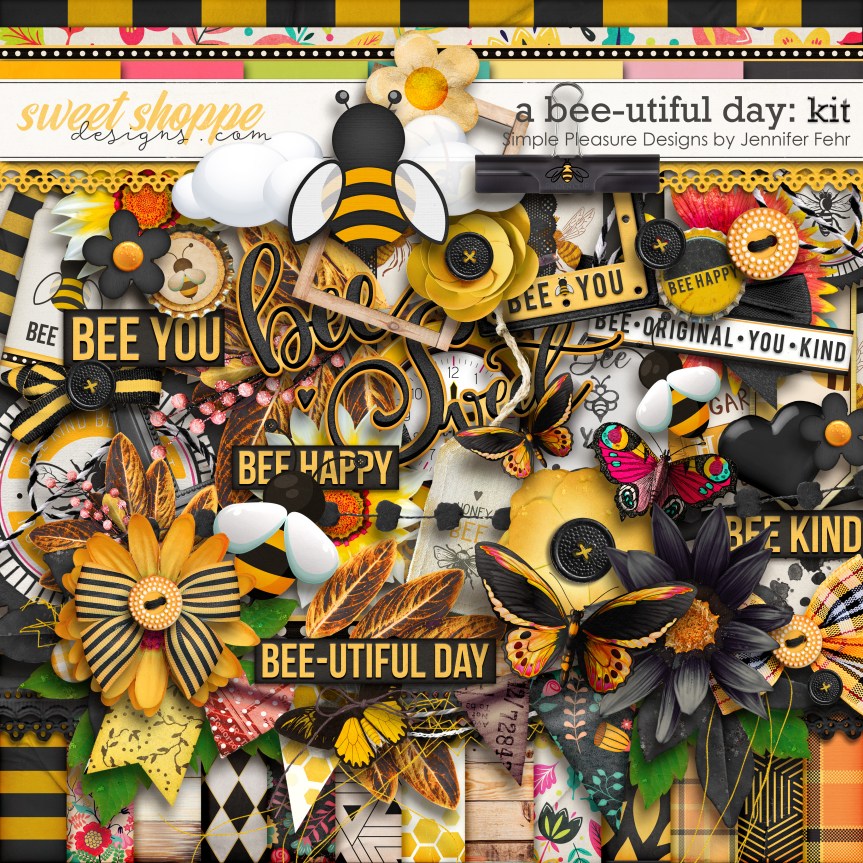
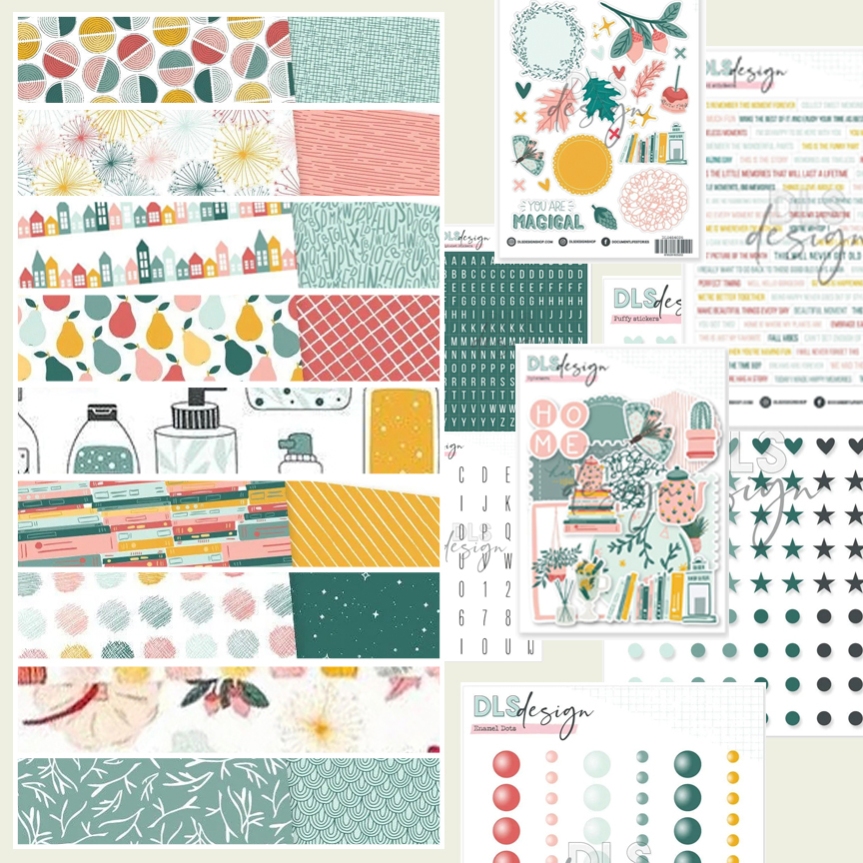
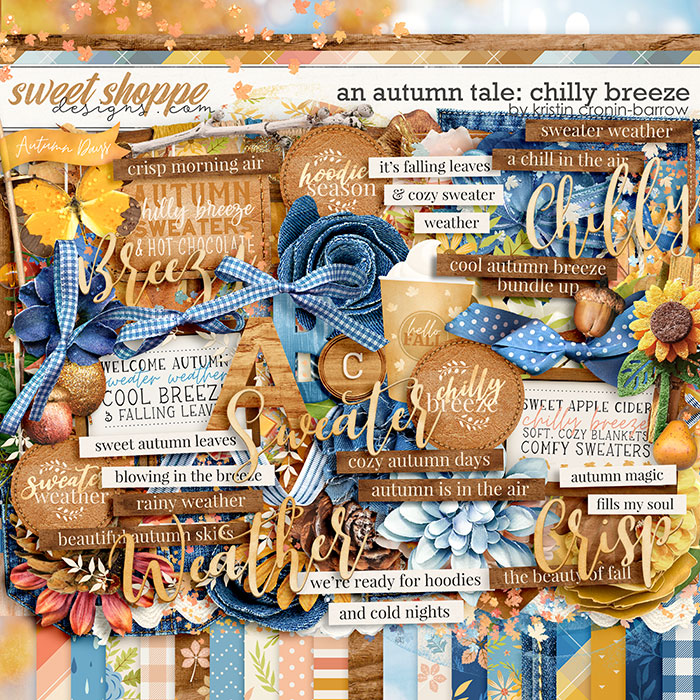
First here is our guest designer: Liz Ketter! You can find her on Instagram. I don’t know Liz so I am looking forward to seeing her work. Speaking of which we need to build a kit based on inspiration. Since I am behind the times, you can check out Liz’s and the rest of the team’s kits over at the CKC Blog. We are working with the An Autumn Tale: Chilly Breeze digial kit available at Sweet Shoppe Designs.

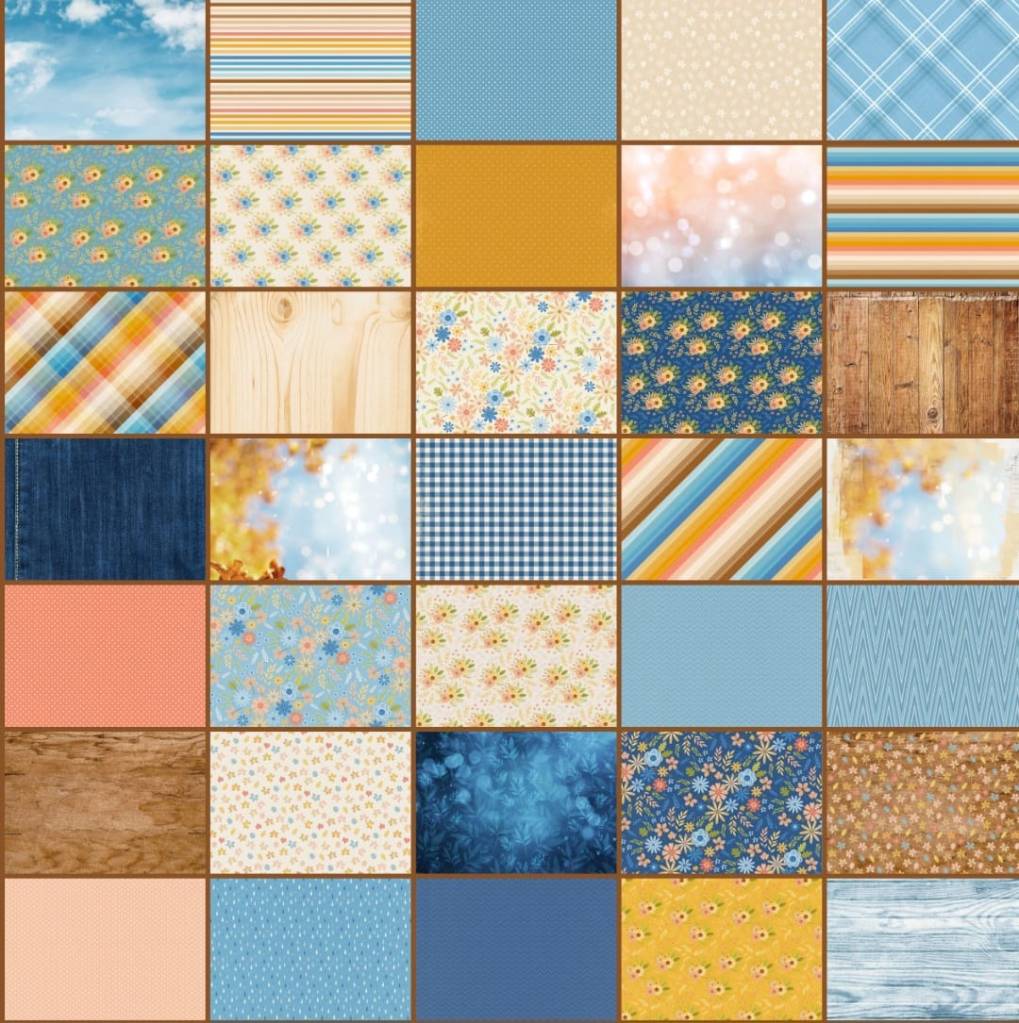
The very first thing I noticed was the demin accent. LOVE. We have had at least one other month with denim vibes during my tenure on the team. Still loving it. I also appreciate the softer takes on oranges and browns. Those are not my go-to colors at all. Yet the tones here have a bit of a glow to them that I appreciate.
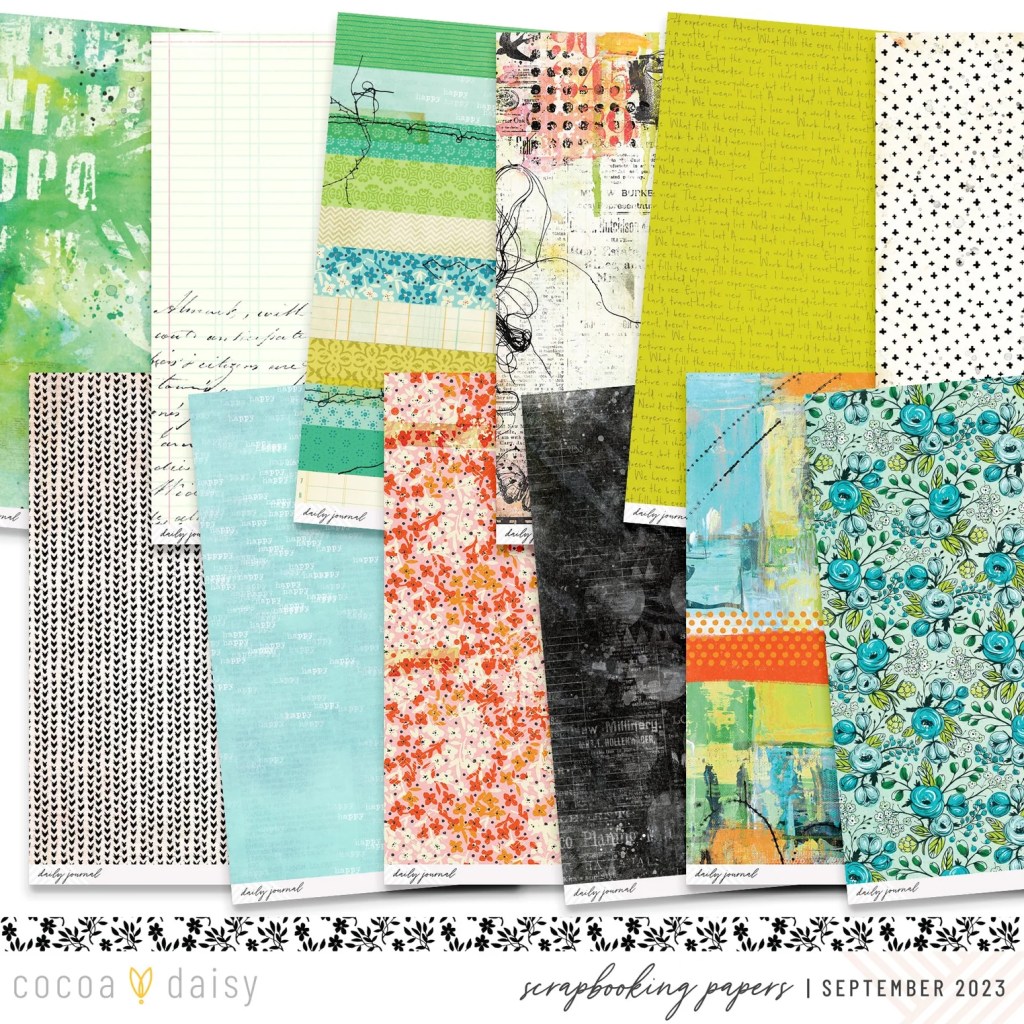
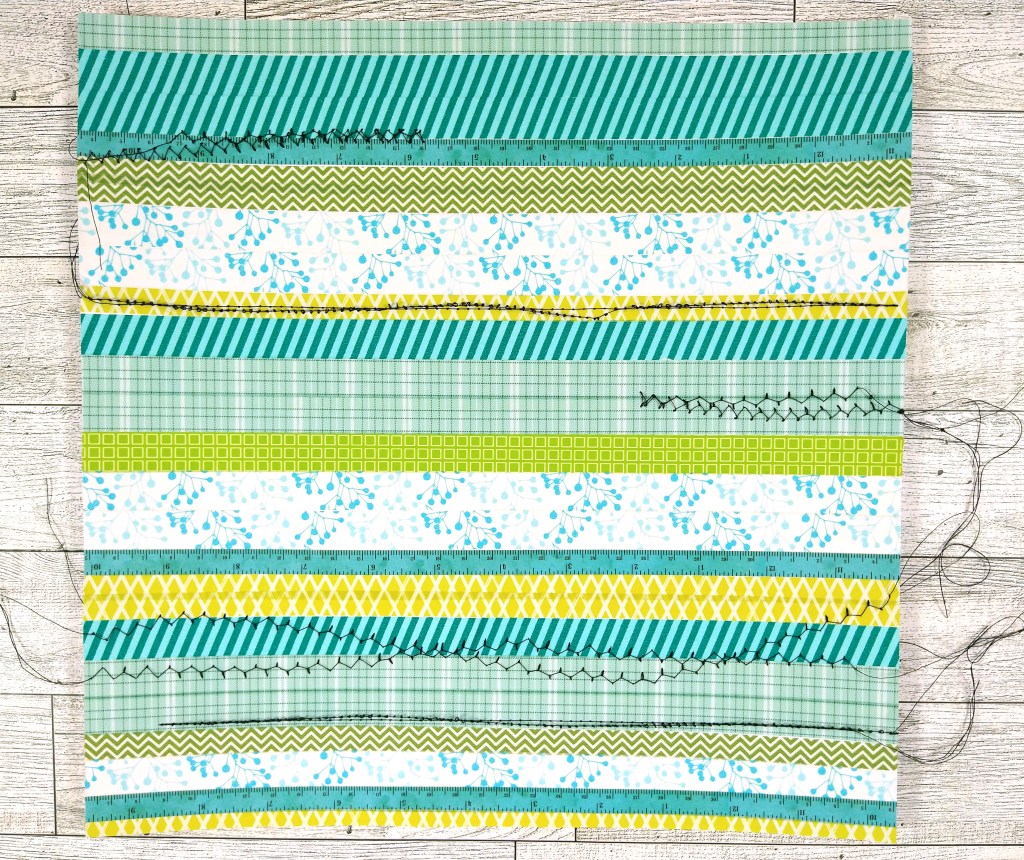
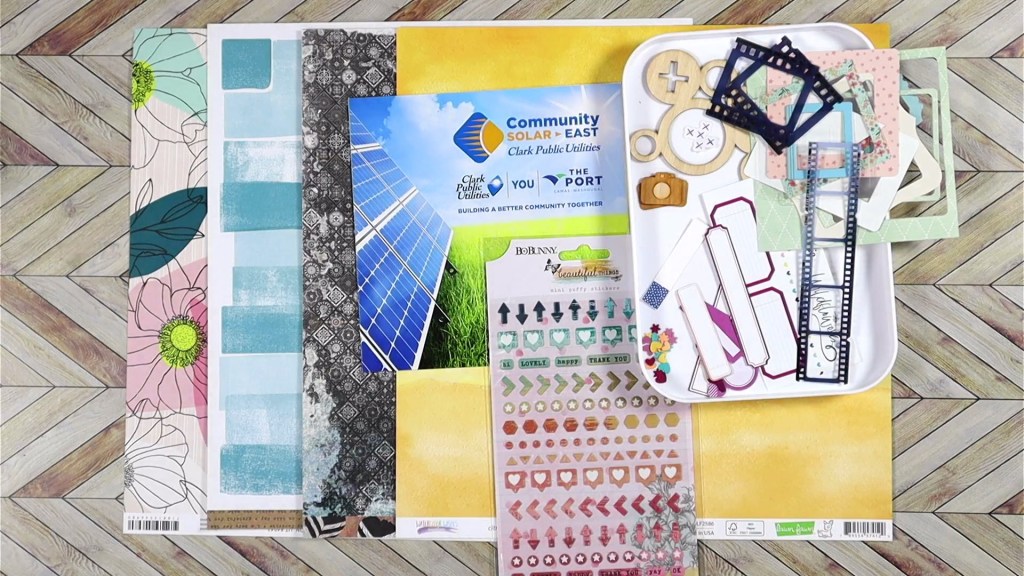
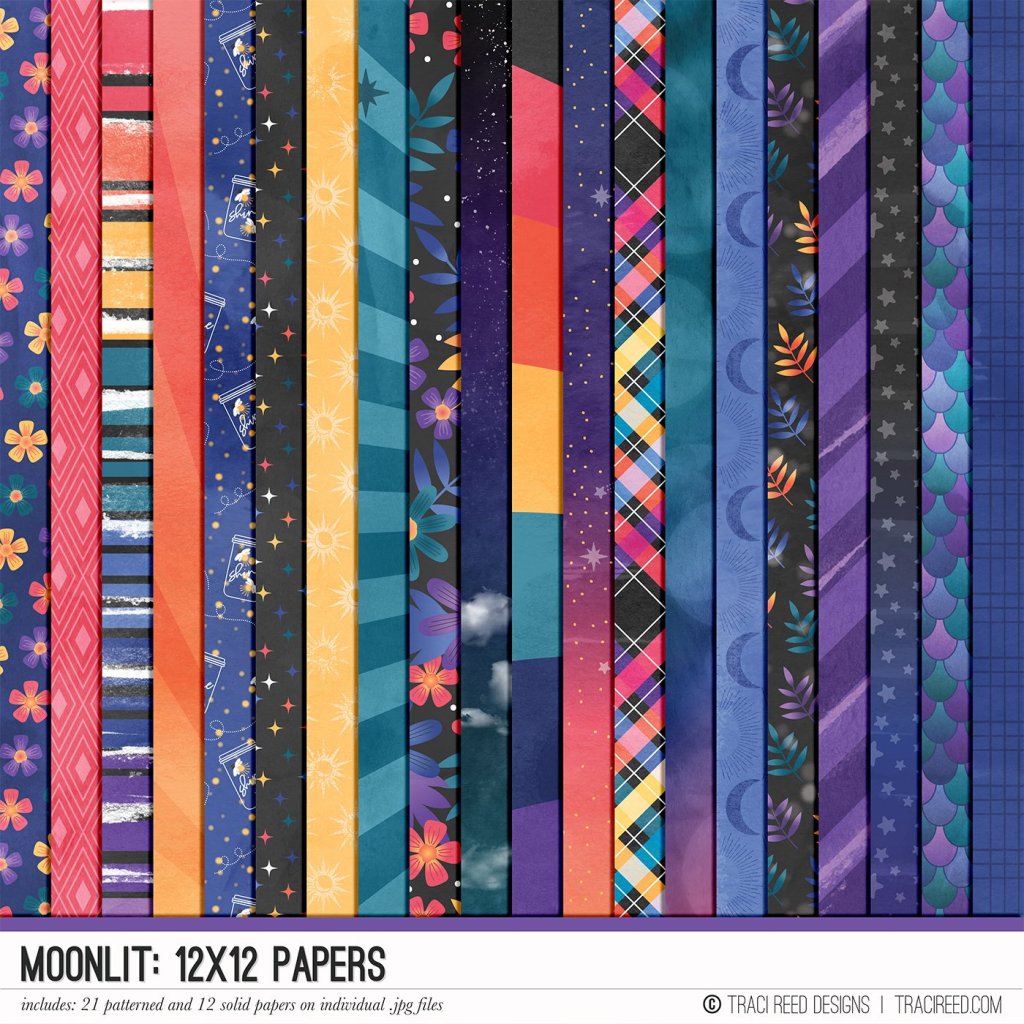
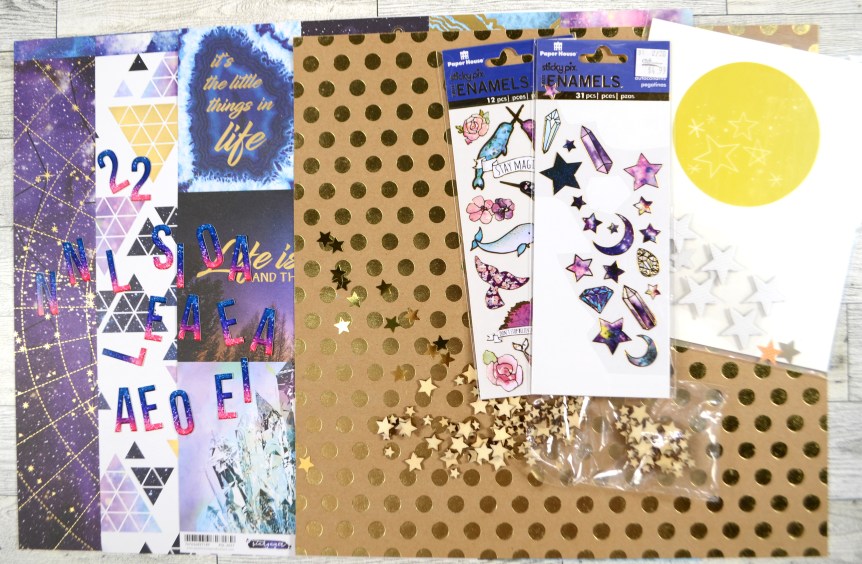
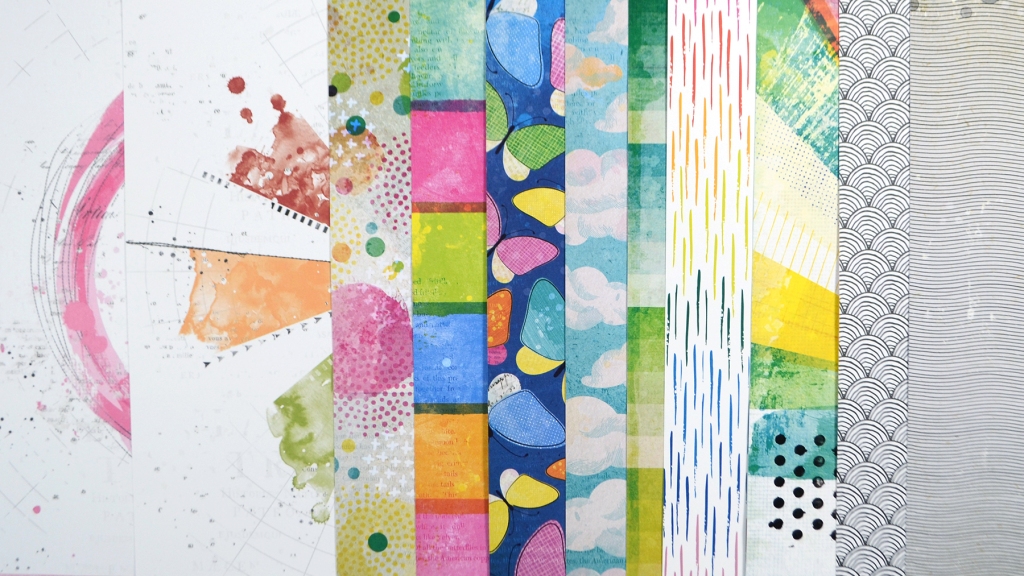
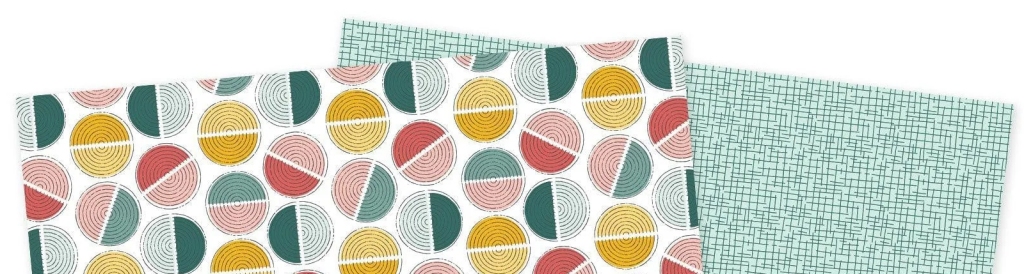
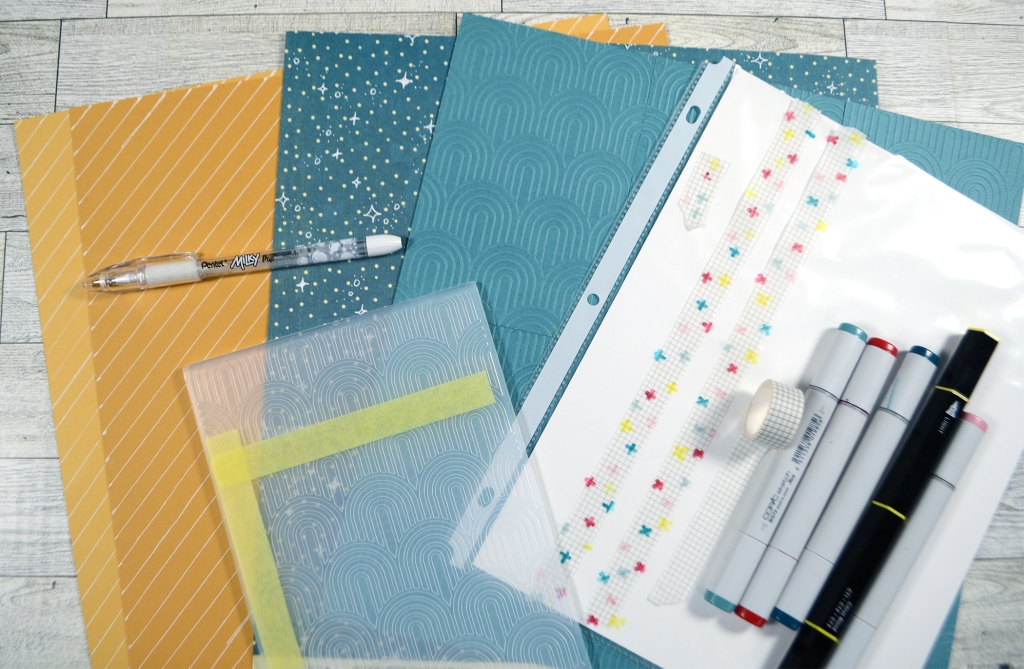
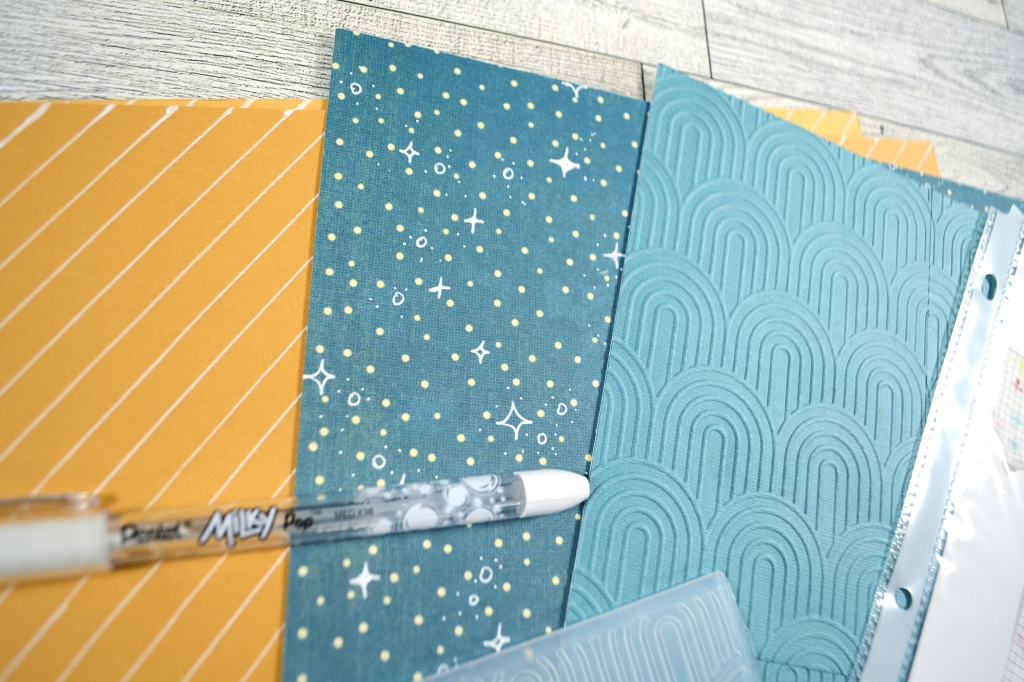
So these are the papers I came up with. Apologies for the blurry photo. I had my camer in the wrong setting when I snapped this and didn’t realize it until it was too late.

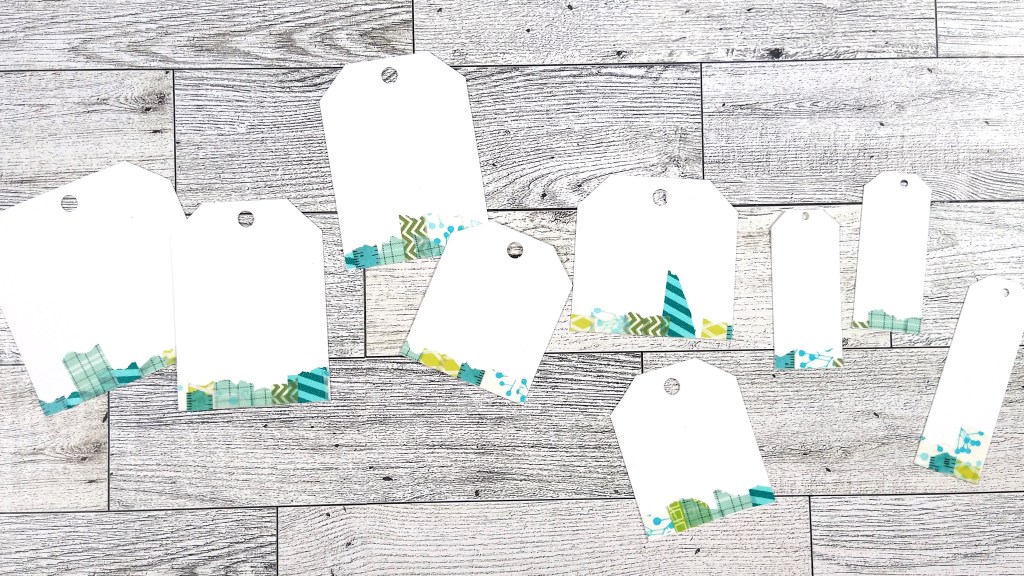
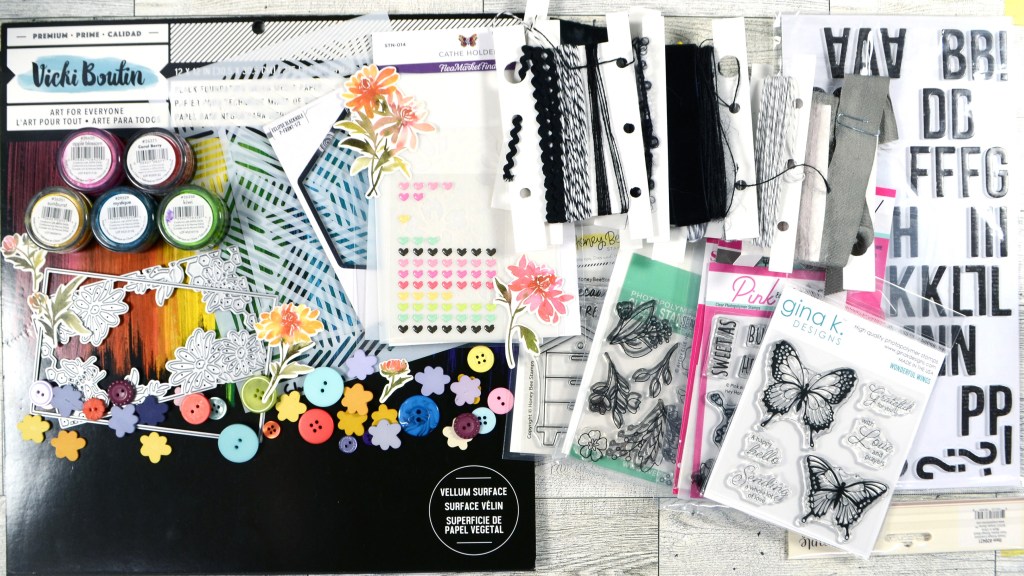
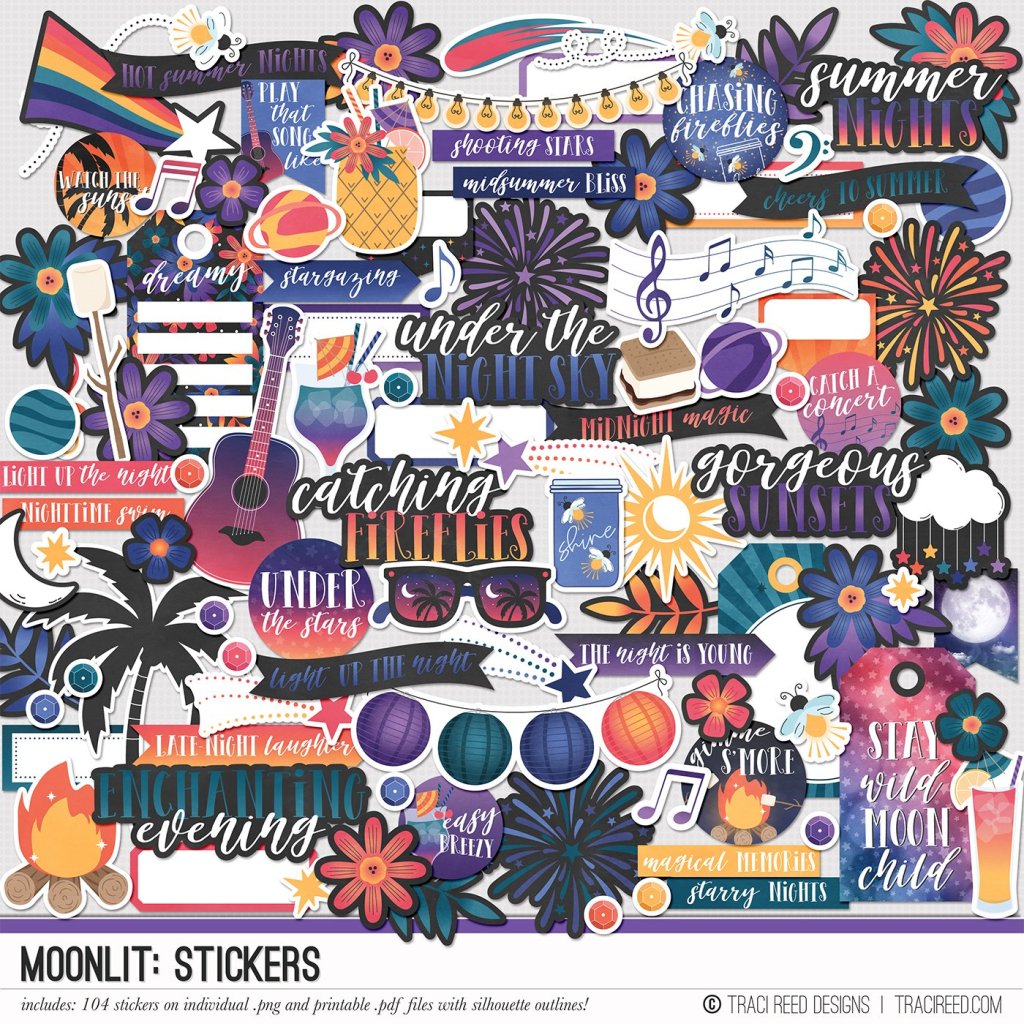
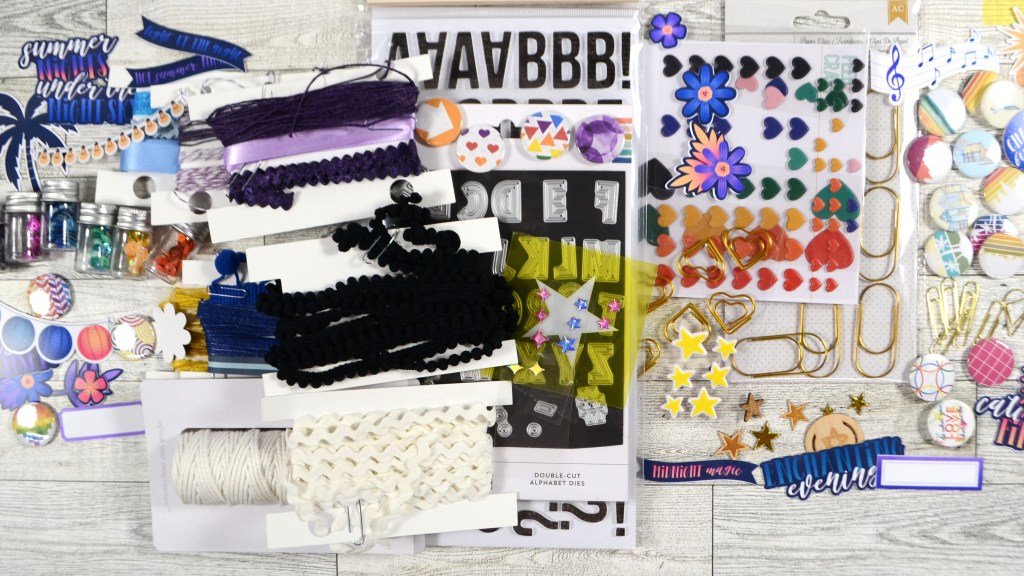
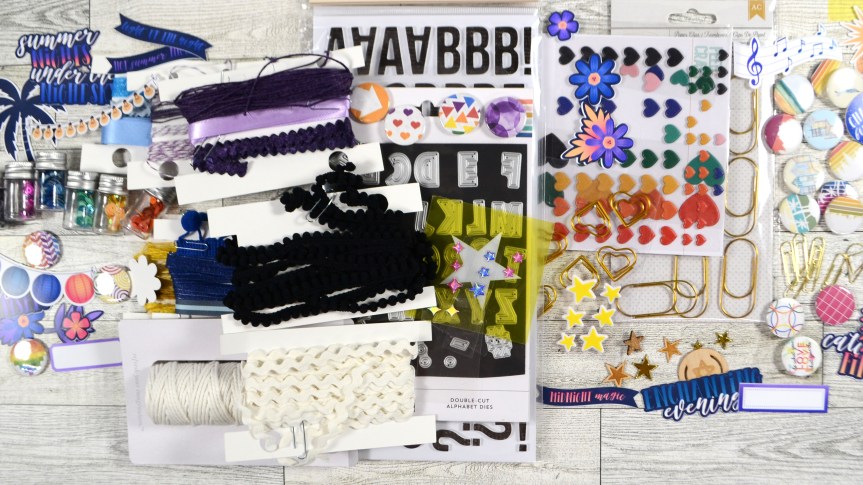
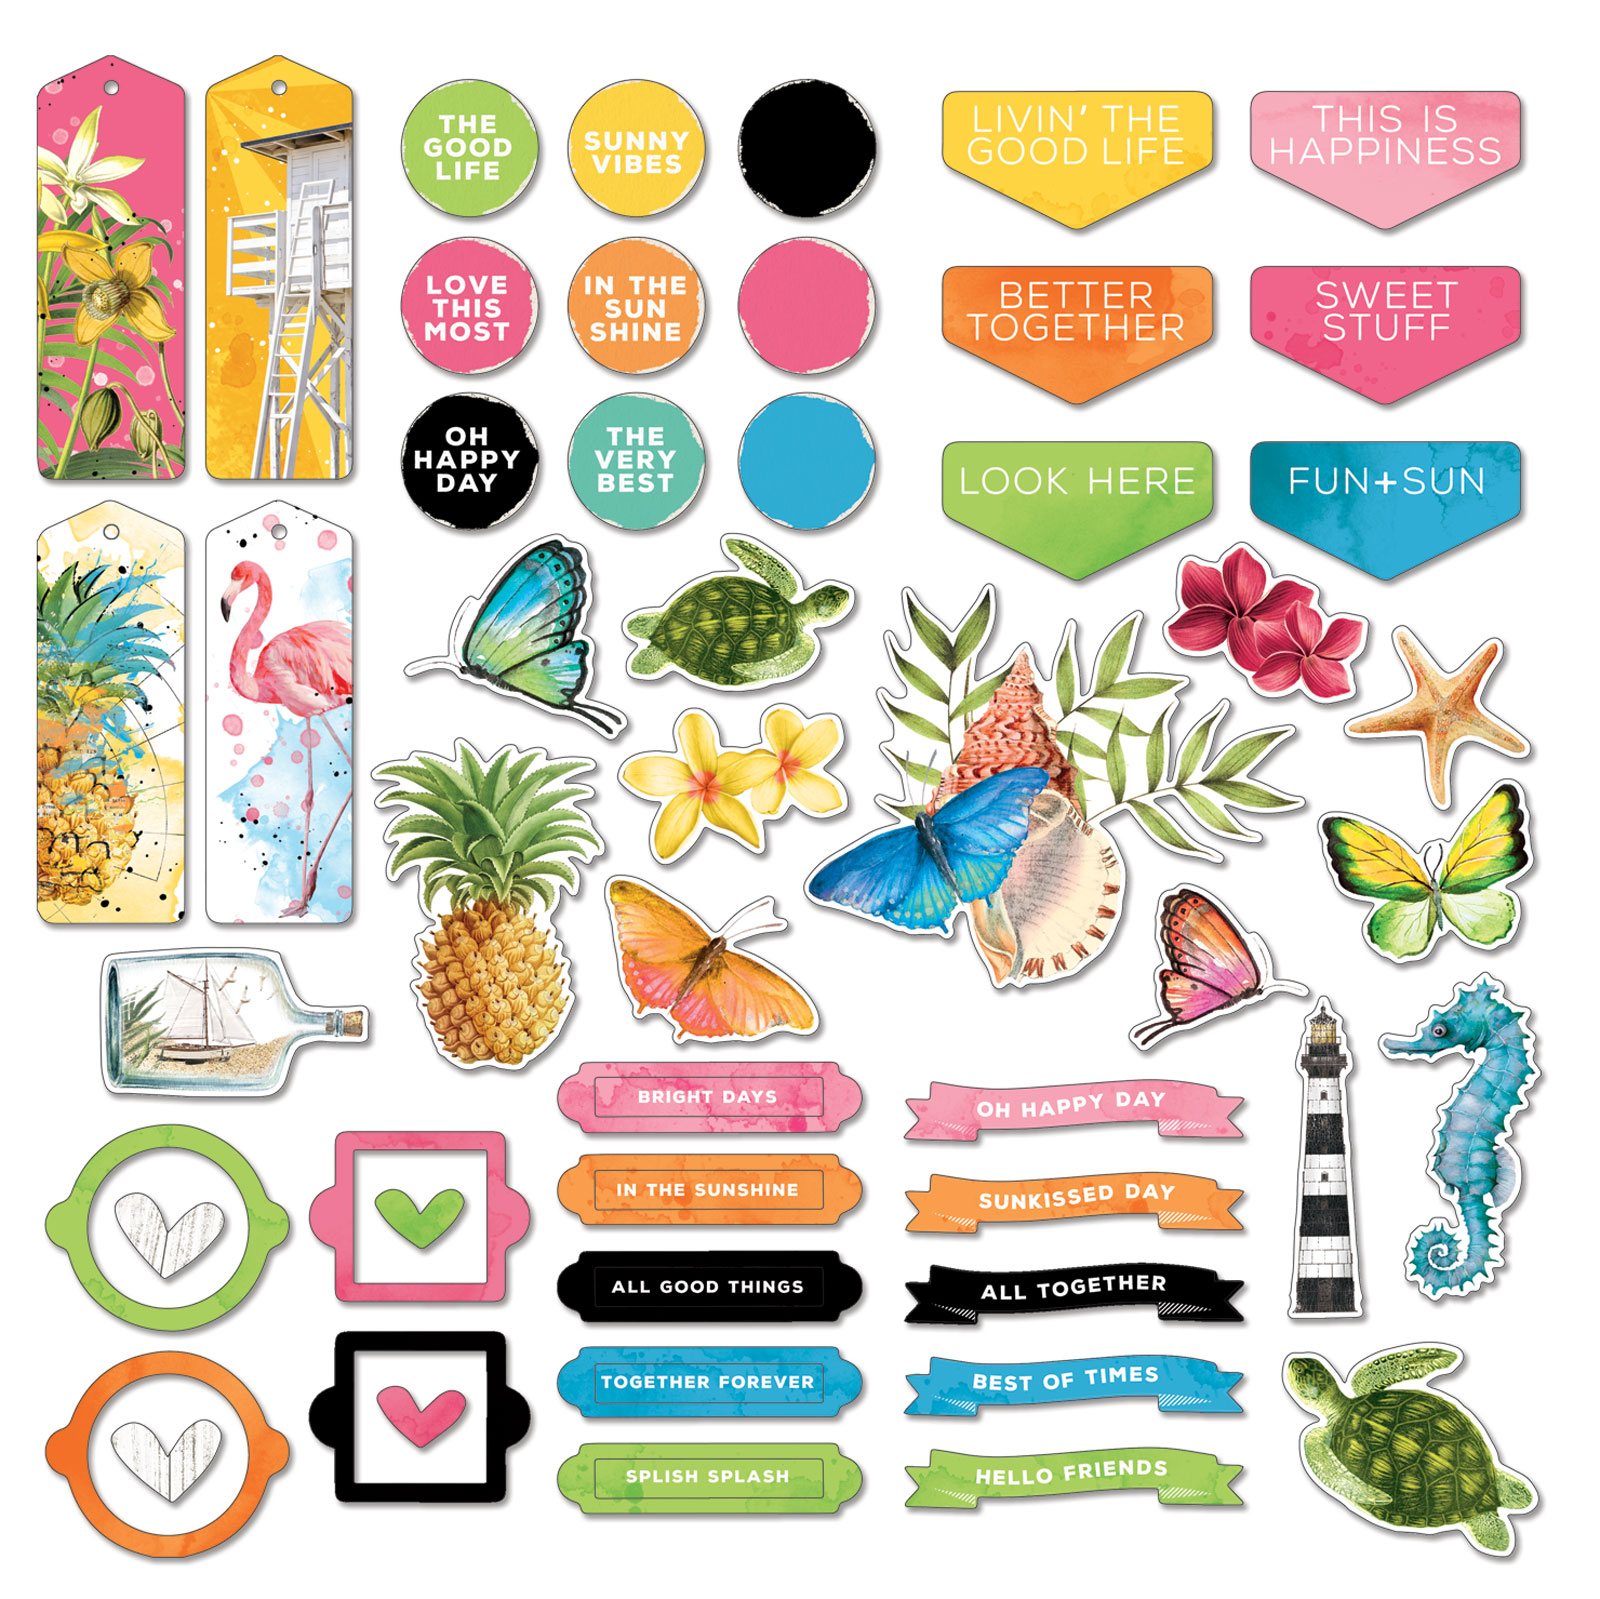
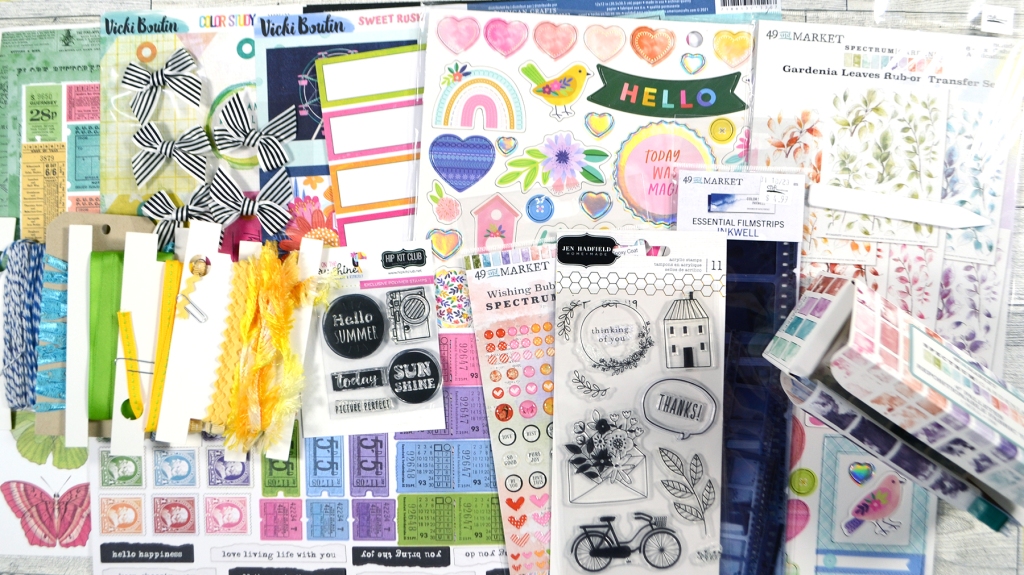
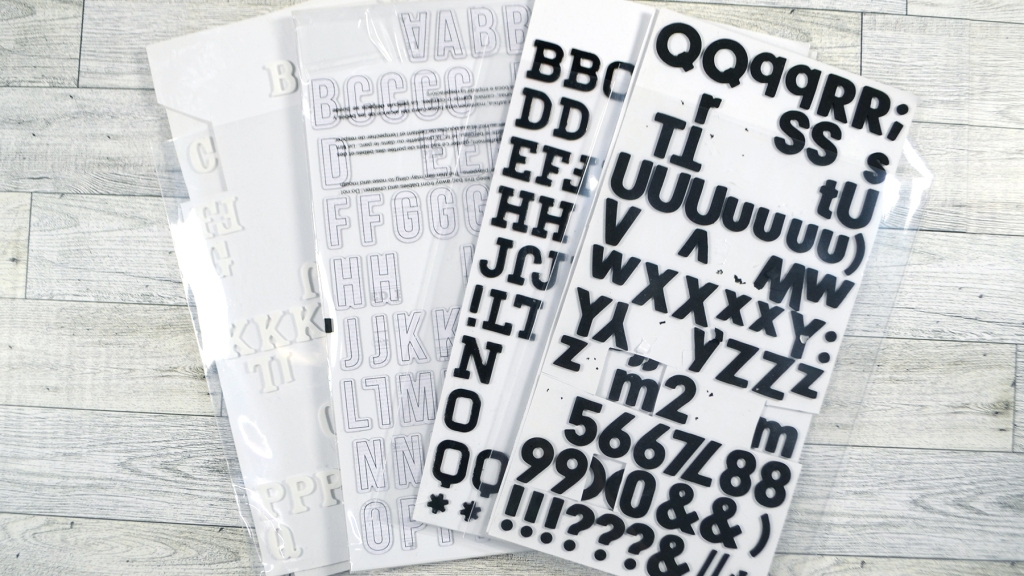
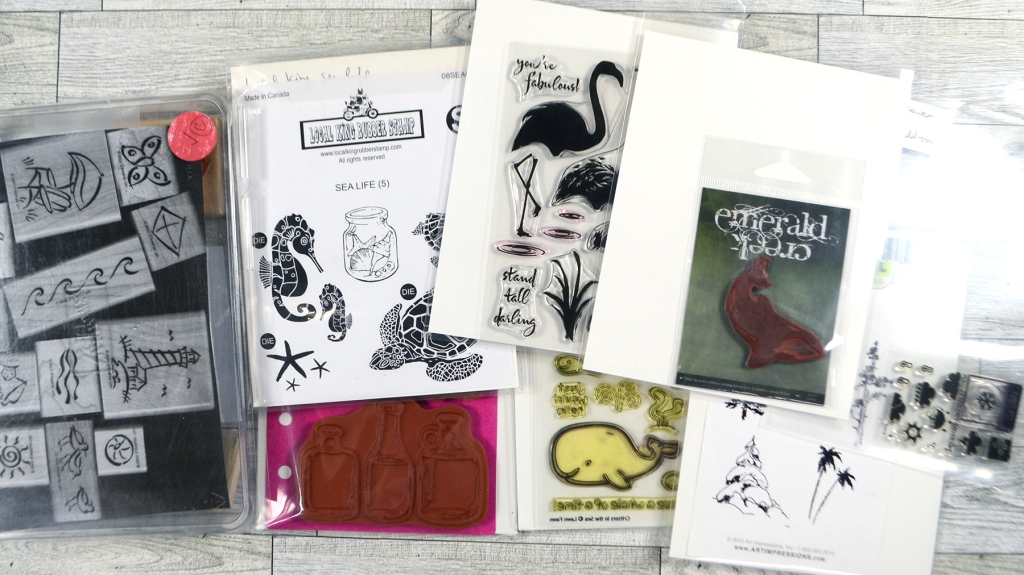
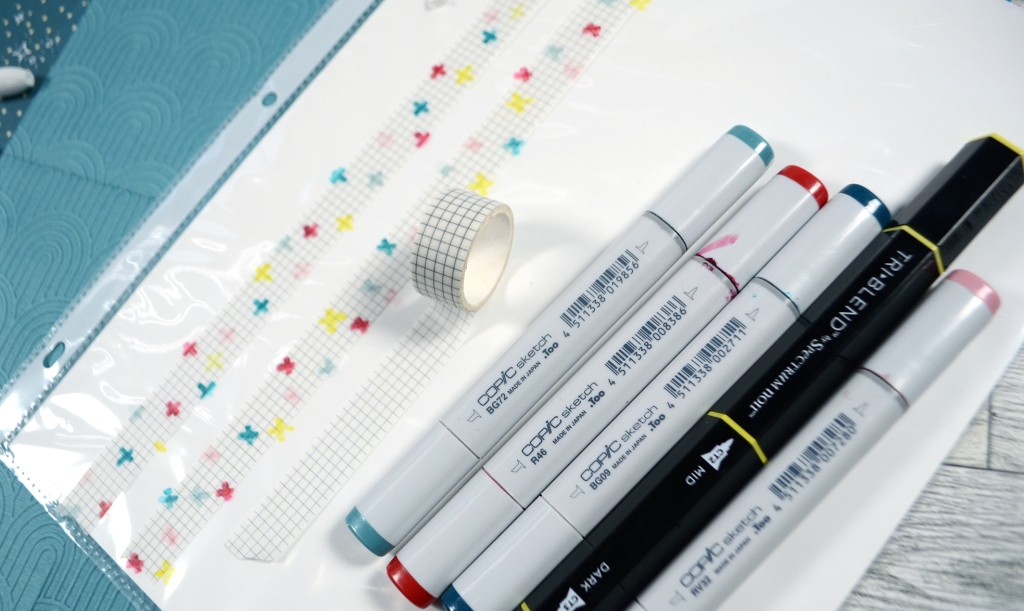
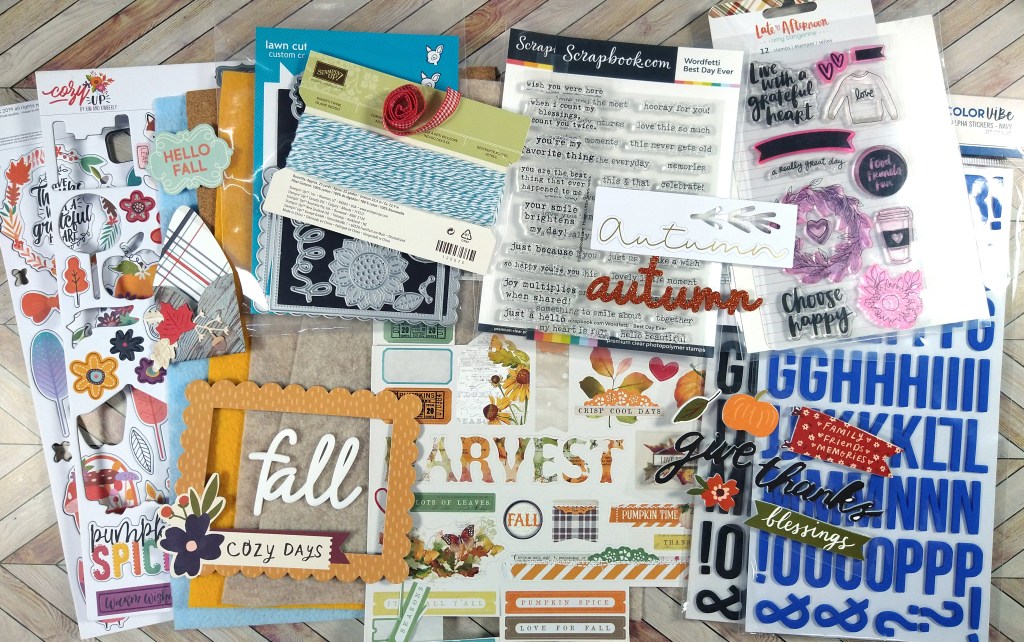
And here is a look at the embellishments. Despite the chaotic look of this pile, I kept it simple. I added dies and stamps to create items as I scrap. I added textural elements of felt and cork. Then I just plopped my entire fall embellishment pouch onto my kit. Done.
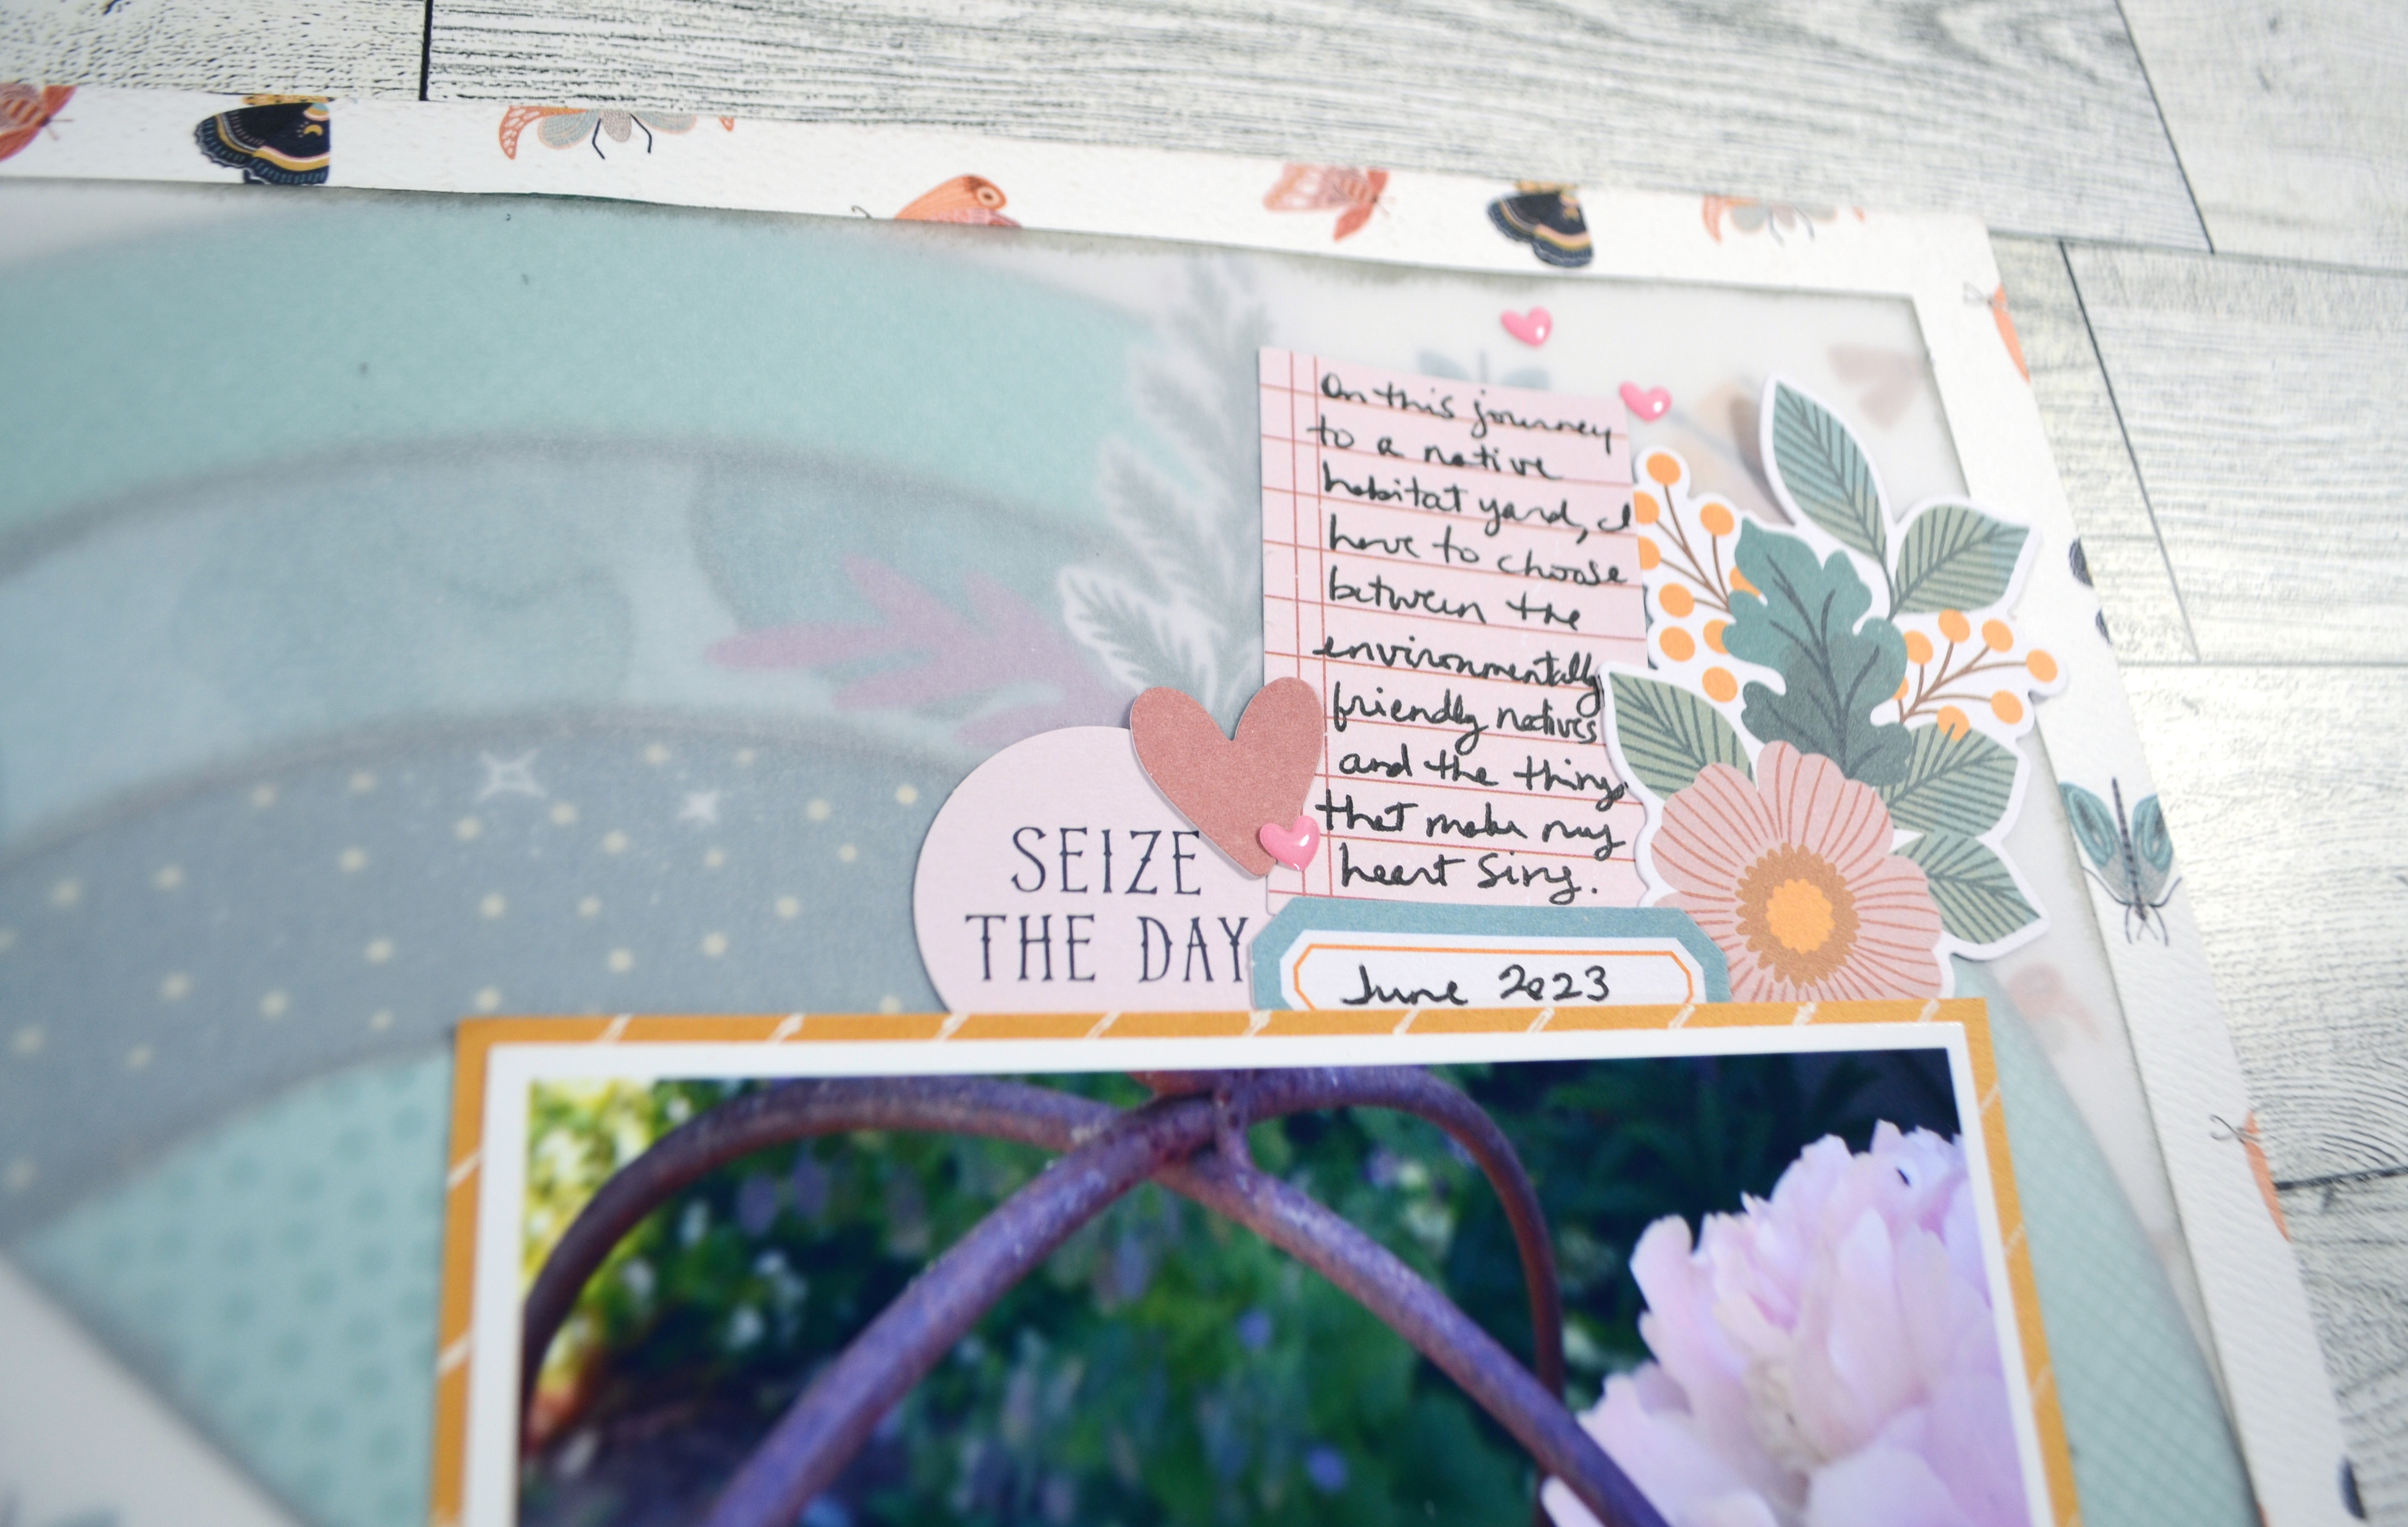
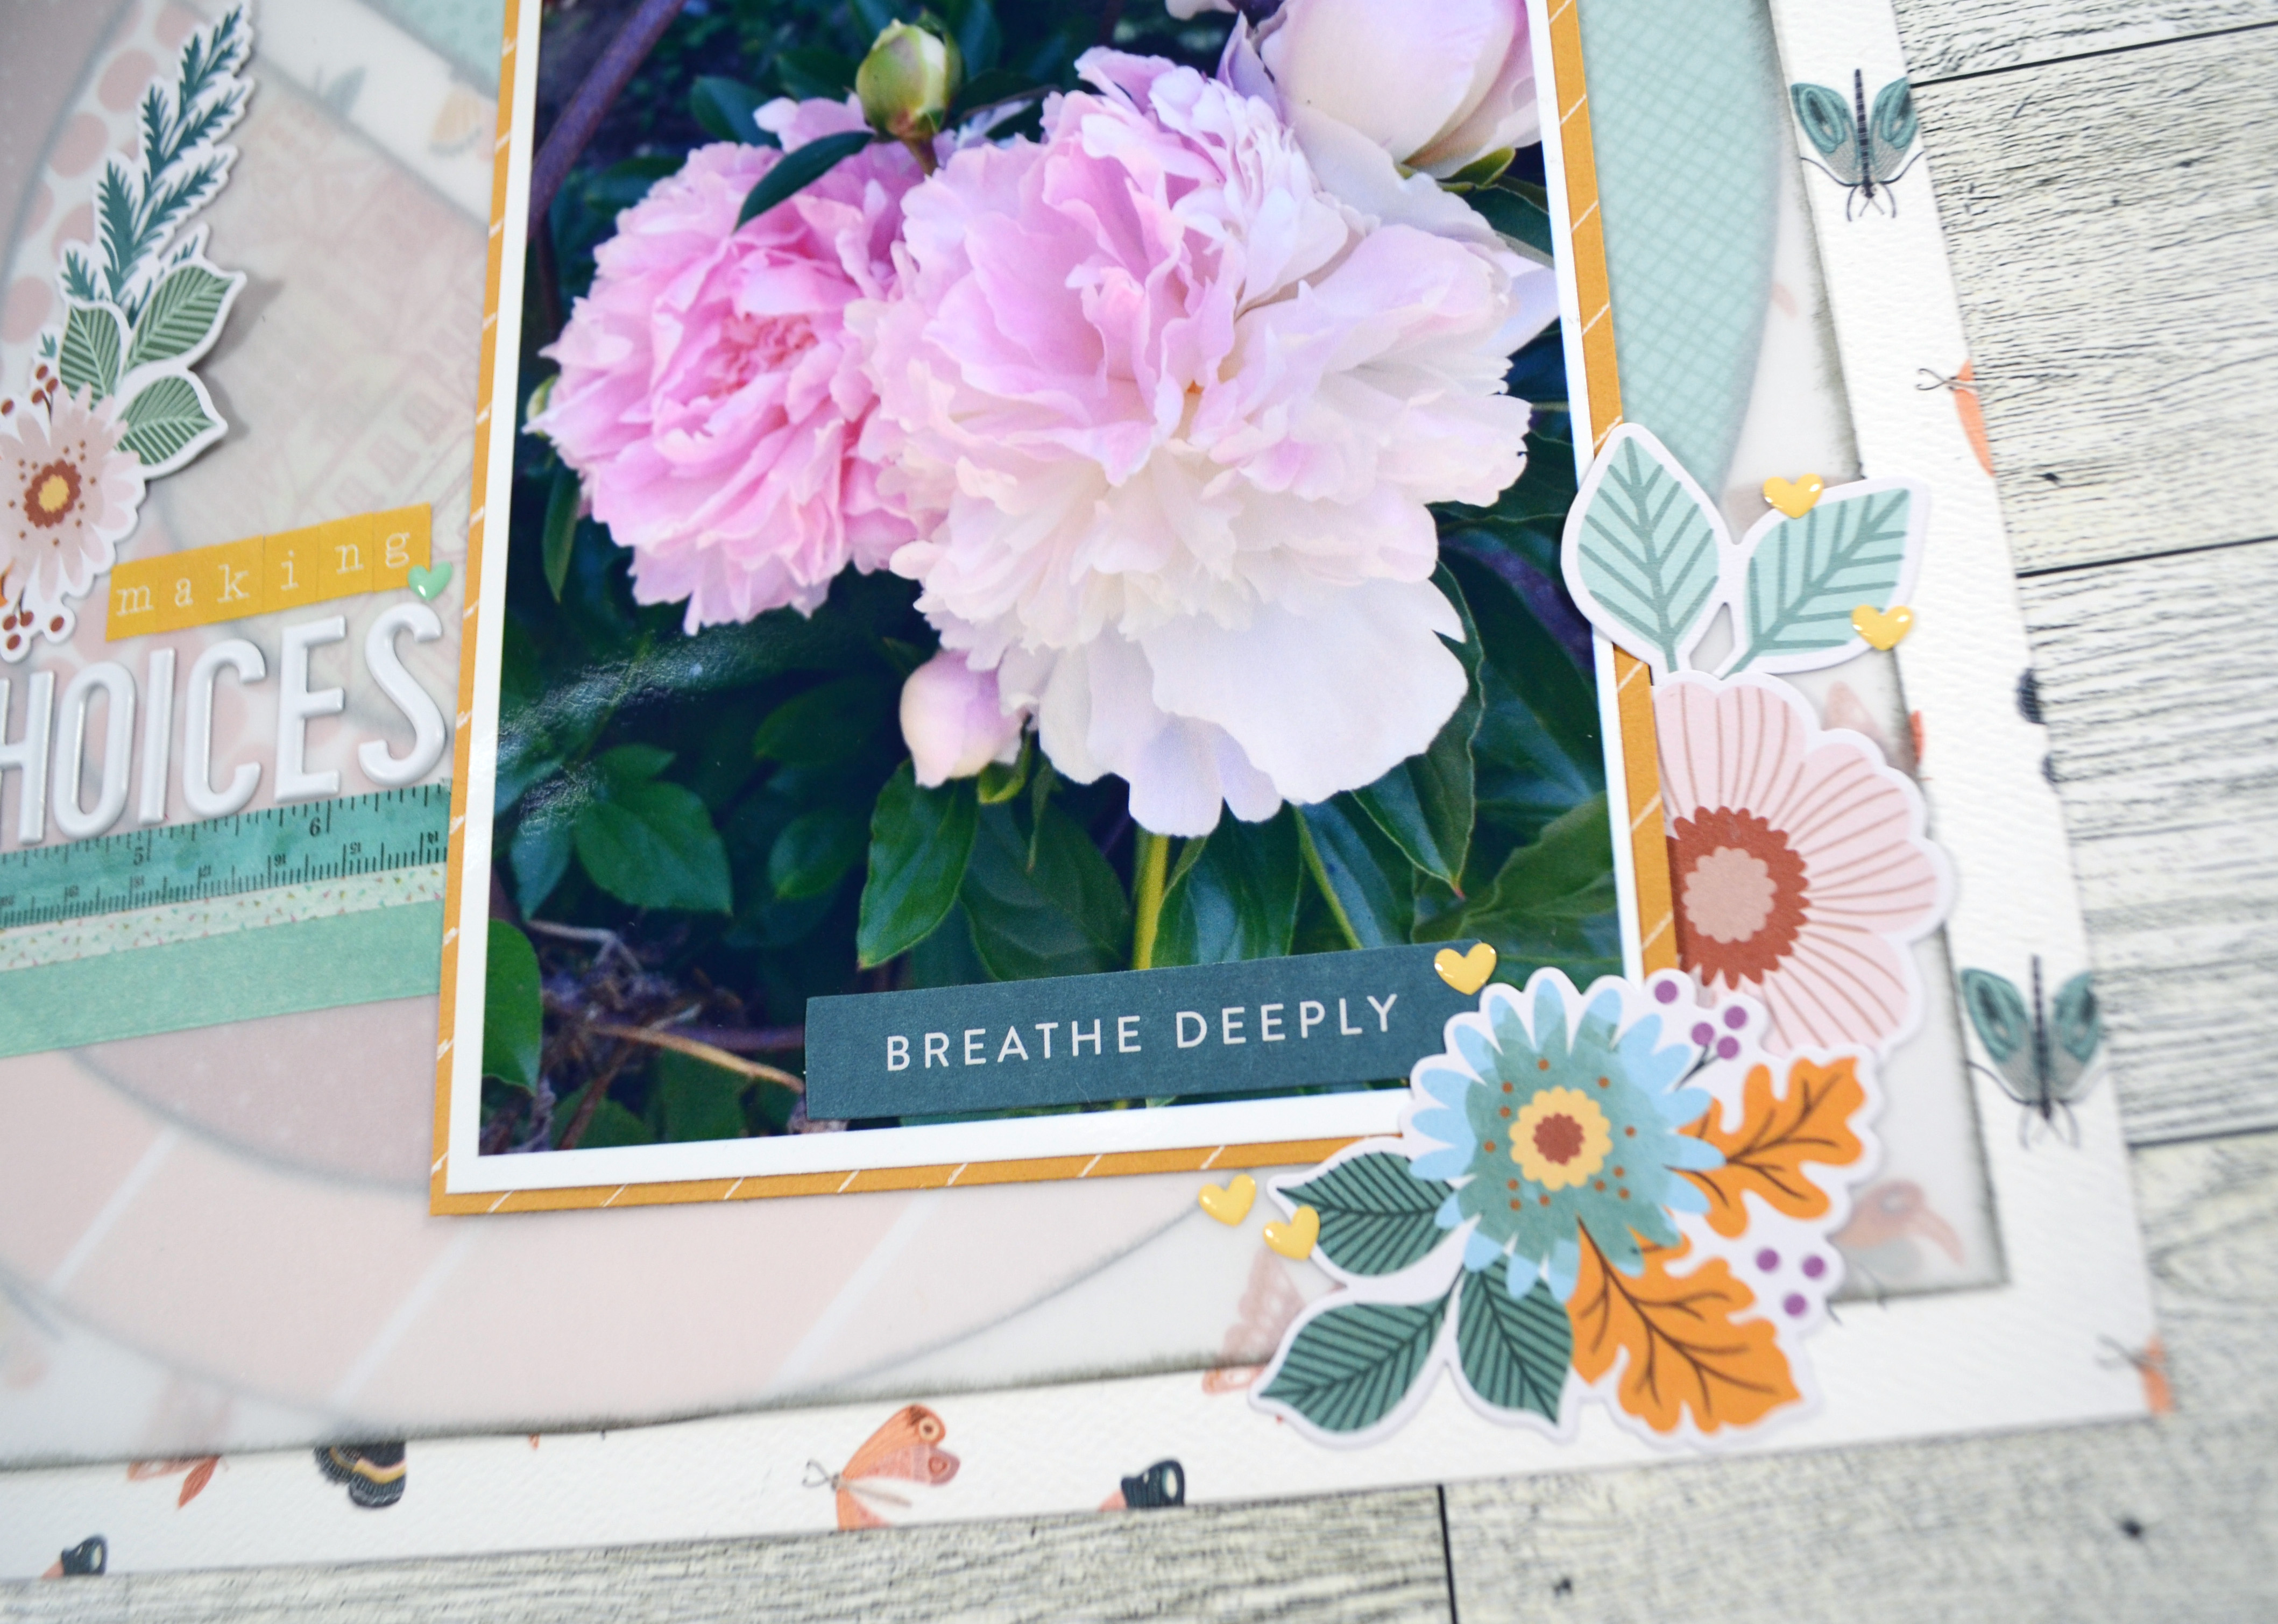
Don’t forget that each month I also create my own elements to add into my kit. Of course these are inspired by the original kit, but often have a twist of their own. So don’t miss what I will make in just a couple of days. I’m loving my ideas this time.
There is a tradition over at CKC of titling our kits just like companies do. So I’m calling mine…
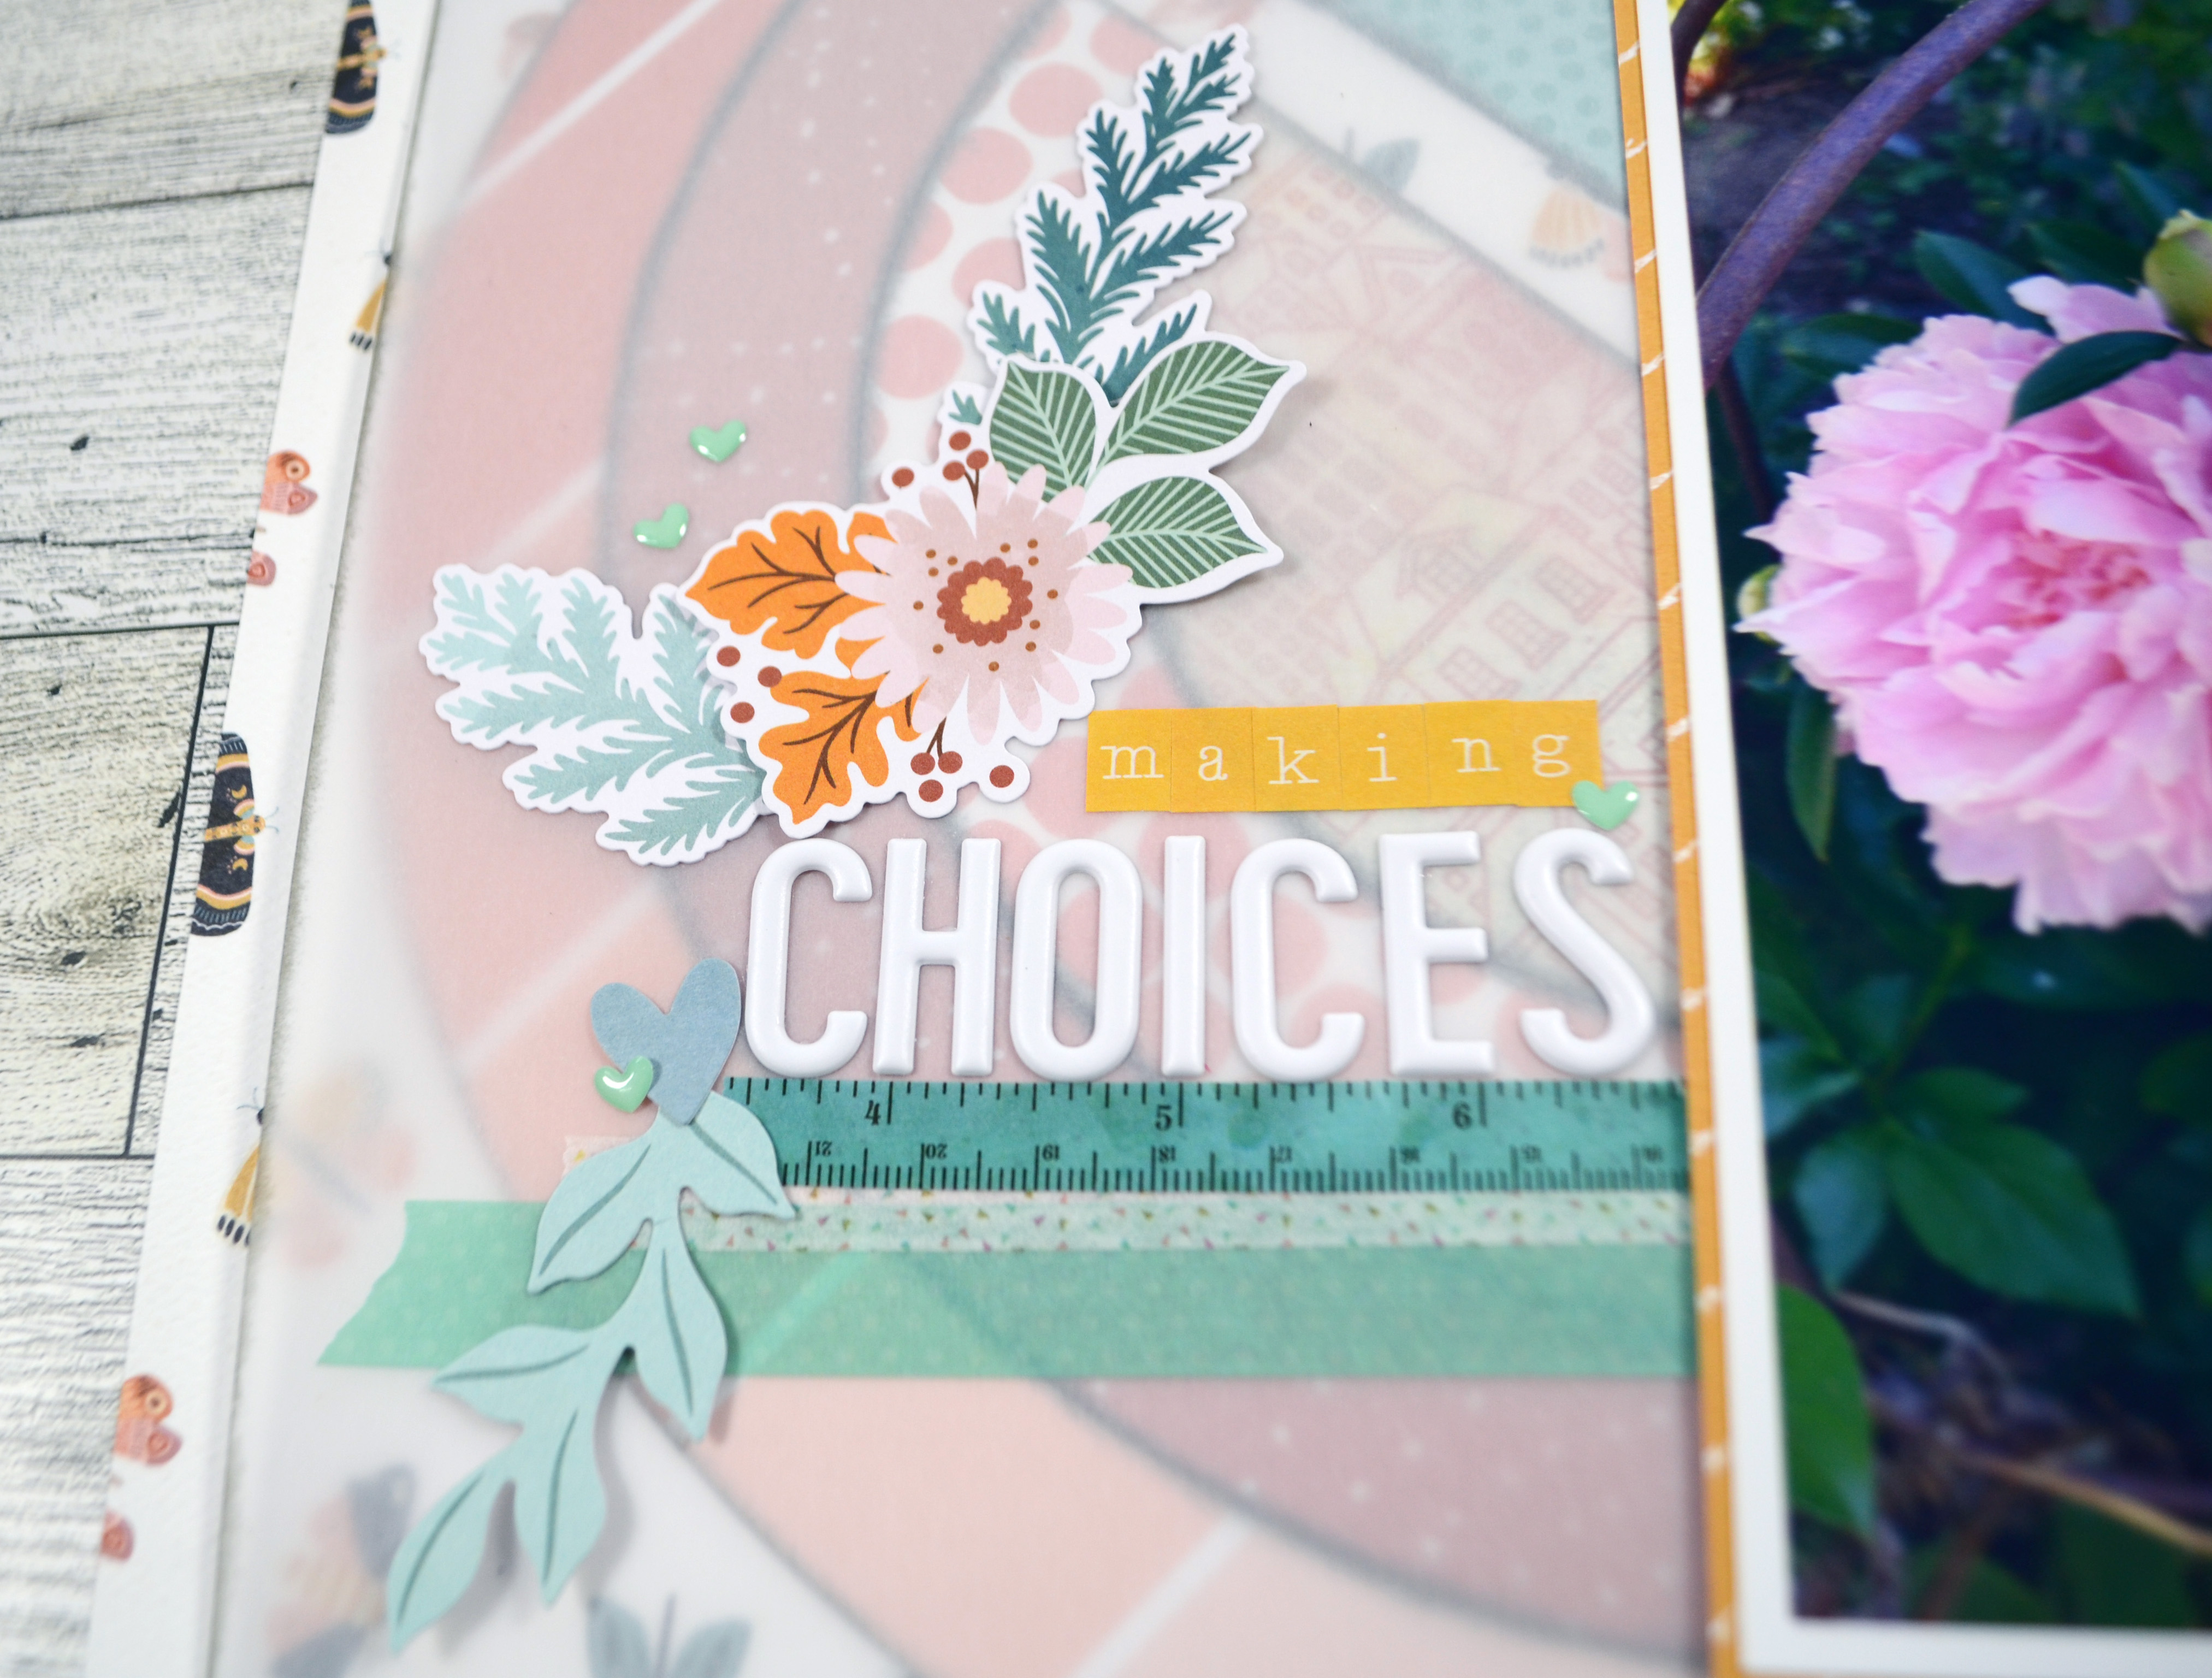
Easy Breezy Autumn
If you want more details on my kit building thought process, check out my kit build video.
I hope you can follow along with the other designers and see how they interpreted their own kits.
Here’s the full hop link list
- Counterfeit Kit Challenge – http://counterfeitkitchallenge.blogspot.com/
- Guest Designer – Liz Ketter-https://www.instagram.com/worktoscrap?igsh=MWp5OXJ6aGduYTU2YQ==
- Brandi – https://www.instagram.com/scrappy.boymama/
- Christine – https://www.youtube.com/@ScrappingHarden/featured
- Cindy – http://cindyscreations-cinmfoster.blogspot.com/
- Julene – http://julenebydesign.blogspot.com/
- Ryann – https://www.instagram.com/scrapbookjoey/
- Tara – https://kryptonite72-rambles.blogspot.com/
- Tina – http://tinasscrapcorner.blogspot.com/
- JoJo – https://www.instagram.com/scrappyconfessions igner –
Have fun kit building and don’t forget to show off your stuff over on the CKC Facebook group, or tag us on Instagram @counterfeitkitchallenge or use #counterfeitkitchallenge.
I’ll be back on the 4th, for our Product Forgeries. Until then, have an artful day!