It is no secret that I am a fan of crafty kits. I have subscribed to various kits over the years, largely scrapbooking. But I always end up cancelling. This is often for three reasons:
- On ongoing spending commitment. Many scrapbooking kits clock in anywhere from &25-40 per month.
- Stash overwhelm. I found I wasn’t using everything from those big kits every month.
- Shipping. Many boxes containing 12×12 papers cost $8-10 to ship. Imagine what I could by with the money spent on shipping.
And yet I still WANT the kits. I want the surprise. I want to try new things. I love getting goodies in the mail. I love digging into a fresh set of supplies and the inspiration that sparks excitement.
So what is a crafter to do when the pros and cons collide? I went on a search for smaller scrappy kits and couldn’t find what I was looking. Then somehow I realized that the SCT Sampler kit, put out by Scrapbook and Cards Today Magazine, was right under my nose. (And just to get this clear right now I do not in any way work for SCT. I simply use their kits and am happy to share my love of them.) The kits are packed with fun at a fair price point, between $14-17 per month including shipping. Longer commitment = lowers price. Yes there is still a commitment but that is why I like to show these kits off so you can decide if they are right for you.

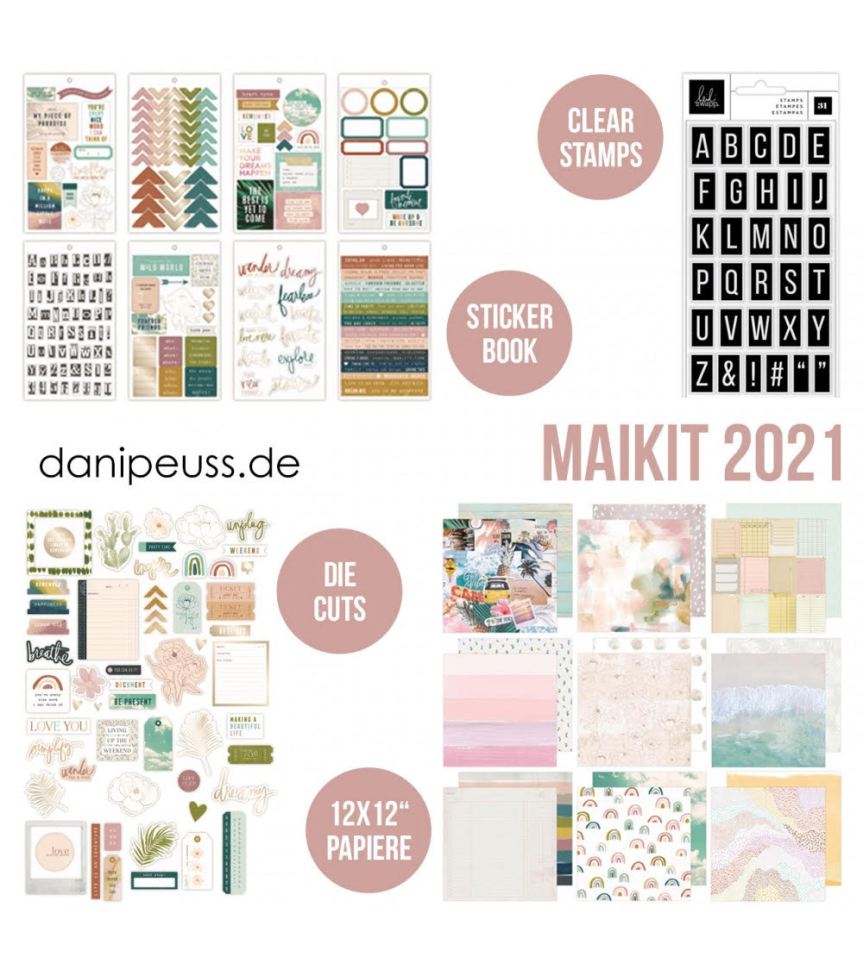
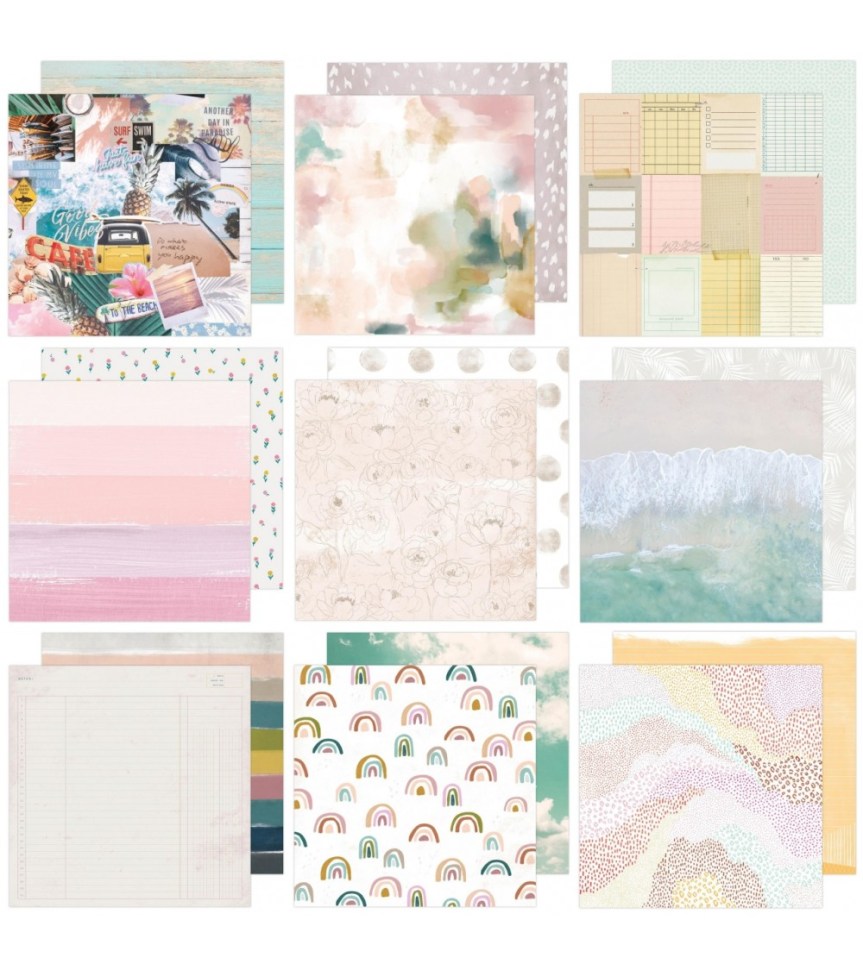
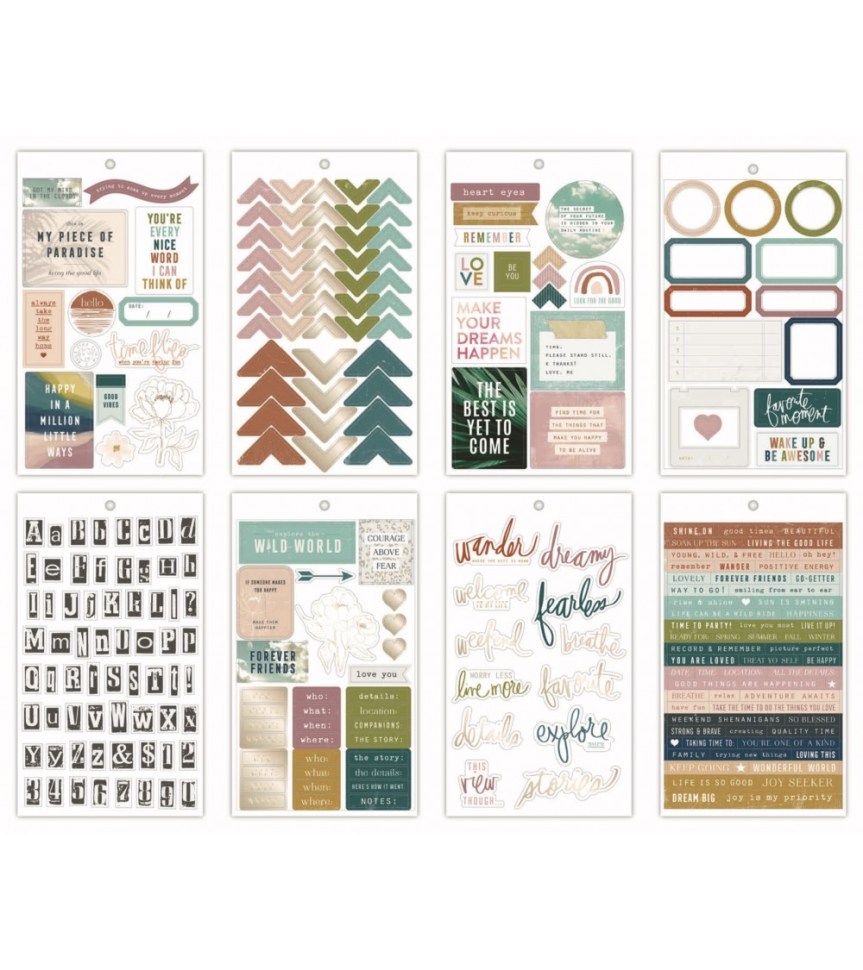
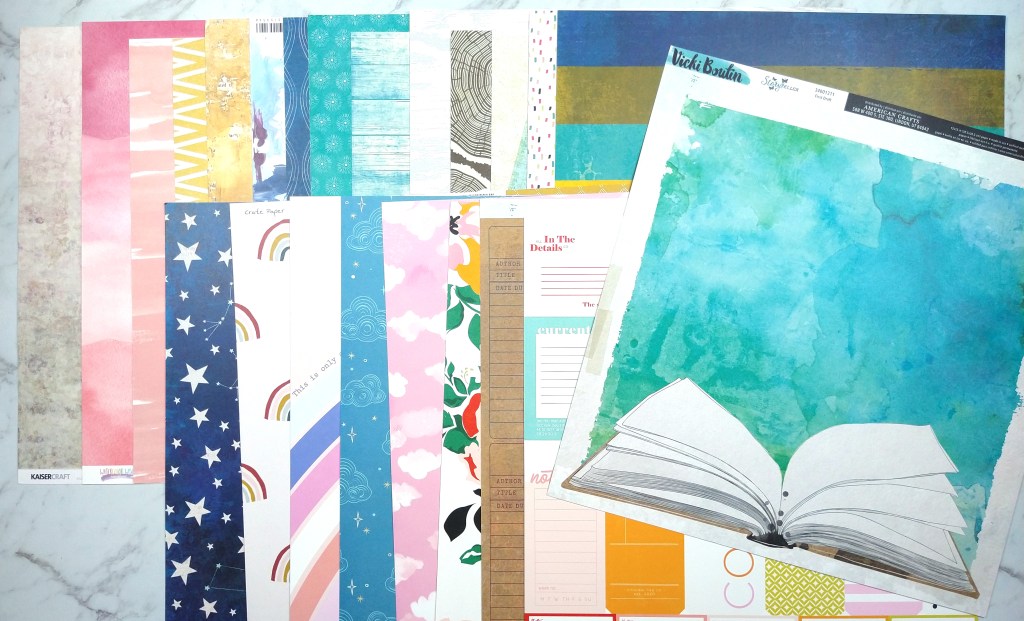
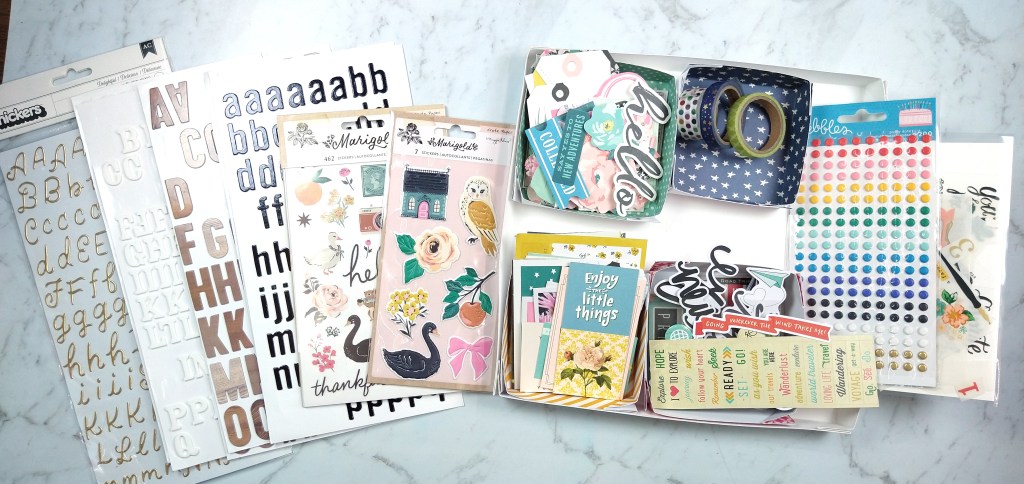
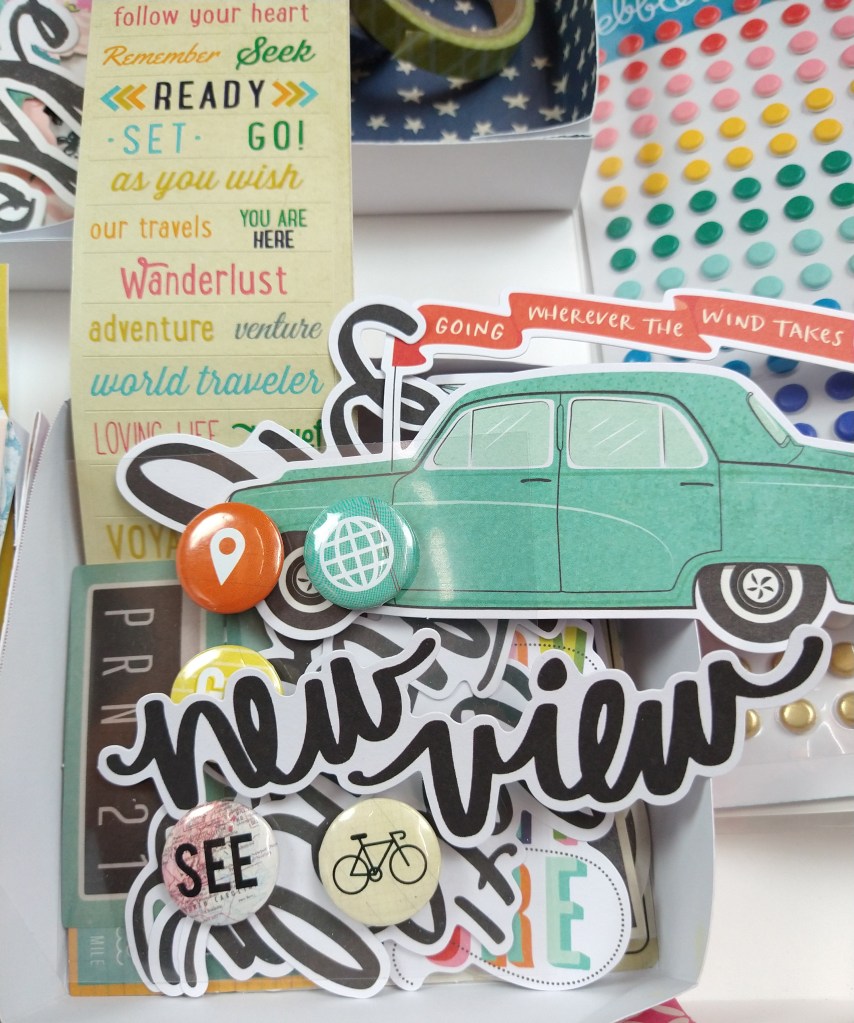
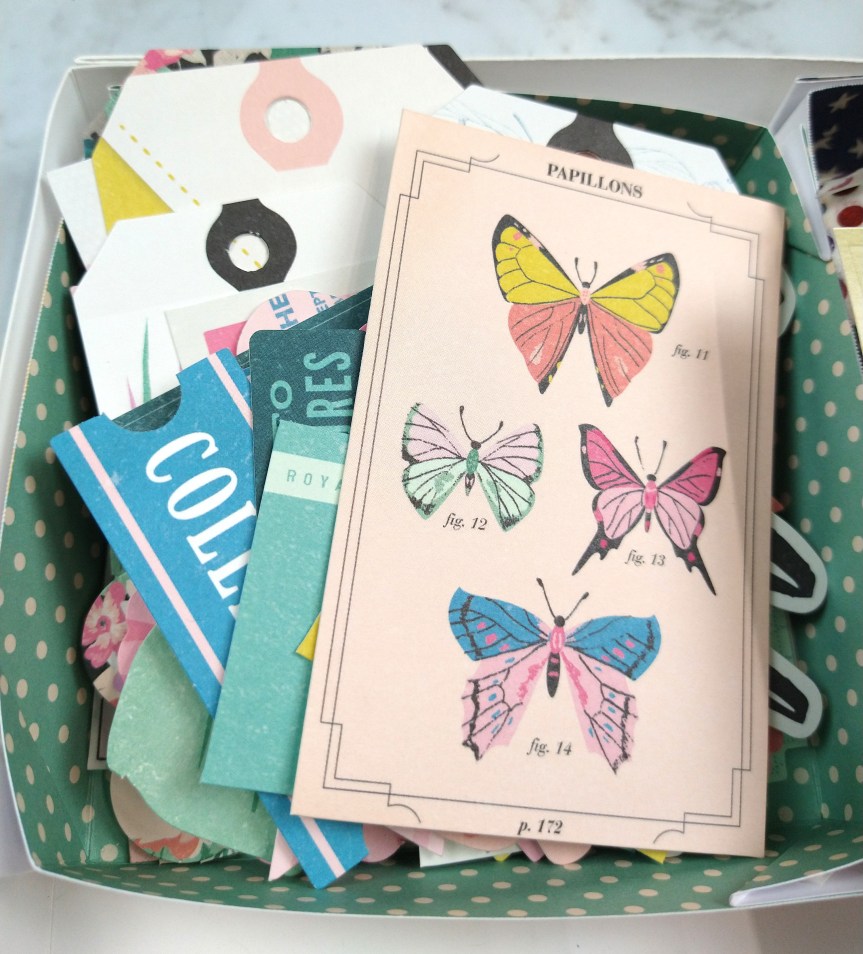
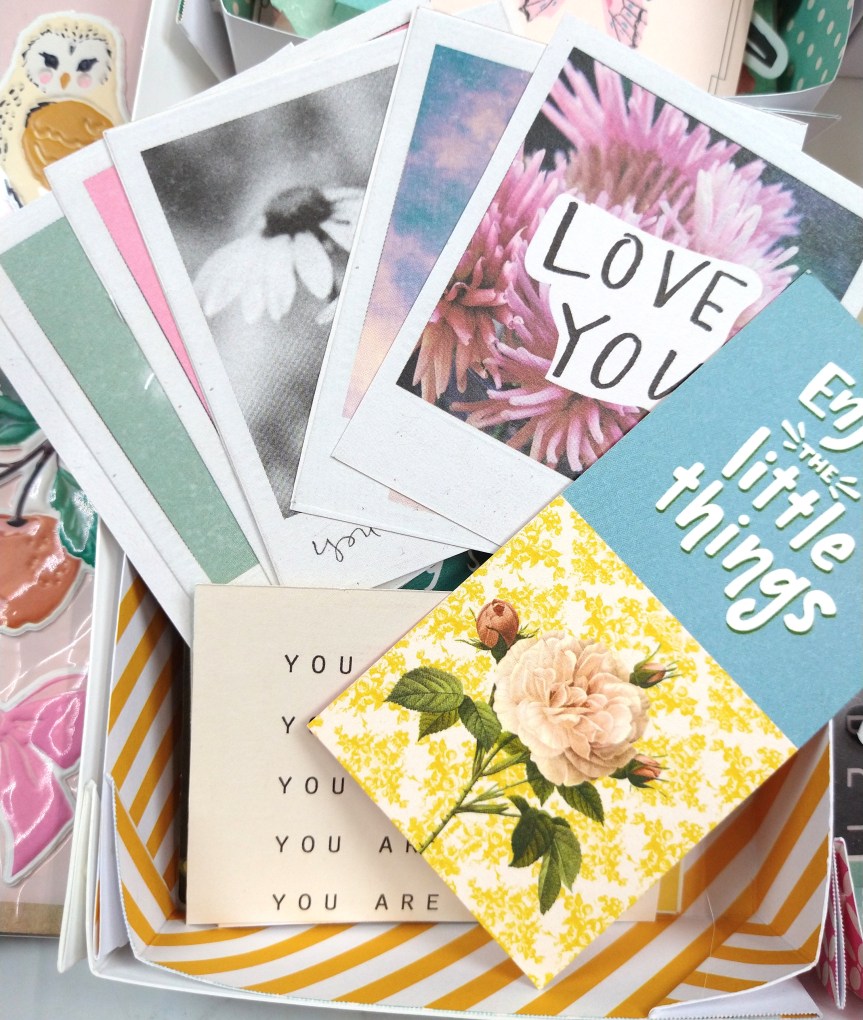
Look at the goodies that come in a typical kit! Like the name implies these are samples of supplies. You get 6×6 papers cut down from 12×12 (no shipping fee on the “large” item boxes!). You get partial packs of die cuts, stickers enamel dots and other items from two different paper collections. You get a theme word embellishment (currently a chunky acrylic word). Plus there is a long-term reusable item that is often a stamp set but may otherwise be a stencil, storage pouch or other item to keep.
You can see the full unboxing on my YouTube channel. I even have a playlist of previous kits so you can see the things to expect from these kits.
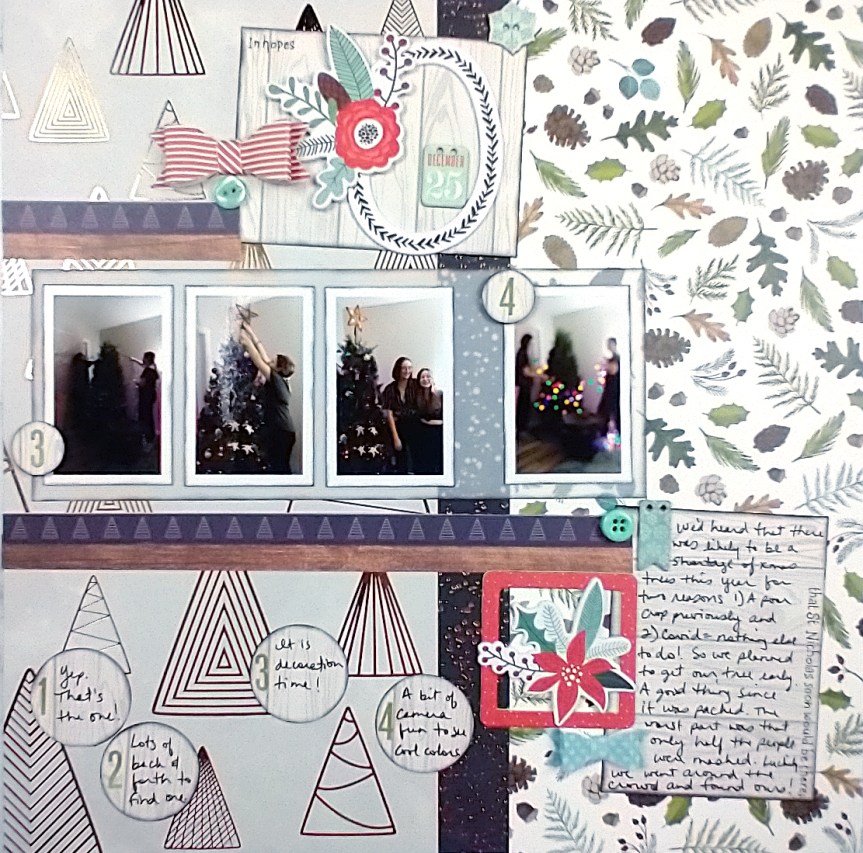
When you watch my unboxing I also do a project to show you that these kits can pack plenty of possibilities. For this episode I created a Christmas layout using summer products!




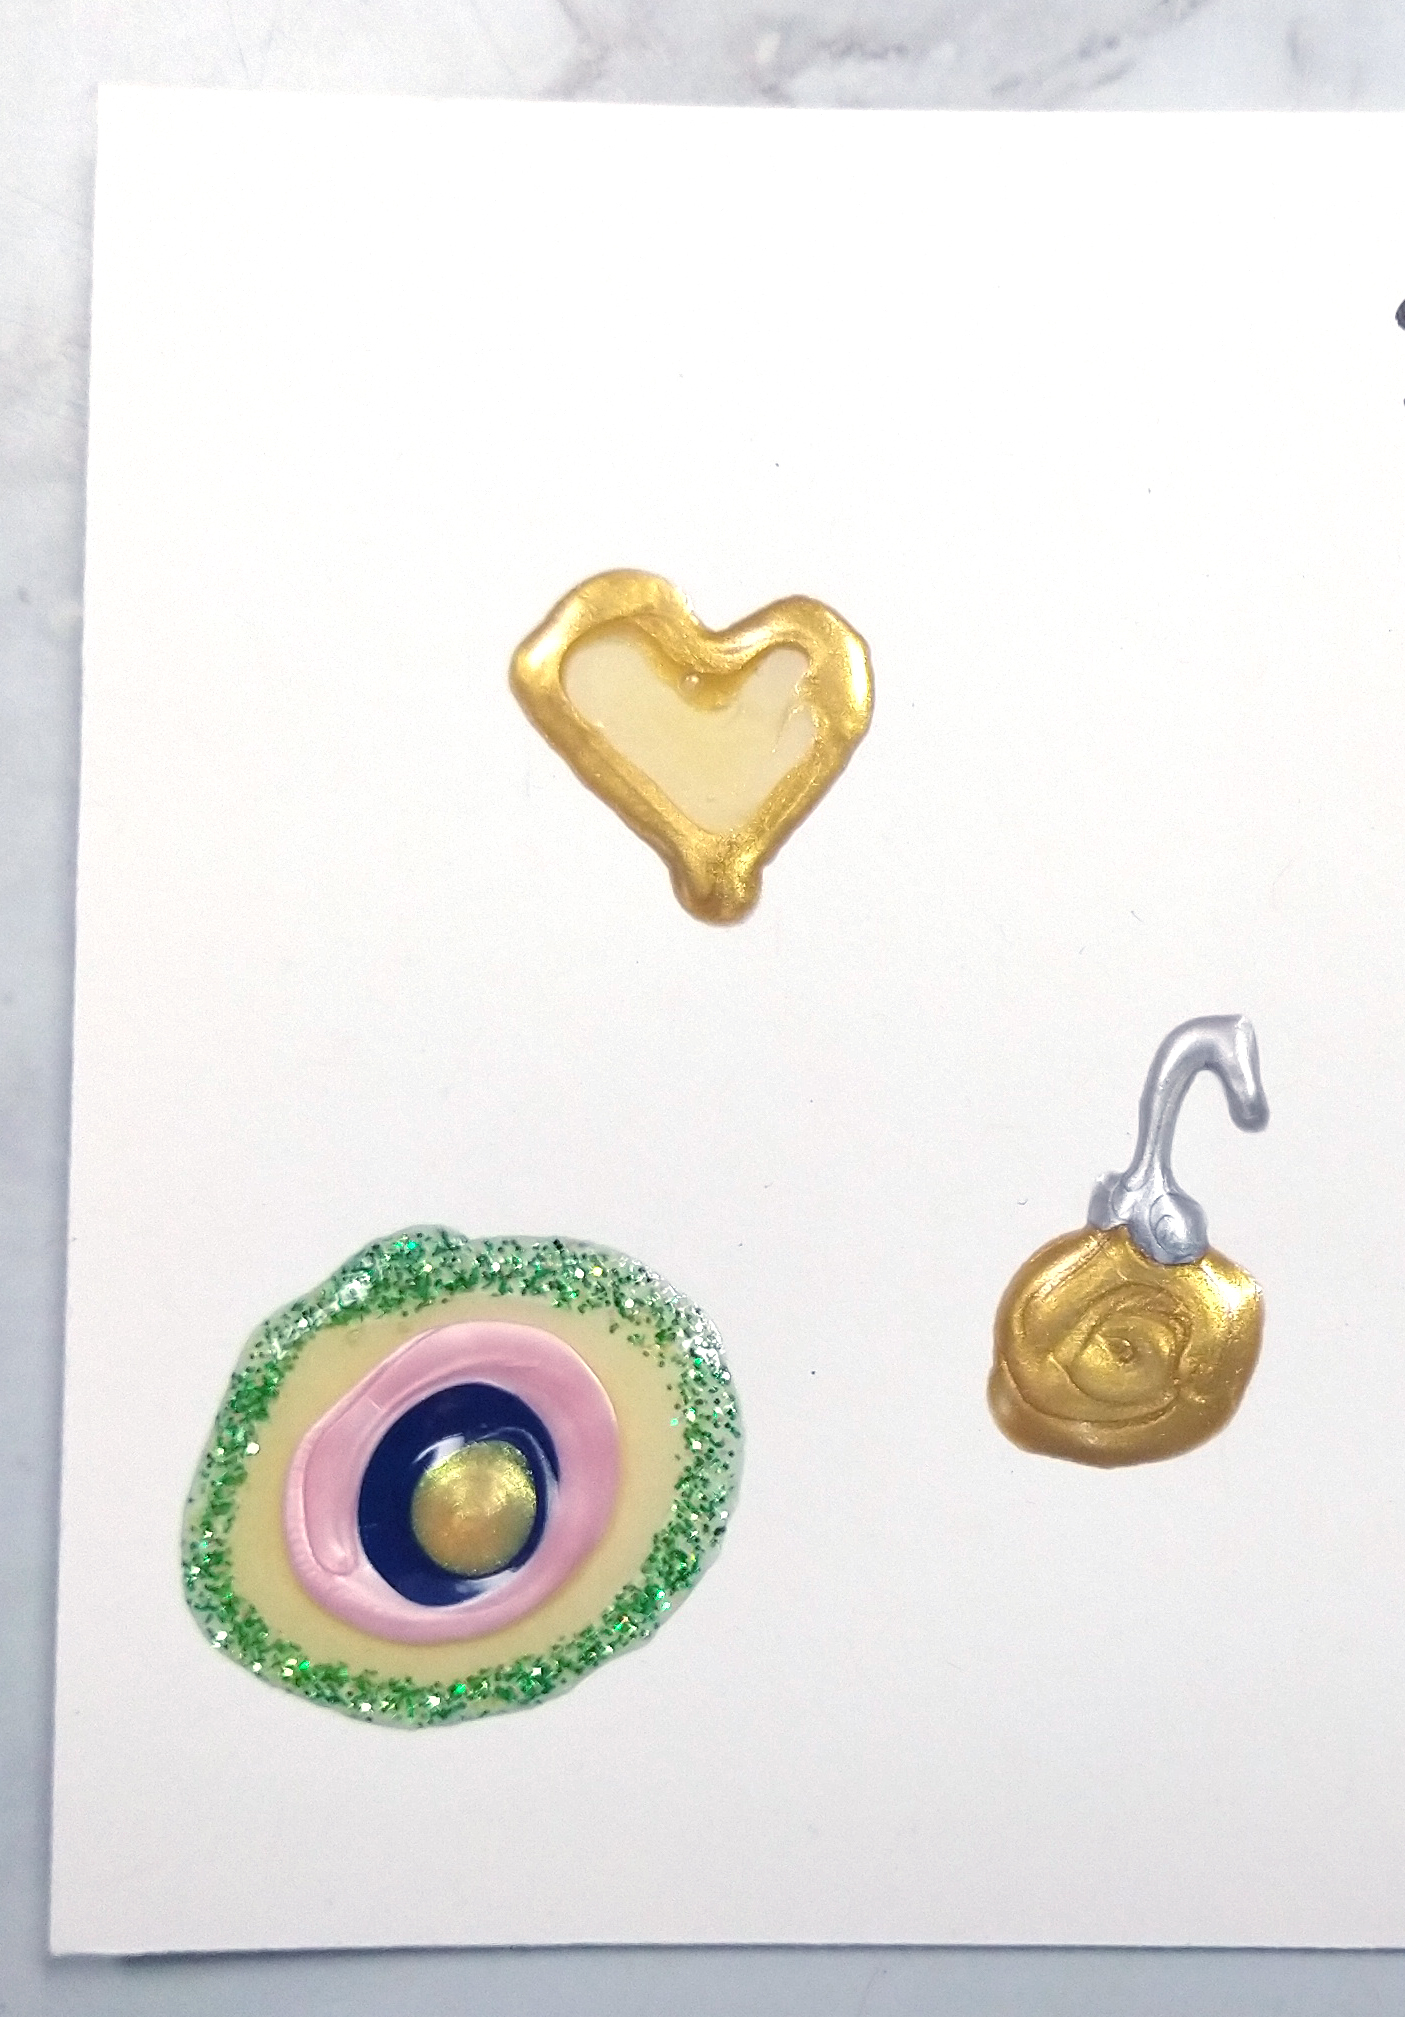 While you can do all the enamel style dots your heart desires, why not try other shapes? Go ahead and mix and match colors while you are drawing. And don’t forget you can draw fun things too. I once drew a fork and knife as embellishments to a scrapbook layout.
 If you just draw a rectangle around an items like a photo or embellishment cluster, then you have a frame. Or doodle it up for fun borders.
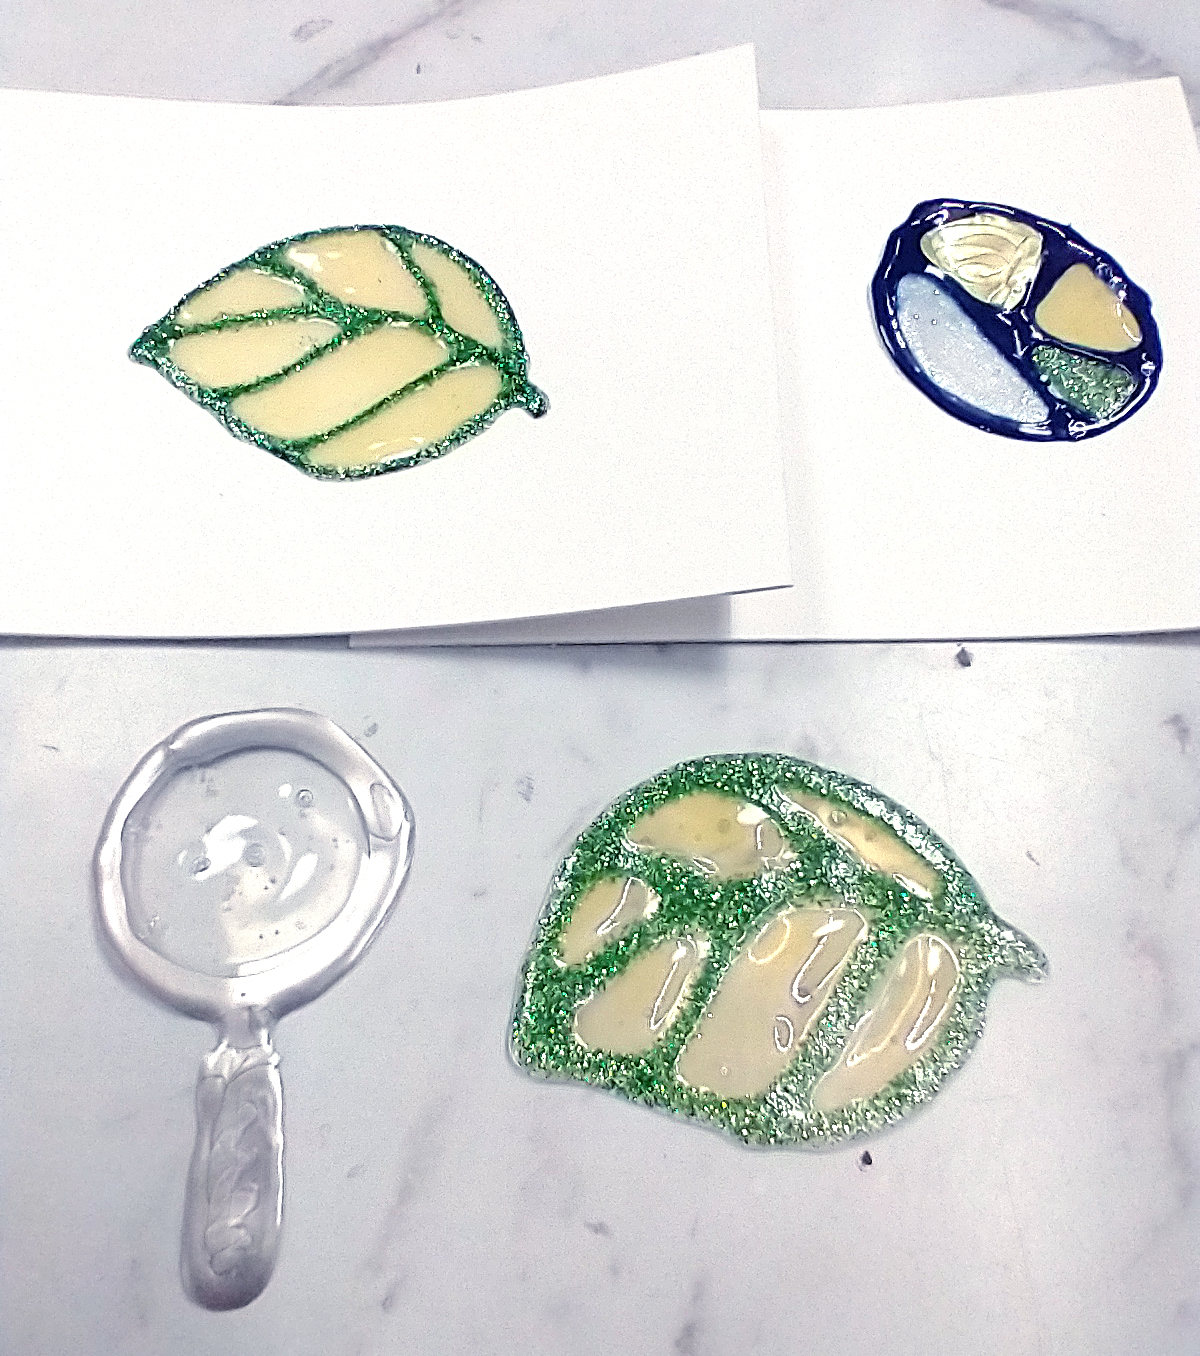 Two important things to note here. First did you know you can draw with Nuvo drops on a non-stick craft mat (or sheet of plastic packaging, or a glass mat) and then pop the pieces off the mat for a stand-alone embellishment. Second some of the drops dry clear or translucent. You can put these to use for a stained glass look or for mimicking actual glass.
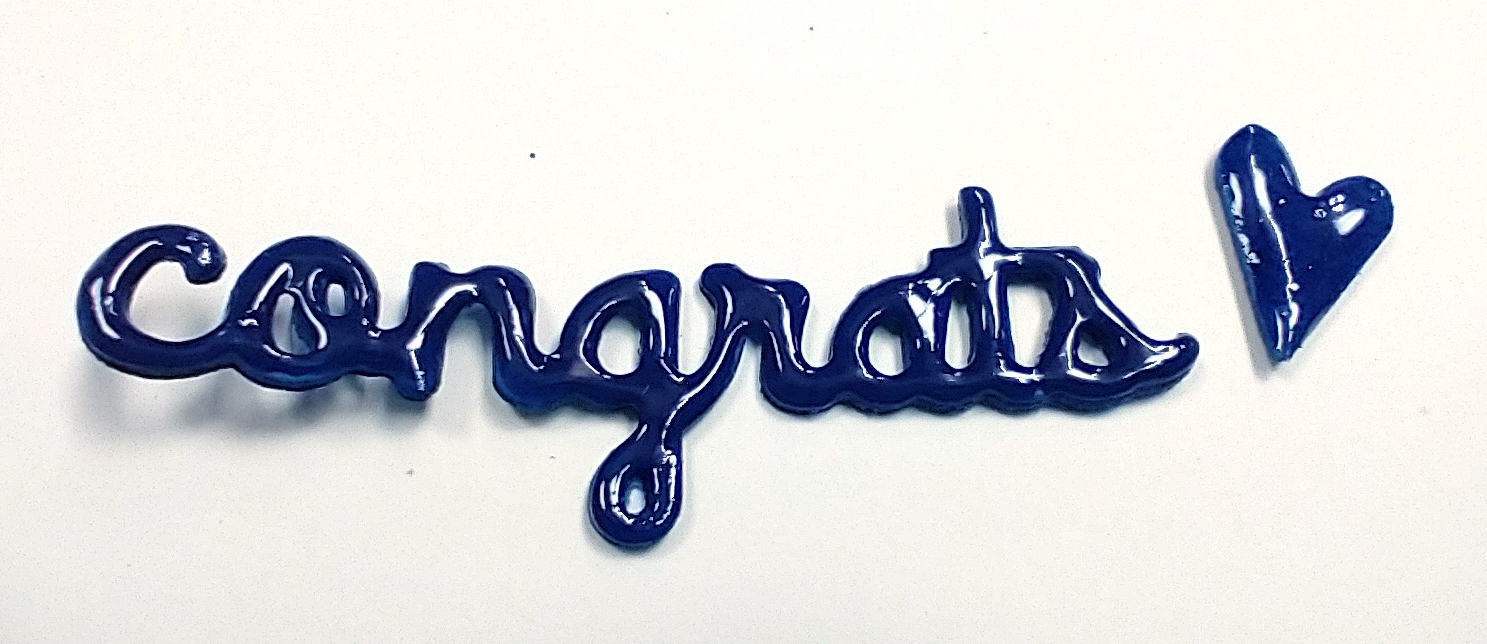
 Have you ever thought about writing with your drops? You can do titles, greetings or word embellishments. You can just free draw or you can use this tip: Cover a printed sheet of words with clear plastic. Then trace the words onto the plastic. Let dry 24-48 hours (more is better). And then you can add these words to your projects. You could also write with a pencil or stamp in a light colored ink directly on your project and then trace over with an opaque style drops (most of them ARE opaque. Jewel drops are an exception, as well as clear colors. Glitter drops have a clear base with colored glitter so you may be able to see through parts of the image is you use the glitter drops.)
 Likewise you can create your own puffy alphas in the same way. I prefer tracing for this so that my letters are consistently shaped and sized.
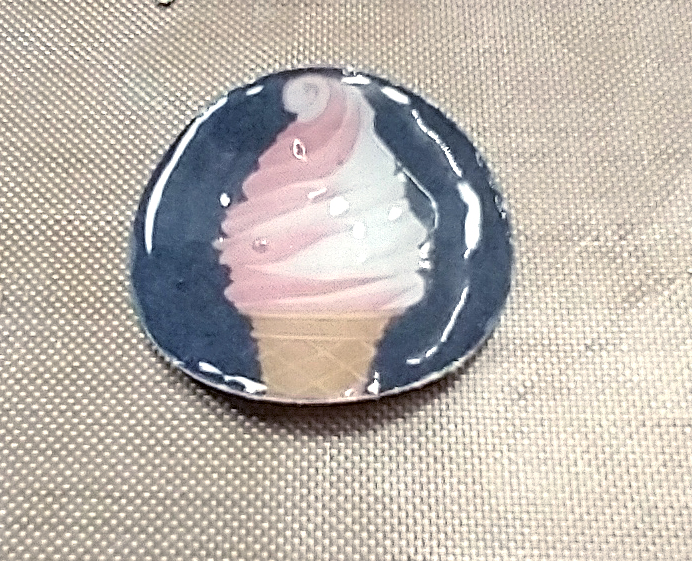 You can make your own flair-badge type embellishments. Punch out an image from some patterned paper and top with Morning Dew (clear!) Crystal drops for an epoxy-like finish.
 If you do the same thing with very small punches then you get a “fancy” style enamel dot look. Just be sure to put temporary adhesive down on a craft mat. Stick your punches to the adhesive and THEN cover with your drops. This will prevent your pieces from sliding around and requiring you to touch them. That just ruins the drop’s finish.
 A further idea here is to replicate acrylic pieces. You need to punch or die cut three layers of cardstock. Glue the layers together and then top with your clear drops. The added thickness of the multiple layers makes it look more like acrylic.
 Go ahead and use your drops through various stencils. You can mix and match colors of drops, use a mask under the stencil to keep an open portion and even combine multiple ideas for added interest. Just don’t forget to wash your stencil immediately. If the Nuvo drops have a chance to dry and your stencils it will “clog” them up and ruin your stencil.
 Have you ever done a heat-embossing and ink resist technique? This is the same thing, only easier. Just draw/stencil/write an image onto your project. Let dry overnight and then apply water-based inks the next day. Be sure to buff your Nuvo shapes with a tissue just a bit to remove any excess ink. Then you are left with pretty, colorful designs.
 I know this is titled 10 ways, but here is a bonus 11th way. Just smear your products onto projects. This is much more mixed media vibe, but it can be oh so pretty. Here I’ve got a beach scene using opaque drops, glitter drops, and there at the bottom, stone drops. The stone drops have a sandy texture and when inked with brown will hold the color a little and actually look like sand.
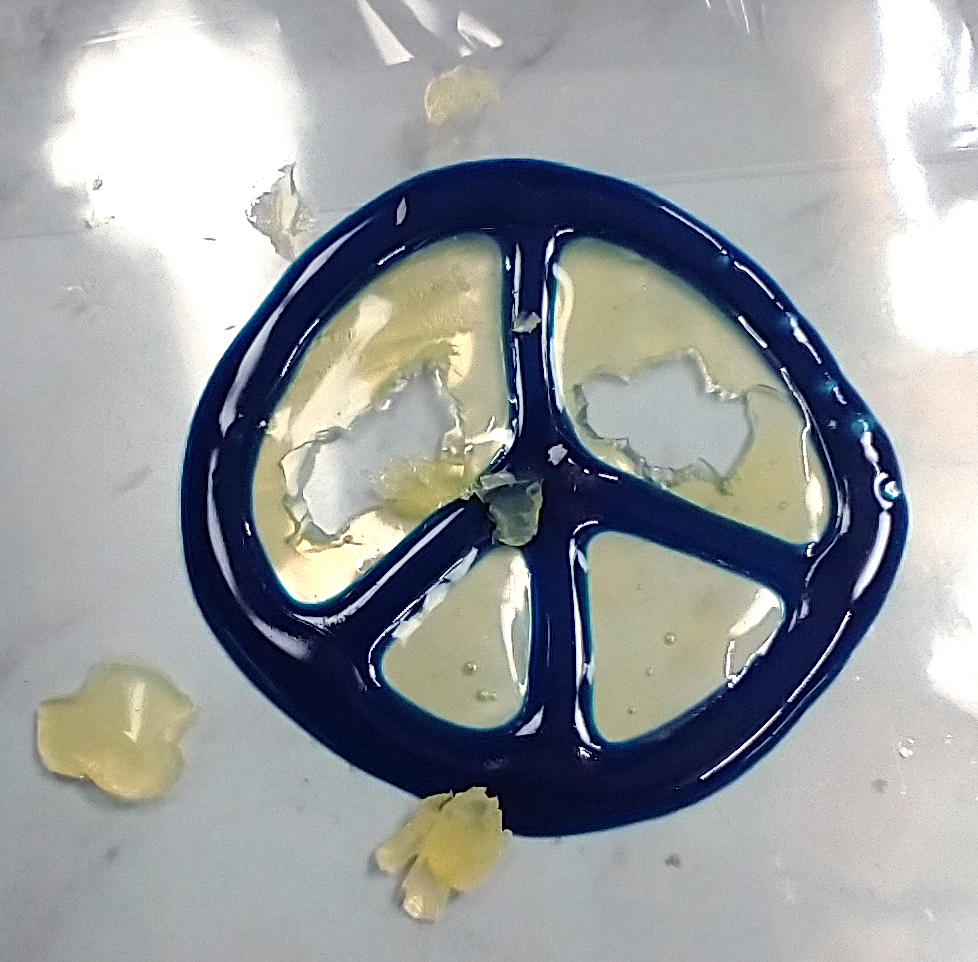 . I know I said I don’t share disasters, but this is a cautionary tale when trying these techniques. Let them dry ALL THE WAY before you mess with them. Otherwise they can stick to each other becoming inseparable blobs or they can stick to other things like the table and then pull themselves apart.