I love kit building and that is why I am on the design team for the Counterfeit Kit Challenge project. We take an inspiration kit each month and proceed to replicate it, or as we say, counterfeit it. This is a free, friendly group that helps inspire you to use up supplies you already own. We are not about needing to buy the latest and greatest thing (though we won’t stop you if you enjoy new crafty goodies😉 ).
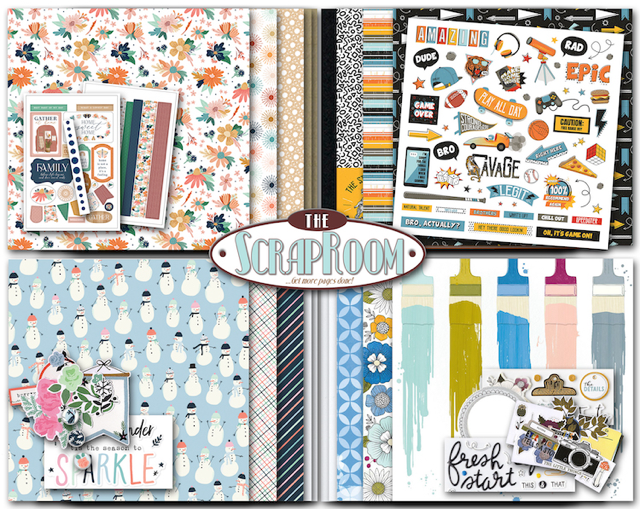
Welcome to a new month of kit building. Julene is our hostess this time. She chose a set of papers the and coordinating supplies from Citrus Twist Kits! Before we dive into the details of this kit, let’s give a warm welcome to our guest designer this month, Diana Vanderleist. She has been scrapbooking for more than three decades! What an amazing accomplishment.
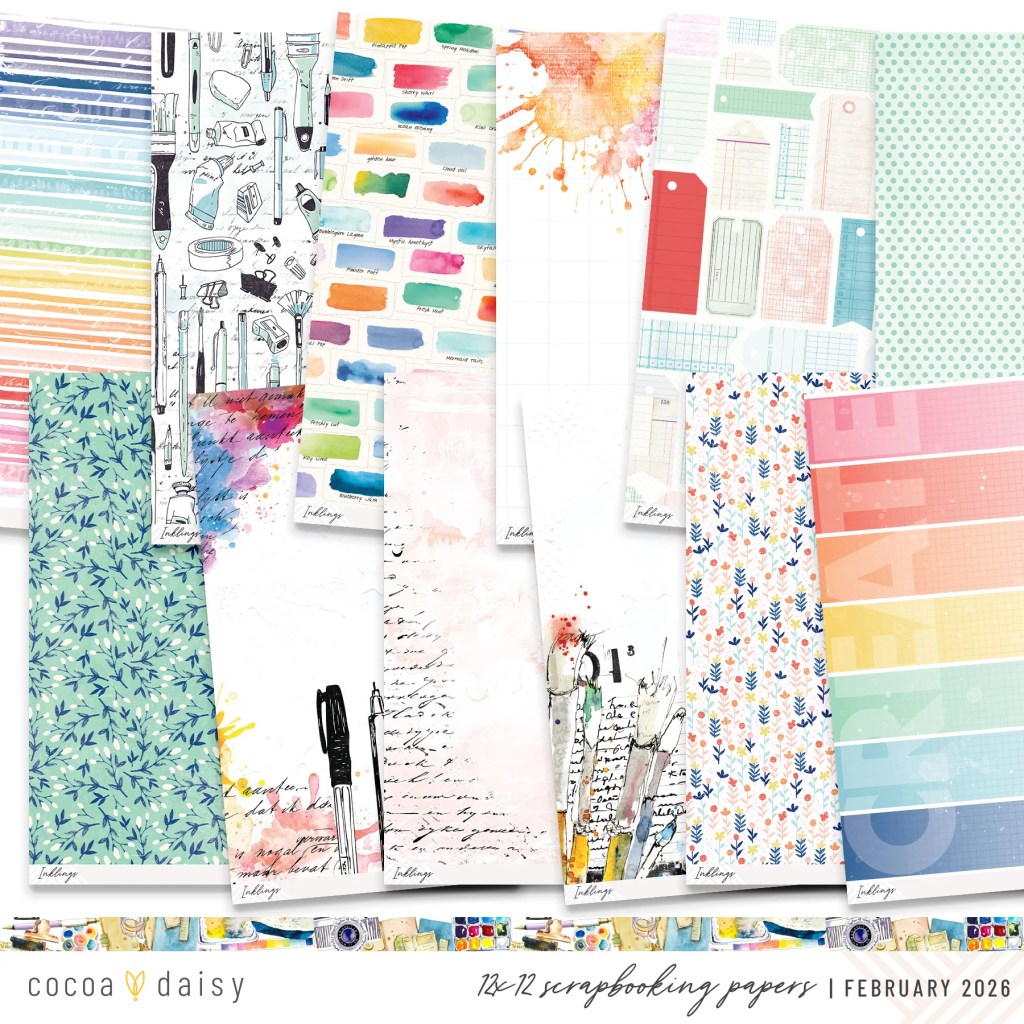
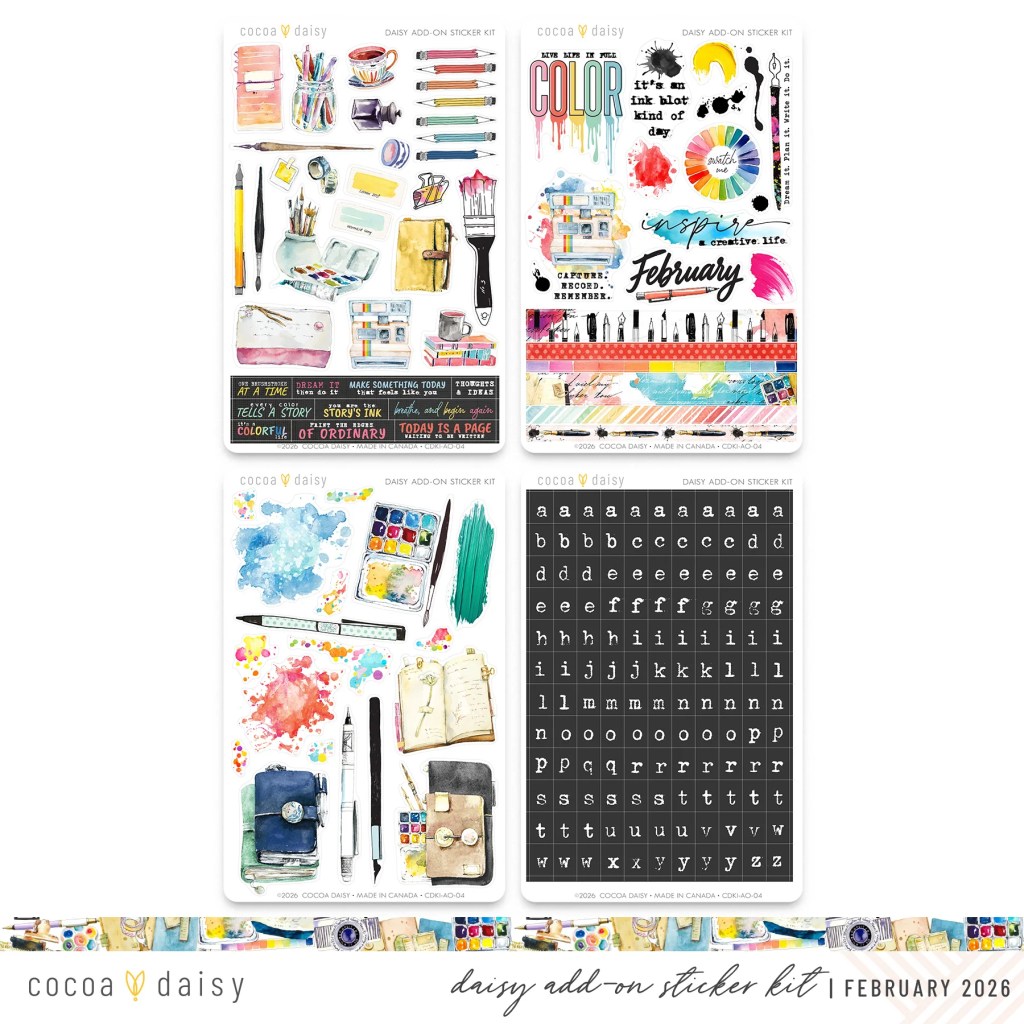
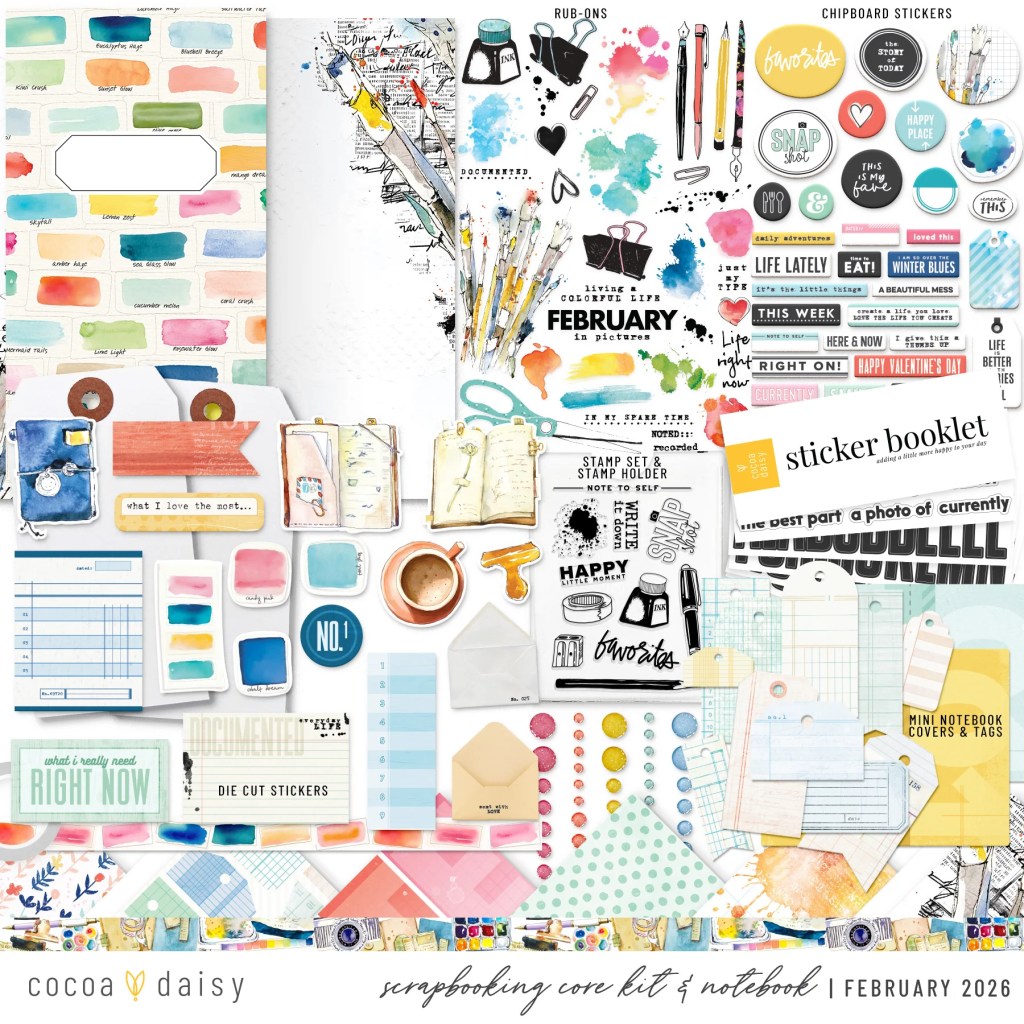
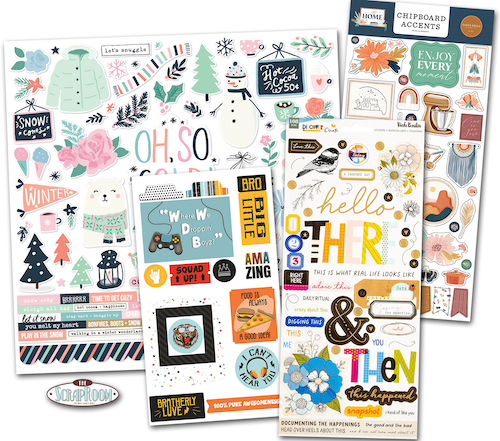
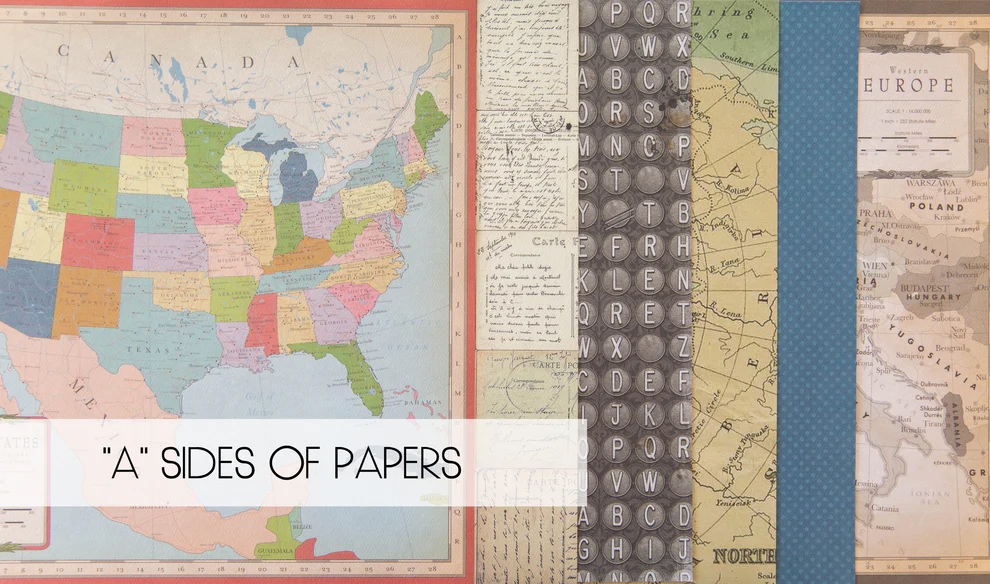
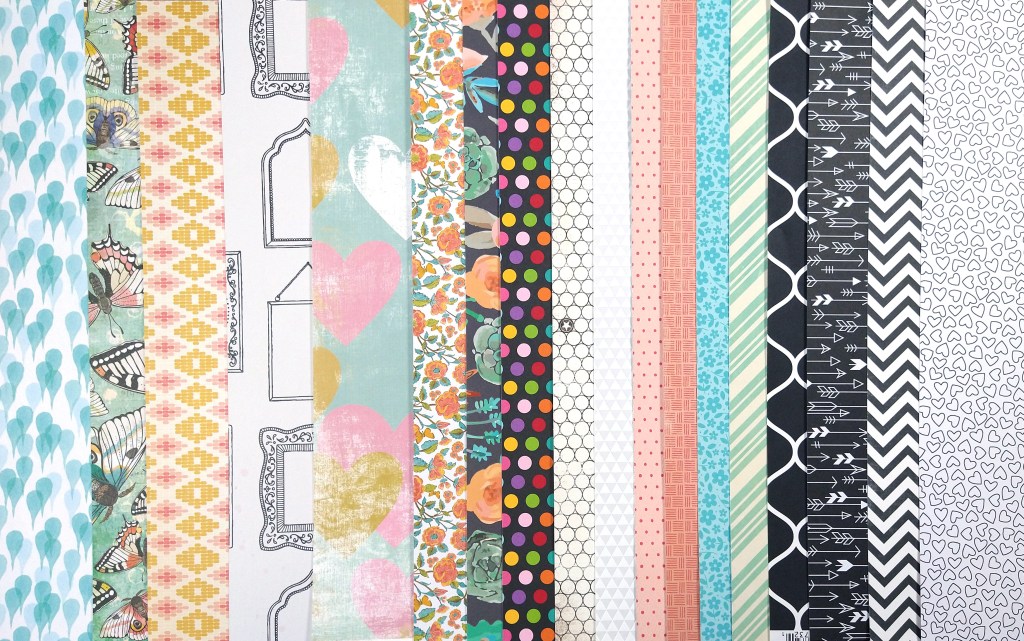
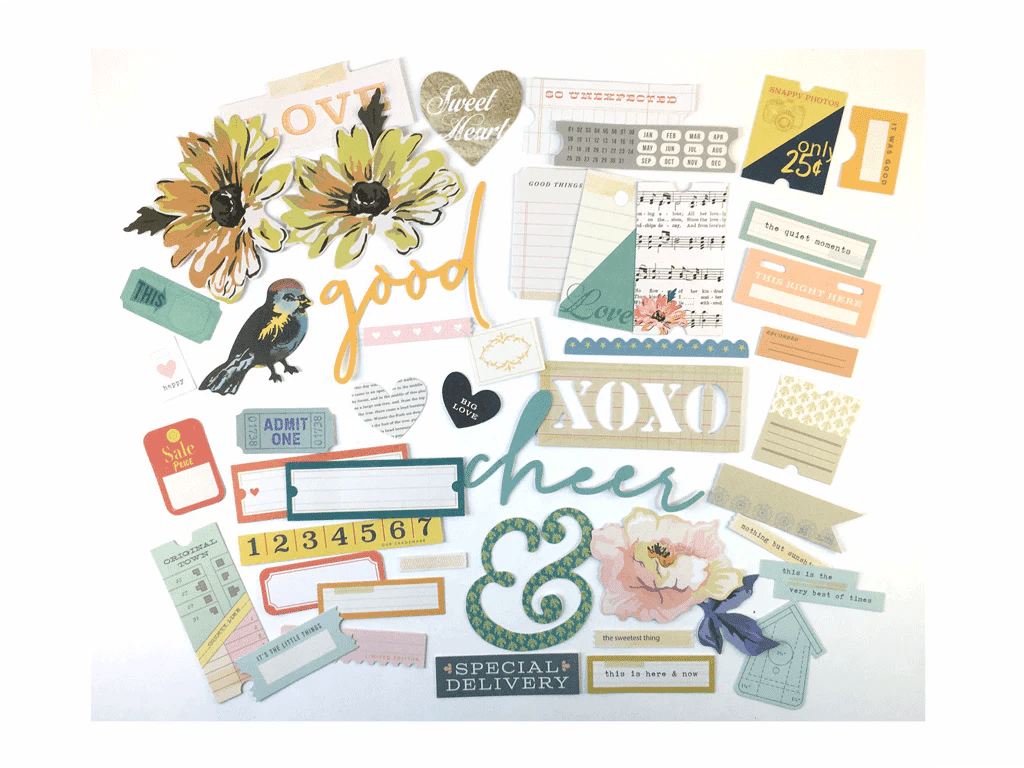
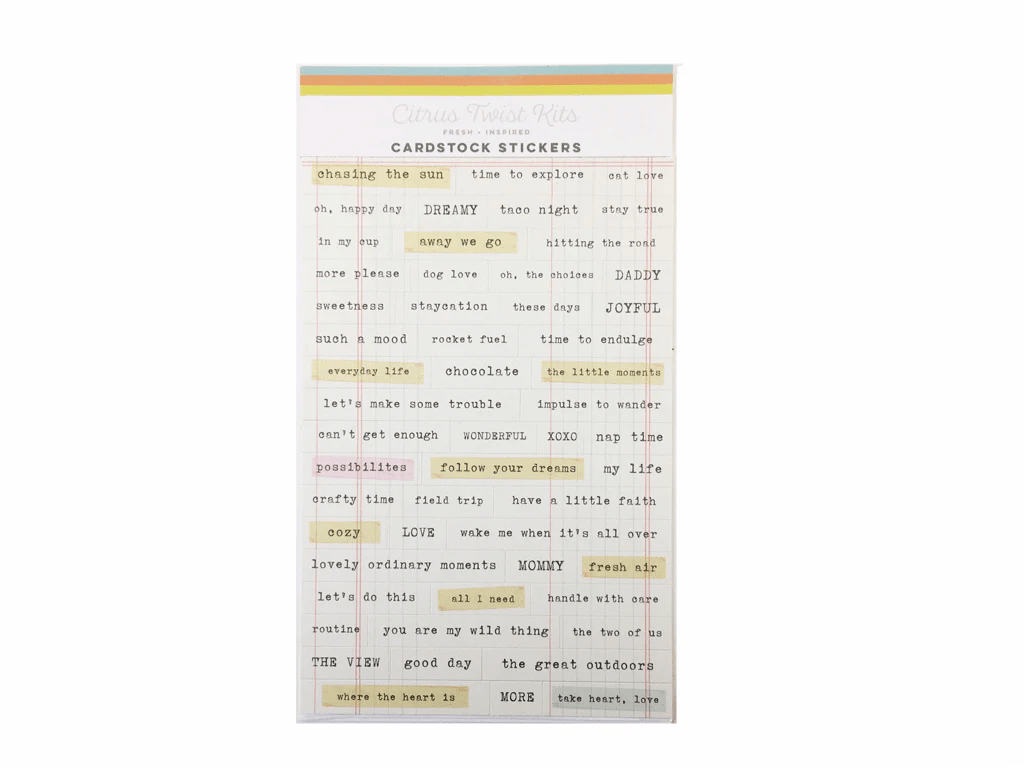
So let’s move on with our kit. Here are a few looks at what we have in store this time around.
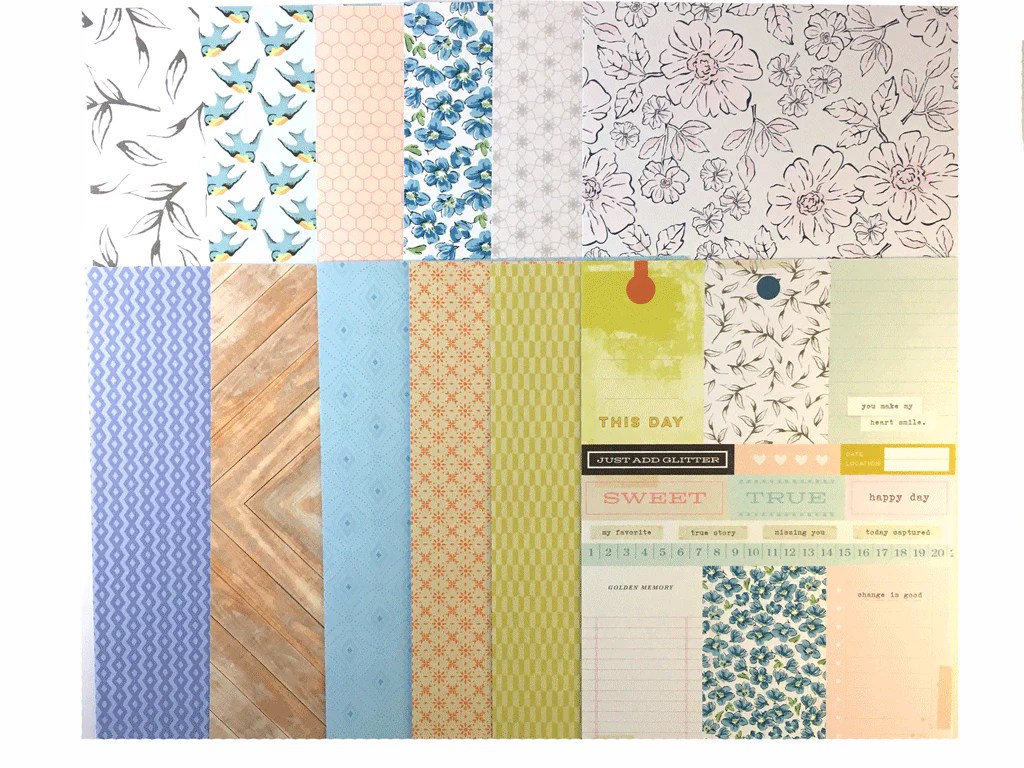
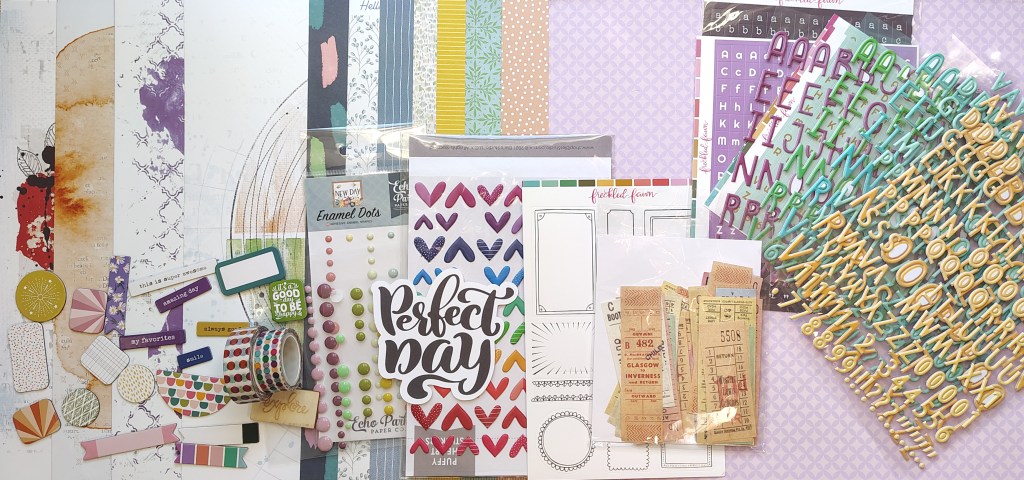
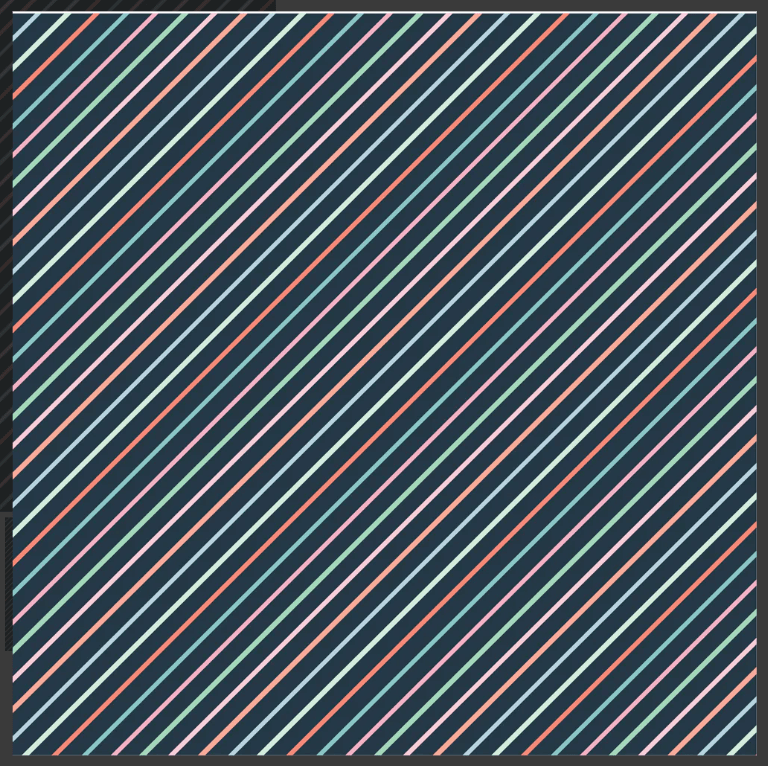
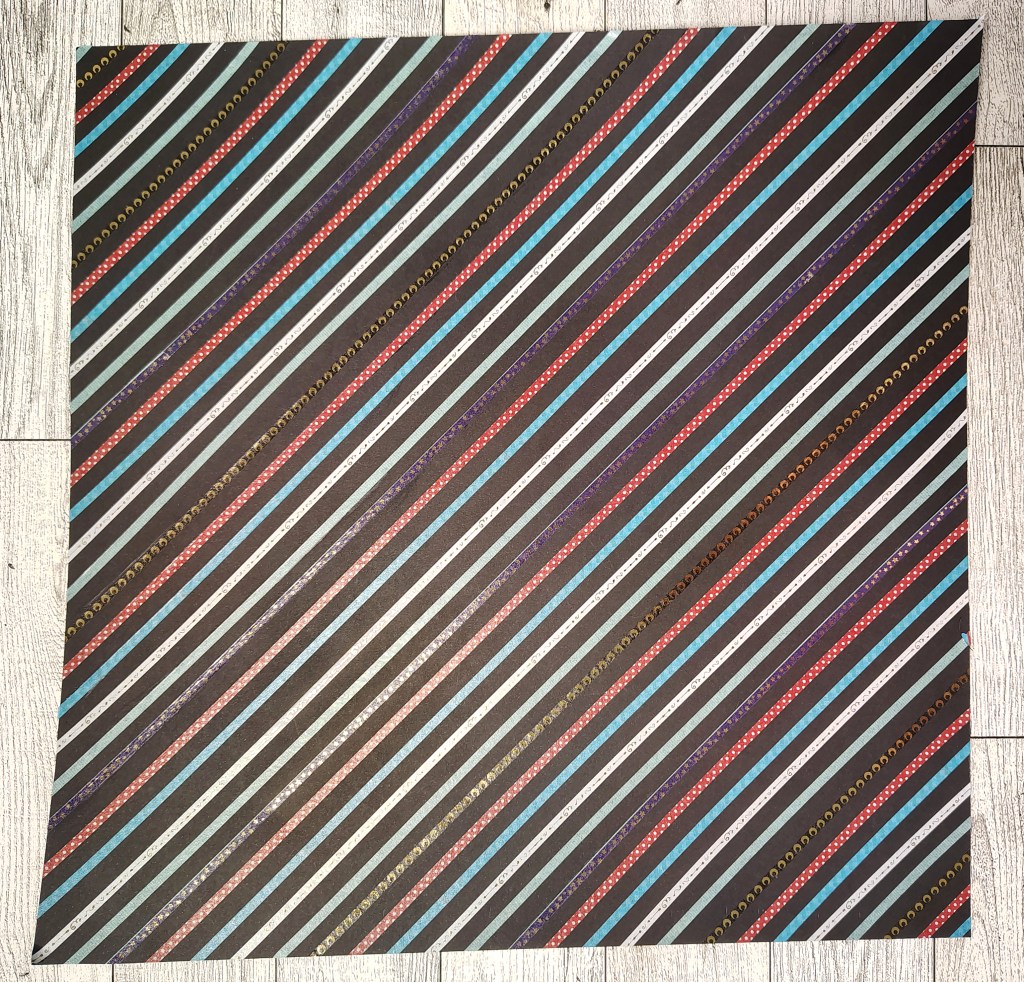
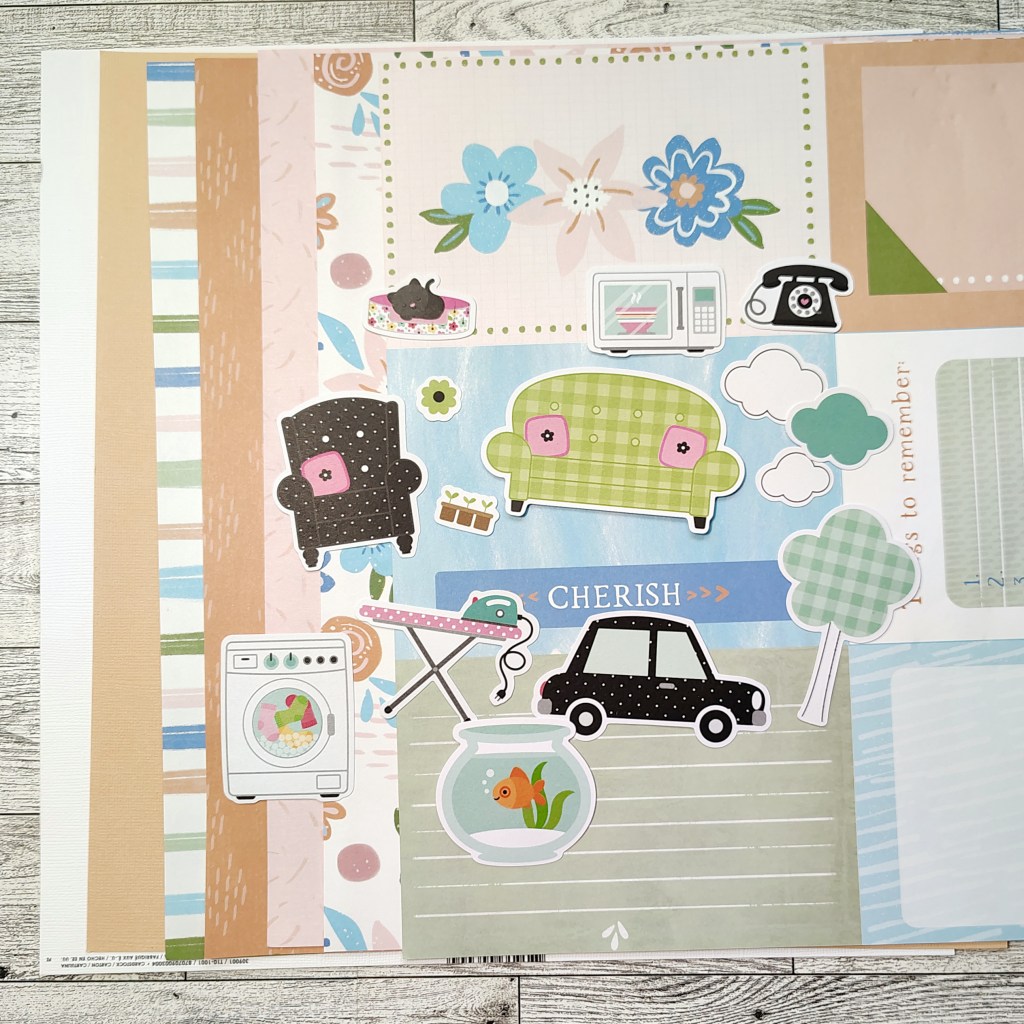
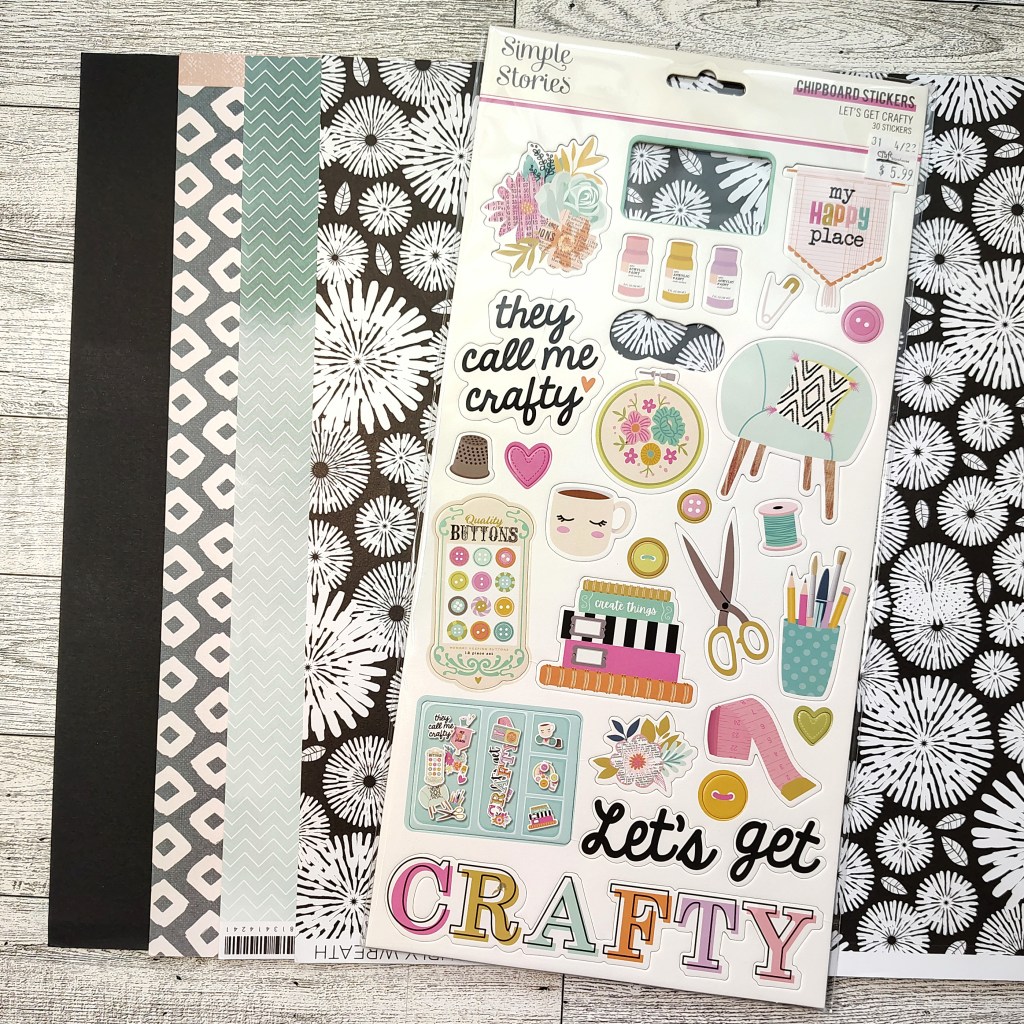
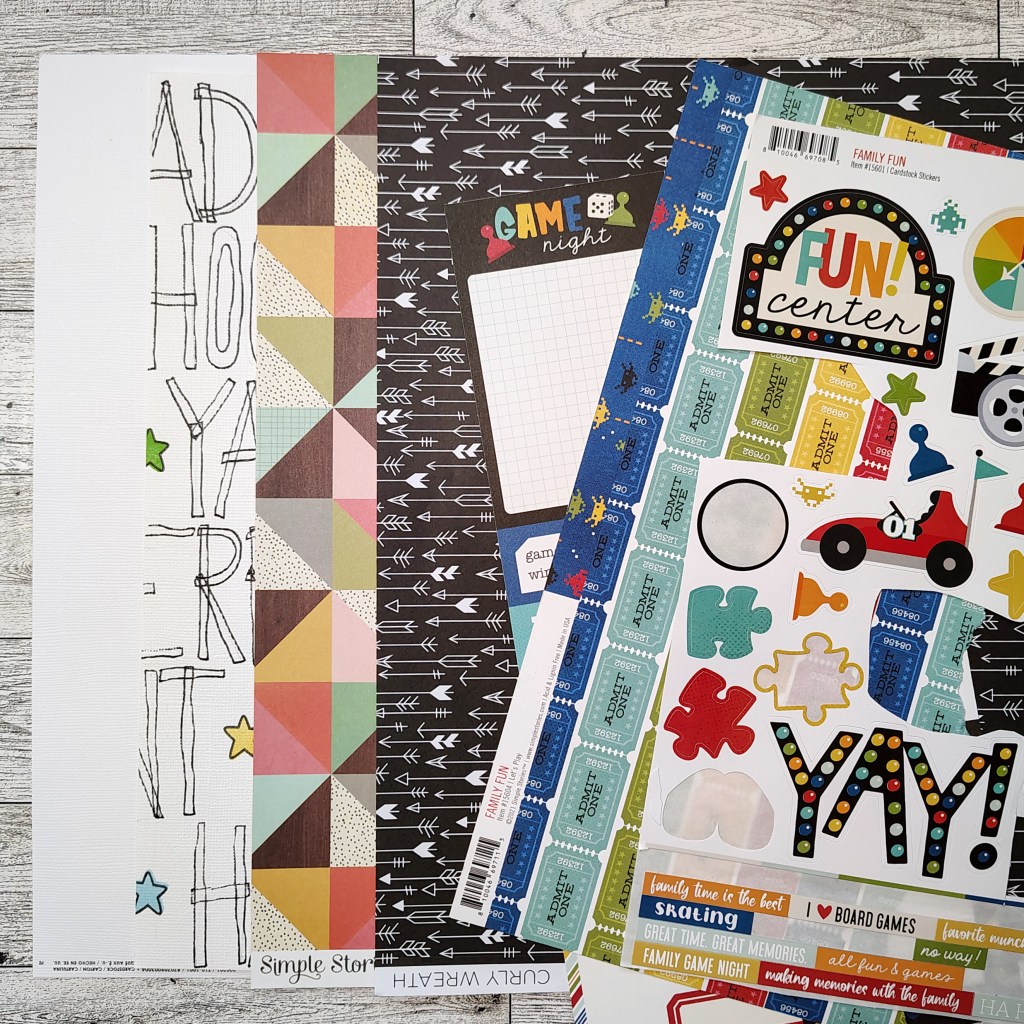
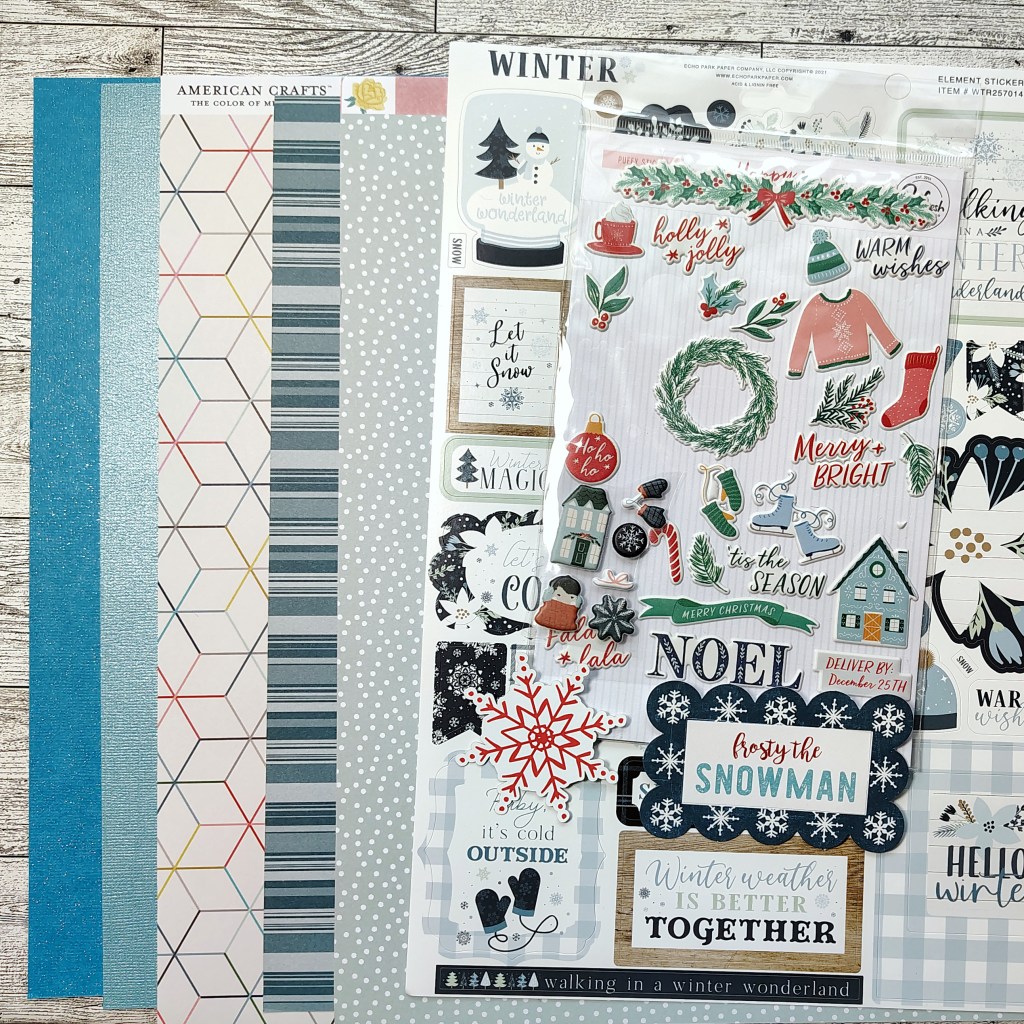
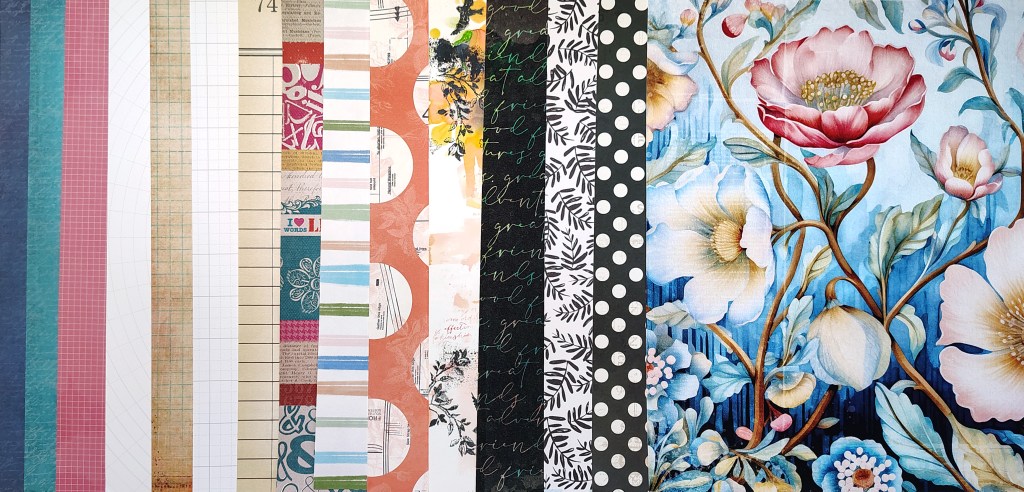
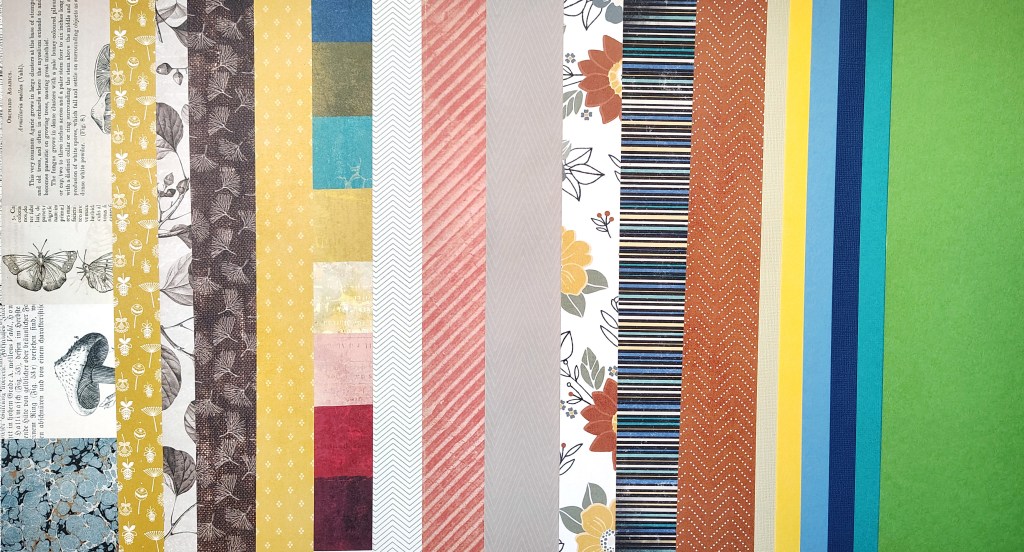
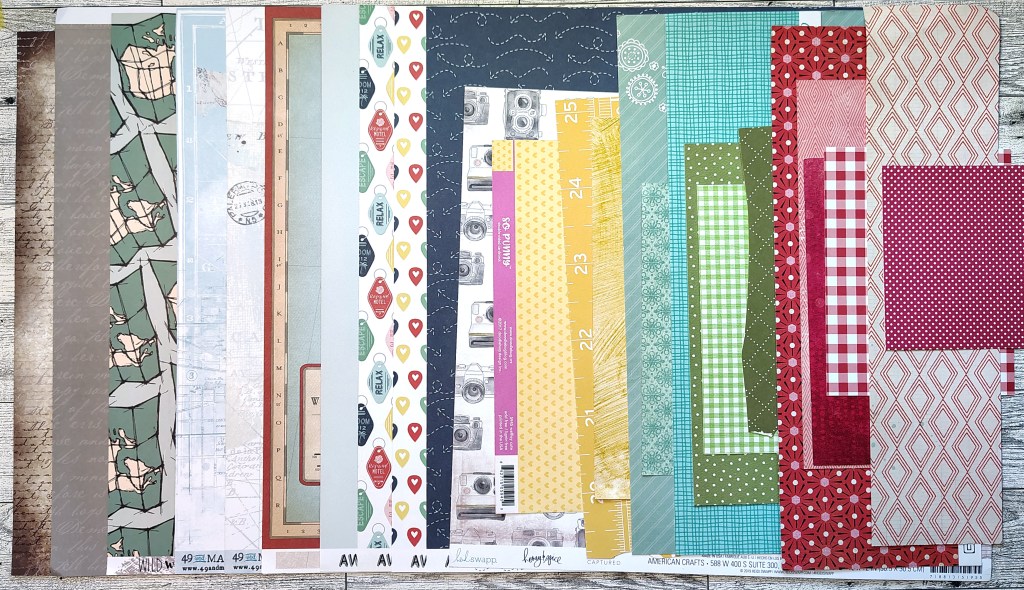
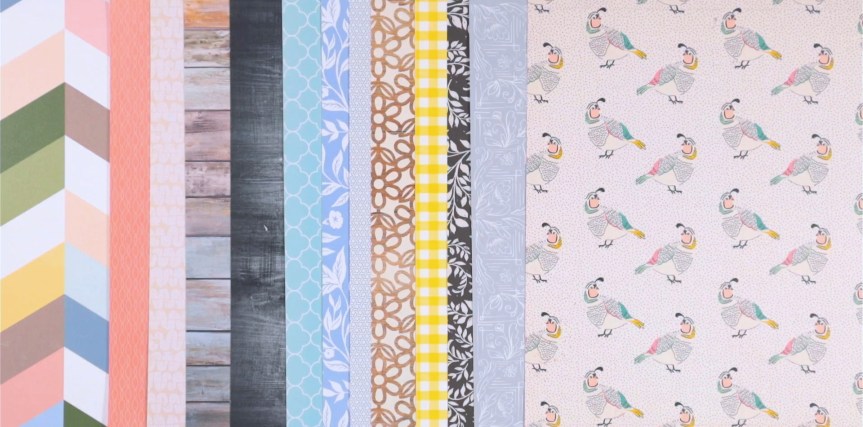
I loved the mellow color and patterns of the papers. That woodgrain paper is right up my alley! So that is exactly where I started my kit build. I knew I wanted to keep my choices under control. I managed that with my papers. But as you’ll see, my embellishment choices went way overboard, LOL. So here are the papers.
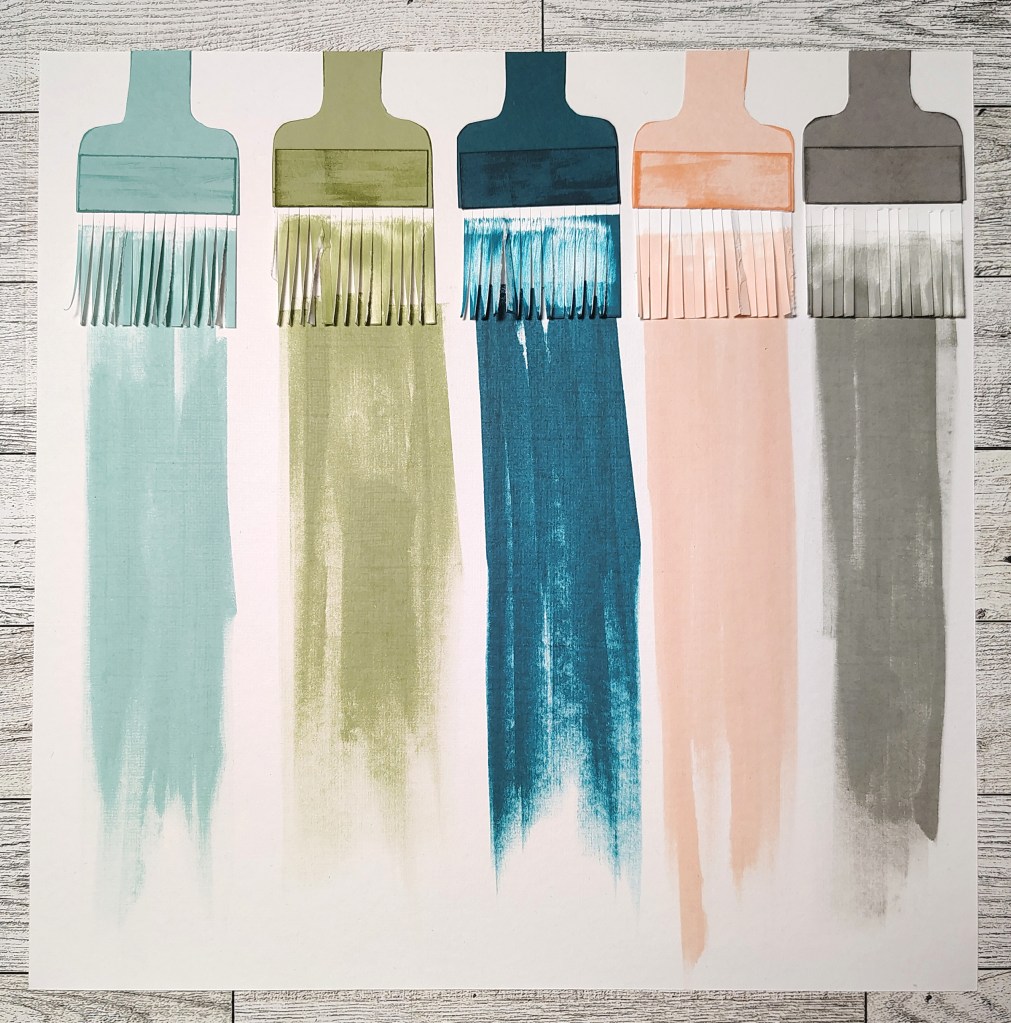
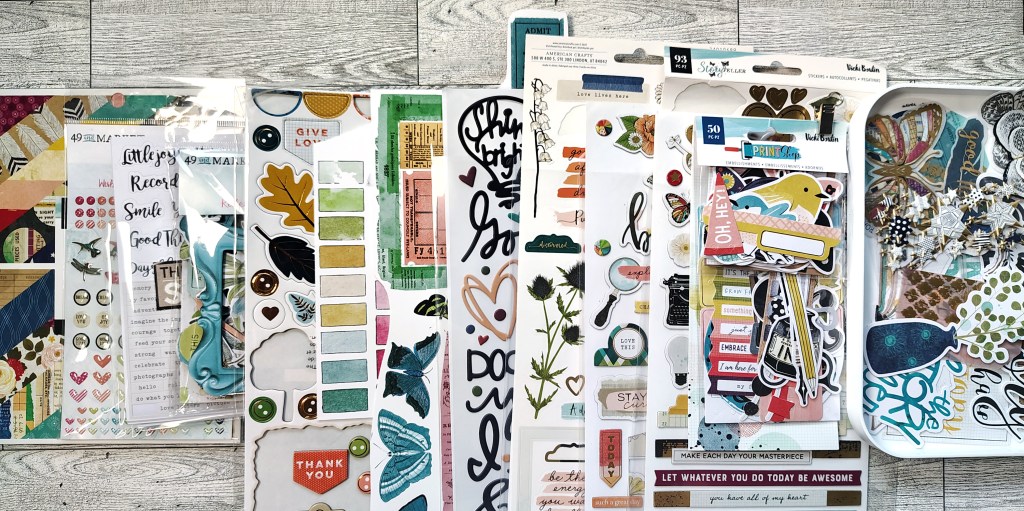
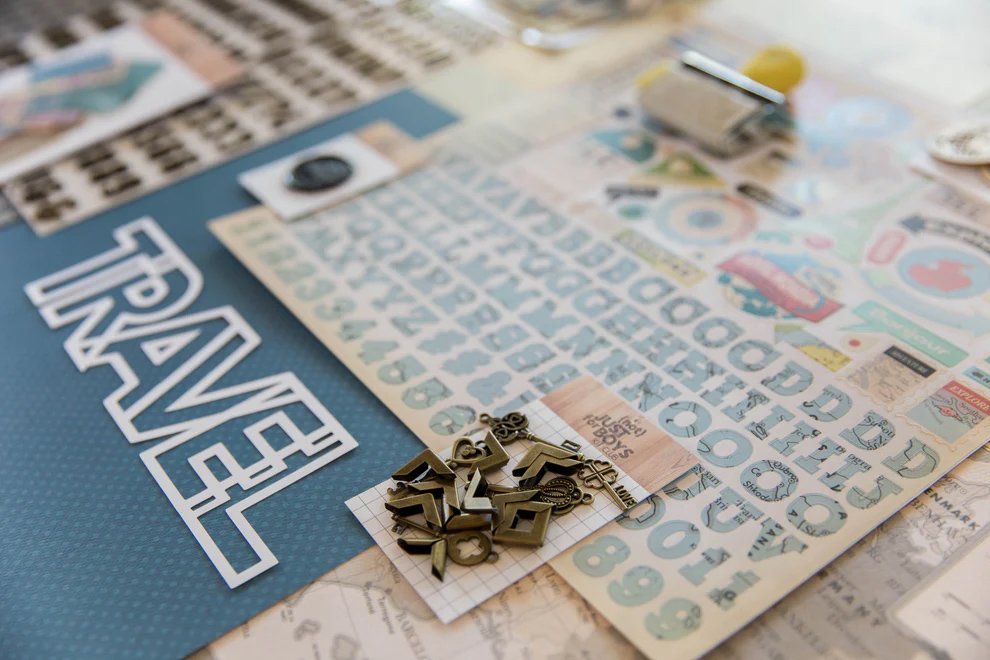
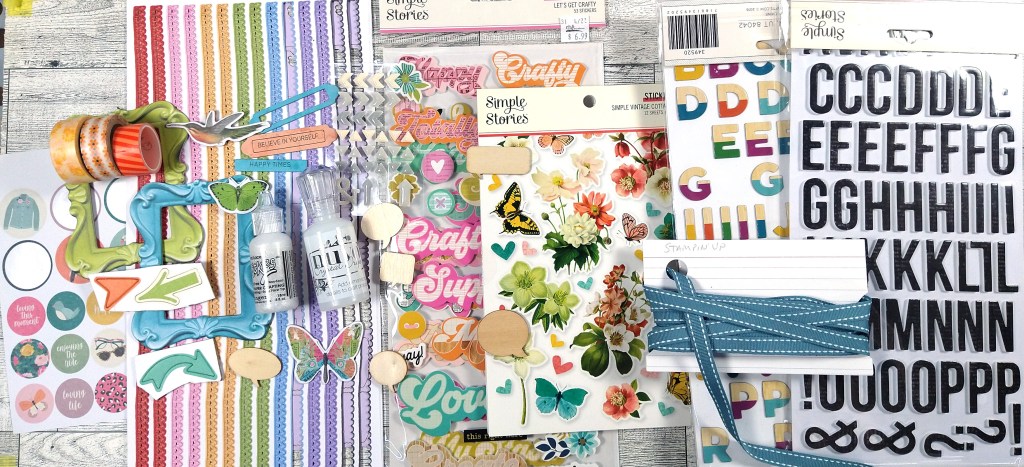
And here are the embellishments…
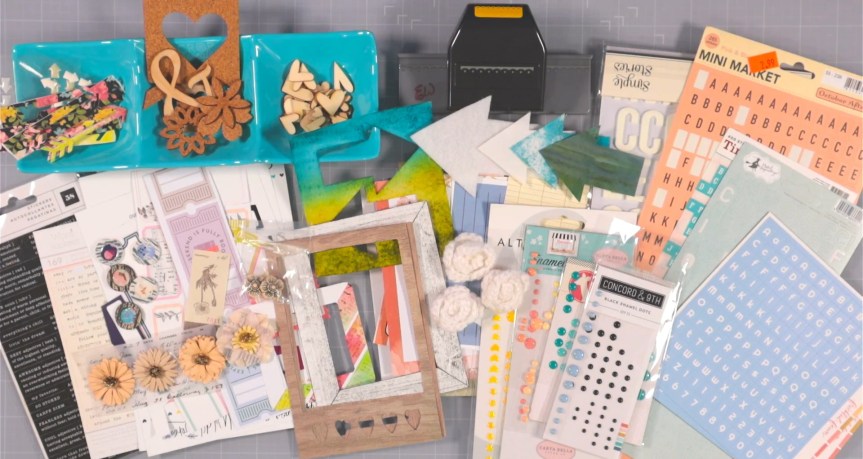
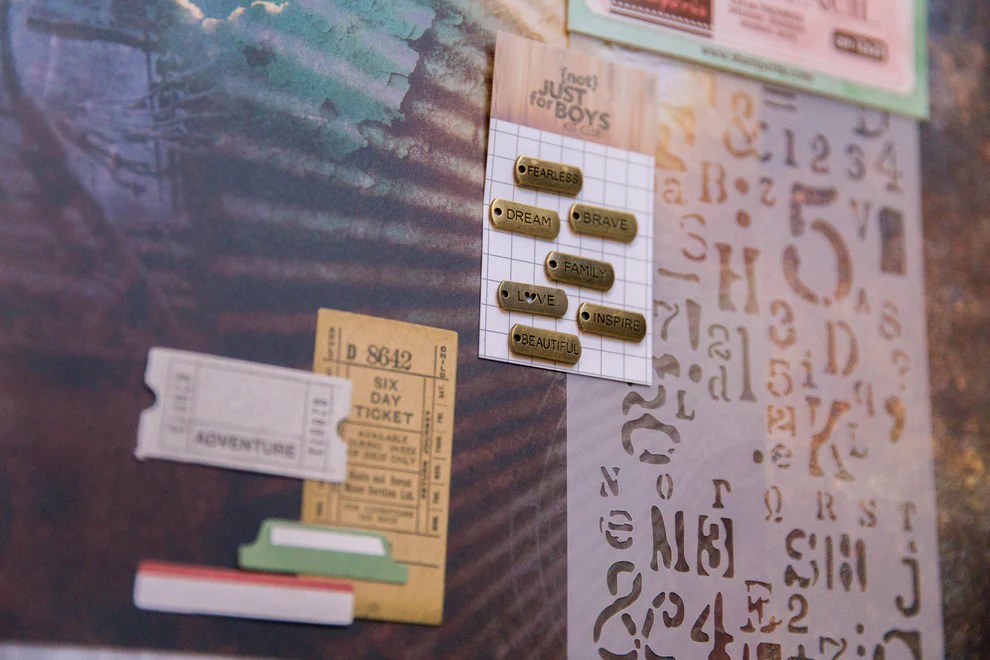
I was inspired to pull lots of diecuts, arrows, hearts and flowers from a peek at the kits simple embellishment selection. Plus I even spied a little bit of scalloped edges so I added a border punch to my kit. Even small things can be inspiring!
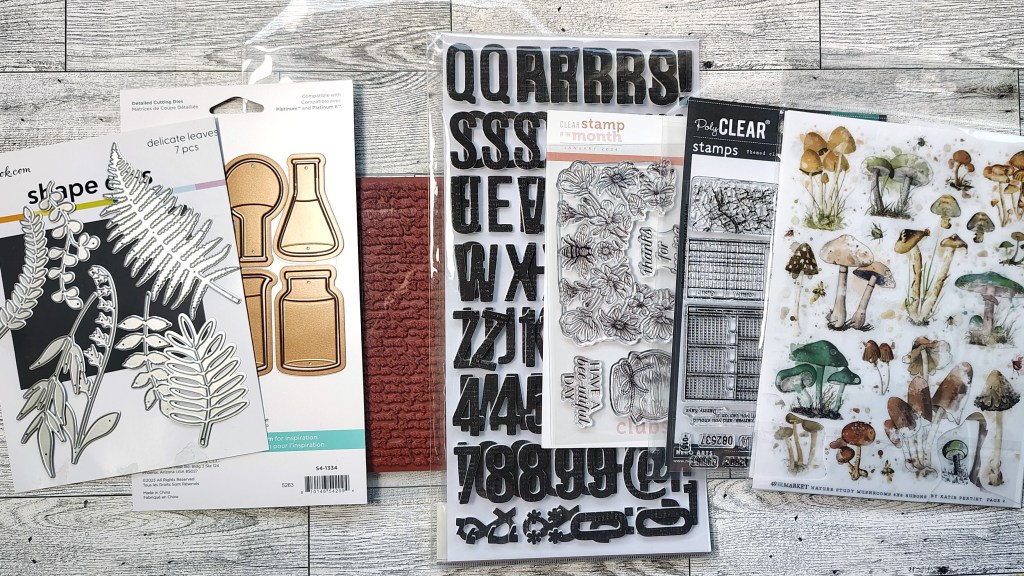
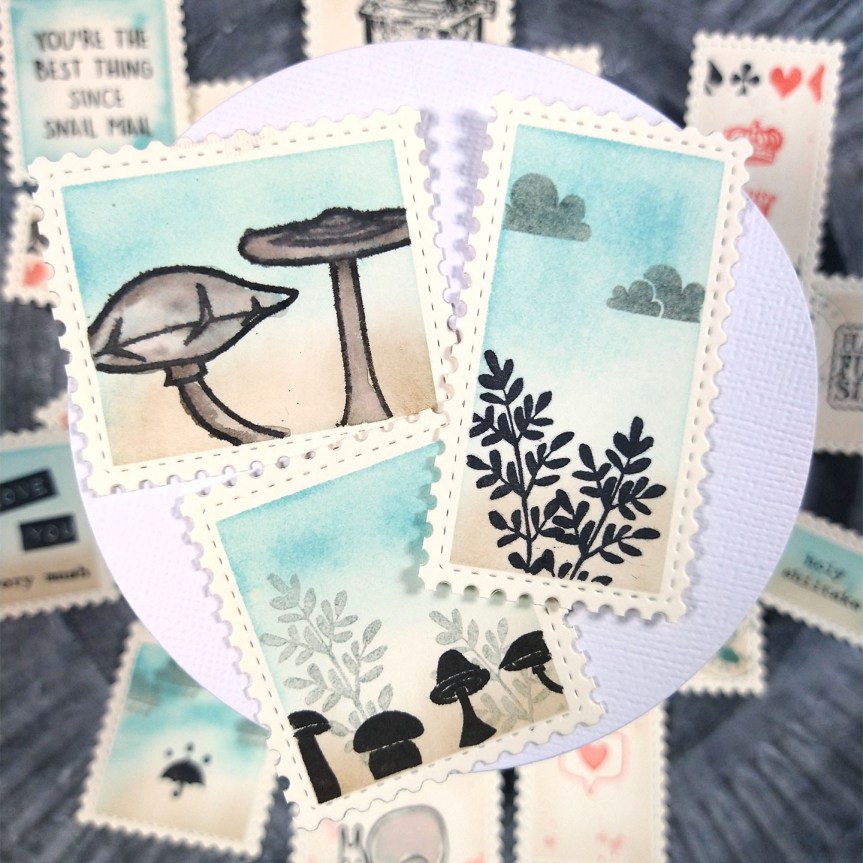
Don’t forget that each month I also create my own elements to add into my kit. Of course these are inspired by the original kit, but often have a twist of their own. So don’t miss what I will make in just a couple of days. I’m loving my ideas this time.
There is a tradition over at CKC of titling our kits just like companies do. When I went searching for a bird pattern paper I found multiple options which was unexpected. With that I’m calling my kit…
Bird Watch
If you want more details on my kit building thought process, check out my kit build video.
I hope you can follow along with the other designers and see how they interpreted their own kits.
Here’s the full hop link list
- Counterfeit Kit Challenge Blog – http://counterfeitkitchallenge.blogspot.com/
- Guest Designer: Diana
- Brandi – https://www.instagram.com/scrappy.boymama/
- JoJo – https://www.instagram.com/scrappyconfessions
- Julene – https://julenebydesign.blogspot.com/
- Laurie – https://www.instagram.com/scrapbookingbits/
- Misty – https://craftysoup.com/
- Ryann – https://www.instagram.com/scrapbookjoey/
- Tara – https://kryptonite72-rambles.blogspot.com/
- Tina – https://tinasscrapcorner.blogspot.com/
- Amanda – https://youtube.com/@amandacreates1980
I have a free download “worksheet” to help guide you through your own kit build process. It is a printable pdf and there are two worksheets per letter size page. Have fun kit building!
Don’t forget to show off your stuff over on the CKC Facebook group, or tag us on Instagram @counterfeitkitchallenge or use #counterfeitkitchallenge.
I’ll be back on the 4th, for our Product Forgeries. Until then, have an artful day!