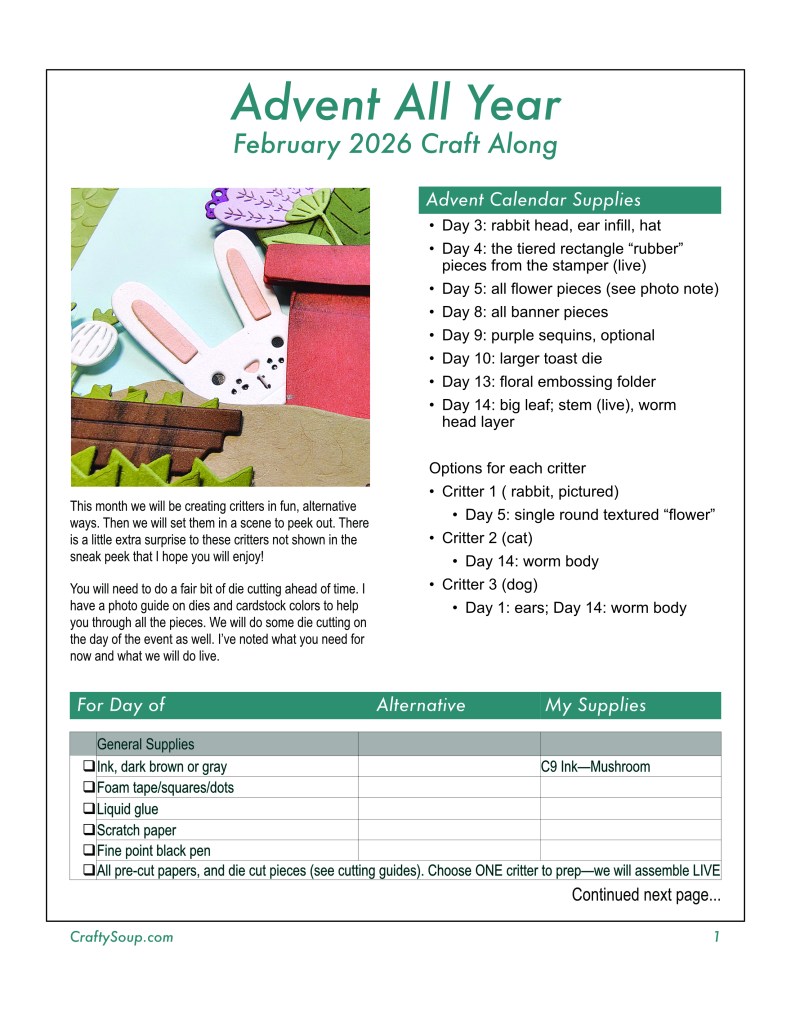
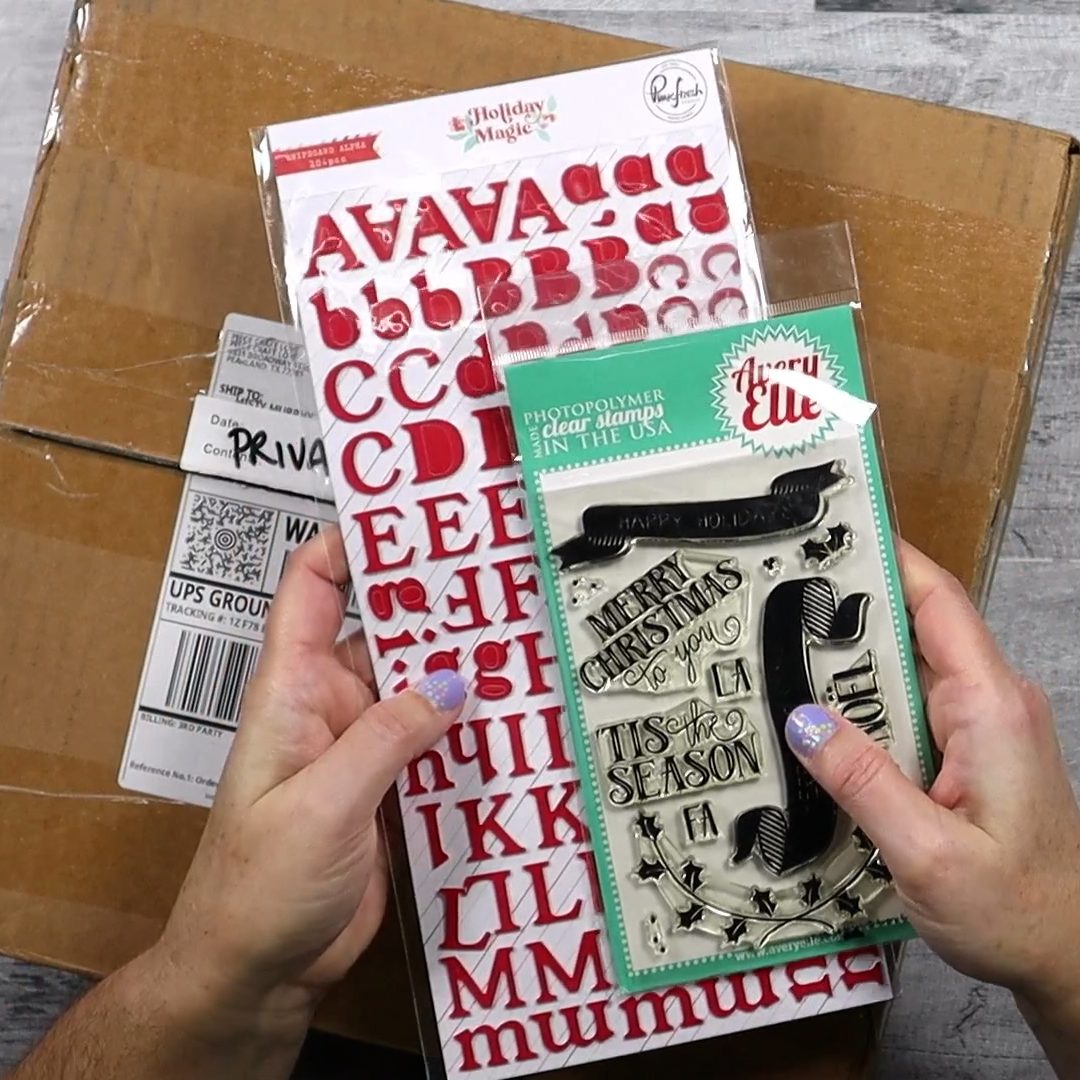
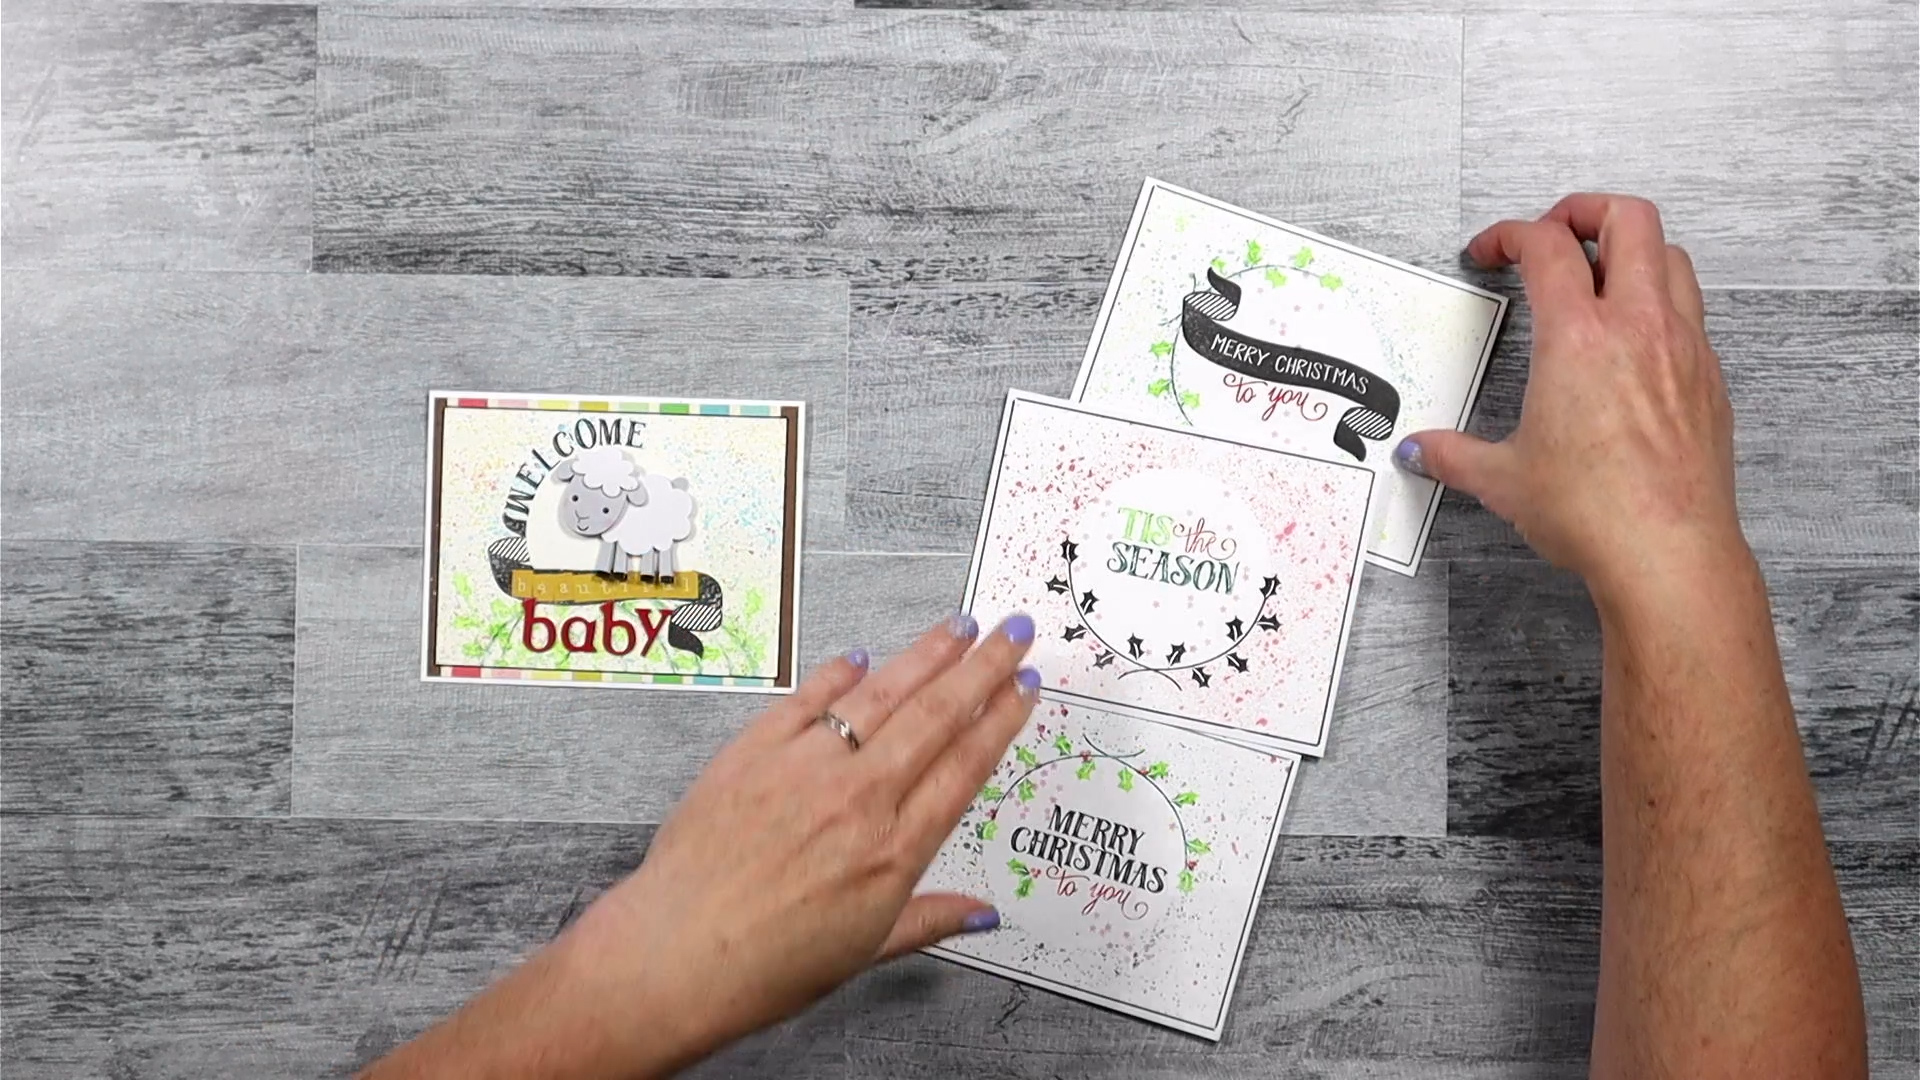
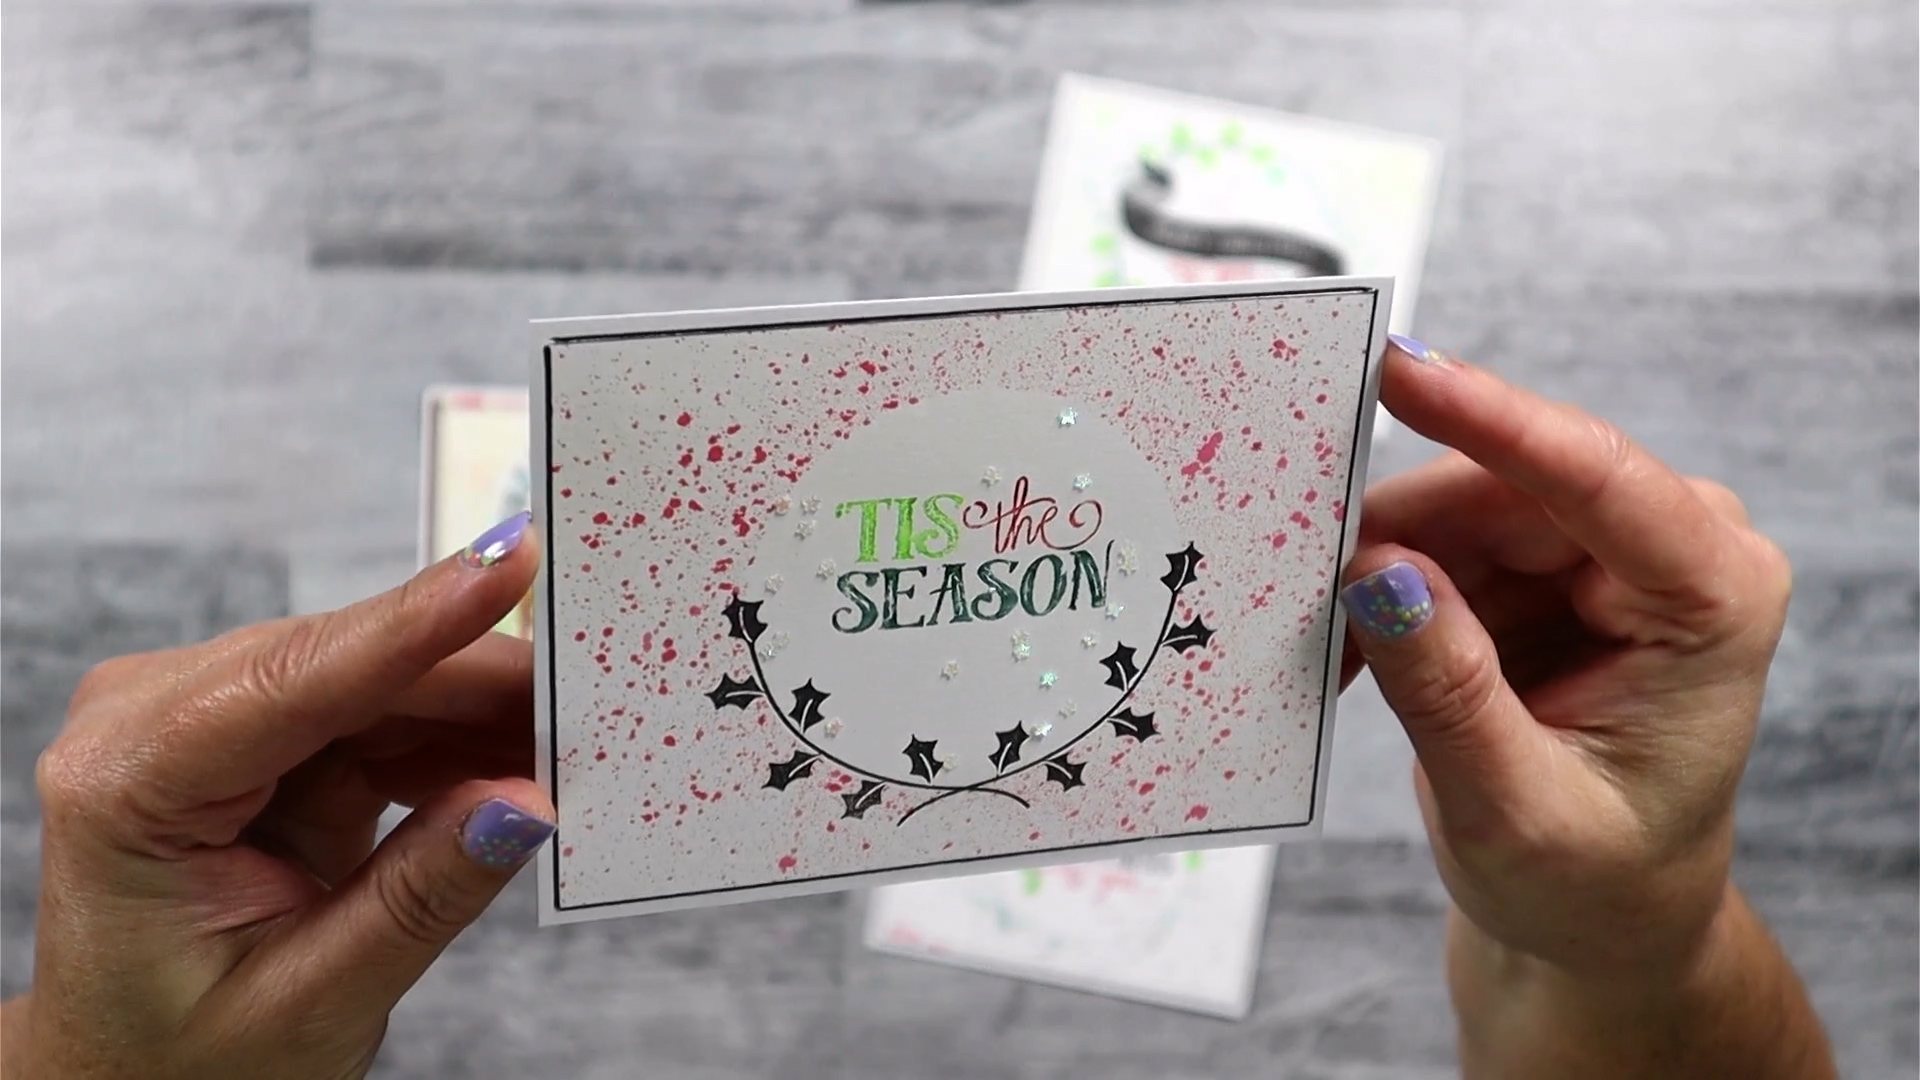
Hello, hello! Welcome to the info page for my new livestream series. I’ll be using my Spellbinders Crafty Advent Calendar from 2025 to extend the fun all year long in 2026. I’ll have a live stream on the 4th Friday of every month at 4pm Pacific time. The stream will last between and hour and an hour and a half. This series is also a craft-along!
I will preplan a project, post sneak peeks and post of things you can prep ahead of time if you want to craft live with me. I’ll try to use the advent supplies in a way that may not be super obvious. That way you can get more ideas on using your advent goodies. Hope you will join me.
Date
The next live will be March 27, 2026 at 4pm Pacific Time. Join the live now or watch the replay.
March Project
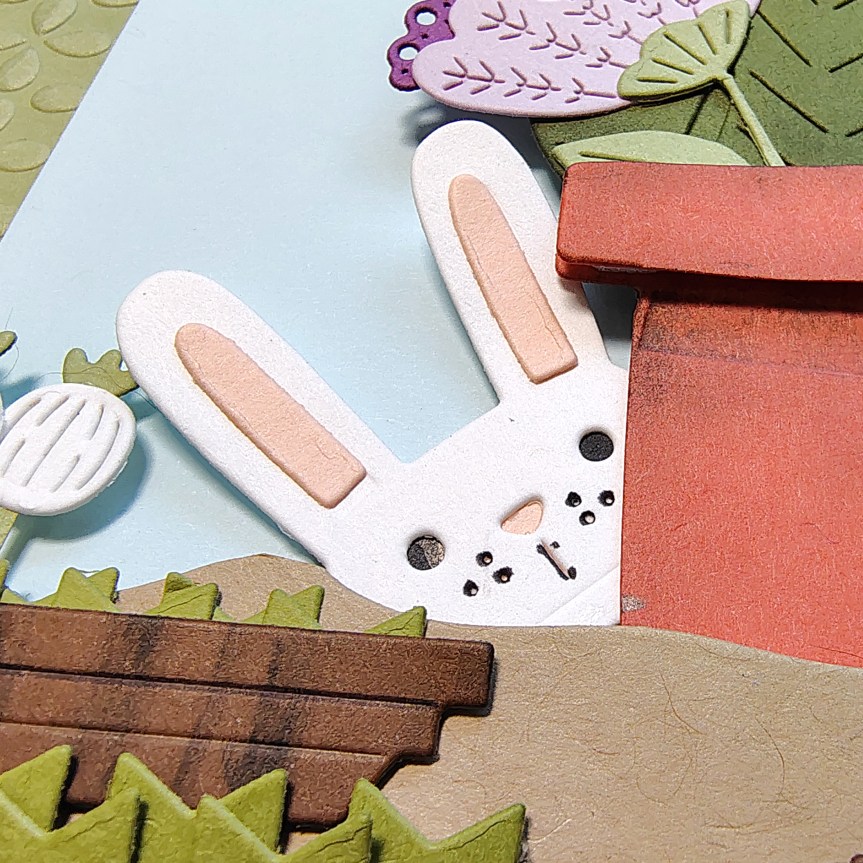
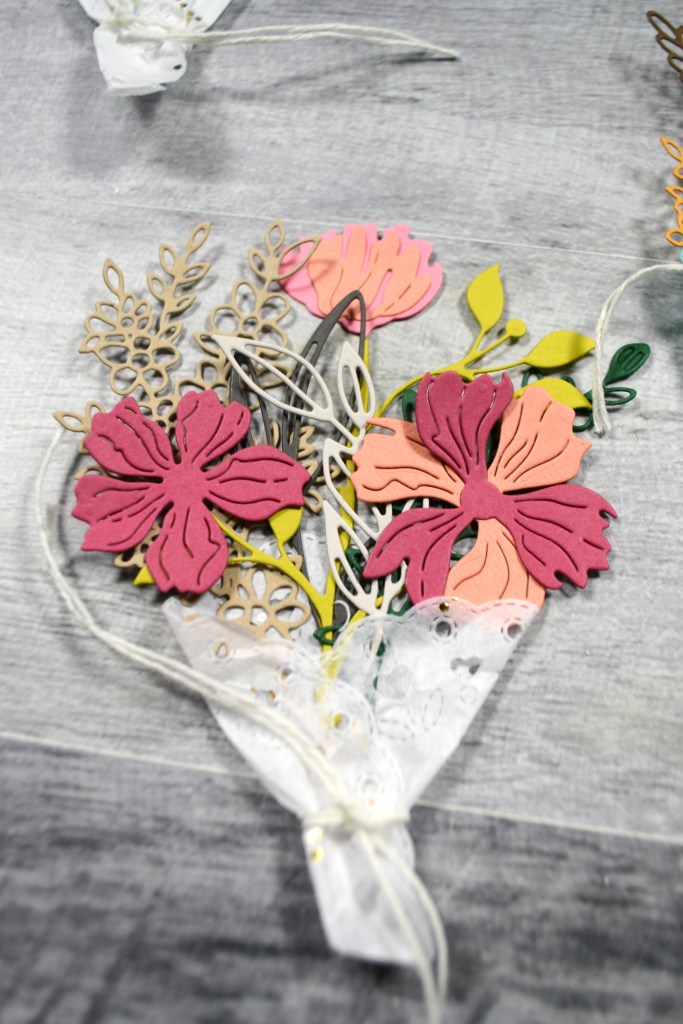
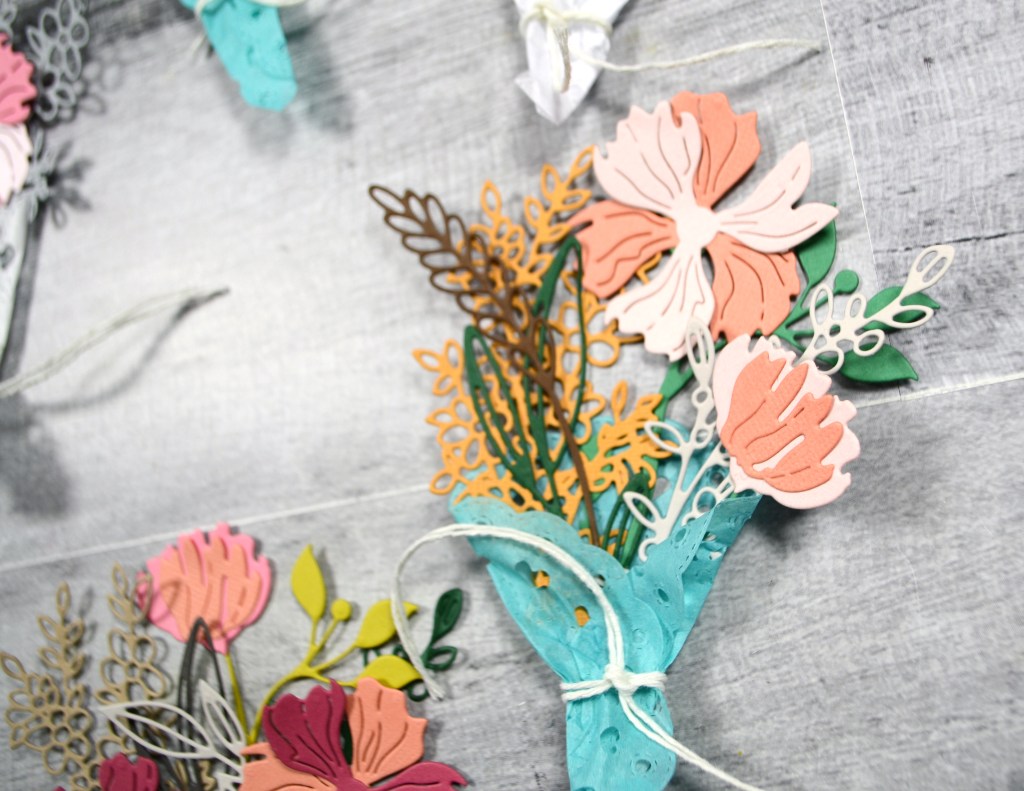
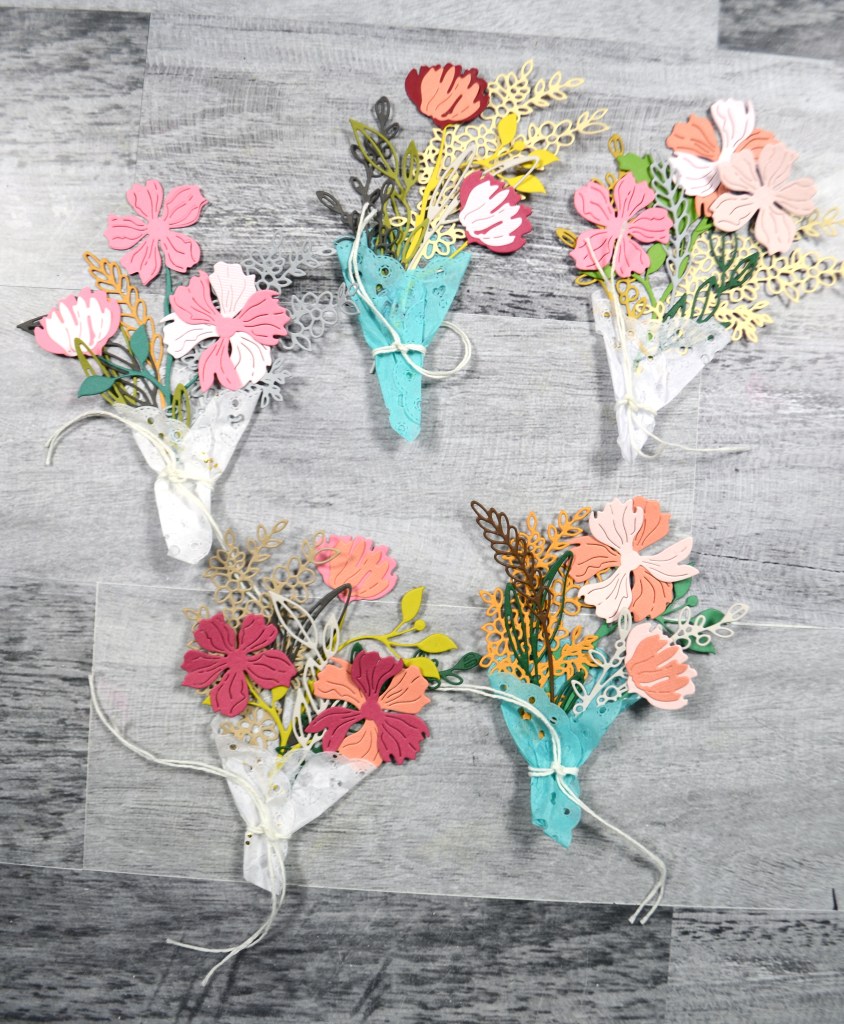
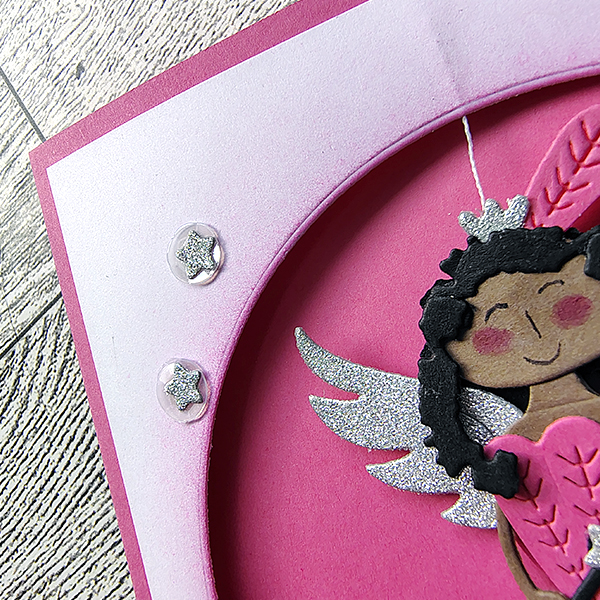
This month we will be creating a lovely lady to adorn our card. She is also interactive! While I went all in on pink, feel free to use your own color palette. Believe it or not I’m not really a pink girl. LOL.
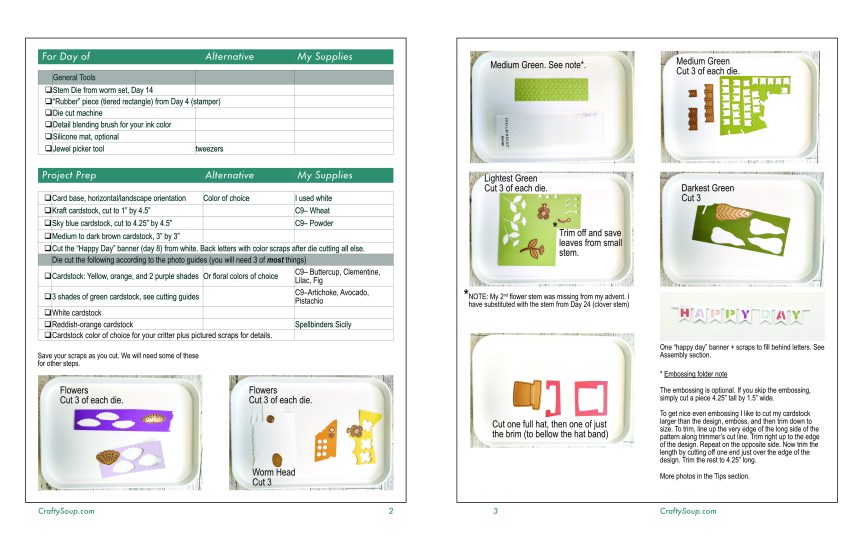
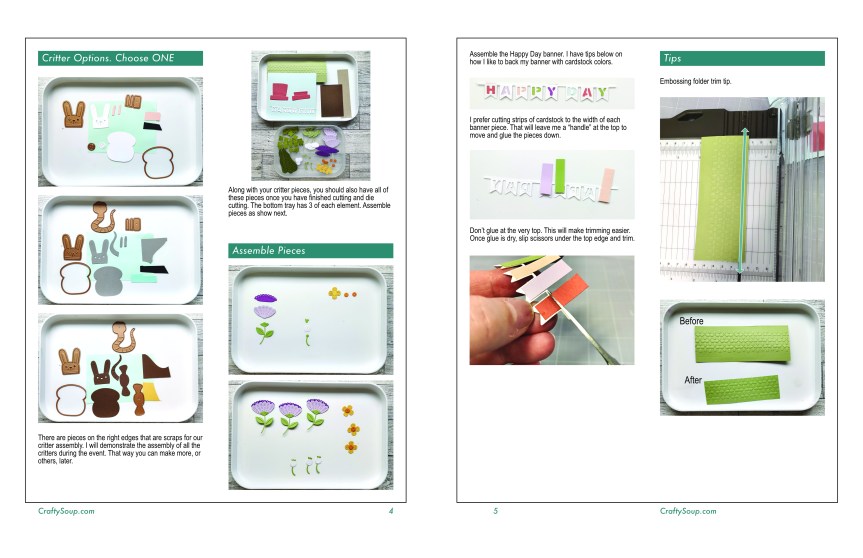
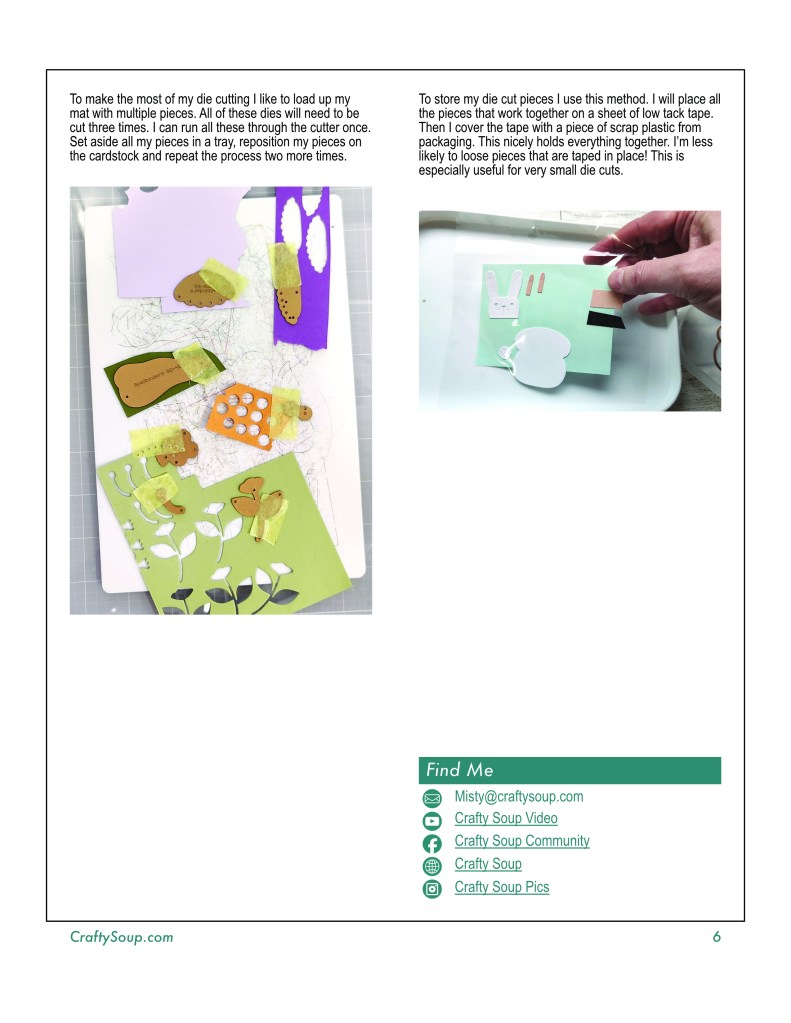
There is a bit of prep if you want to craft live with me. The “hair” can be done later if you want to reduce the amount of die cutting. However, I find if you cut one “hair” piece each time you cut something else, the work isn’t that bad. We will do some die cutting on the day of the event as well. I’ve noted in the preparation instructions what you need for now and what we will do live.
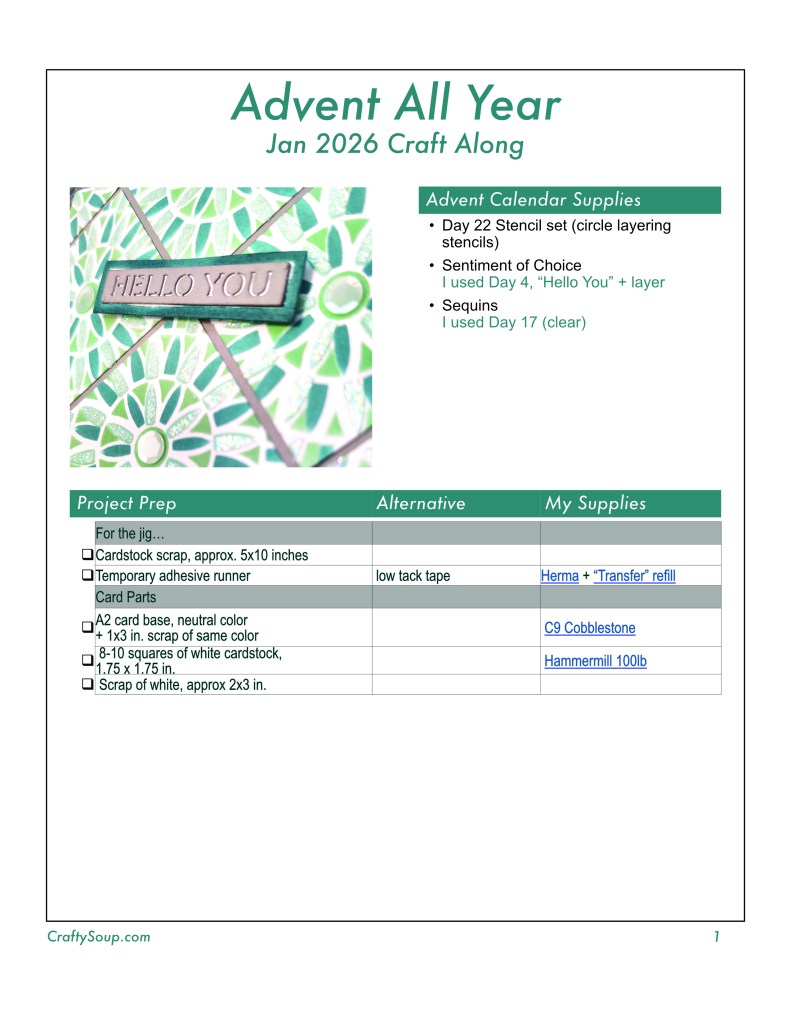
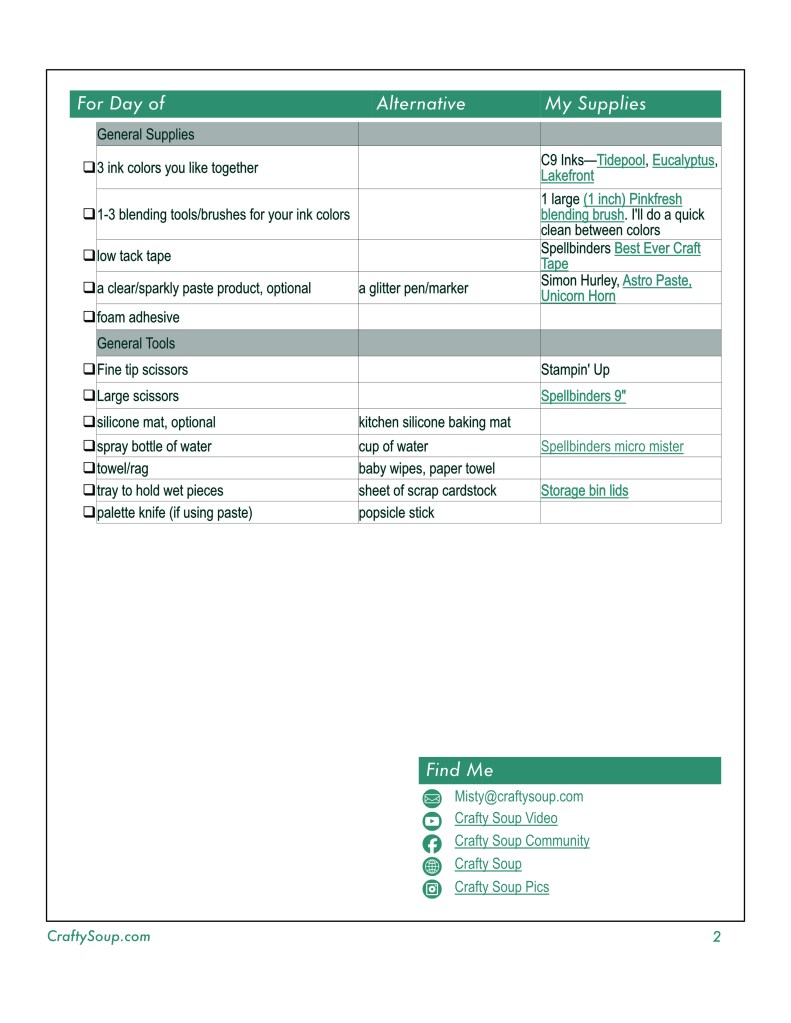
If you want to craft along with me, here is a preview of the preparation list. Click this link to download the instructions. A zip file will download. The folder includes PDF and JPG files.


If you have any questions or comments, you can message me here on the blog from the Contact tab. Or you can email me by using misty at craftysoup dot com. I’ll do my best to get back to you in a timely fashion. Hope to see you on the live!