
As a design team member over at the Counterfeit Kit Challenge group I play along with as many of our monthly inspiration challenges as I can. The Forgery on the Fourth project is definitely one I enjoy! That is where we see a scrap product we like and set out to recreate it with supplies we already own. So let’s go ahead and dive in to what I have for you this month.
Since we always start our forgery projects with inspiration, here is the image we are working with this month. It is the DLS Designs, Timeless collection.

I wanted to recreate a few different elements from this inspiration. You’ll have to dive deep into all the elements to find some of this things that sparked my interests.

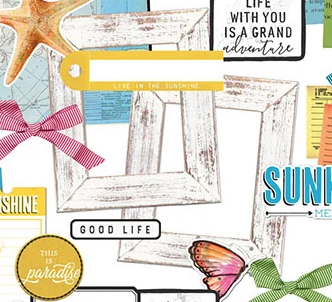

I want to tackle each one individually. I’ll save the best for last. The first two items I’ve shared before so we’ll zoom through them. We will start off with wood style picture frames.
I made mine by swiping the edge of an ink pad over scraps of white cardstock. By using the edge it creates streaks which mimic woodgrain. Of course this can be done with any papers, but I really like this look. My tip for making the frames look like frames is to miter the corners. If you don’t know, mitering is creating the diagonal corners. I have a video sharing tips on how to do that, as well as tips for making frames in various sizes. It really is easier to show it than to explain it.


Next up is the word art. I’ve shared this many times before. The biggest tip for this one is to use a pencil to draw guidelines on your paper. This will look much like old fashioned elementary school paper that teaches kids how to form their letters. It’ll do the same for you to help you keep your penmanship very even and tidy. Plus, pencil is very forgiving. Made a mistake? Erase it and try again. The video for this one covers all of it if you want to try this out.


Notice I only fussy cut some of the images out for demonstration purposes. Most of the time I’ll just leave them rough until I’m ready to use a specific word.
Now, we are ready for my favorite. I tell ya, I never would have thought to do this technique without having been inspired by the 49 and Market pattern paper. That is one of the reasons I love CKC. It brings in new ideas for me to explore creativity. My brain is now buzzing with more ideas!
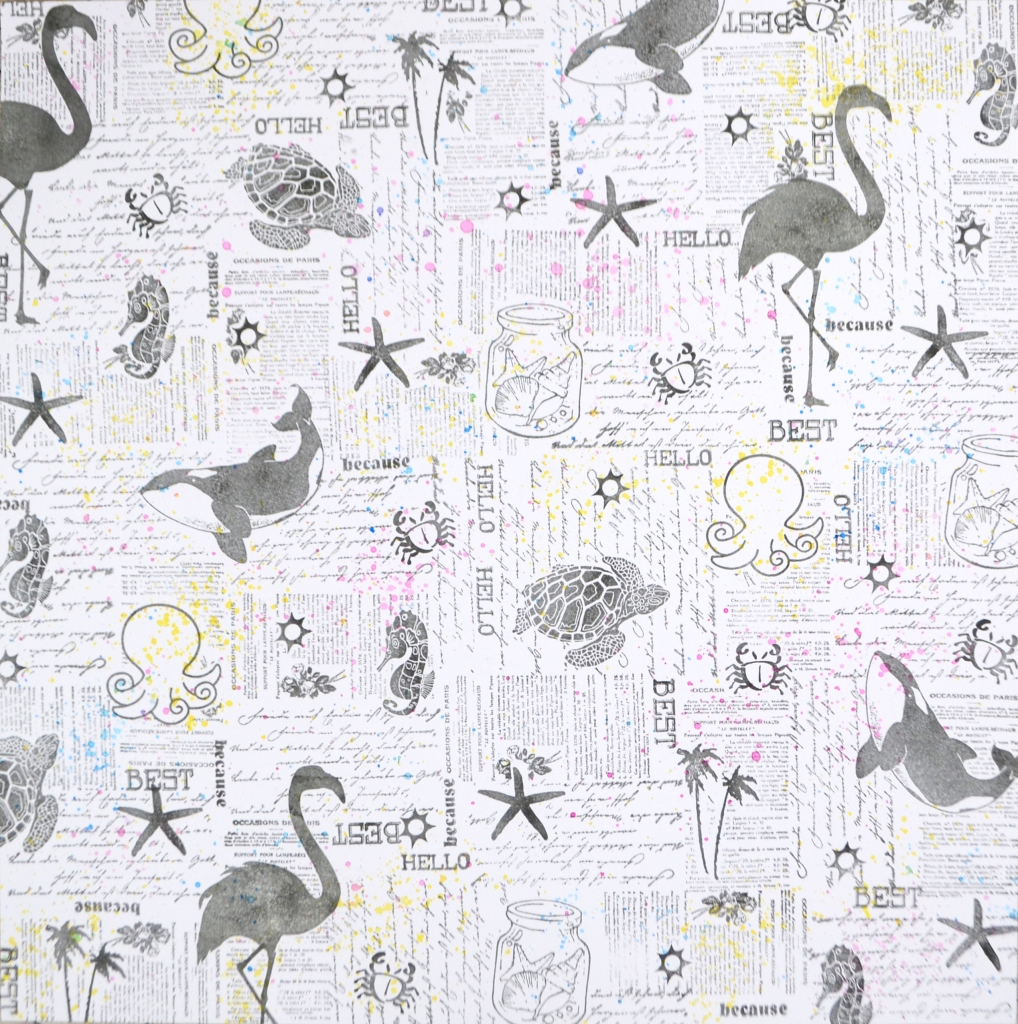
These images are pretty much to scale. Notice that my pattern paper (right) has much larger images than the 49 and Market paper (left). That is a result of using the supplies that I have on hand. I am thrilled with how it came out regardless of the scale! In fact I want to try this technique over and over again with various images.
Deciding what images to use for this one was based on the inspiration, but you can use anything. In fact you don’t even have to use as many images as I did. You can do this with single images. Imagine doing this with balloon shapes for a birthday page. Or how about just something like hexagons for an everyday pattern paper? In fact, using a single image will make life easier when creating the paper. Let me explain.
I used a masking technique to make this paper. If you are not accustomed to stamping, masking is a very common technique for building scenes. It helps imagery sit either in the foreground or in the background. In this case, the text is “pushed” to the background. Depending on your project, masking can be a little time intensive depending on the number and complexity of your images!
If you know what masking is then feel free to skip this part. I’ll explain masking for those who need the info. To make the masks you have to stamp the same image on a thin paper and then fussy cut it out. There are specialty masking papers for this but I lost mine at the time of filming. You do want thin paper. Generic printer paper is perfect for this. You also want to trim your mask pretty closely to the outline of your image. Thin paper plus close trimming means the next step of the process will create a cleaner look to the final project.
Once the masks are cut out you can adhere then over the images on your project. I use a temporary adhesive to do this. Again, specialty masking paper has built in tackiness to make life easier. Once the mask is applied, stamp the text stamp over the icons. This allows the text to surround the image without the text ending up on top of the icons. If your mask is made with thick paper or not trimmed closely, when you remove the mask you’ll see a blank halo around the image. This can be it’s own technique for sure, but I wanted to get this detailed collage look by keeping everything tight.
Remember I mentioned above how using a single image will make life easier? That is because you only need to create one mask. Just move the one around when you need to cover the next area. Want to make life even easier? Use a stamp set that has a coordinating die. Then you can cut out the die shape and use that as your mask. You can even cut out several to speed up the process.
So this is the third video in my forgeries/makes for this month. All the videos link off to each other so if you start one, you’ll be able to access the others. The end screen of each video will lead you to the next part and even wraps around back to the beginning.
Thanks for hanging out with me today. I hope I have shared something helpful.
For more creative ideas, the CKC blog has more forgery examples to check out. I hope this gave you some ideas on how you can recreate your favorite products with supplies you already have on hand. Don’t forget to show off your stuff over on the CKC Facebook group, or tag us on Instagram @counterfeitkitchallenge or use #counterfeitkitchallenge.
Until next time, have an artful day.

A beautiful kit Misty. I love that black and white paper and your frames especially.
LikeLike