No not the person who you were talking too who suddenly ghosted you.
No, not the haunted spirit kind of ghosts. (Though that is close.😉)
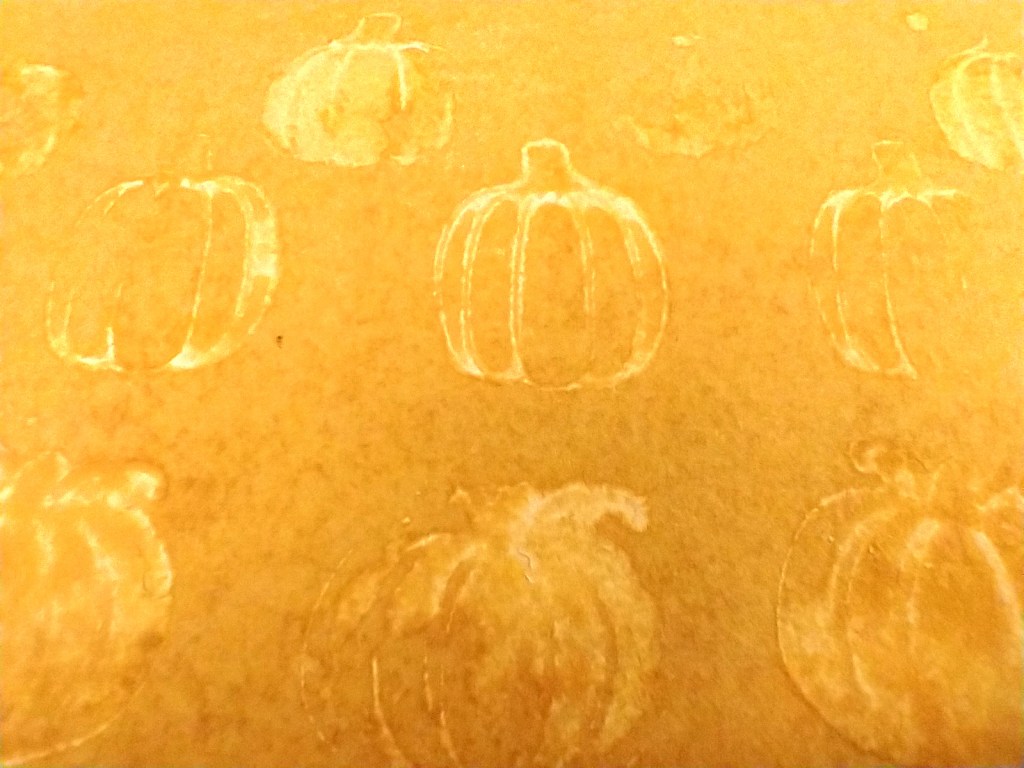
I want to talk about the technique of ink ghosting! While this technique is very simple to explain, it does take some time and patience to get right. So let me show you how it is done and give you of tips & tricks.
- Work on heavy cardstock. The smoother the better.
- Choose a water reactive ink. Many basic dye inks on the market will work. Look for labels that say “permanent” or “watercolor friendly”. Those are the ones to avoid!
- Spread ink all over your paper really well. Ink brayers or foam daubers work great. You can use blending brushes but it will take much longer to get a good coat of ink.
- Use an open shaped stencil. Anything with too much detail can get blurry.
- Cover up any paper that sticks out beyond the stencil!!
- Spray a light mist of water from about 12 inches away until the images are evenly coated.
- Wait for about 10 seconds. Dab excess water away with a dry towel.
- Repeat as needed to get full coverage on your project!
- Voila!
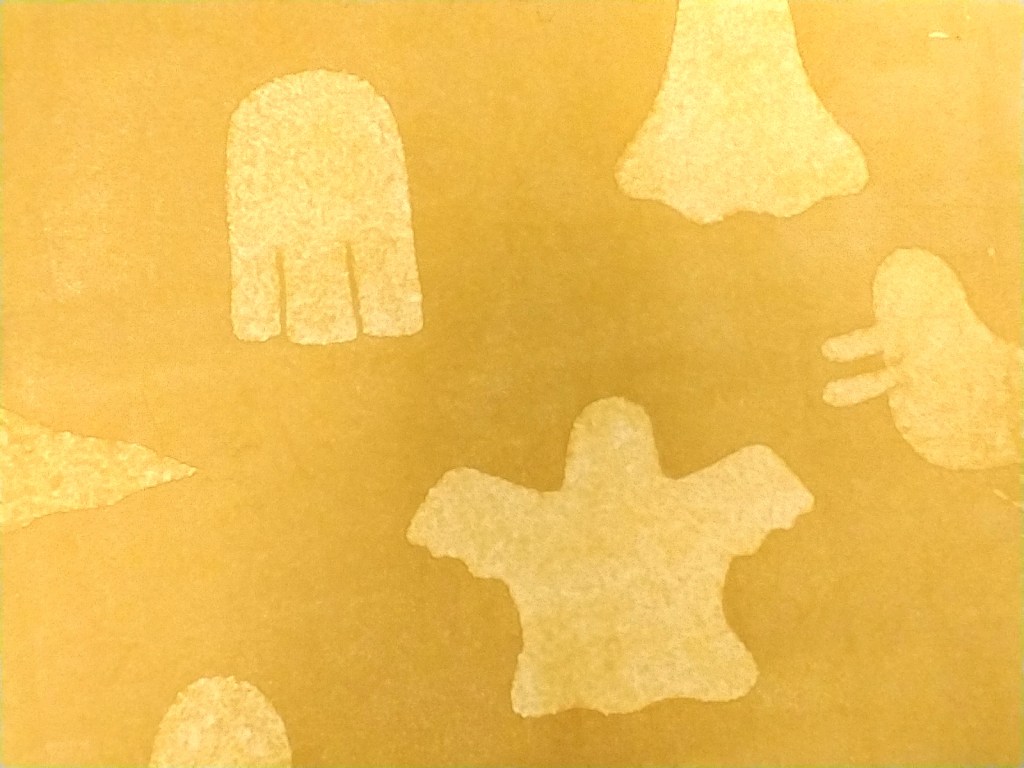
Now I have a bit of an announcement. I will be opening a small online shop to sell a few products. One of them will be this ghost stencil that I designed! If you really want to see it in action, the video below shows all the detail.
I’ll be sharing another ghosting technique on Nov 4th using some stamping. Stay tuned for that! Until next time, have an artful day.